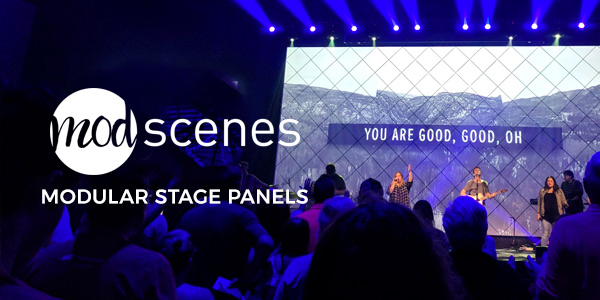
David Terry from New Song Church in Oklahoma City, OK brings us this great portable design for a room with a lot of natural backlight.
Inspiration:
https://churchstagedesignideas.com/led-glow-sticks/
https://churchstagedesignideas.com/led-drops/
From David: The perfect stage for a mobile church plant:
We’ve been a mobile church since we launched around 2.5 years ago and have never been able to find many resources or examples of good stage designs/sets that not only looked cool but could also survive our mobile set up. Being mobile, we had to design our new set with a few things in mind that most churches with permanent locations wouldn’t have to think about.
1. The set had to be easy and efficient to set up.
We start loading into the event center we lease on Sunday’s at 6:45 am and have to be off the stage at 9:00 am for our first service. Not only do we have to set up the entire sound system and run every cable each week, but this is also our only rehearsal time for the week so we have to be as efficient as possible. It wouldn’t make sense for us to build a really awesome and intricate set if it took one volunteer an hour to set up.
2. The set had to be durable. . . really really durable.
Things that can’t take a beating don’t last long at our church. Between a volunteer set up and tear down team and a 10-mile trailer ride things just get beat up over time. Our set had to be able to withstand a moderate amount of accidental wear and tear.
3. Small.
Since our entire sound, lighting, and projection system lives in a trailer Monday through Saturday we had to design a set that was small enough to cohabitate the trailer with the rest of the equipment.
Supplies:
– Six 3/4 in. x 6 ft black steel pipes pre-threaded
– Six 3/4 in Floor Flanges
– Black, Flat Spray Paint. I’ve used this stuff on a few projects and things only need to be touched up after 6 months or so.
– Spray Lacquer. I put a few coats of this on the bases and the piping but put a lot on the white covers of the LED Tracks. I didn’t want these to get scuffed up.
– LED Tape Tracks – two 5 packs
– Six DMX Decoders
– Six strands of LED Tape. There are a lot of options of LED Tape out there but I really liked these. Led individual LED’s were close enough together that it looks more like one consistent LED line. I might not have needed this many but I didn’t want to have to solder anything so now I have extra.
– Wood, screws, drill bits, bolts, etc.
The first step was to determine how tall we wanted the lights to be. We have a screen and a trough that holds our cables running across the stage to contend with so I cut the pipes to make it a total of 5.5 ft to be safe.
Then I constructed the bases. We had another stage set similar to this with the decoders exposed on top of the bases and they just g0t too beat up. I wanted these bases to have easy access to the dip switches and dmx ports on the decoder and to also protect the decoder. If you don’t have a Kreg Jig I highly recommend getting one. I constructed the top and frame of the base using pocket holes I made with my Kreg Jig, Fastened the decoder to the base, and then screwed the base into the frame so that I could easily take it off and on if I needed to get inside.
Then for the fun part, attaching the LED tracks to the steel pipe. I flipped the tracks over and clamped it onto the pipe where I wanted it. Then I drilled through the the back of the track and through the steel pipe all at once. Go slow and make sure you have a drill bit that can go through steel. After drilling the holes for the bolts you need to drill a bigger hole for the LED tape to go through to get down into the base to the decoder. I found it was easiest to start small and then go up drill bit sizes gradually until I got to the desired width. It was also way easier to drill this hole in the pipe and track separately.
Then simply feed the wired end of the LED tape into the pipe and down to the decoder and then cut your LED tape along the prescribed cut line.
After, you put the cover on the track you can use painters tape to cover the white cover and begin to paint. After I painted I took the tape off and put on like 8 coats of lacquer just to be safe.
Lastly, I made individual covers for the lights by stapling together some painters drop cloth. Just for an added level of protection.
All in all the project cost me around $600 and only took about 10 hours.
Also, we will eventually connect these lights to our other DMX lights but for now we have elected to just manually set the colors using the dip switches.


How did you combine the LED tracks together? Is it really noticeable?
Andrew if you look at the 3rd picture down from the top you can see an example of what it looks like. Appears that it’s not too noticeable if one lines up the tracks.
David, thanks for this great guide on what you did! Very helpful for mobile churches.