Terry Sullivan from Lexington Community Church in Lexington, NC brings us this super inexpensive beveled stage design.
On a shoestring budget, they decided to try using square paper plates (inspired by the stage design which used round plates) on black Coroplast sheets. They used stick pins to attach the plates to the Coroplast so that they could use the Coroplast for future backdrops. The letters and steps were cut out of rolled white printer paper and attached with stick pins as well. The whole set was done for under $30. (The lighting made the plates appear inverted, but they were not.)


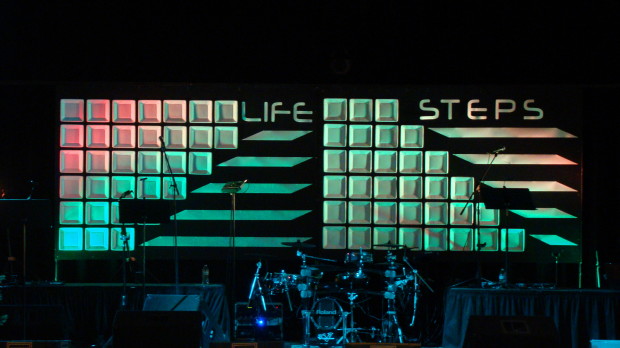
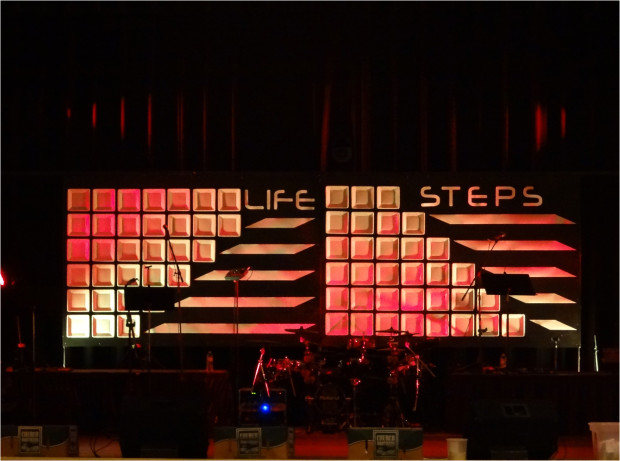
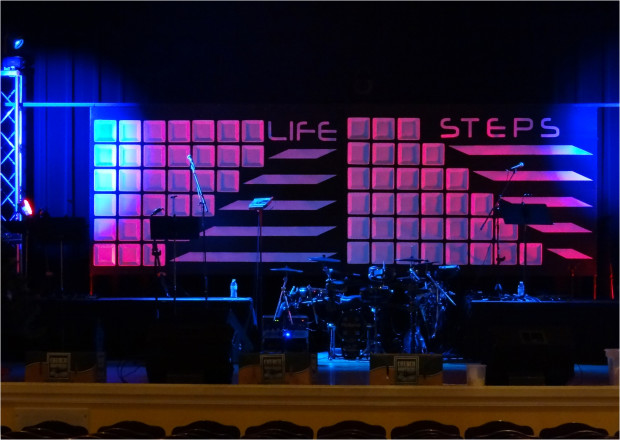
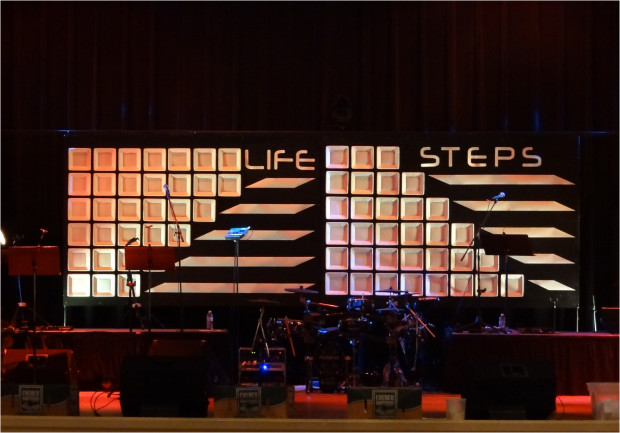
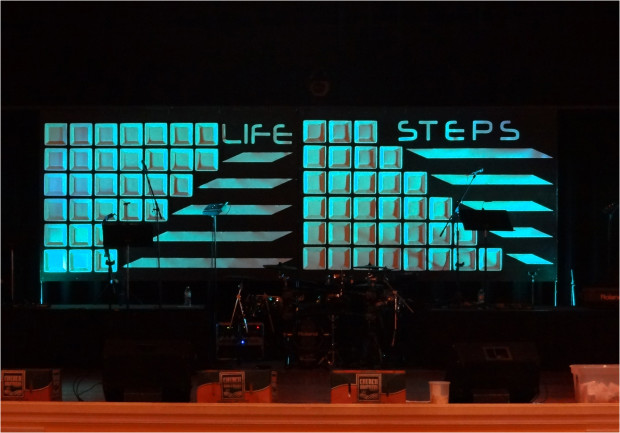



Amazing use of materials, geometry and lighting. This really tricks the eye and looks like you spent 20x your stated budget. Great job!
Where did you purchase you Coroplast? I’ve looked at the traditional Home Depot and Lowe’s but no success. Thanks and this looks awesome!
Thanks for all the positive feedback! The Coroplast was purchased from a company out of Greensboro, NC called “Grimco”. Item #CP84BK. Hope this helps!
What an interesting stage design. It looked like a cost-heavy project then I read your install and materials notes. It’s amazing how you got ordinary objects to look so dynamic. Nice job!
My compliments for a clean, modern look. I will be using this in 2014. Can you please clarify what size and where you purchased white paper printer rolls? I would appreciate your notes on the construction/ application of the steps as well.
Thanks
Hi Gwen,
We used a roll of 36″ wide semi-gloss paper – it’s what we had on hand for our large printer. It can be ordered from a number of suppliers (we use Camcor). The first thing we did was create & plot the stage design to scale on a pc. This helped determine what size to make the letters and steps. Using this scale, we measured and cut out rectangles for the steps. We used a 9″ offset for the angles but that was just personal preference. Use whatever works best for your setting – just be sure to use the same angle for each step. We used our large printer to print out the letters. Once everything was cut out, we used stick pins to apply them to the coroplast. (If you have a Dollar Tree in your area, that’s where the paper plates came from. These were cardboard/paper, not foam – 16 to a pack, I believe.)
Thanks!
Terry
What program did you use for the sketch up? Was it Google Sketch up? Could you send me the file that you used?
Hi Wes,
I used a program I first started with many years ago called Serif Draw. Very inexpensive and very user friendly. You can use any program that will allow you to draw the shape and size of your backdrop. From that point, create your design on it. When you’re done, go back and measure the sizes of the items you’ve placed on it. I’m not sure sending you my file would be of any use but if you can tell me your preferred file format, I will see if I can export it and send it your way. Thanks!
Thanks Terry. I do not know all the options for export. You can send me a pdf for sure. Also any format that would let me edit if there is one. I own adobe creative suite and google sketch up. if there is not an option for that then send me the serif draw file. I can download a trail version of it. word@fbcgreeneville.com. thanks.
Hi Wes,
Would you please send me your email?
Thank you,
Terry
wford@fbcgreeneville.com
We’re the plates put on face down or face up?? Definitely want to do this!!
They are face up…the lighting just makes them look upside down. Have fun!
A lot of bang for the buck!! Thanks for the idea. I just wanted to know what size of plate did you use (they look rather large) and where did you purchase them? Thank You!
Hi Letty,
I purchased the plates at Dollar Tree and they are just a basic size dinner plate. I believe 9″ – 10″. I’d love to see what you come up with for a design!
Thank you,
Terry
Looks awesome, way to go! The plates really do look inverted, can’t wait to see all of the different takes on this one!
Would love to see a close up picture with no colored lighting to see the actual installation.
Thanks for the compliments. I’m anxious to see the different takes on this as well. Since this was the first stage design I’d ever worked on, I didn’t think to take pictures throughout the process. However, it really was as simple as placing two stickpins per plate into coroplast backing. The difficult part was deciding on a design and not knowing if it was going to look right when it was finished. The effects of the lighting was an unexpected bonus.