Joyce Schonsheck from St. Matthew Lutheran Church in Walled Lake, MI brings us this cardboard Easter look.
This no cost, high impact design set the stage for their Lenten season focused on the life and suffering of our Savior.
Simple Cardboard…
Large pieces of corrugated cardboard were collected at the local RV dealership where they receive shipments of parts wrapped in large pieces of cardboard.
Enlarging Design….
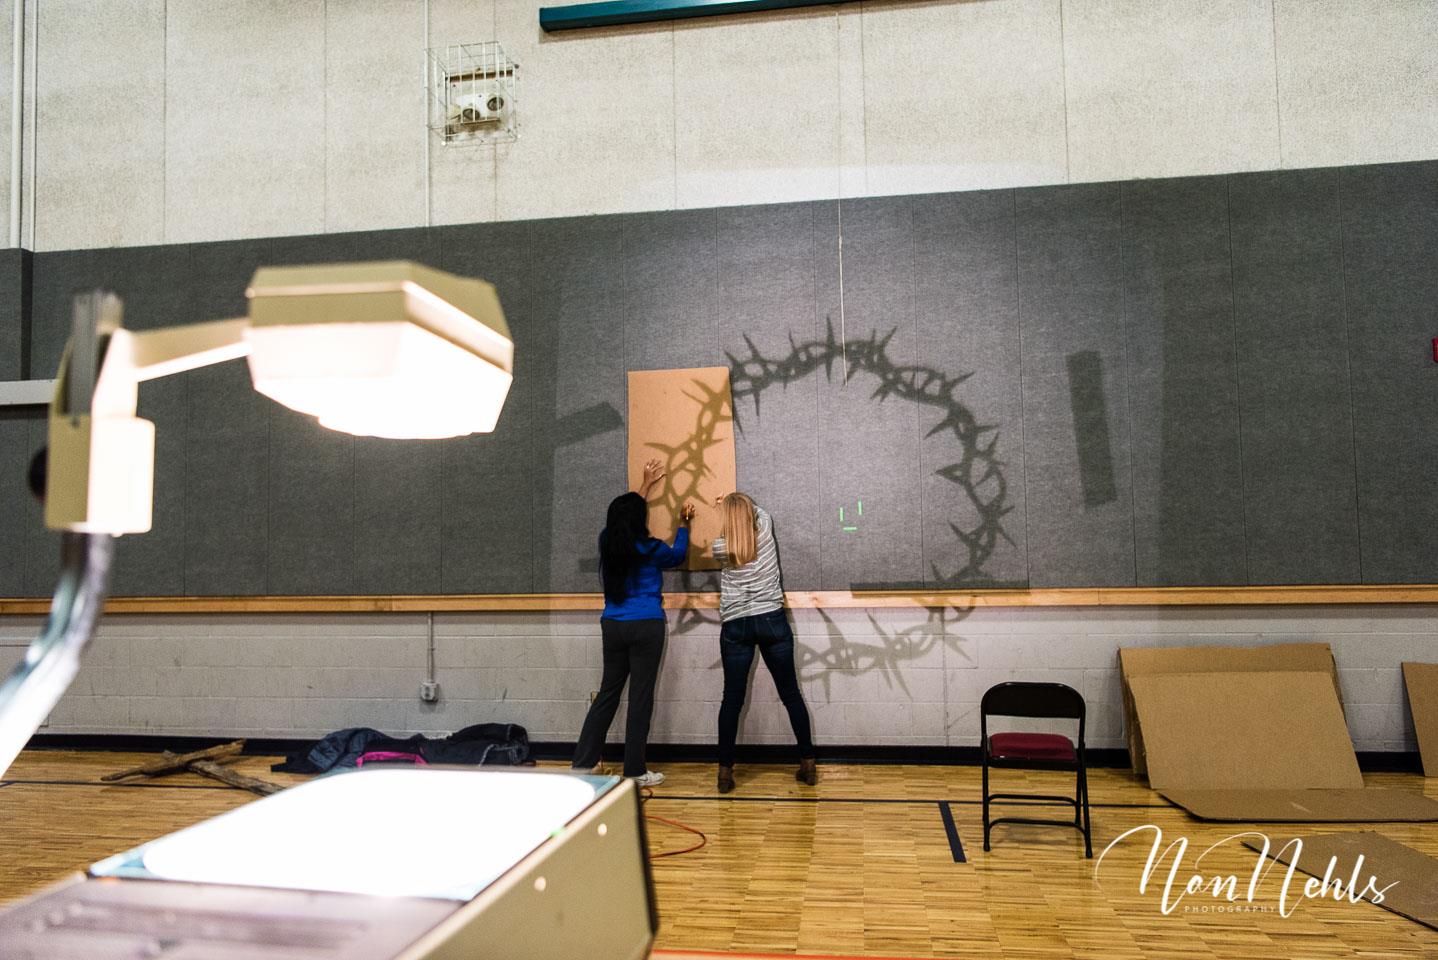
They used an overhead projector to enlarge the design. Then drew the design with fine tip marker on to six boards.
Carving….
The process is simple but impactful. Using a box cutter, they cut into the top layer of cardboard and then pulled and carved out to expose the corrugation.
Installation….
To get the perfect circle of the crown of thorns, they projected the image on the wall to help with placement. The cardboard was hung much like a picture using a string across the back and a nail in the wall (a Command hook could have also been used).
The cardboard carving technique offers a unique textural quality that photographs beautifully and reads clearly from a distance. When stage lighting hits the exposed corrugation, it creates dramatic shadows and highlights that add depth and dimension to the design. This low-cost approach proves that effective stage design does not require expensive materials—just creativity and willingness to experiment.
For churches interested in replicating this technique, sourcing large cardboard pieces is often the biggest challenge. Beyond RV dealerships, consider contacting appliance stores, furniture retailers, or manufacturing facilities that receive large shipments. Most businesses are happy to give away cardboard that would otherwise go to recycling. Aim for pieces at least 4 feet wide to minimize seams in your final design.
The carving process itself requires patience and a steady hand. Use a fresh blade in your box cutter for clean cuts, and work slowly to avoid tearing the corrugated layer underneath. Practice on scrap cardboard first to get a feel for the depth of cut needed. The goal is to remove the top smooth layer while preserving the wavy corrugated texture beneath.
Cost: $0
So much meaning to the project: The Hanging was made with six pieces of cardboard to represent the six weeks of Lent. Each week that they observe Lent helps them gain a picture of the sacrifice that our Lord made. The engraving of the crown of thorns was done by cutting away the top layer and exposing all the bumps and imperfections underneath. That symbolizes what happens during Lent….we look inside and repent of all the bumps and imperfections that sin causes. It is Jesus that made a way to make our lives beautiful. It included a whole lot of suffering (including the crown of thorns) and even death. Leading them to a true celebration of Christ’s resurrection on Easter Sunday!


Related Designs
- Crown and Thorns – Pool noodle crown of thorns with foam cross creating a powerful Easter stage display
- Beautiful Thorns – Dramatic crown of thorns stage design perfect for Good Friday services
- Soft Easter – Three plywood crosses with fabric draping for a gentle Easter backdrop
- Good Friday – Simple yet meaningful Good Friday stage design with crown of thorns elements
- Easter Decorations Church – Complete guide to Easter stage decor and design ideas
Pro Tips for Cardboard Stage Design
Blade Selection: Use a fresh, sharp blade in your box cutter for clean cuts. Dull blades tear the cardboard rather than cutting it, resulting in messy edges that require touch-ups. Change blades frequently—cardboard dulls blades faster than you might expect.
Lighting Techniques: Side lighting works best for carved cardboard designs, as it emphasizes the texture and depth of the exposed corrugation. Experiment with uplighting from the floor or angled front lighting to create dramatic shadows. Avoid flat front lighting, which can make the texture disappear.
Installation Methods: For lightweight cardboard pieces, Command strips or Velcro work well for temporary installations. For heavier pieces or permanent displays, use D-rings and picture wire on the back of each panel. Always secure the bottom of tall panels to prevent swaying or tipping during services.
Preservation: If you plan to reuse your cardboard design, apply a clear sealant spray to protect it from moisture and handling. Store panels flat in a dry location to prevent warping. Consider taking high-resolution photos of your completed design for future reference or to share with other churches.


Love, love, love!!
LOVE LOVE LOVE … (from Traverse City!)
This is wonderful! Thank you for sharing the process. How did you flatten out the cardboard after carving? I see it gets a bit wonky.
Actually, we never had that problem! The cardboard we used was high-quality… Very thick! I think that’s the reason we didn’t have the problem. Good question!
Love it! Where did you get the image that you projected onto the cardboard?
I pull the image from the internet. Copied onto a overhead transfer sheet and was ready to trace!