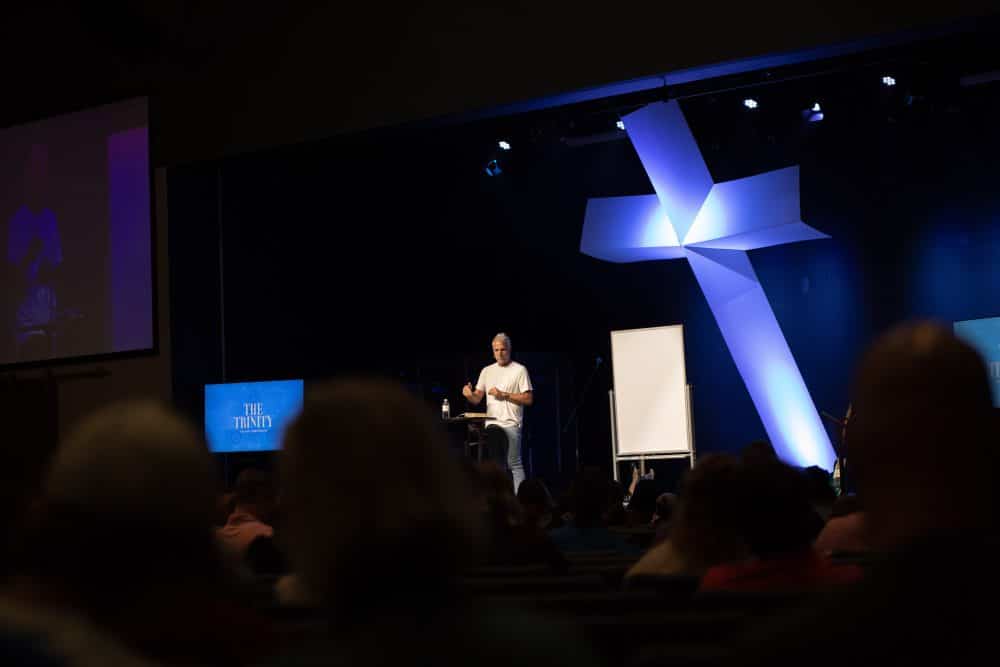
Nicole Jones from Southern Hills, the church at City Station Carrollton, Georgia a budget-friendly, lightweight cross design.
“This is a budget-friendly, lightweight cross design that really packs a punch! Even though we figured some things out as we went along, the end result looks impressive. If you give it a try, hopefully you learn from our mistakes!”
Materials:
-1 – 16 foot 2×4
-spare 2x4s (we used what we had on hand)
-4 pieces of 8×4 coroplast
-duct tape
-white screws
-wire rope and clamps
-brackets
Mast:
To keep the frame lightweight, we a 12 foot 2×4 in half (but recommend using a 16 foot board). We cut spare 2x4s into 24 inch long pieces and then attached them to the ripped 2x4s to create a frame.
We bent 2 pieces of coroplast in half long ways. With the wooden frame up on a set of horses, we attached the coroplast to the frame. (Remember how I said we improvised?) To do this, we had people stand on either side of the frame, pushing the coroplast towards the frame so that it bent up in the middle and the edge of the coroplast rested on the wooden horses. Another person attached the coroplast to the frame with a lot of duct tape, which held well for about 2 months. We did end up adding a few white screws, were barely noticeable.
Arms:
The short sides of the coroplast arms measure 43 3/4 inches and from the bottom to the center point, it measures 61 inches. We bent both pieces in half long ways using another 2×4 as a guide for crisp, accurate folds.
Using spare pieces of 2×4, we made smaller frames for the arms. These measured 24 inches wide like the mast, but the length we were less concerned about. We just made them shorter than the coroplast itself. We then used 2 longer pieces of wood to secure the arm frames to the mast frame, securing them so that the center of the arms/points measured 63 inches from the top of the cross.
Like the mast, we secured the coroplast arms to the frame with duct tape (which didn’t line up perfectly, but you can’t tell from the front side), and later we added screws when the tape loosened. I would just got ahead and put in a few screws while it’s on the ground.
Hanging:
We used ceiling trusses to hang the cross, attaching wire rope through brackets on each arm and the base. Getting it from the horses to hanging position was tricky but doable with ladders, extra hands, and using the wire rope to assist. We adjusted the wire rope until we liked the position of the cross and then clamped the wire ropes in place.
Lighting:
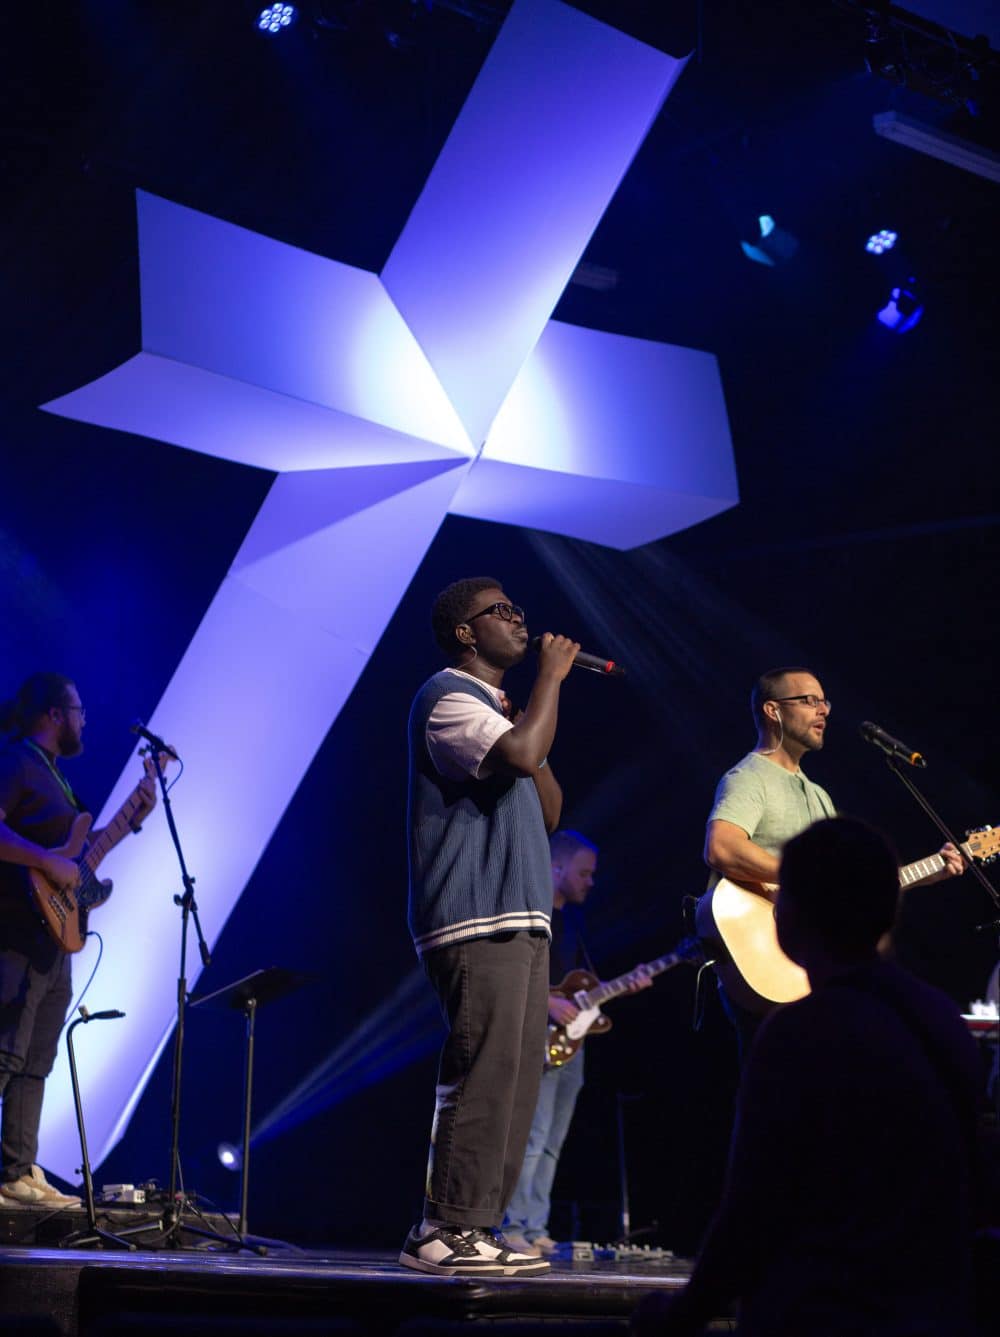
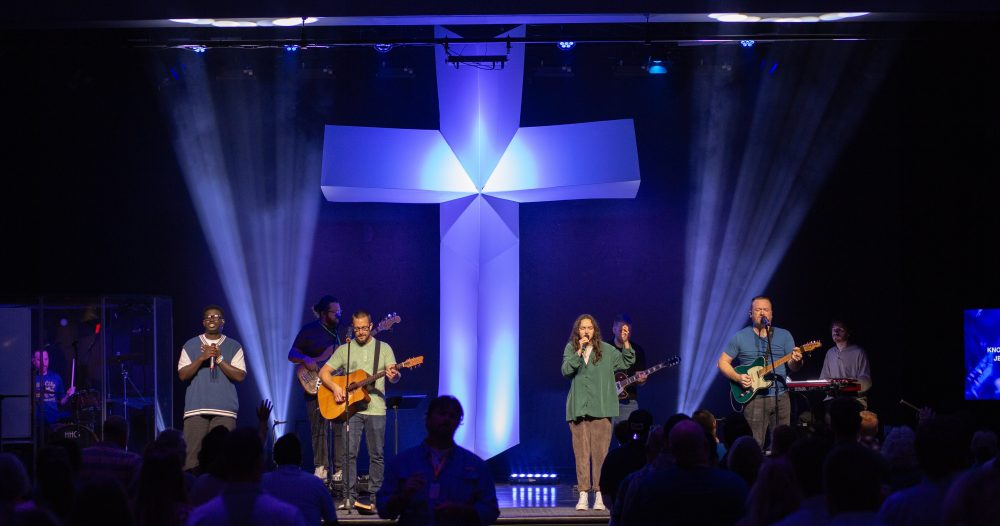
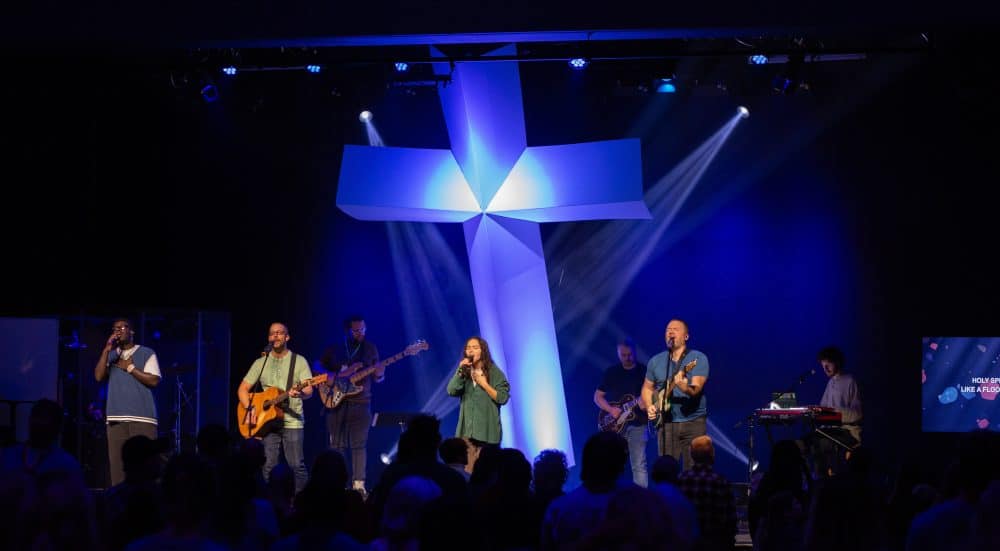
We used spare light bars with one on a front truss and two on the floor. We didn’t backlight it so you can’t see any of the duct tape or framing in the cross.
We’re really happy with how it came out. We had tossed around the idea of adding something behind the cross, but decided we really liked it by itself against the black.


Leave a Reply
You must be logged in to post a comment.