



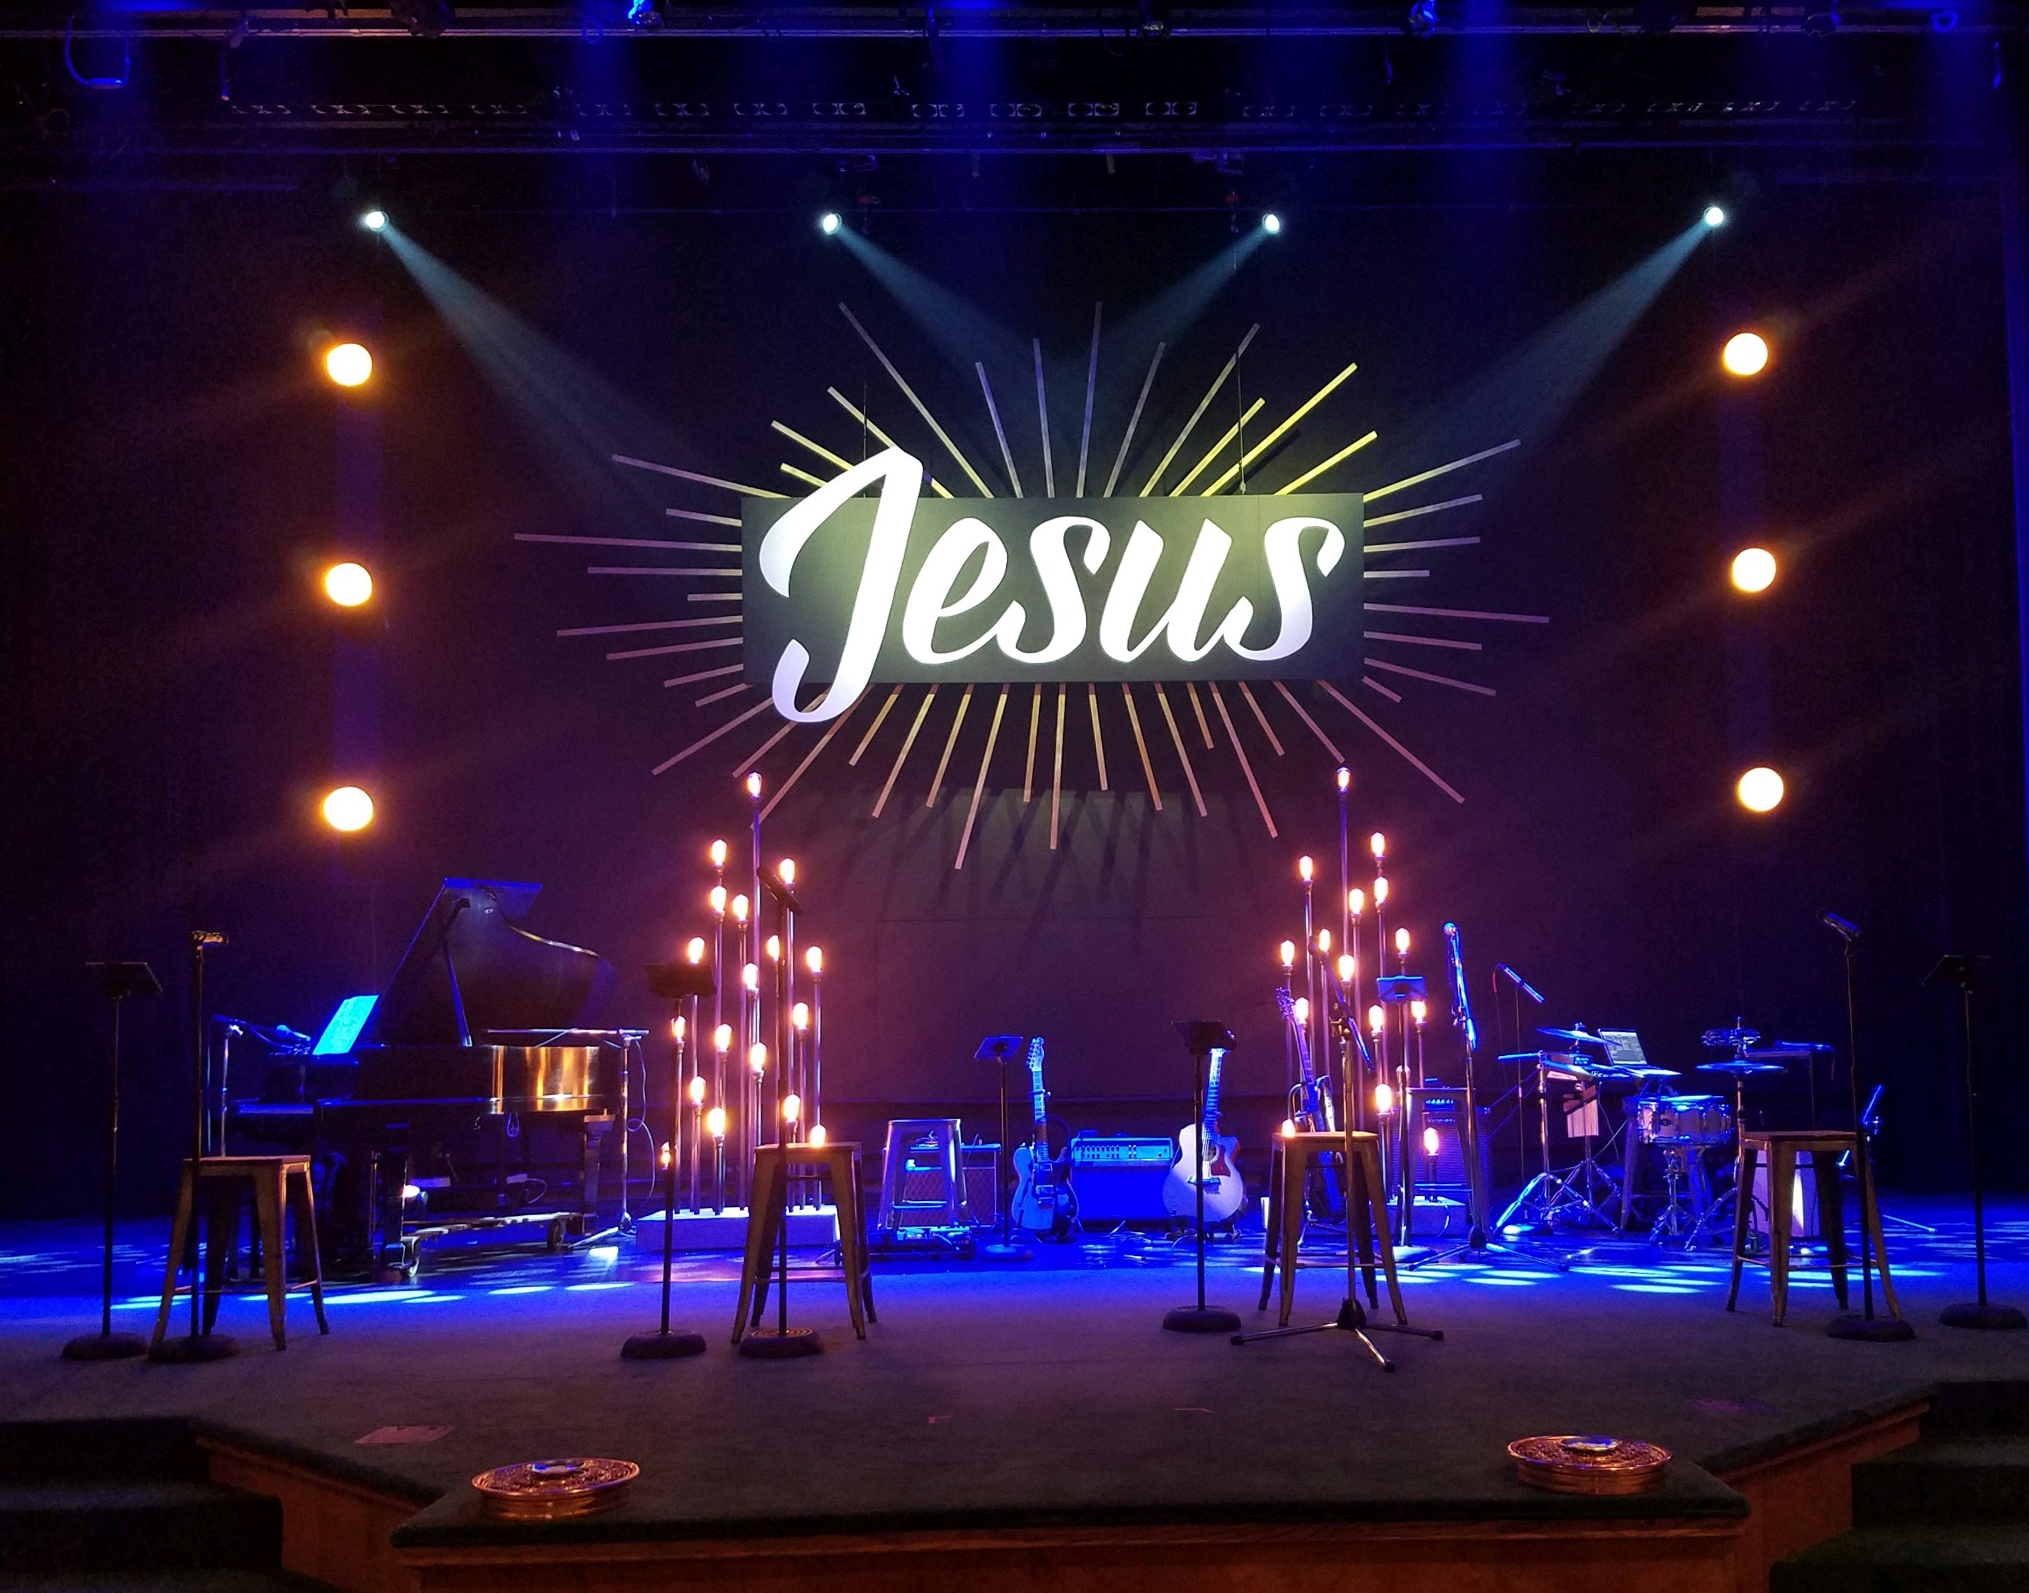
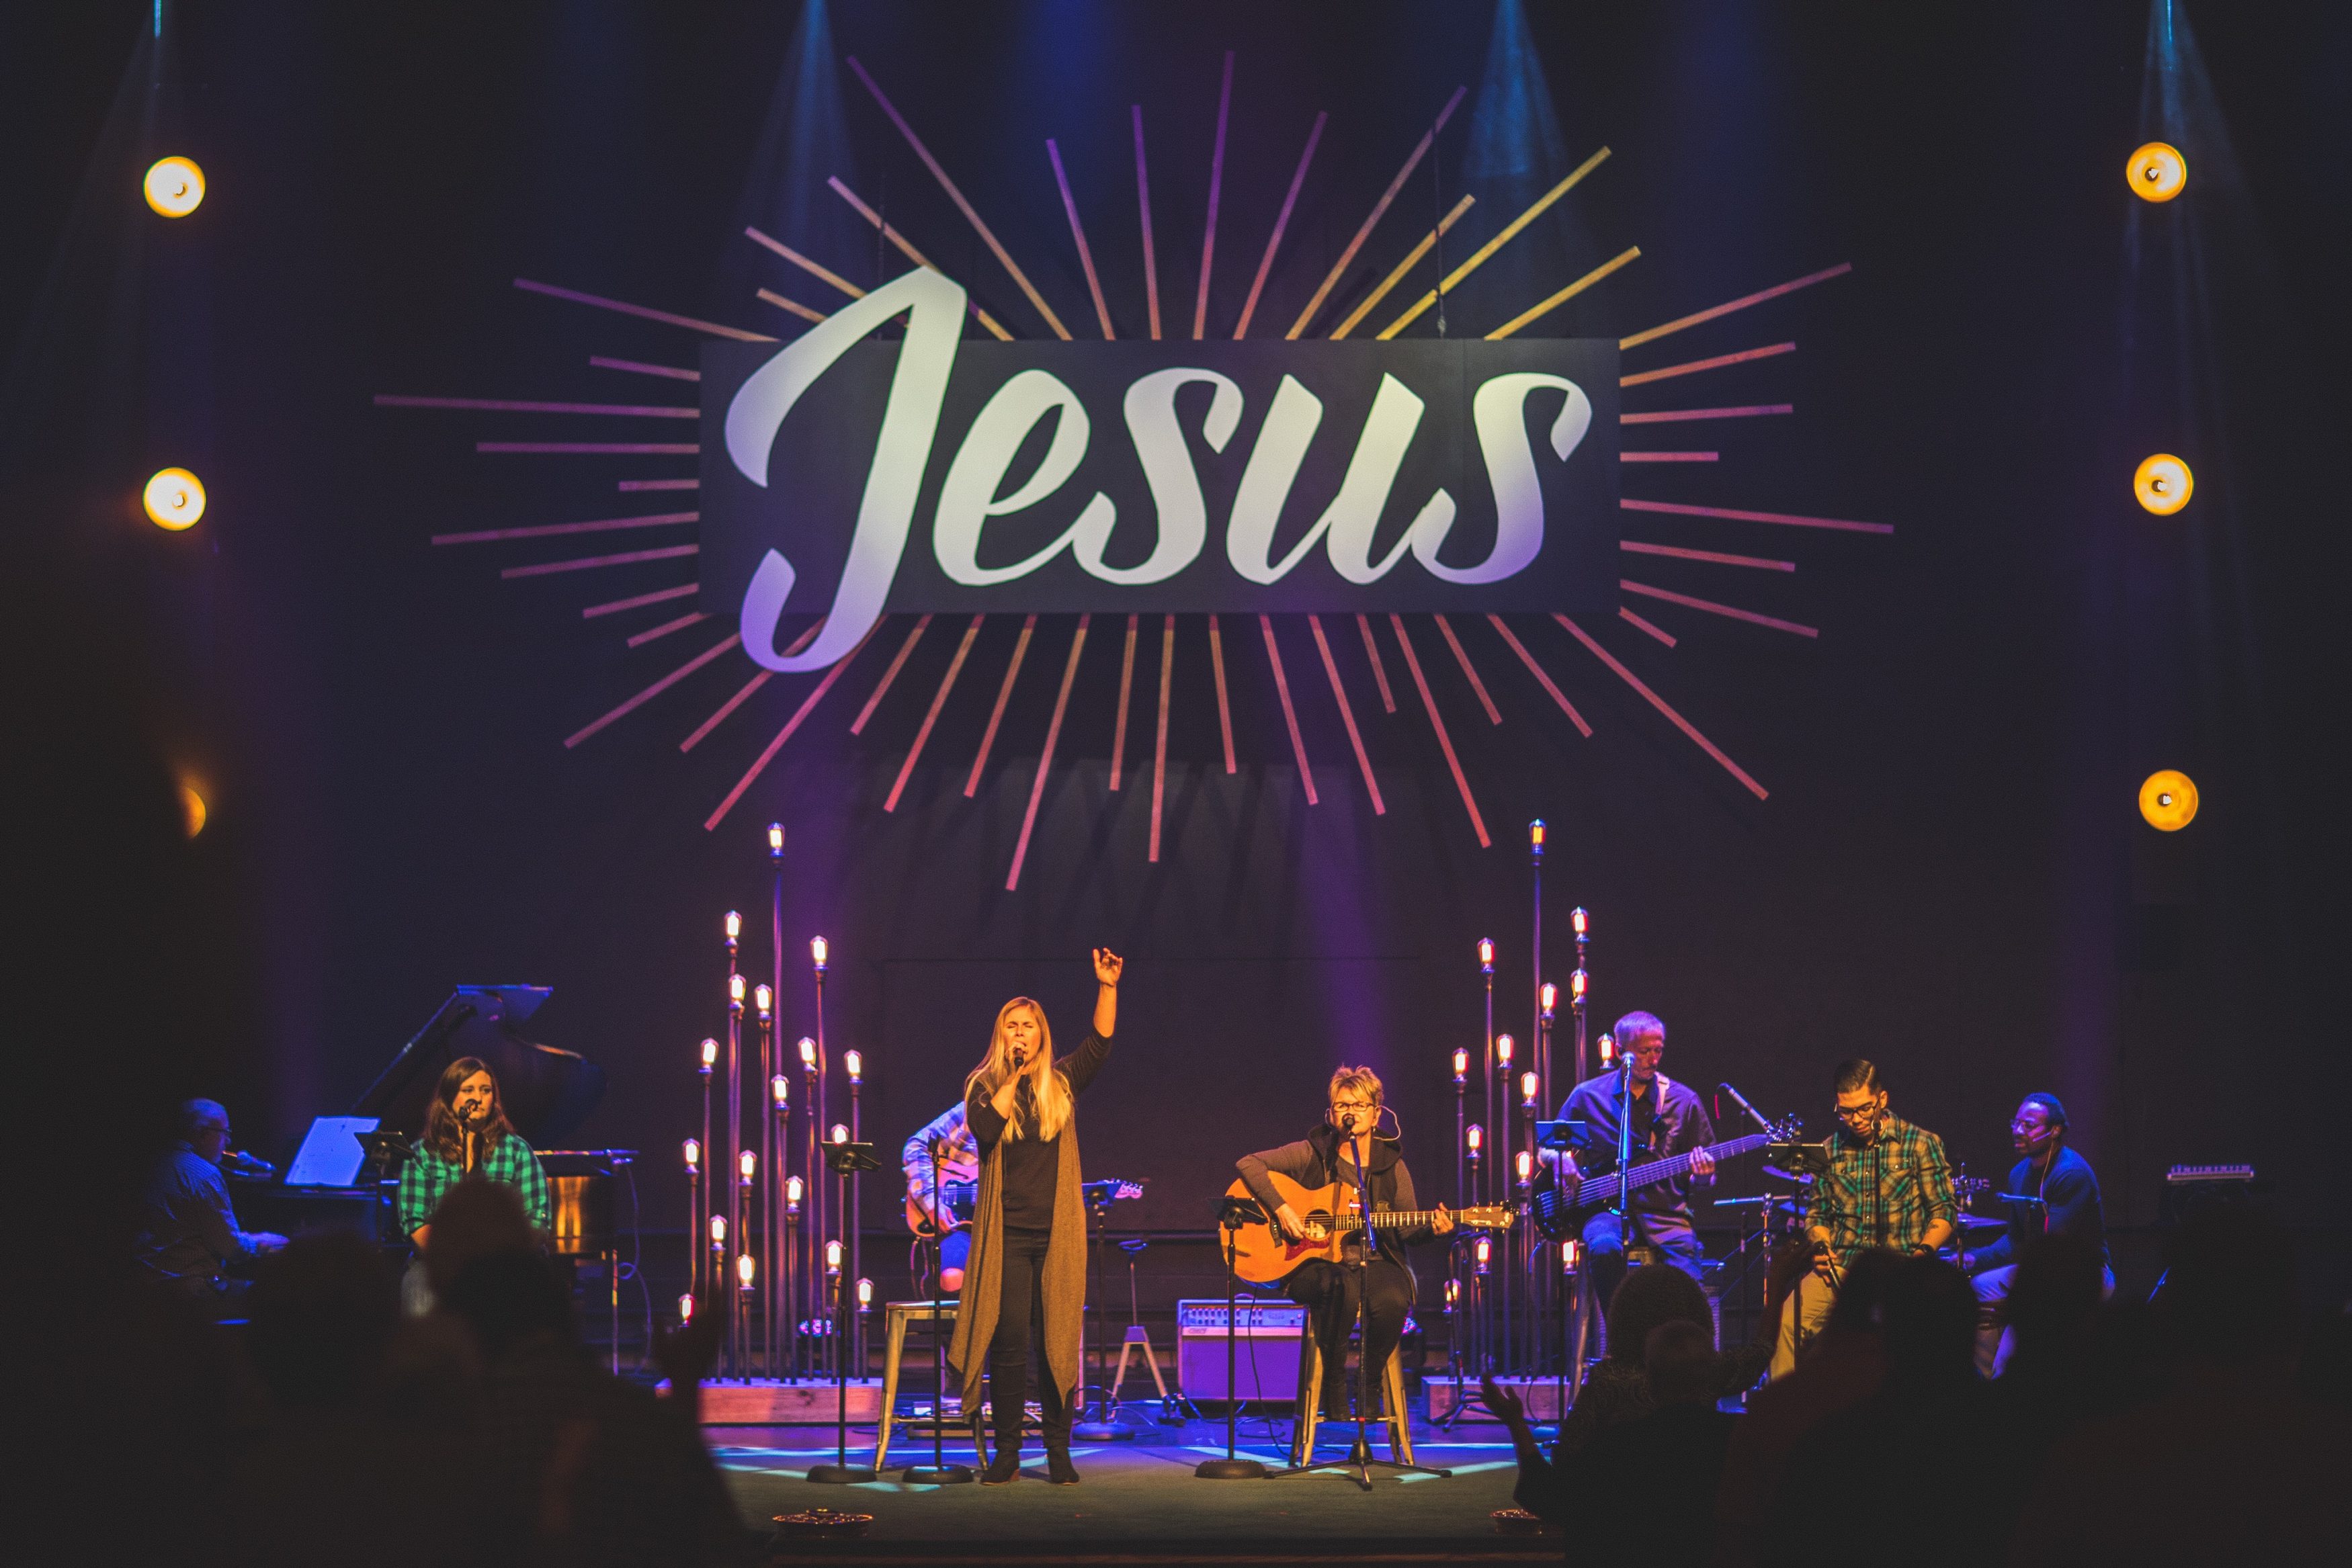
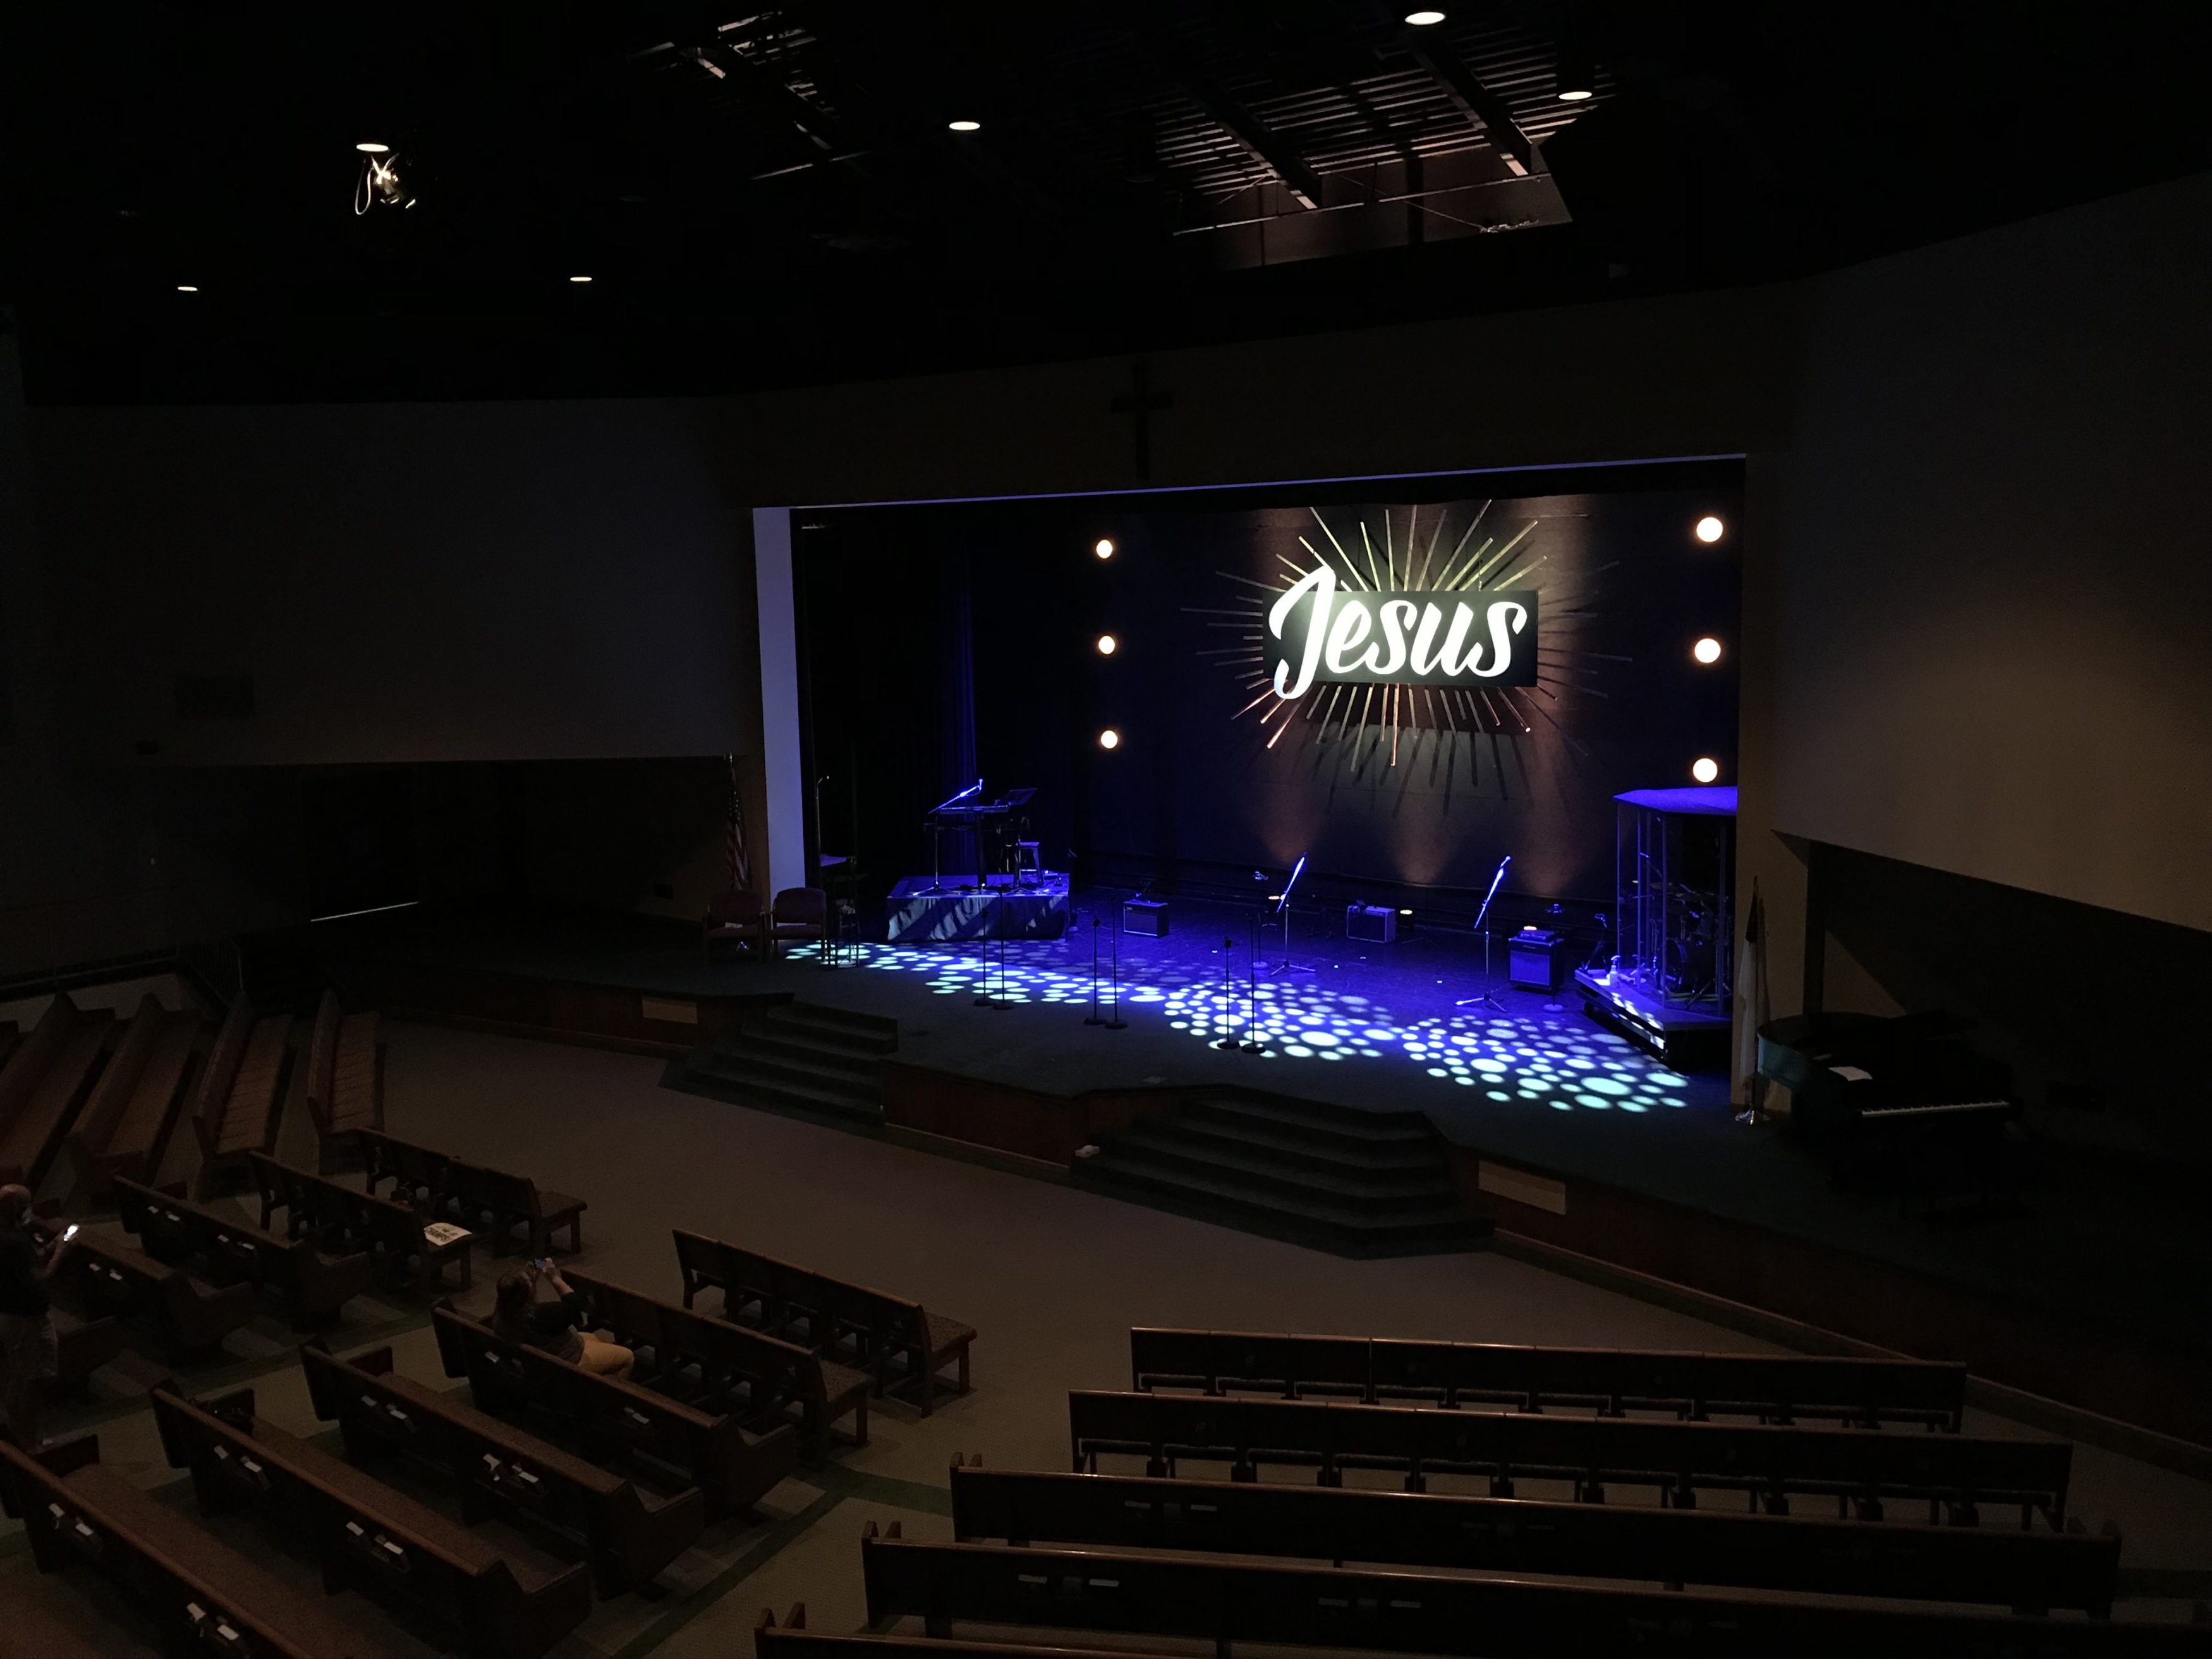
Robin Lear from Calvary Church in Dover, Delaware brings us this cool signage piece for their stage.
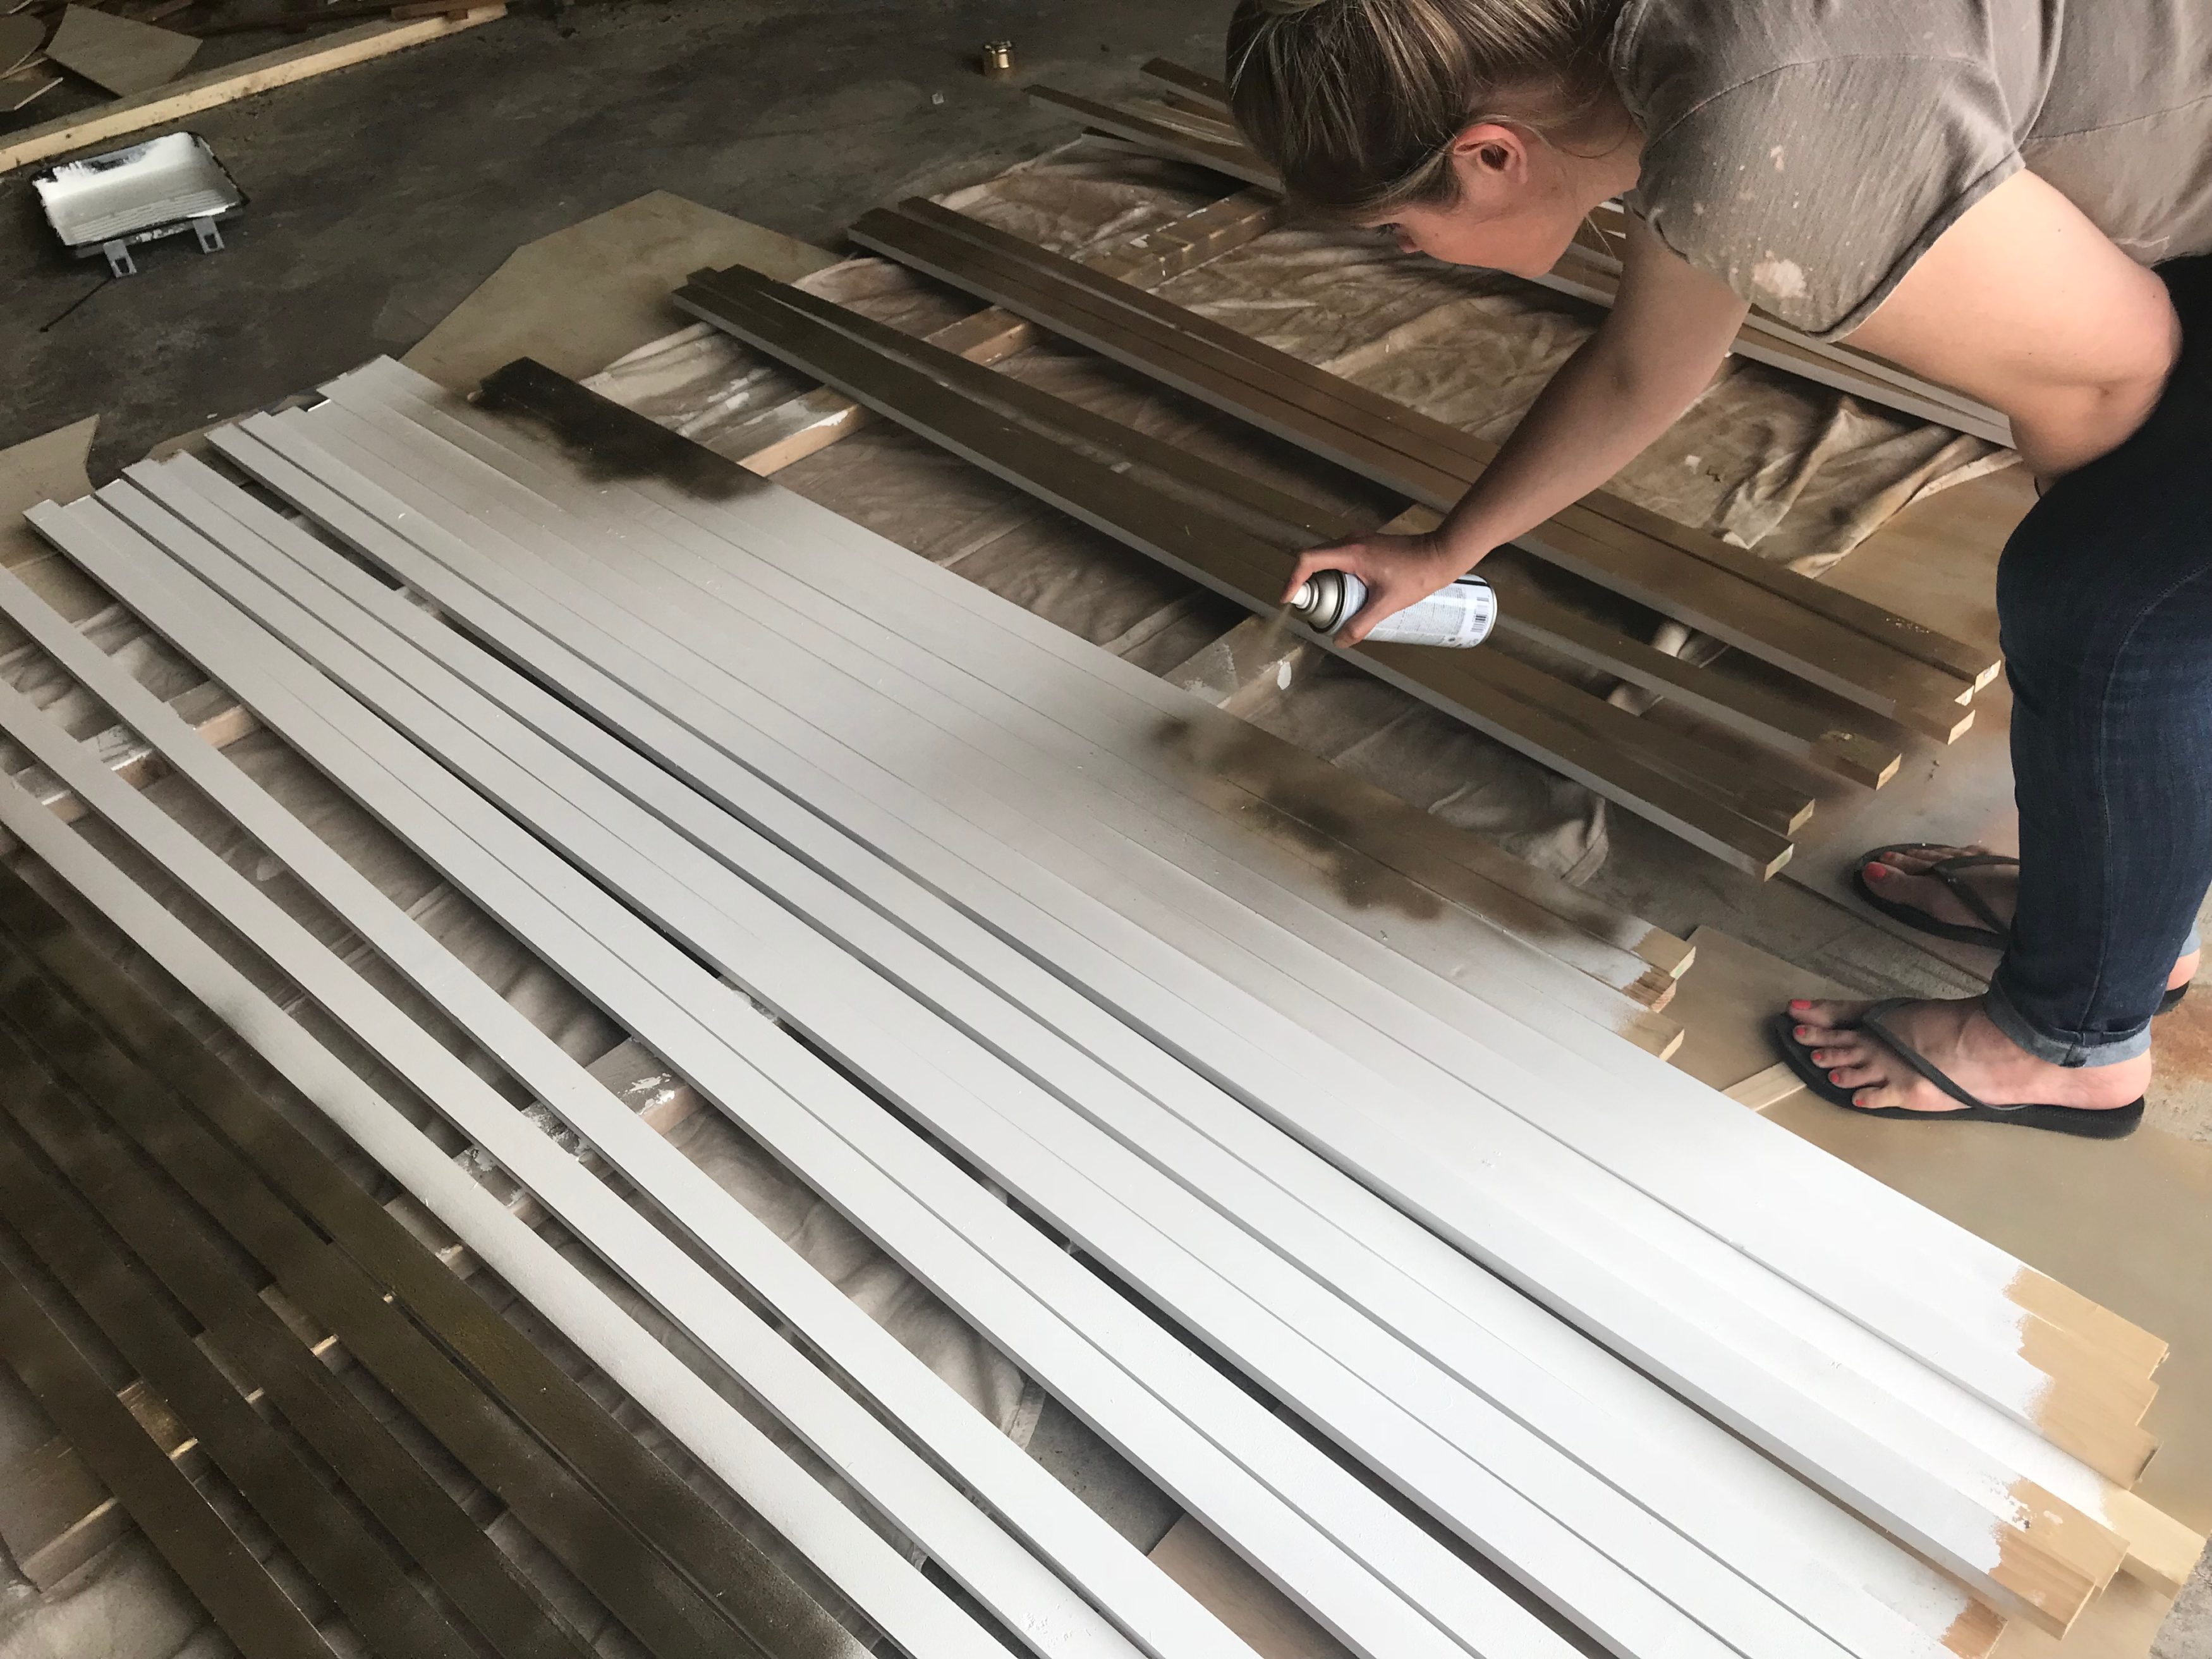
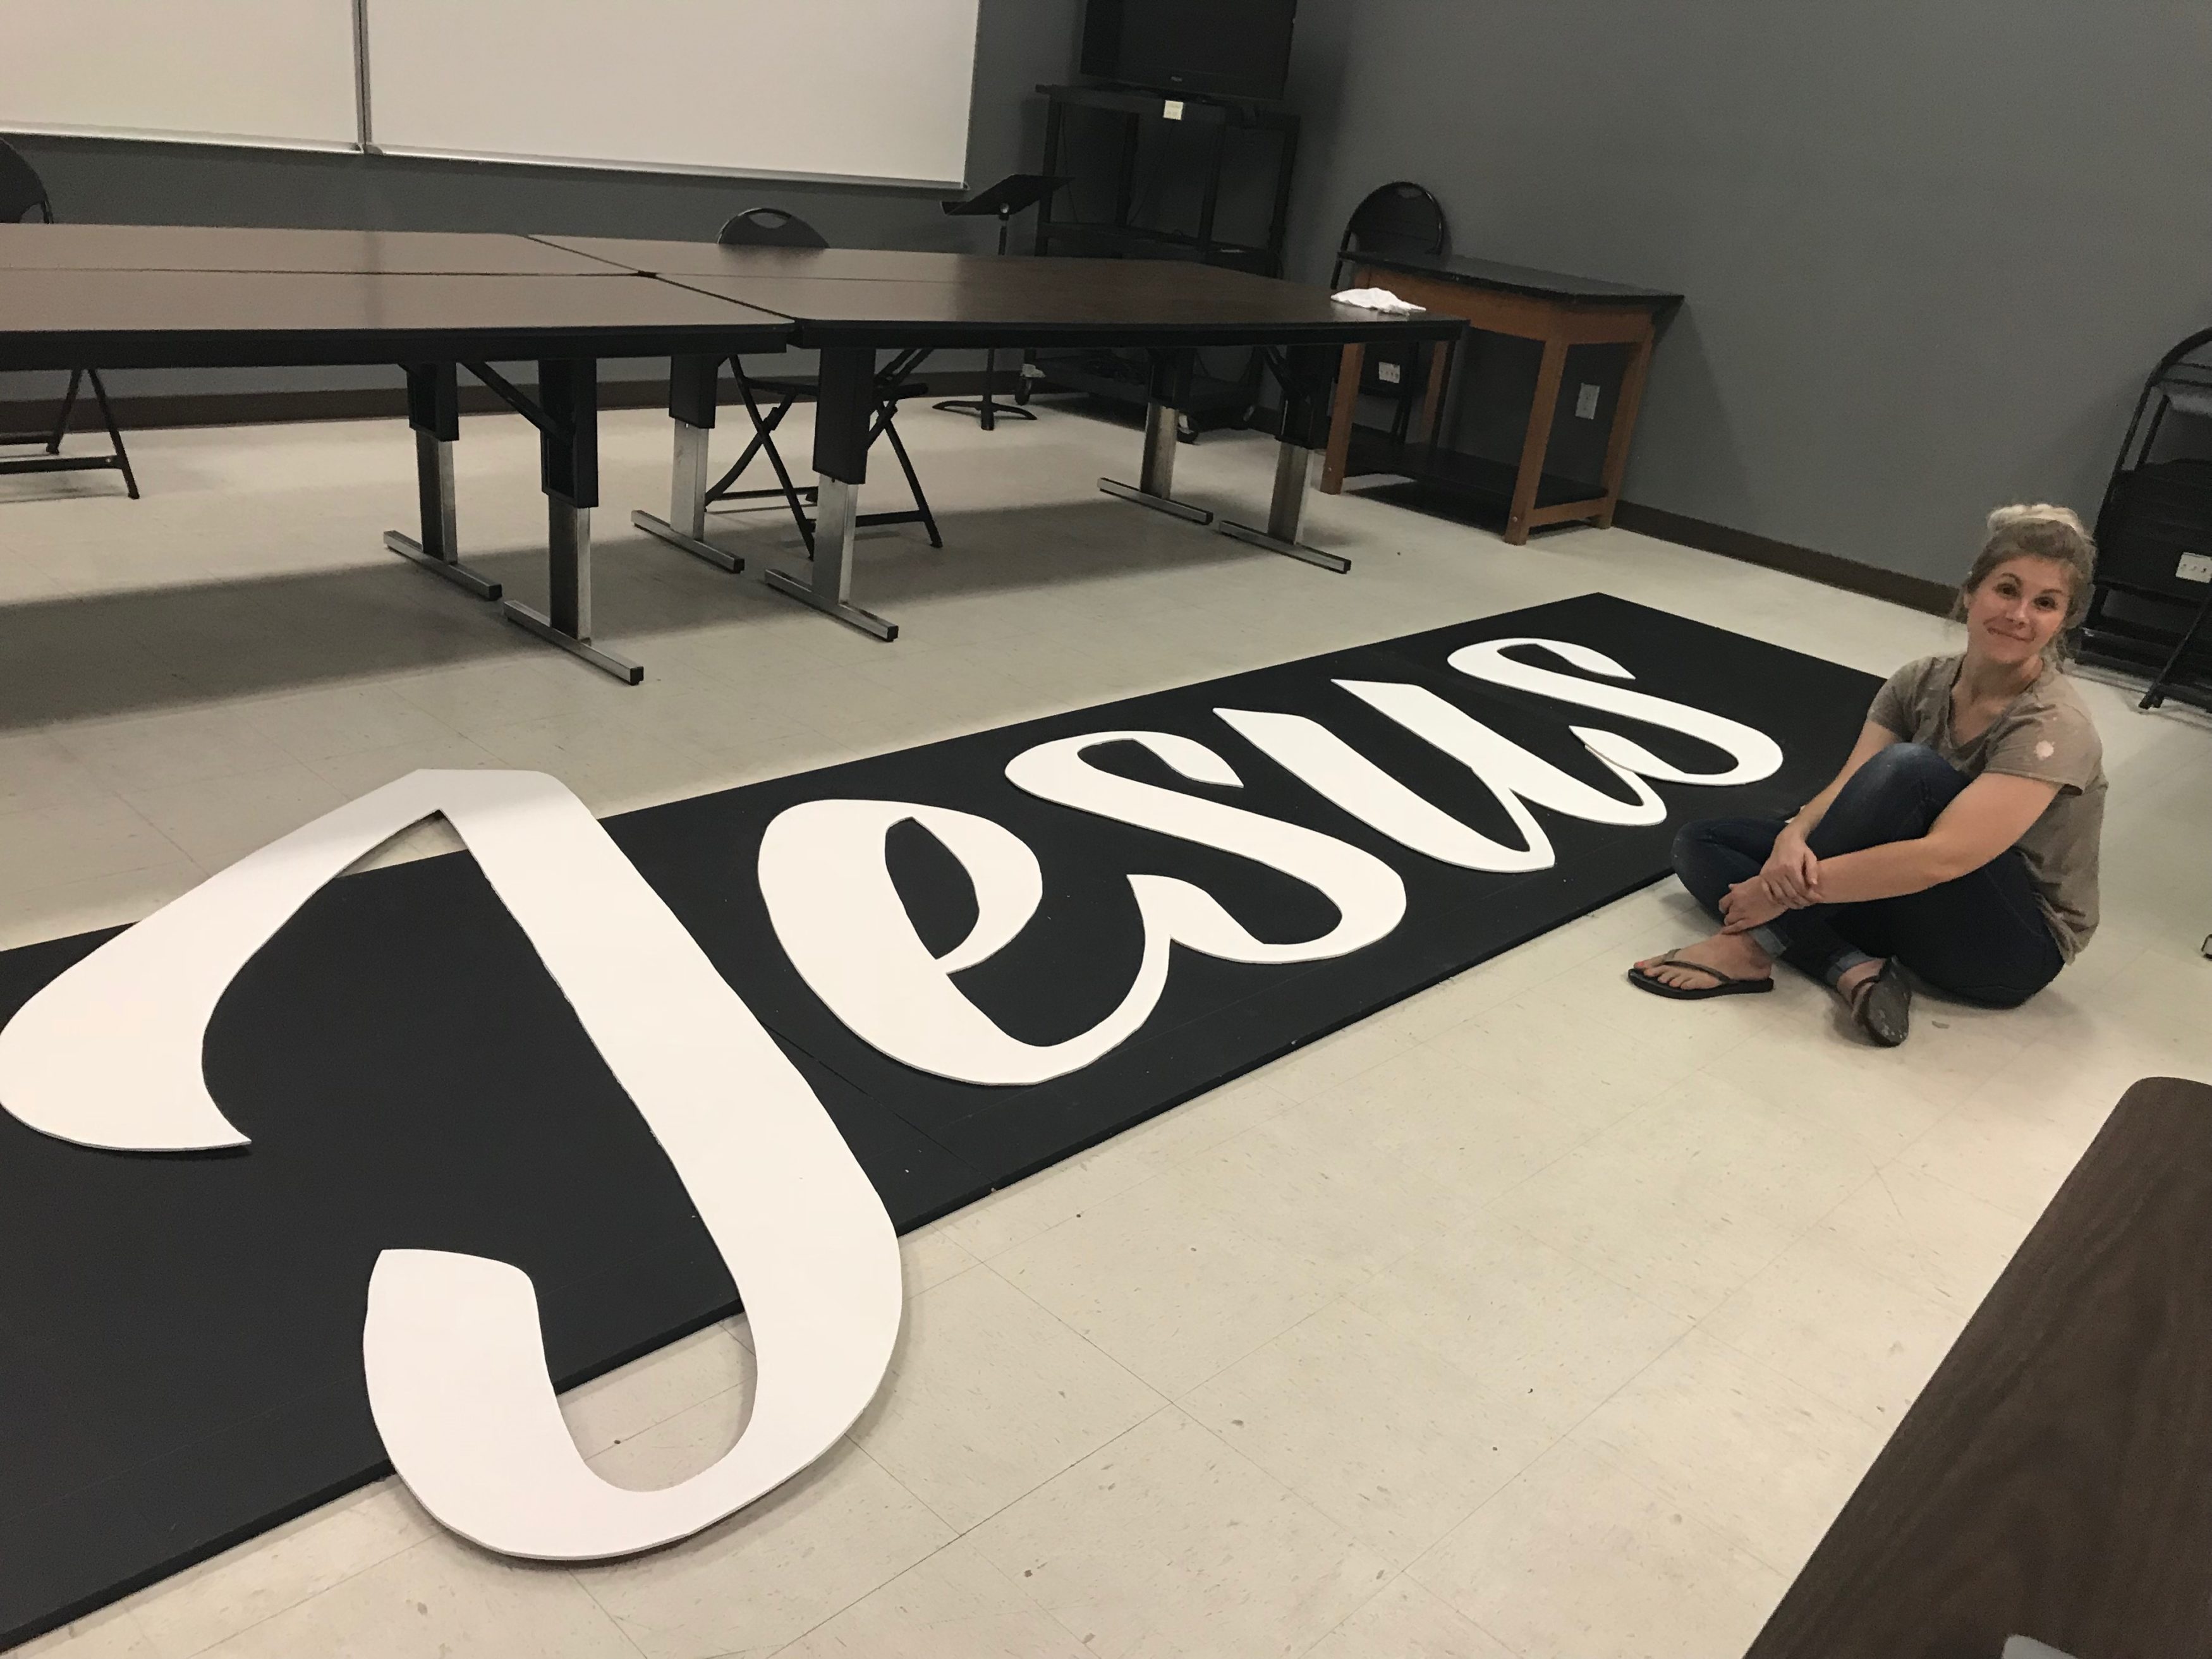
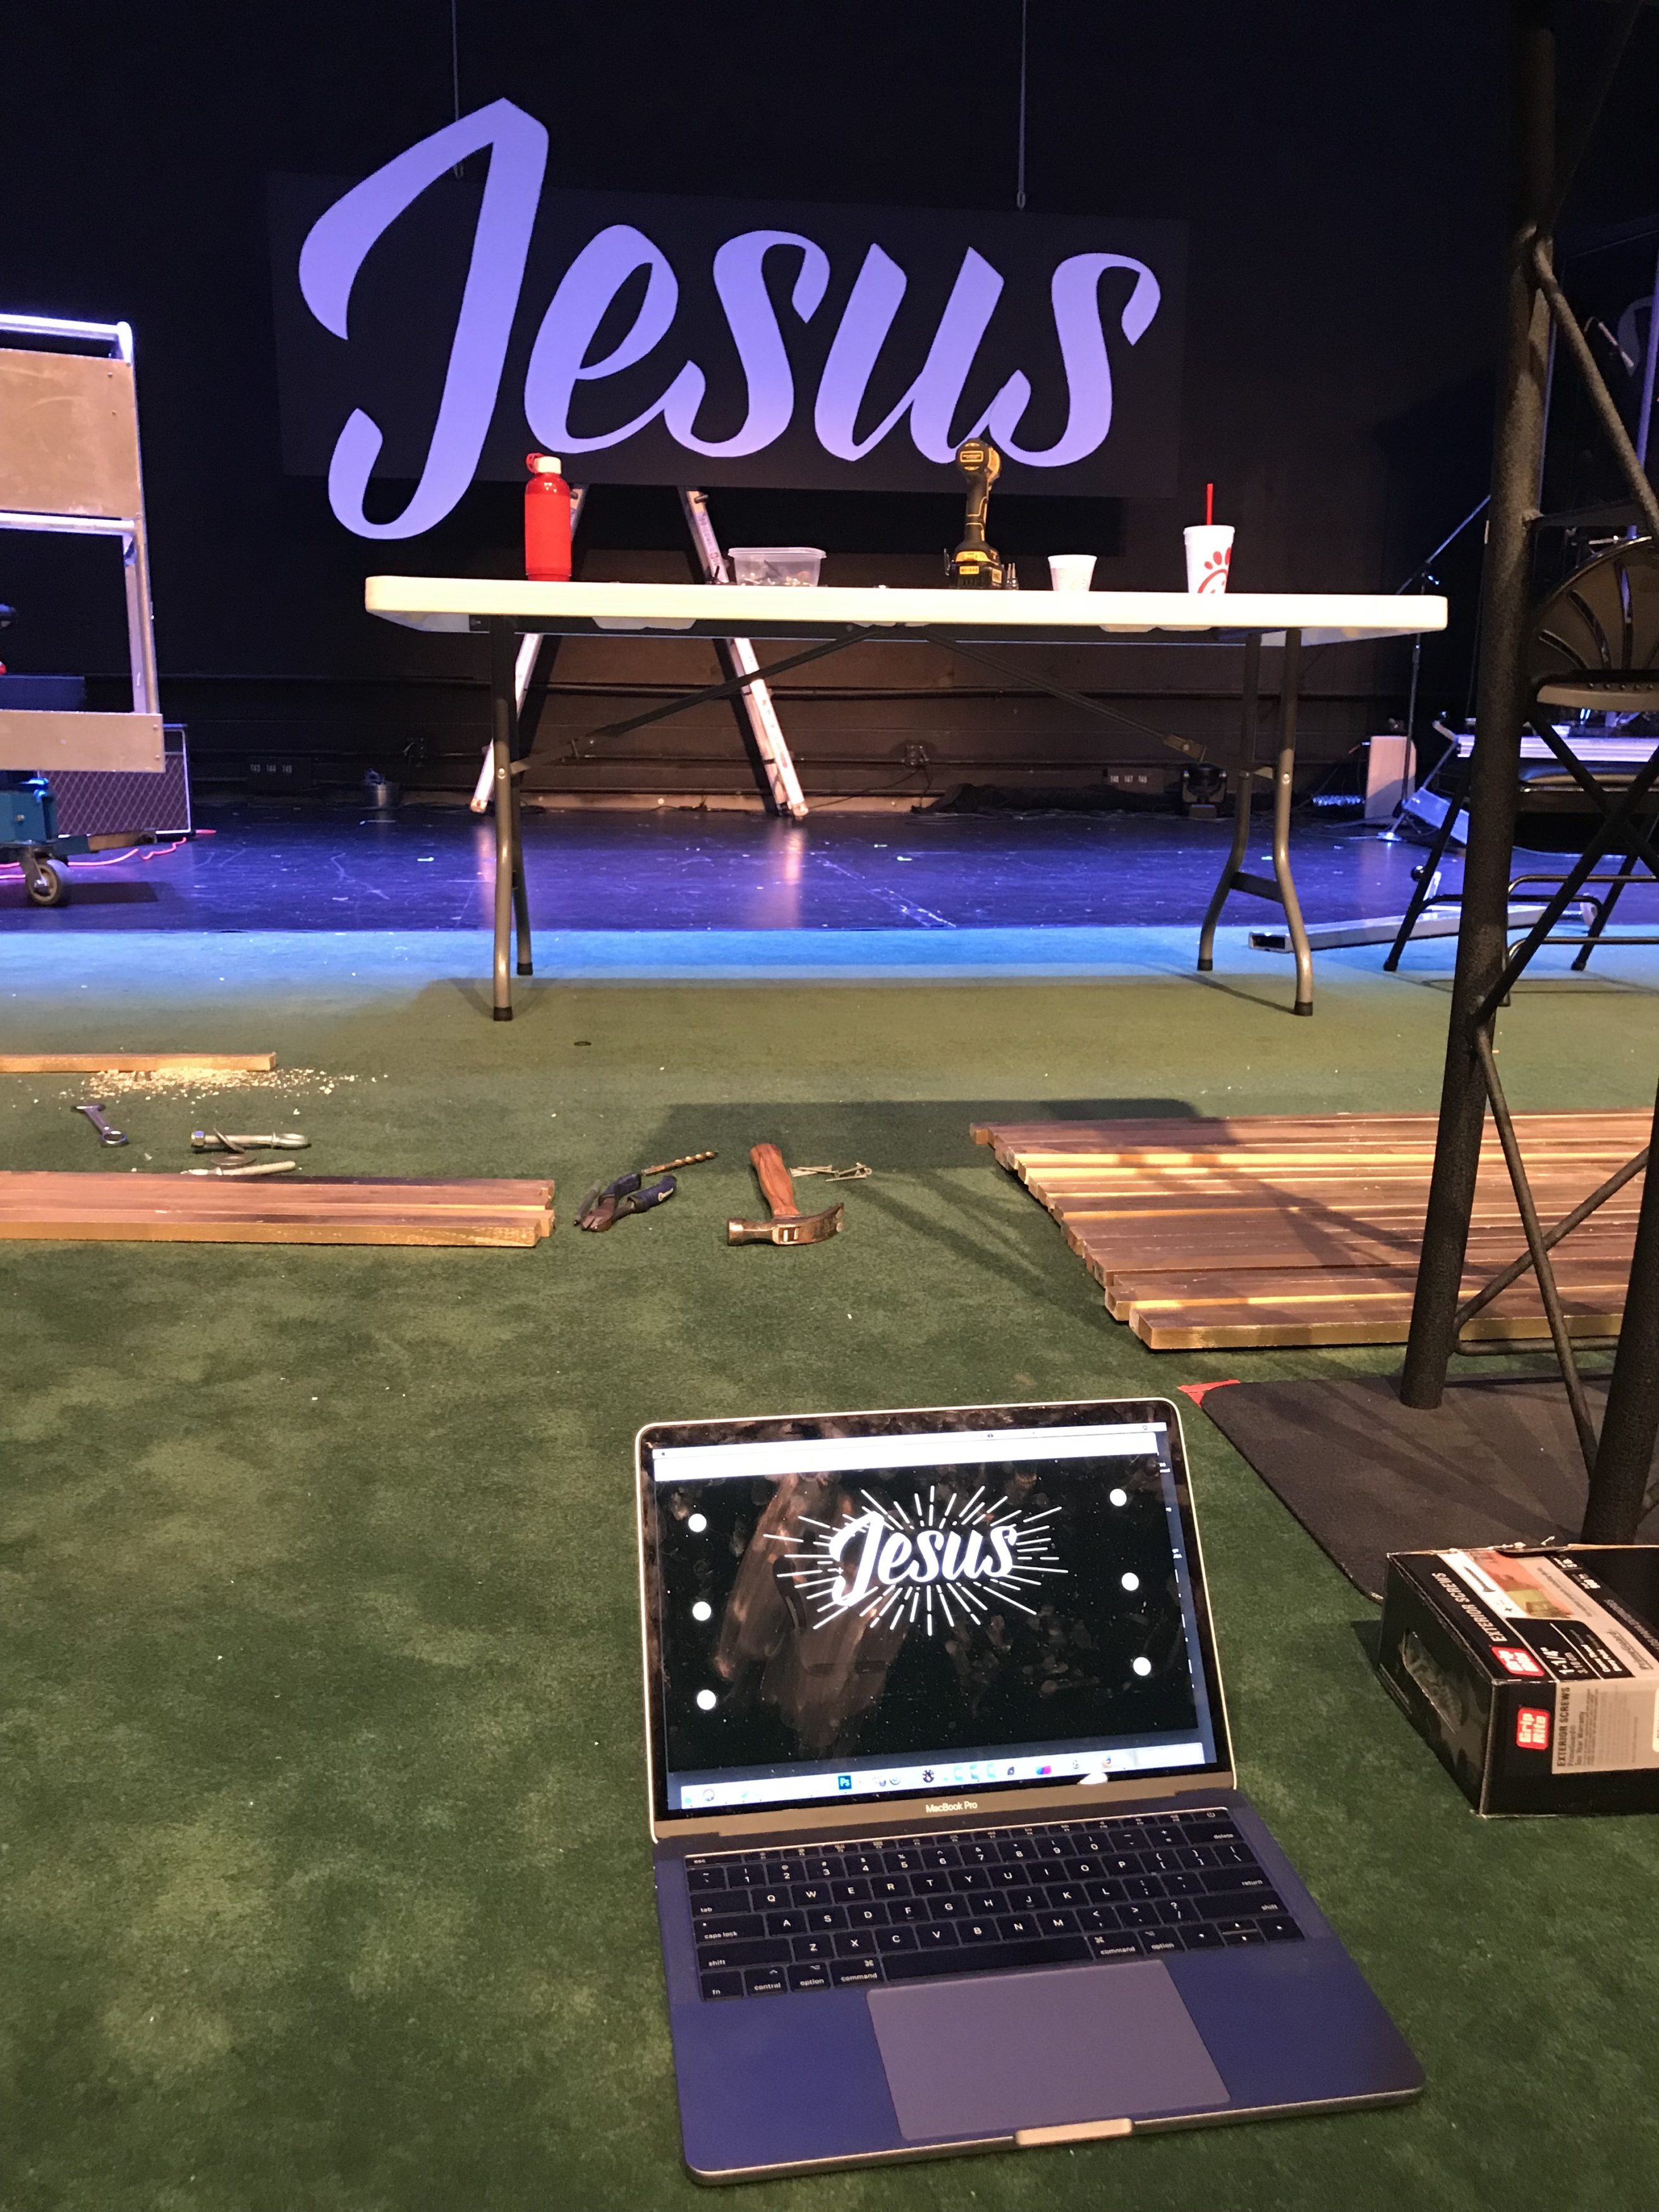
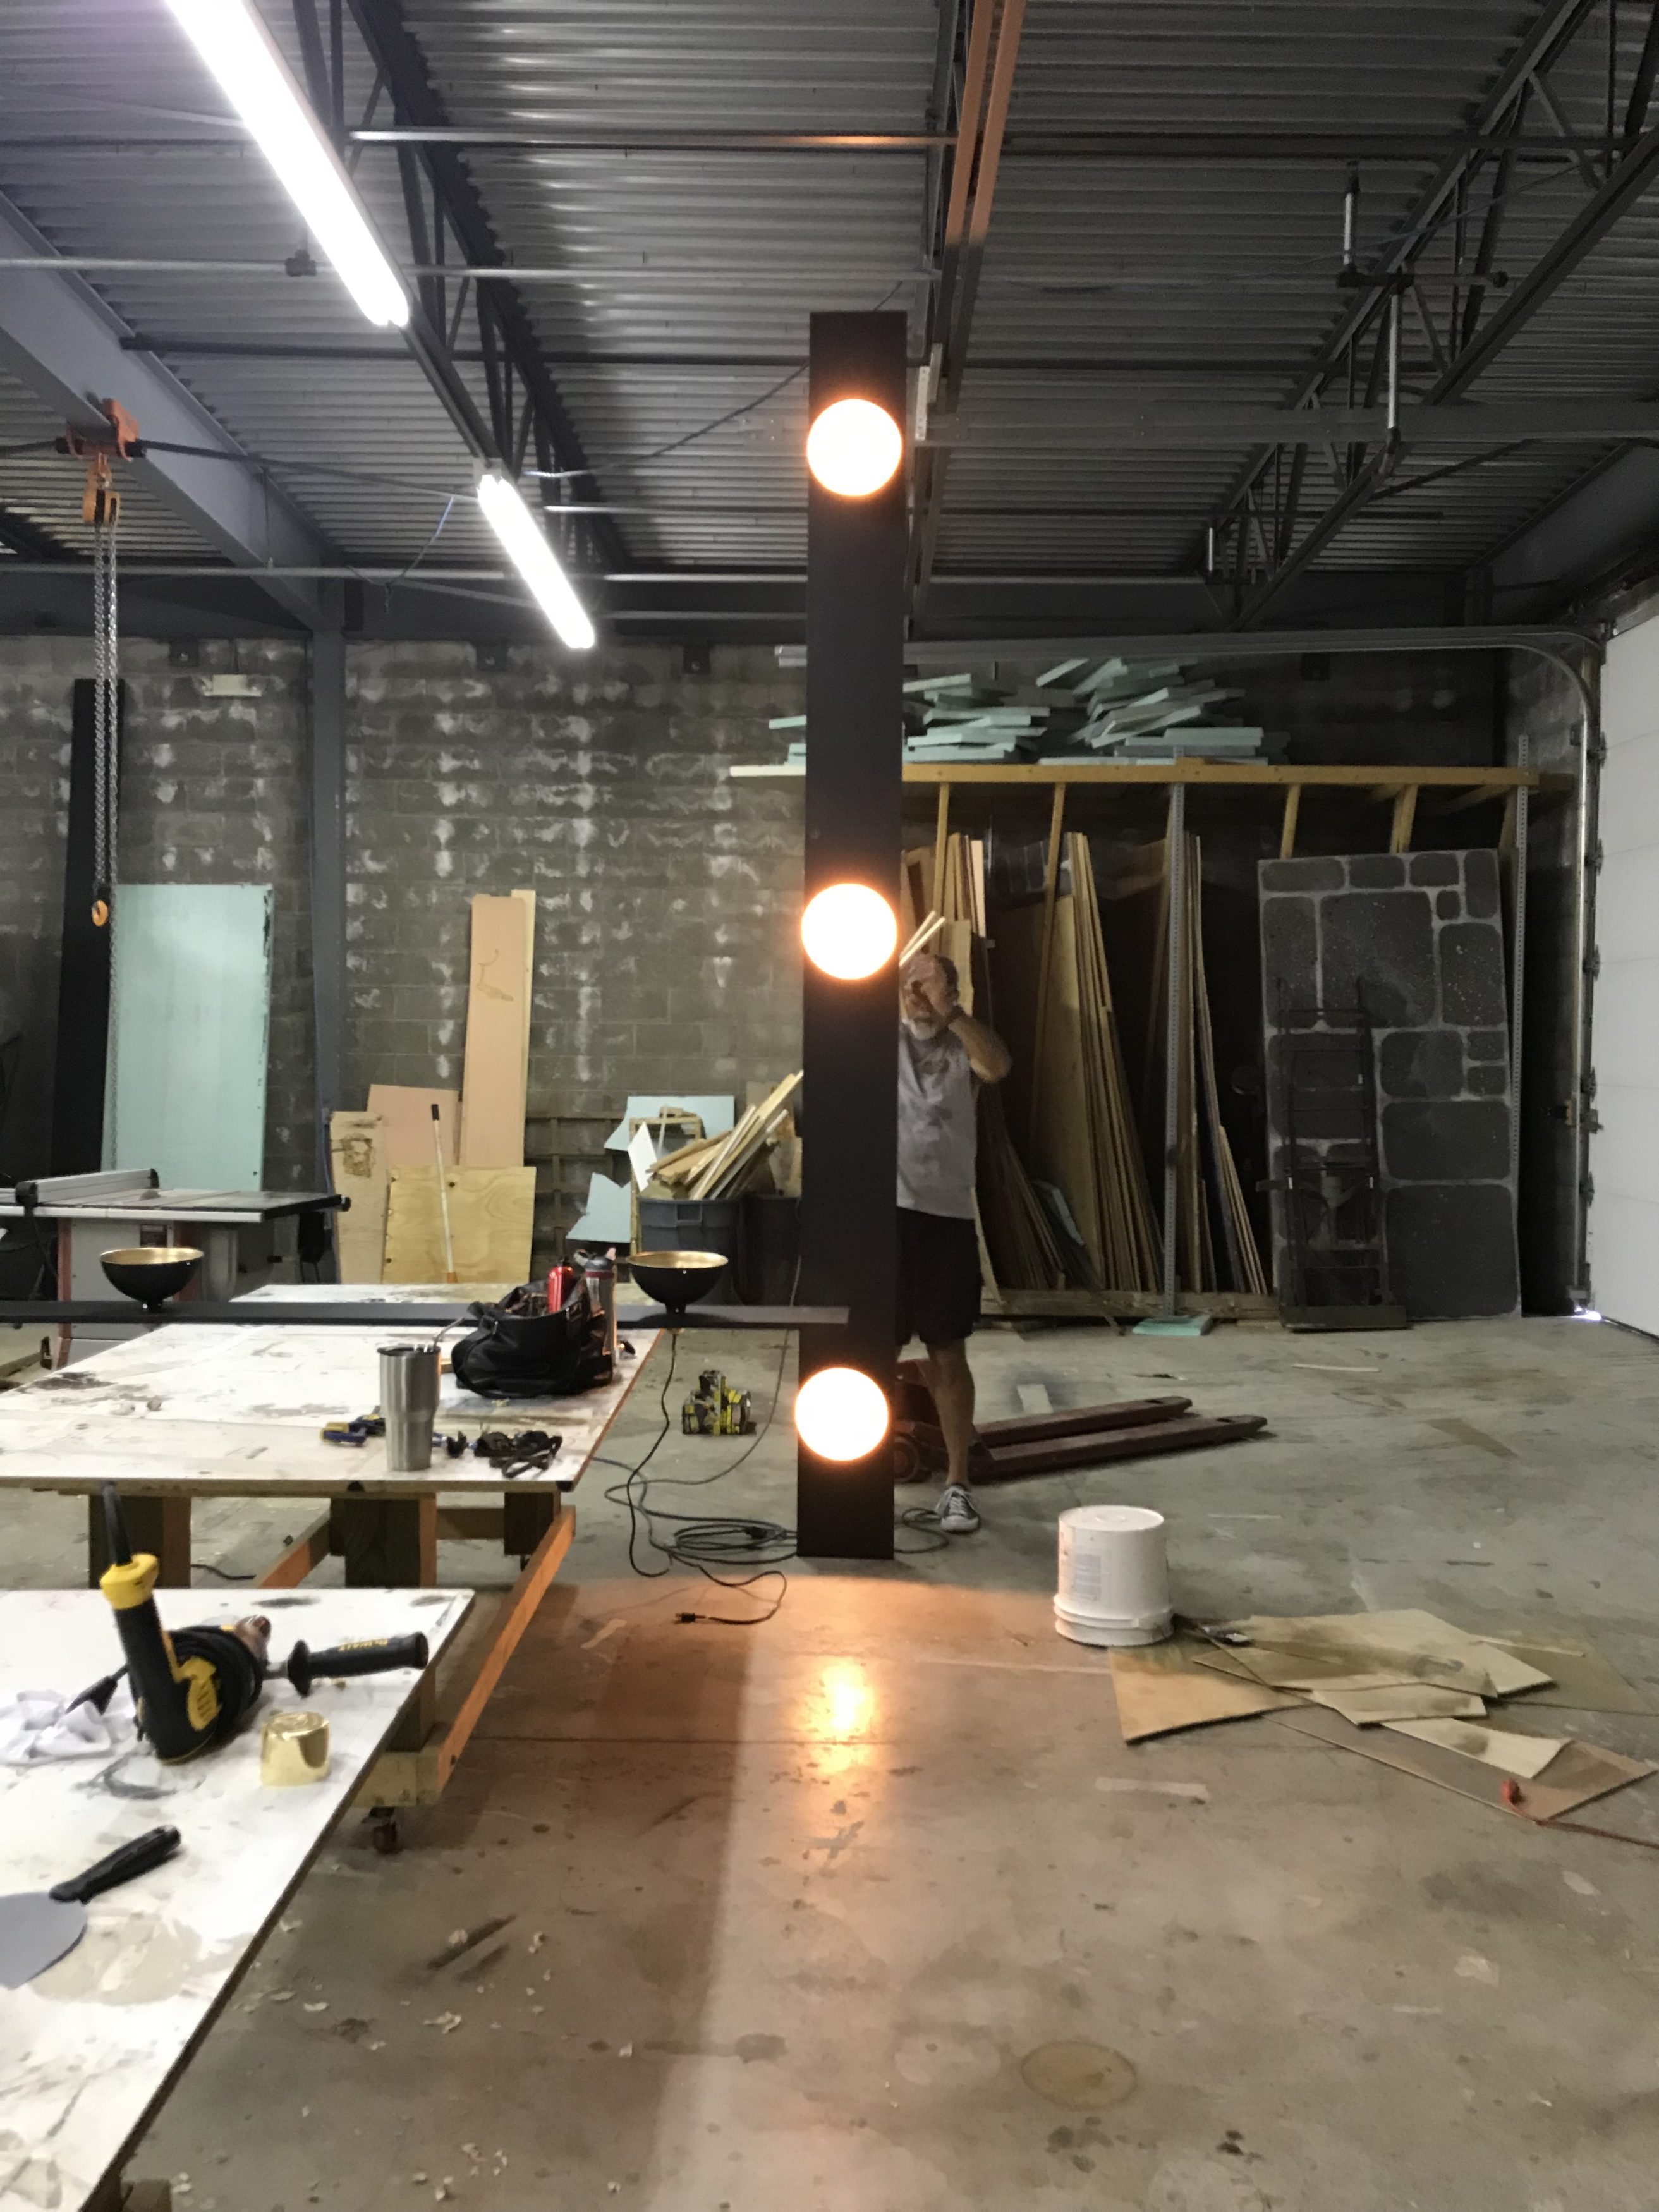
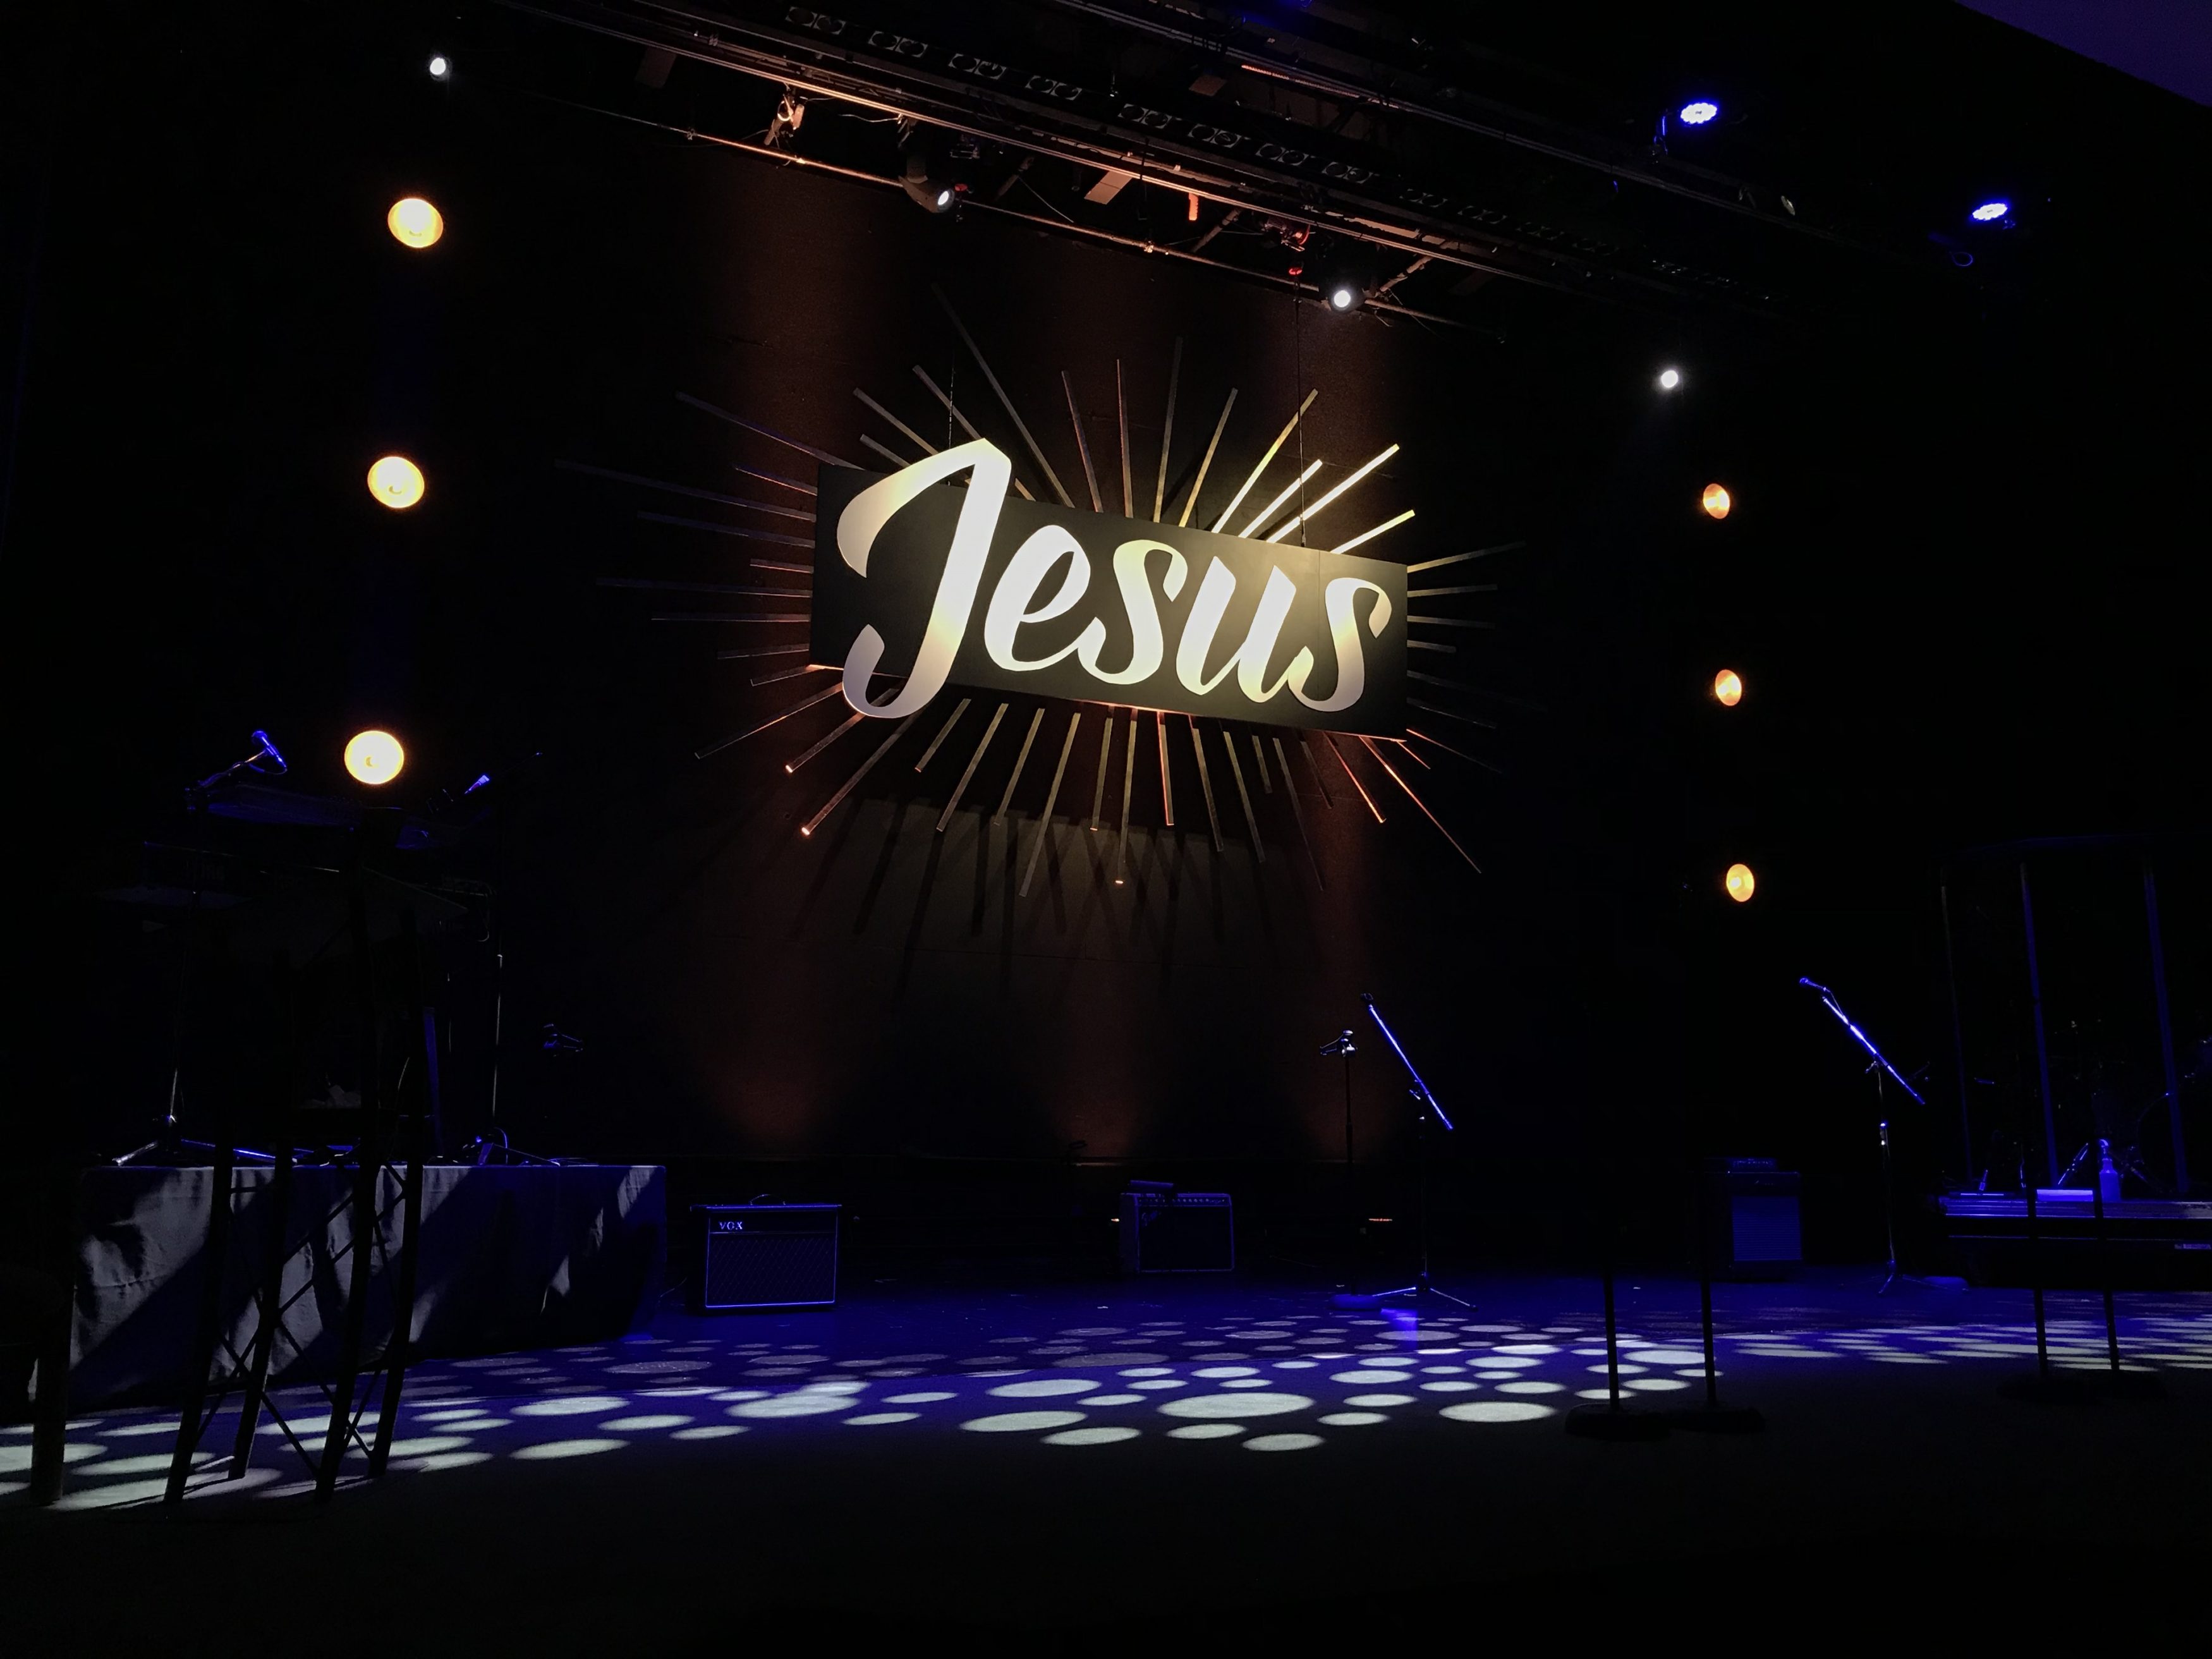
From Robin: This design was created for a new sermon series, Jesus First. I wanted something simple yet visually powerful. I created it first on photoshop to work out the proportions for our 20x40ft stage. I projected the letters onto 1/4″ birch luan, then cut them out with a jig saw and painted them white. We mounted them on 2 4×8 1/2″ plywood that was painted black, which we actually trimmed down to 4×12′. The ‘rays’ are 6ft 1×2’s painted gold. After we mounted the letters to the black plywood, we hung it and began attaching the rays. The vertical lights are shop lights that we painted gold on the inside, flat black on the outside. We used the largest Edison bulbs we could find. We mounted those light fixtures on a 12′ 1×12 board painted black. We will keep this design up until the series ends.
Why the Lettering and Gold Rays Work Together
This design gives the sermon series one clear visual center: white lettering against a black backing. The gold rays extend the composition beyond the words without adding another competing message. Repeating gold inside the shop lights connects the scenic pieces with the decorative lighting, while the black exterior helps those fixtures blend into the background. For a similar approach, choose a short phrase, a strong contrast between letters and backing, and one accent color that can repeat across the set.
Plan the Lettering Before Cutting Plywood
Start with a scaled drawing of the usable stage area, including musicians, screens, and the positions where speakers normally stand. Robin used Photoshop to check proportions for a 20-by-40-foot stage; a simple drawing tool or paper mockup can serve the same planning purpose. Test the phrase from the back of the room and through your main camera. Thin lettering may look elegant close up but become difficult to read at a distance. Leave space around the words so instruments and people do not obscure the message.
The original letters were projected onto quarter-inch birch luan and cut with a jigsaw. Before transferring a full phrase, cut a small sample containing a curve and an inside corner. That helps the team choose a blade, check the finish, and judge whether delicate strokes need to become wider. Support the sheet while cutting, sand rough edges, and paint both visible faces and edges for a consistent finish. Lay the finished letters on the backing before attaching them, using the projected layout as a guide rather than relying on measurements alone.
Arrange the Rays and Decorative Lights
The six-foot gold-painted strips make the central lettering feel larger, but the arrangement needs to fit your room rather than copy a photograph exactly. Mock up the rays on the floor and photograph the layout before assembly. Check the ends against screen sightlines, microphone positions, and access routes. A smaller stage may benefit from fewer rays or shorter pieces. Label the strips and their positions so volunteers can rebuild the arrangement without starting over.
Treat the backing and rays as a scenic assembly, not just individual lightweight pieces. Have a qualified person review its support, connections, and venue-approved installation method before mounting it above or behind people. Keep cables secured and access routes open. The original team painted shop-light reflectors; for an adaptation, use fixtures and finishes suitable for the intended use, and do not coat electrical parts, ventilation openings, or surfaces where the manufacturer prohibits paint. Retain the visual gold accent elsewhere if the fixtures cannot be modified appropriately.
Balance the Edison bulbs with the lighting on faces and lettering. Decorative bulbs should add warmth without washing out the words or distracting viewers from the speaker. Test a teaching look and a music look on camera, checking glare and exposure. If you use LED filament alternatives, confirm compatibility with any dimmers and test their appearance at the levels you intend to use. Budget for the complete set, including backing, paint, hardware, electrical supplies, and transport, rather than assuming the wood alone represents the cost.
Pro Tips for a Lettering and Sunburst Backdrop
Check readability early: View a full-size letter sample from the rear seats and through the main camera before cutting the entire phrase.
Keep one visual priority: Let the white lettering lead, then use the gold rays and bulbs as supporting accents.
Photograph the floor layout: Label each ray and attachment position to make installation and future reuse easier.
Rehearse the lighting: Save separate speaking and music cues, and check that the decorative bulbs do not overpower faces.
Related Designs
- Bold – Compare oversized white letters illuminated with LED fixtures.
- Rise Up – Explore another letter-based backdrop with Edison-bulb accents.
- The Game of Life – See a different approach to large illuminated letter panels.
- Pallet Canvas – Combine wood texture with lettering and warm decorative light.
- Weathered – Compare a wood-and-metal backdrop using painter’s lights and Edison bulbs.



Were the edison bulb fixtures dimmable?
Yes they were. We got them at Lowes. They were the biggest ones they had.
Thanks!
Would it be possible to get the font for this design? We love it and would like to replicate it
Hey Mike. Sorry i missed this inquiry. Yes, the font is called Everglow.
How did you make your floor lights?
We made it out of plumbing pipe. We made a wood box, drilled holes and inserted the pipes into the holes. We ran the wires through the pipes and wired them all together to make a fixture. We also put casters on them so we could move them easily.
Have you done any Children’s Ministry stage designs?
Hi Steve, no I haven’t done any Children’s Ministry stage designs, but i would love to! :D
Hey I wanted to know how you made the font from the computer to a bigggggg thing because I want to make one
Please reply like your design please tell me our u made it.
Hello, might you have plans or more pictures of the edison light units? In the pictures it appears the poles are not mounted in a pattern.