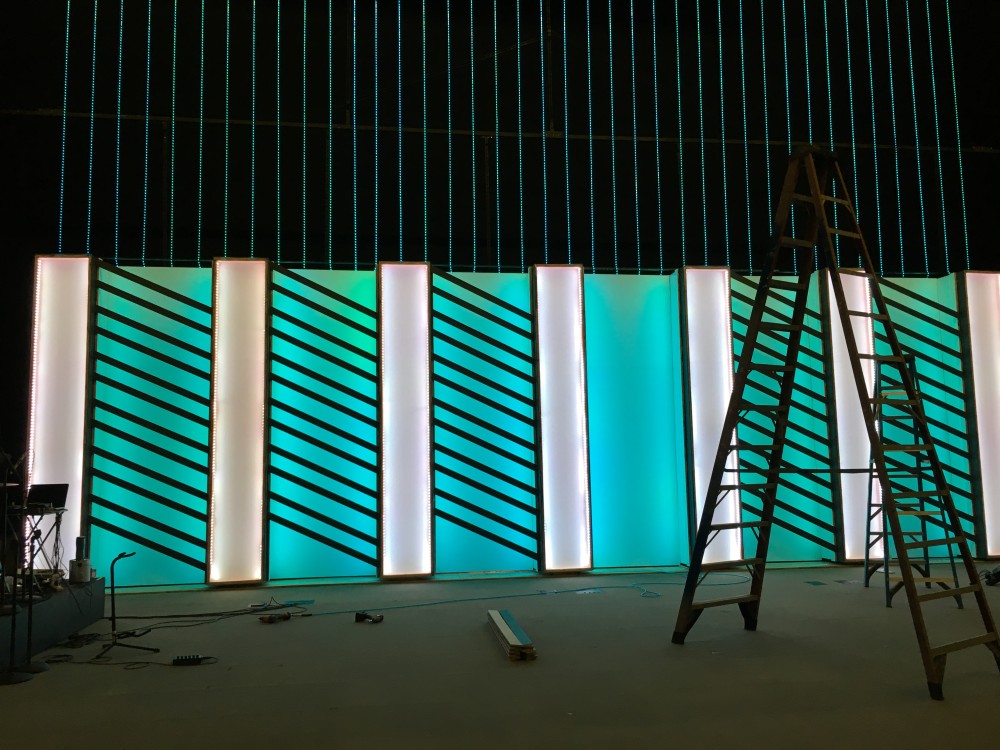
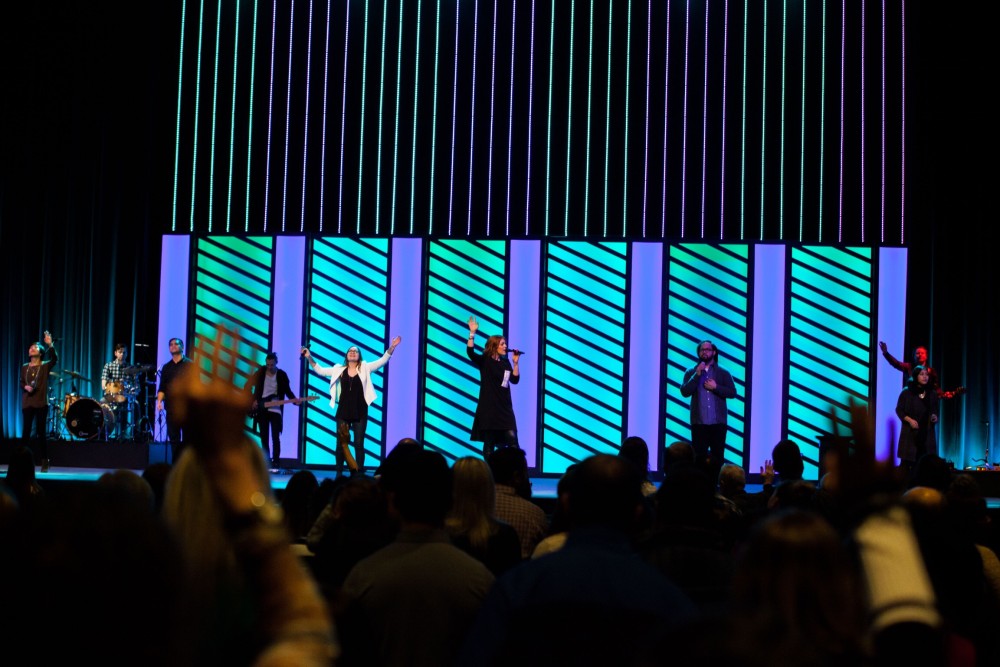
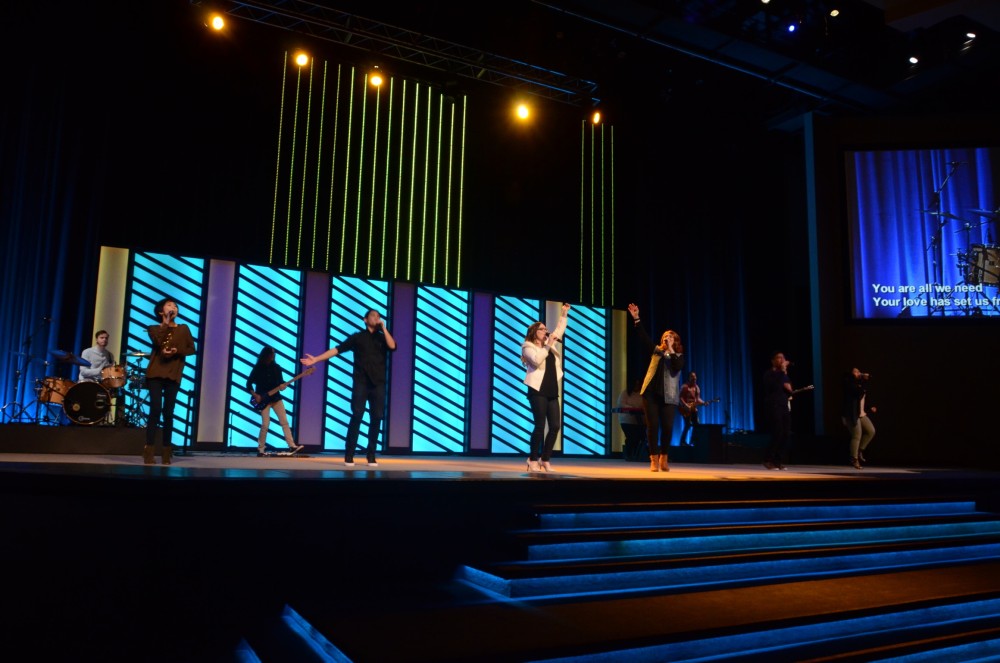
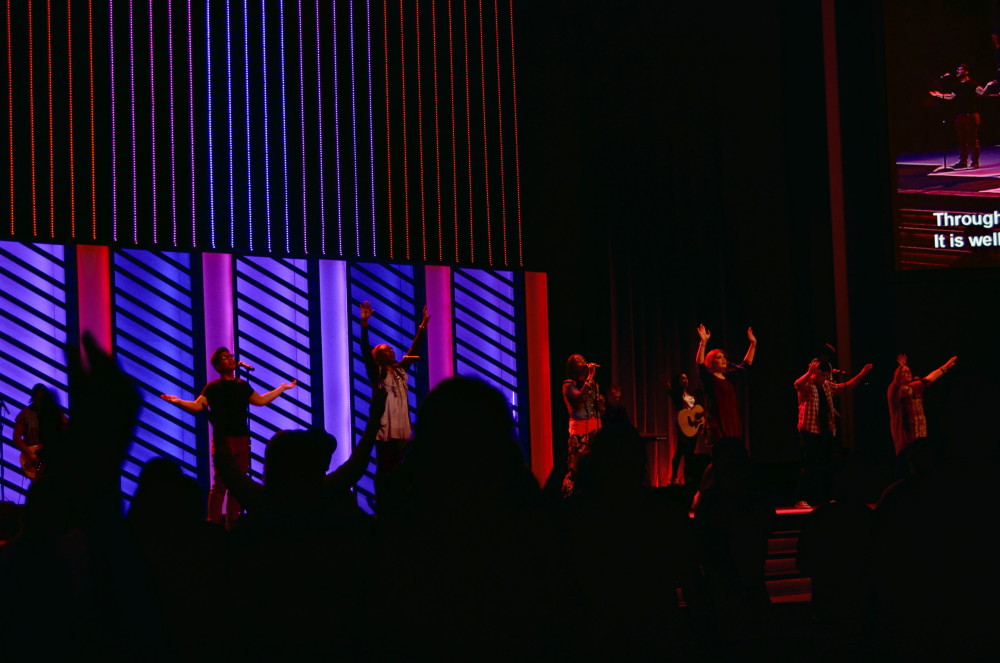
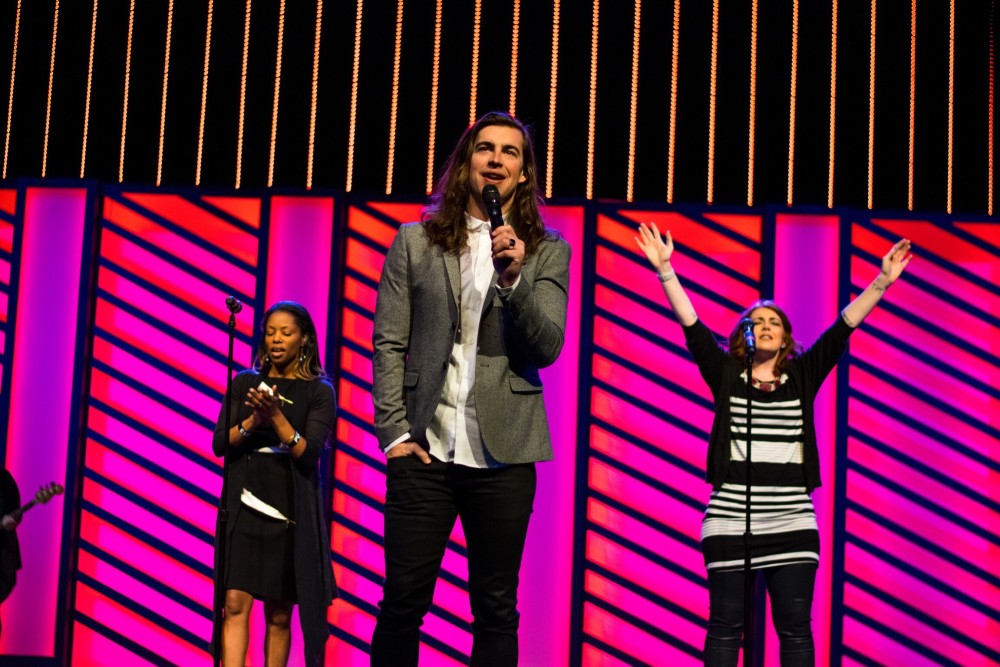
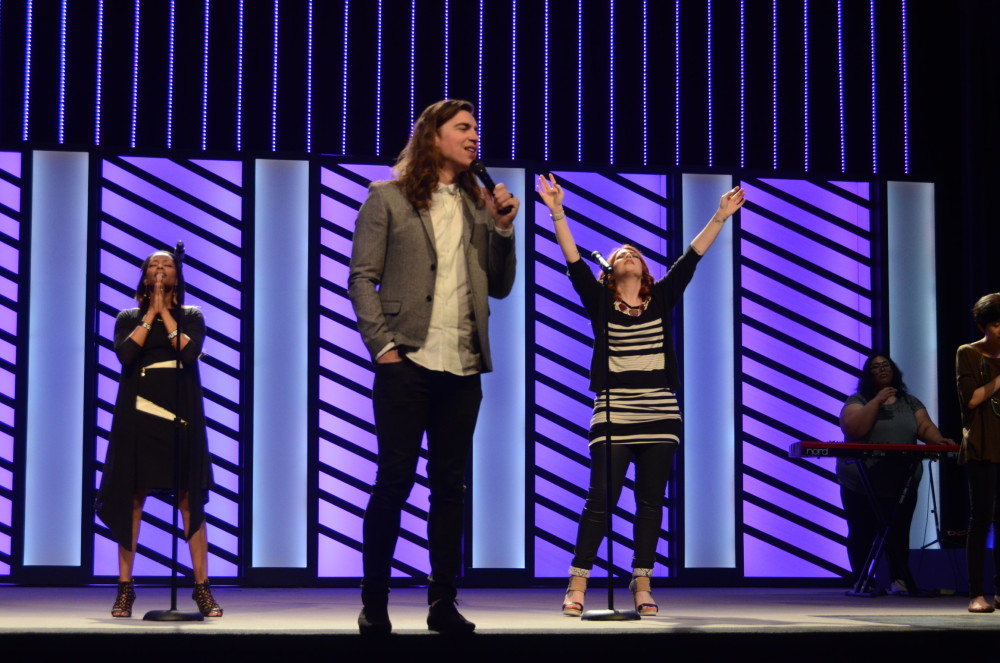
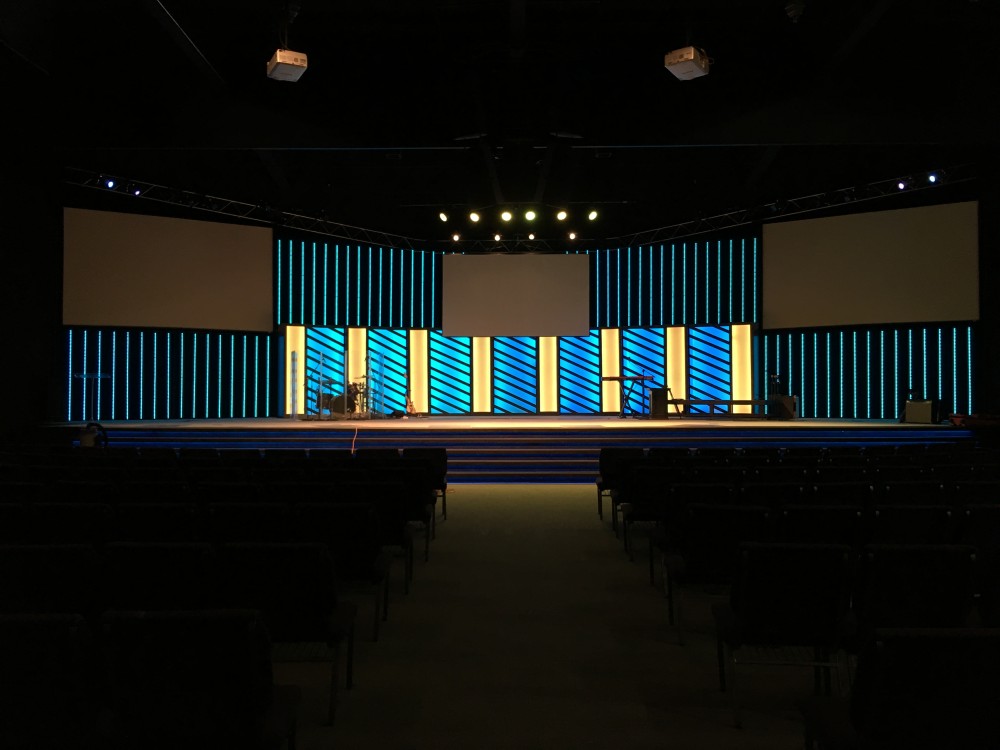
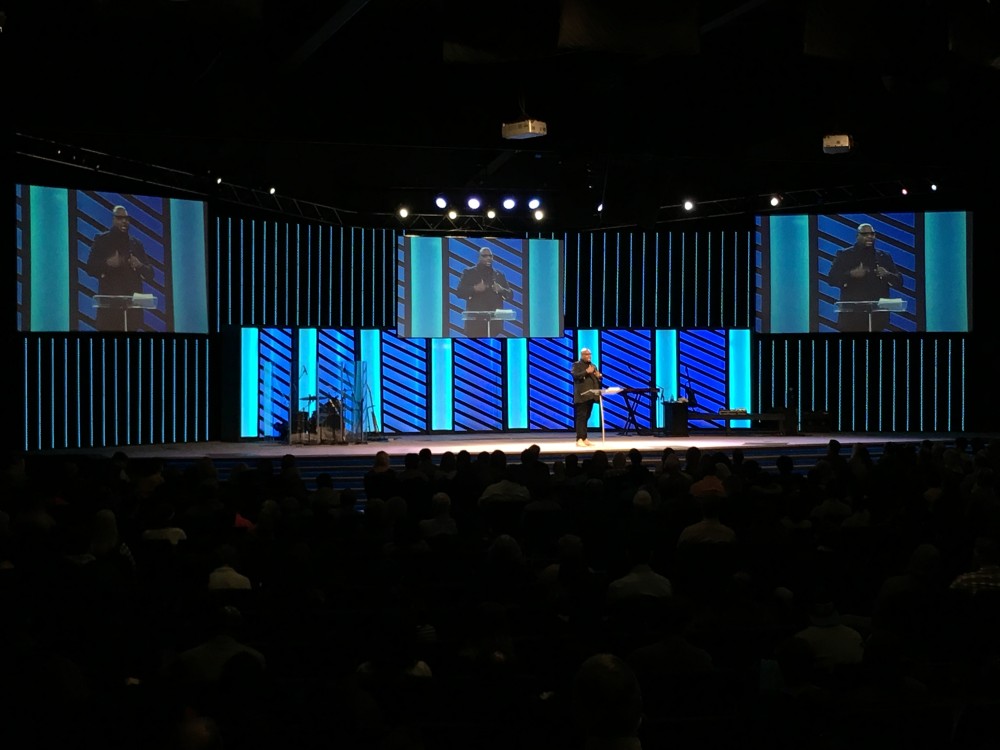
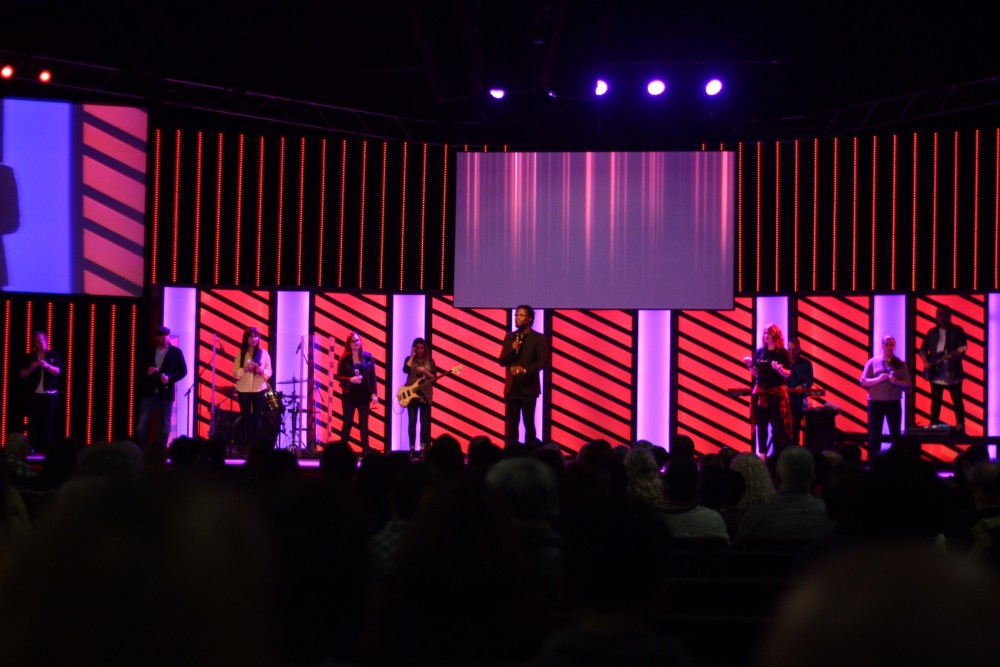
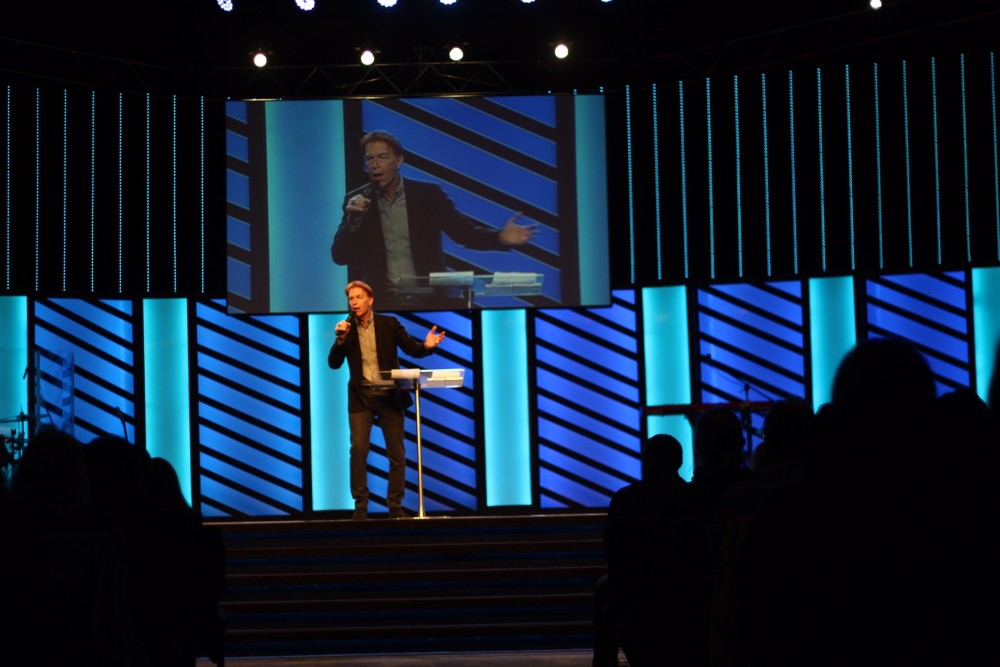
Sean Bolinger from Christian Faith Center in Federal Way, WA brings us this beautiful, lined stage design. (originally posted April 2016)
Here’s the info from Sean:
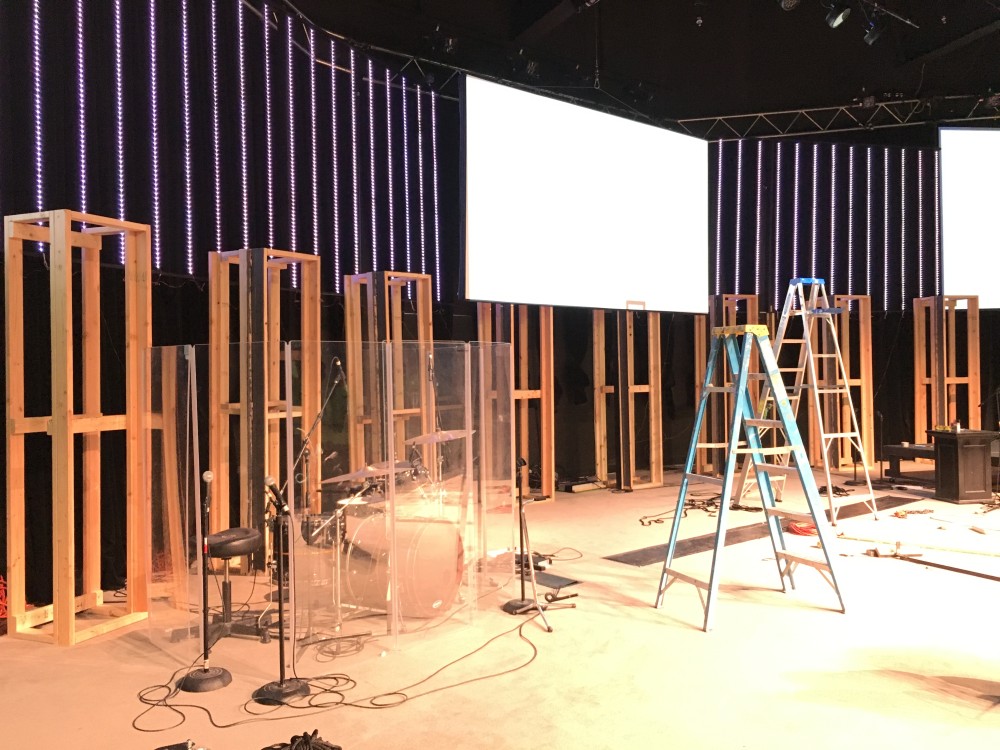
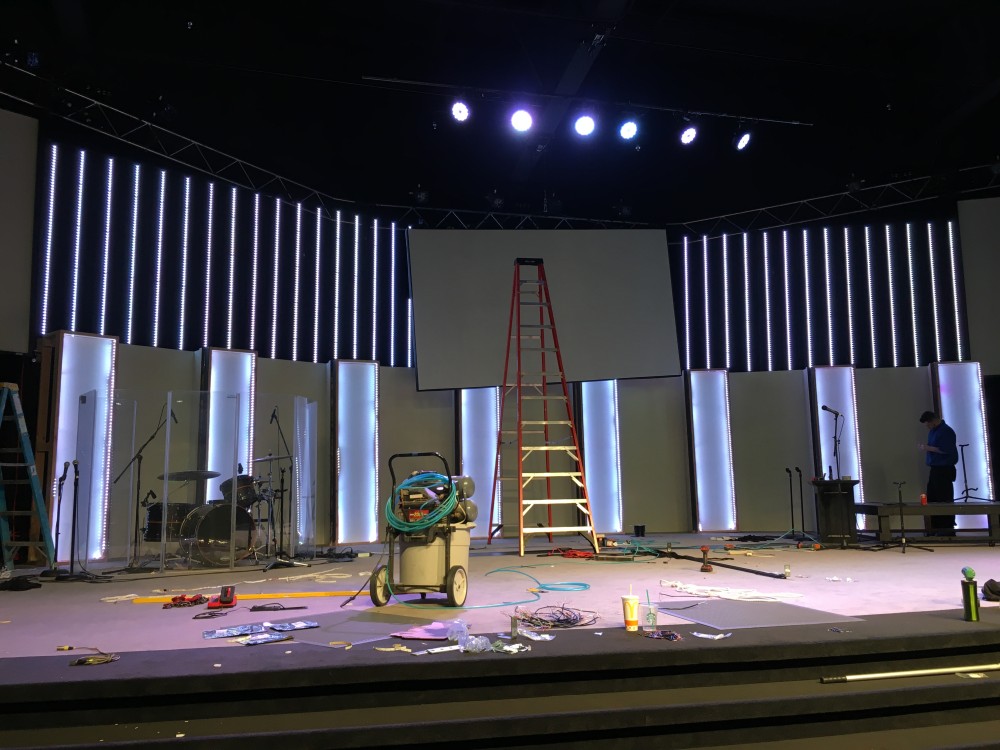
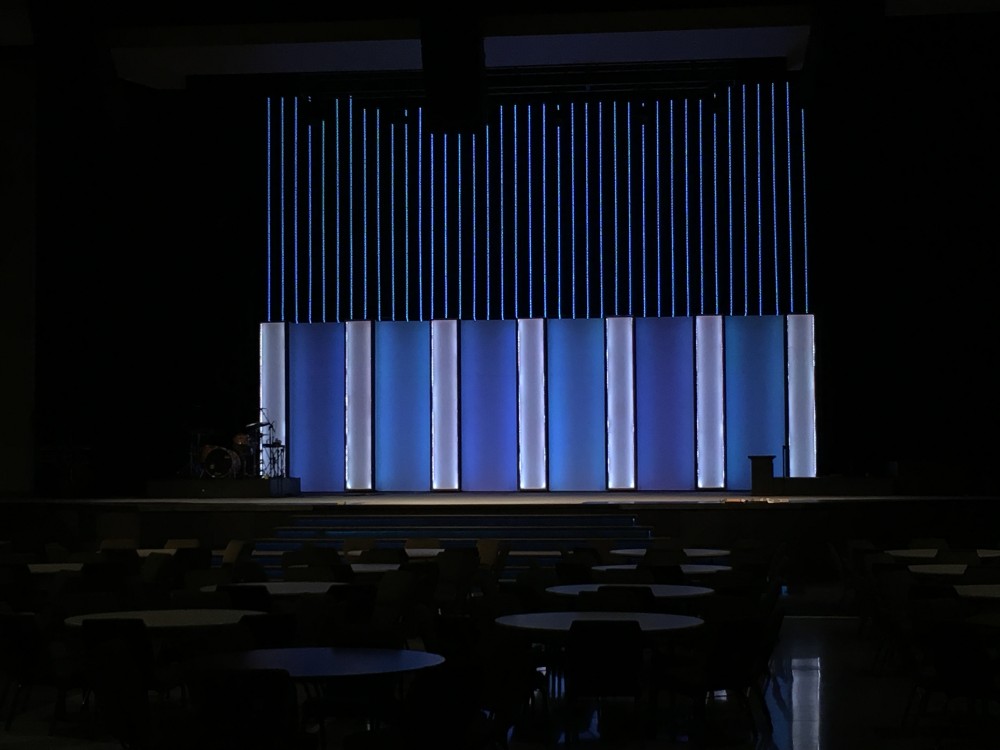
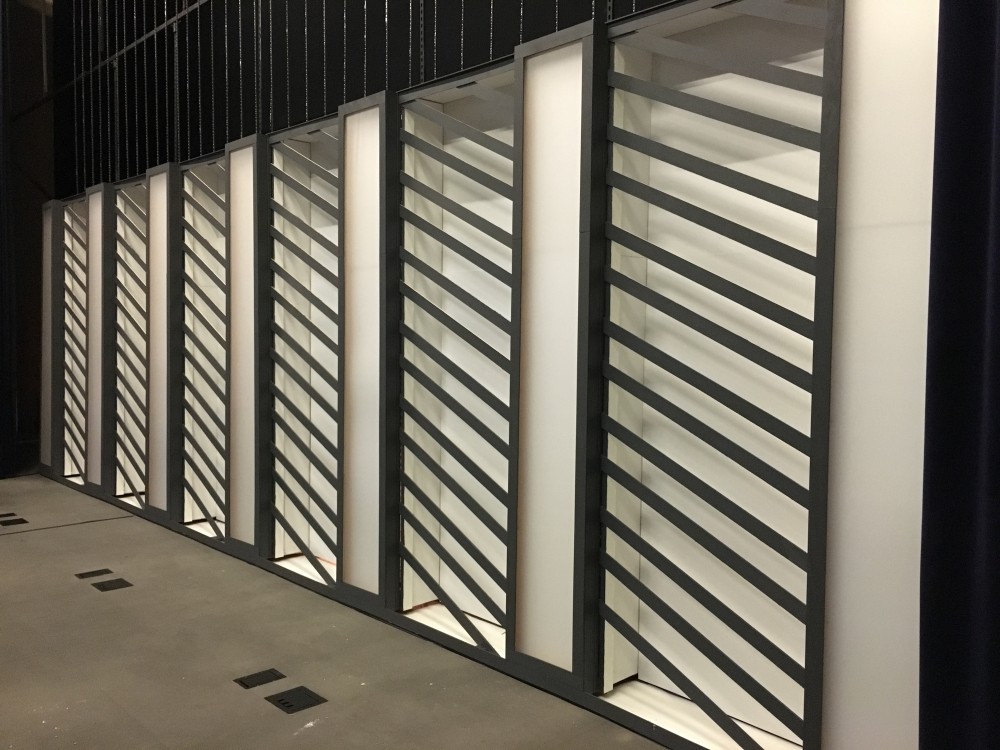
For this set we wanted to create something colorful, bright, and vibrant. Since we have a bunch of RGB LED strips from previous sets we decided to use them to light different white surfaces and then around the set structure create a sort of LED wall. We borrowed elements of some of our previous sets that we thought looked great (i.e. pillars, patterned texture in front of a lit surface, exposed LED) and created a new stage look.
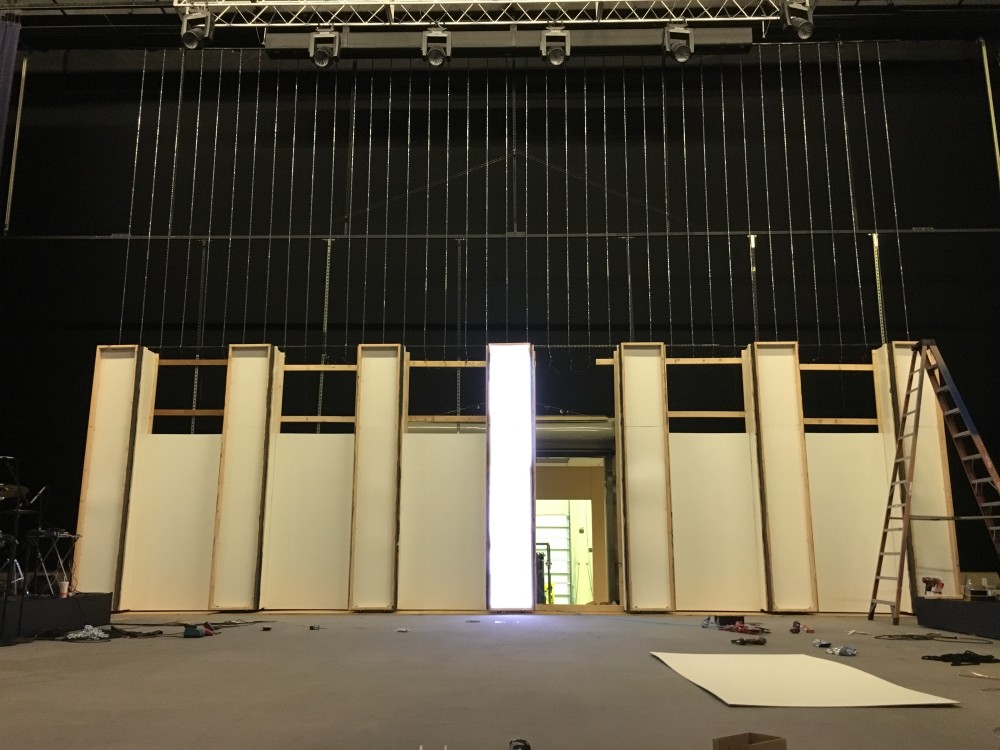
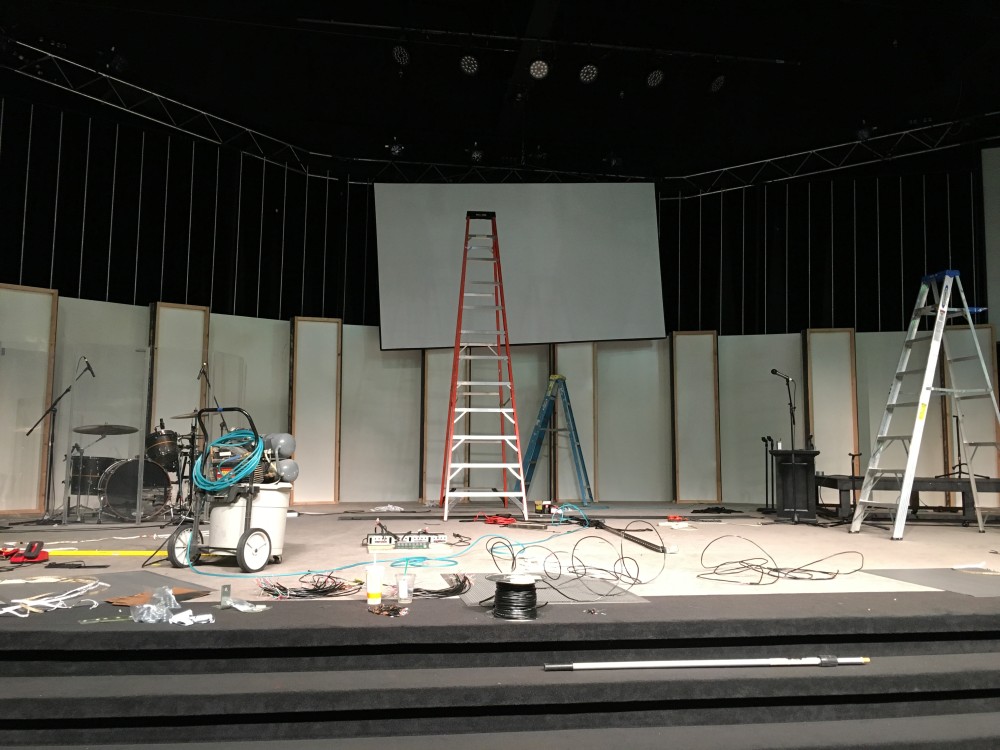
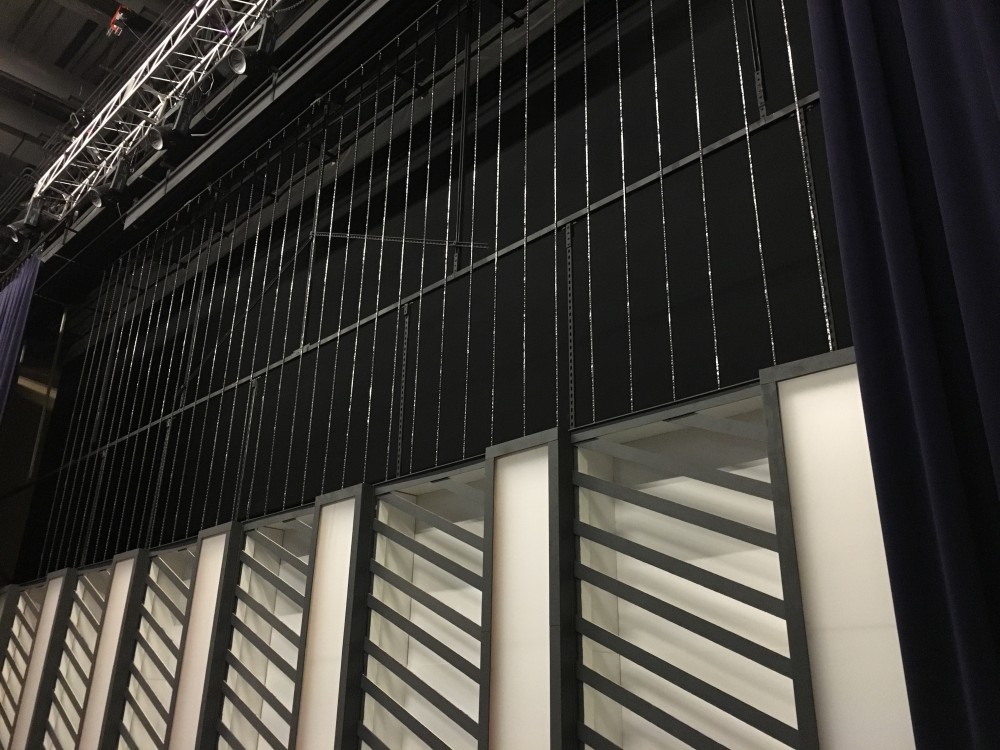
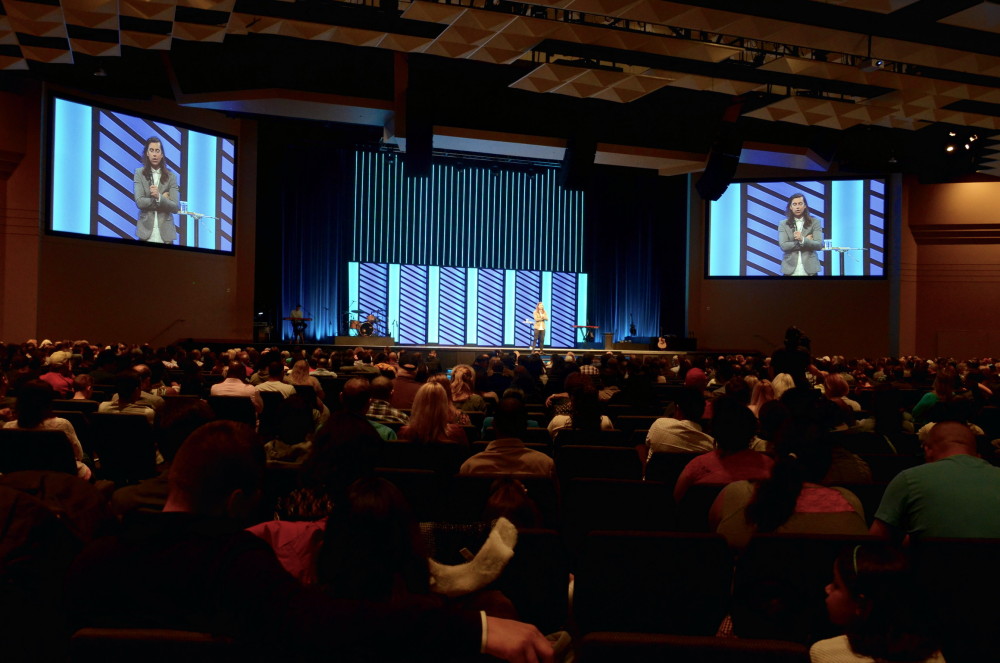
We built two similar versions, for one version the set portion was 12 feet tall by 40 feet wide and the LED strips above were 16 feet tall by 40 feet wide, making this whole set 28 feet tall by 40 feet wide. At our other campus the set portion was 8 feet tall by 44 feet wide and the LED portion above the set is 8 feet tall by 44 feet wide, this one also included the LED strips under the screens that were 7 feet tall by 16 feet wide on each side, making this whole set 16 feet tall by 76 feet wide.
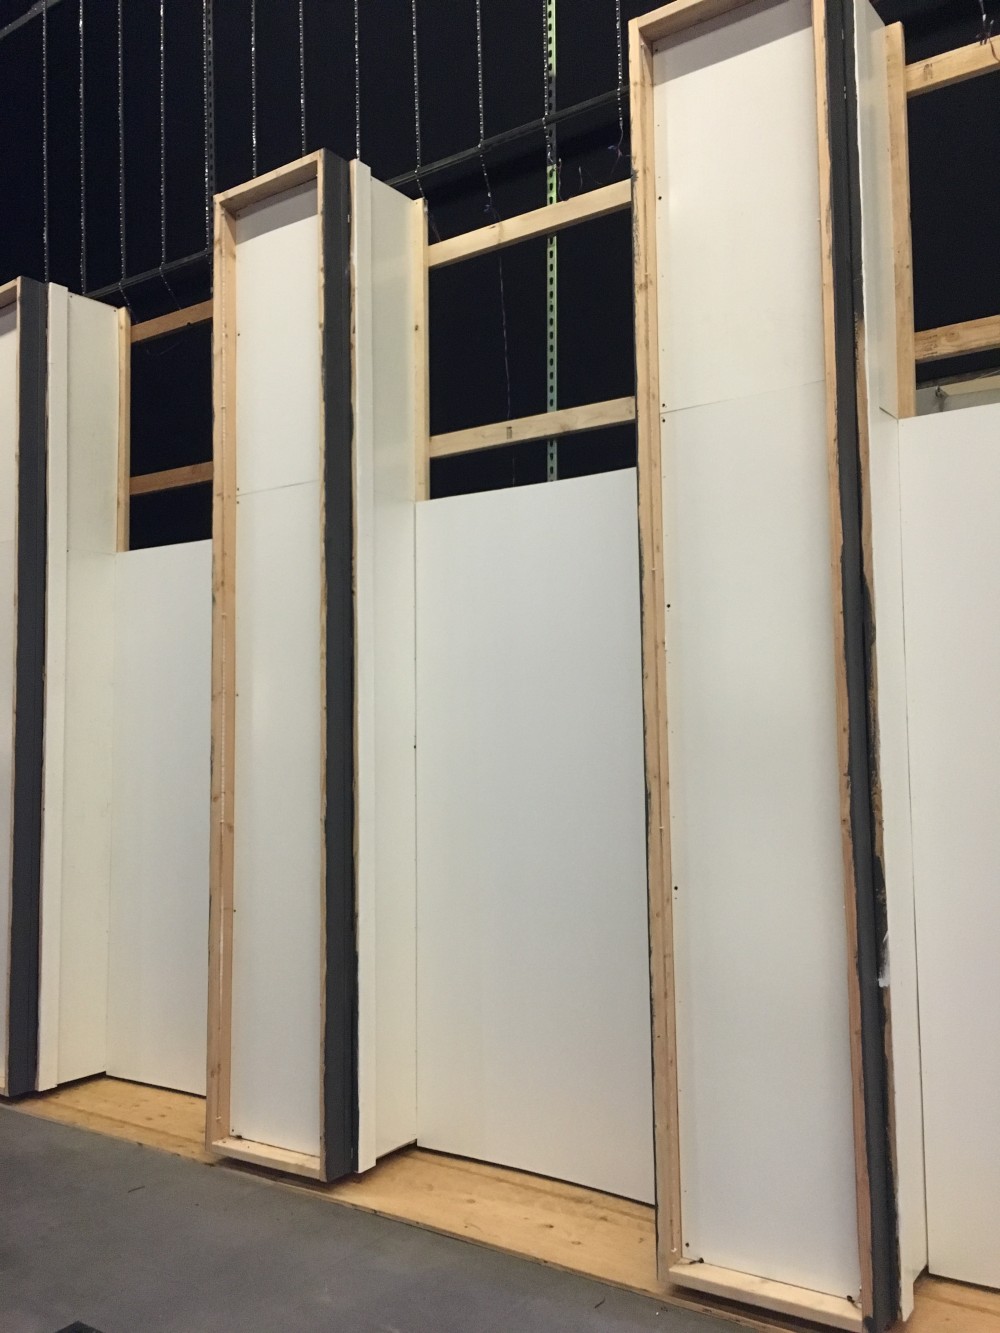
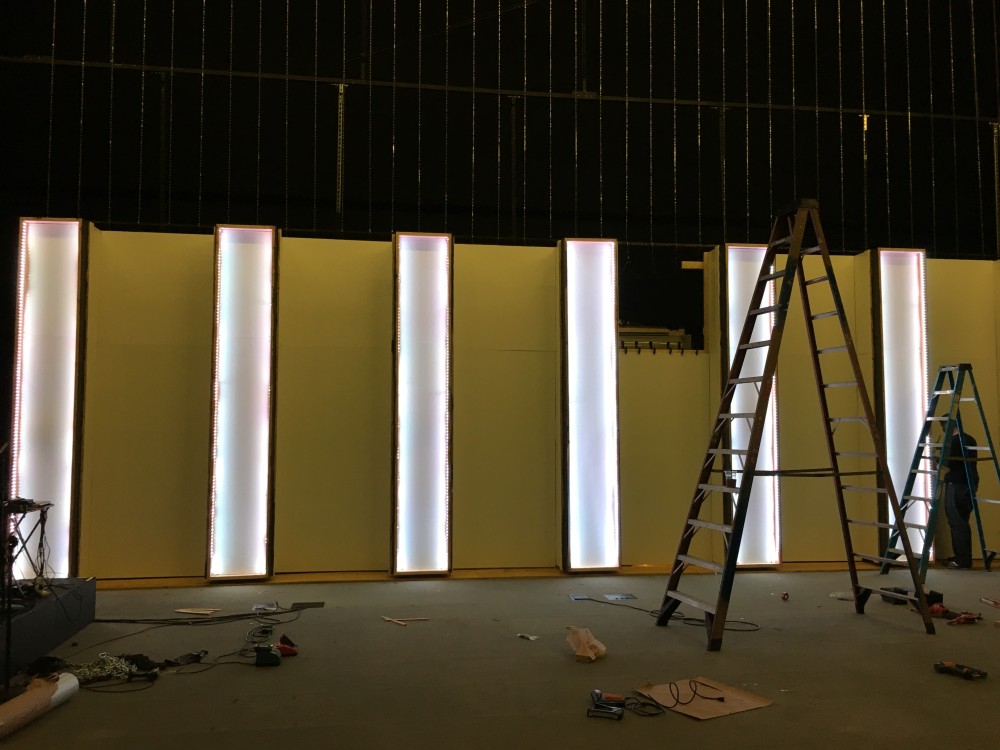
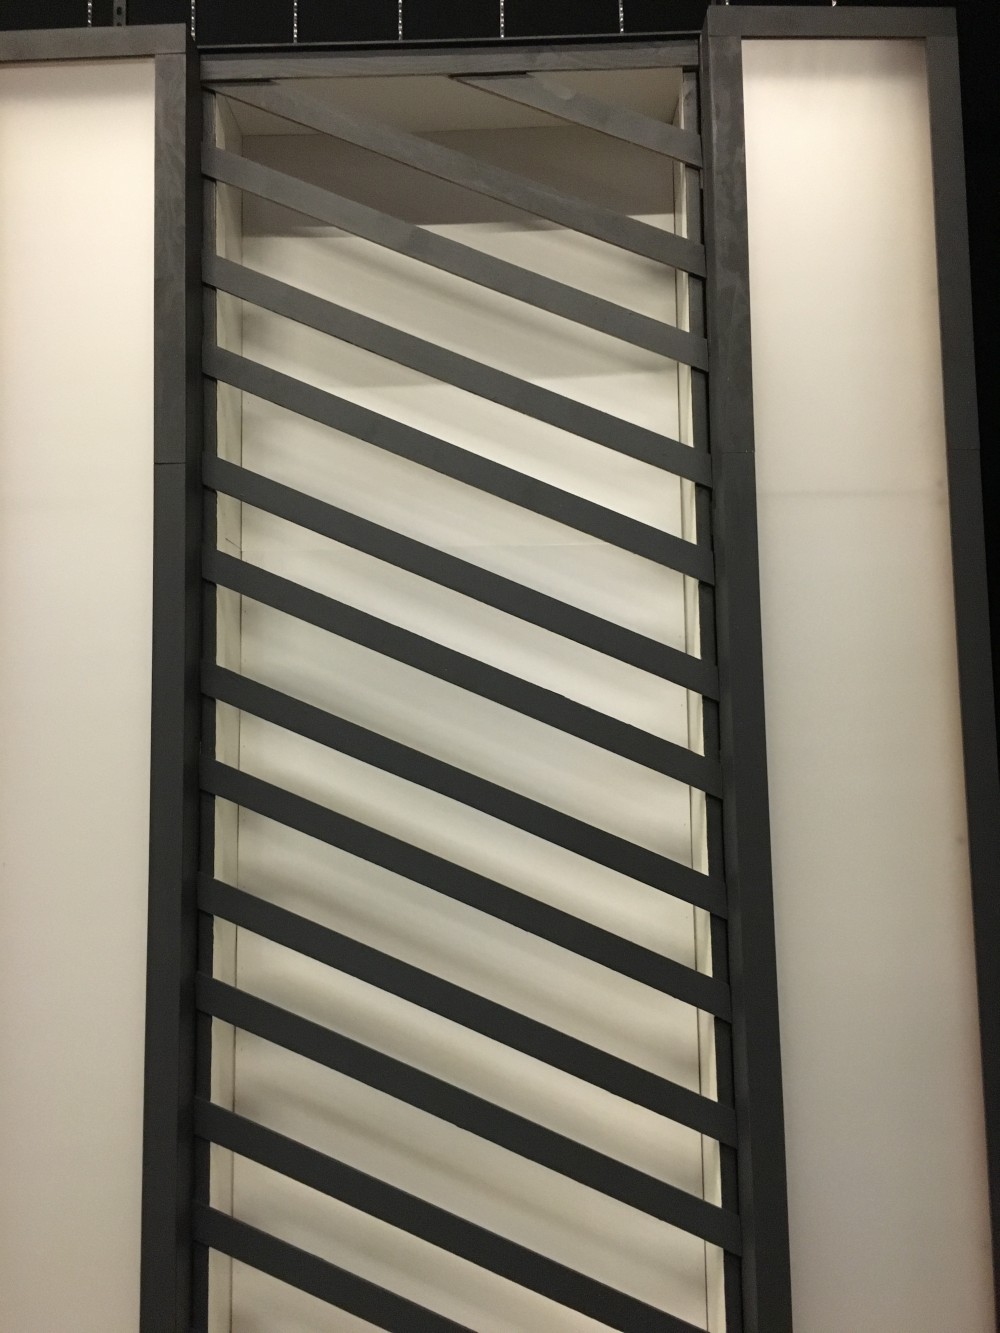
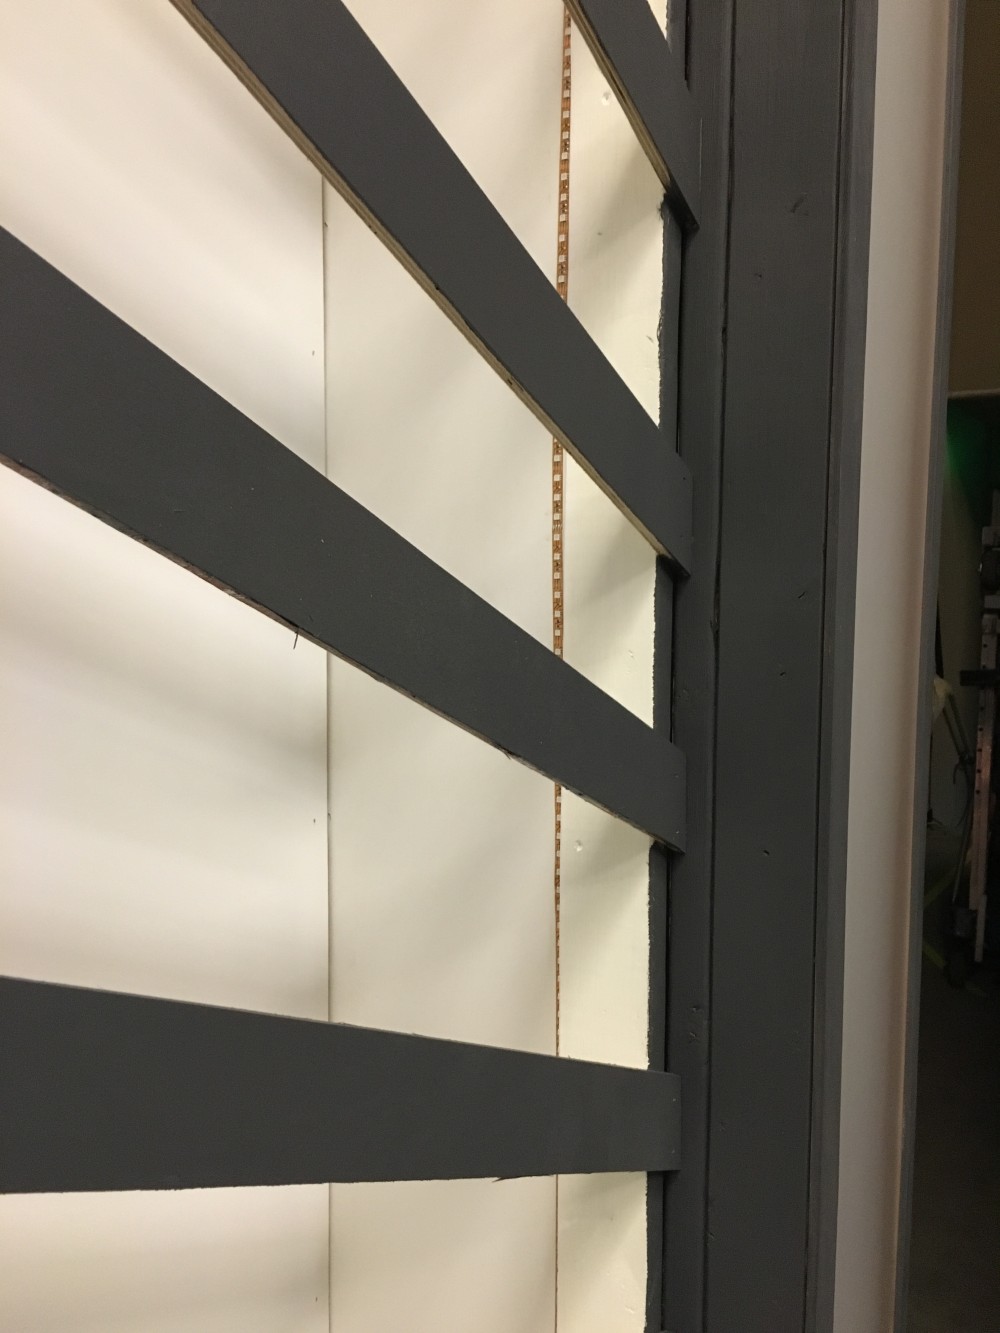
So to start the build we used 2×4’s to make the pillars that were 2 feet wide by two feet deep. We then stood them up on our stage 4 feet apart and between each pillar attached a piece of white particle board to the back edge of the pillars, the particle board has a high gloss finish that we purchased at Home Depot. We then created a cavity inside of the front of each pillar and lined that with the white particle board as well then we lined it with LED strips and covered it with a thin opaque plastic. After that we lined the outside edge of each pillar with LED strips that would wash the white particle board between each pillar. Then we painted some 1×4 slats a dark gray and stapled them to the front edge of the pillars in a diagonal pattern. They were spaced 8 inches and 6 inches apart. Then we used the same slats to create boarders on all of the pillars to finish off the look.
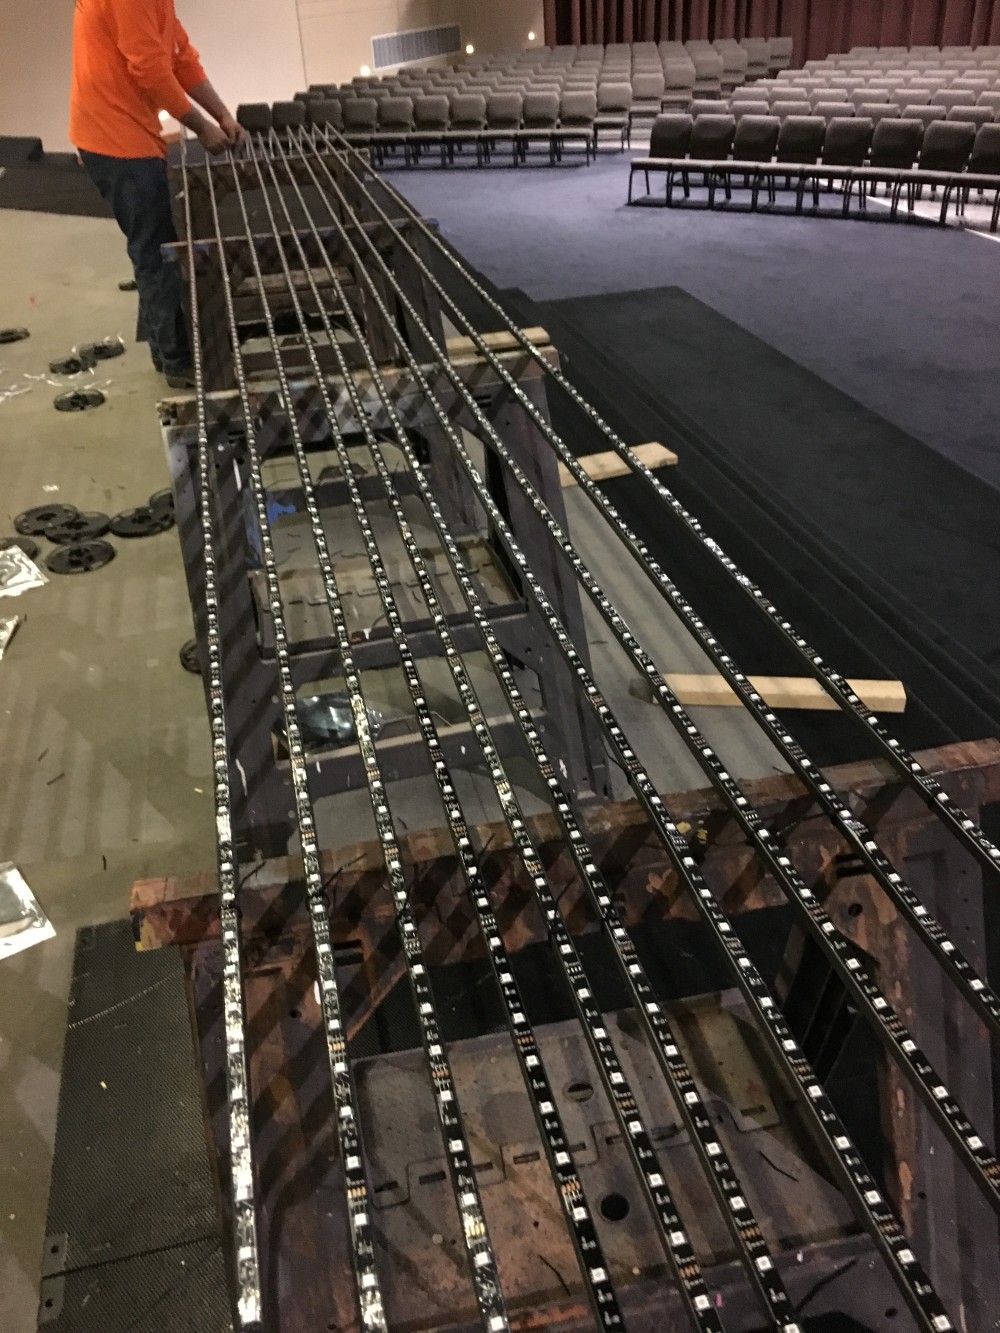
For the LED strips we took them and zip tied them to some ½ inch steel tubing and secured that steel tubing to some uni-strut at the top and the bottom to keep the lines nice and straight.
The taller location has a garage door on the back of the stage that we use for stage access, so we built the larger set on a track so it has the ability to split open to access that door.
Our budget on this project was 4000$ to complete both sets, we spent around 2200$ on one location and 1800$ on the other location. We were able to recycle large portions of lumber and LEDs from our previous sets. Altogether these two sets would cost around 7500$ to complete from scratch (about 3750$ per location) that includes all lumber, steel tubing, uni-strut, LED strips, power supplies, and DMX decoders. We have two very large stages (one very tall and the other very wide) and this sort of look would be much cheaper to accomplish on a smaller scale.






how many strip of led did you put in each pilaster.and were did you get them I’m sure they are DMX controlled. I did all the design and build at my church, didn’t know a thing about it when I started thank God for the internet.Great job look good .bob. bob@nswcmedia.org