Donna Lewis from Seneca Community Church in Romulus, NY brings us this window design.
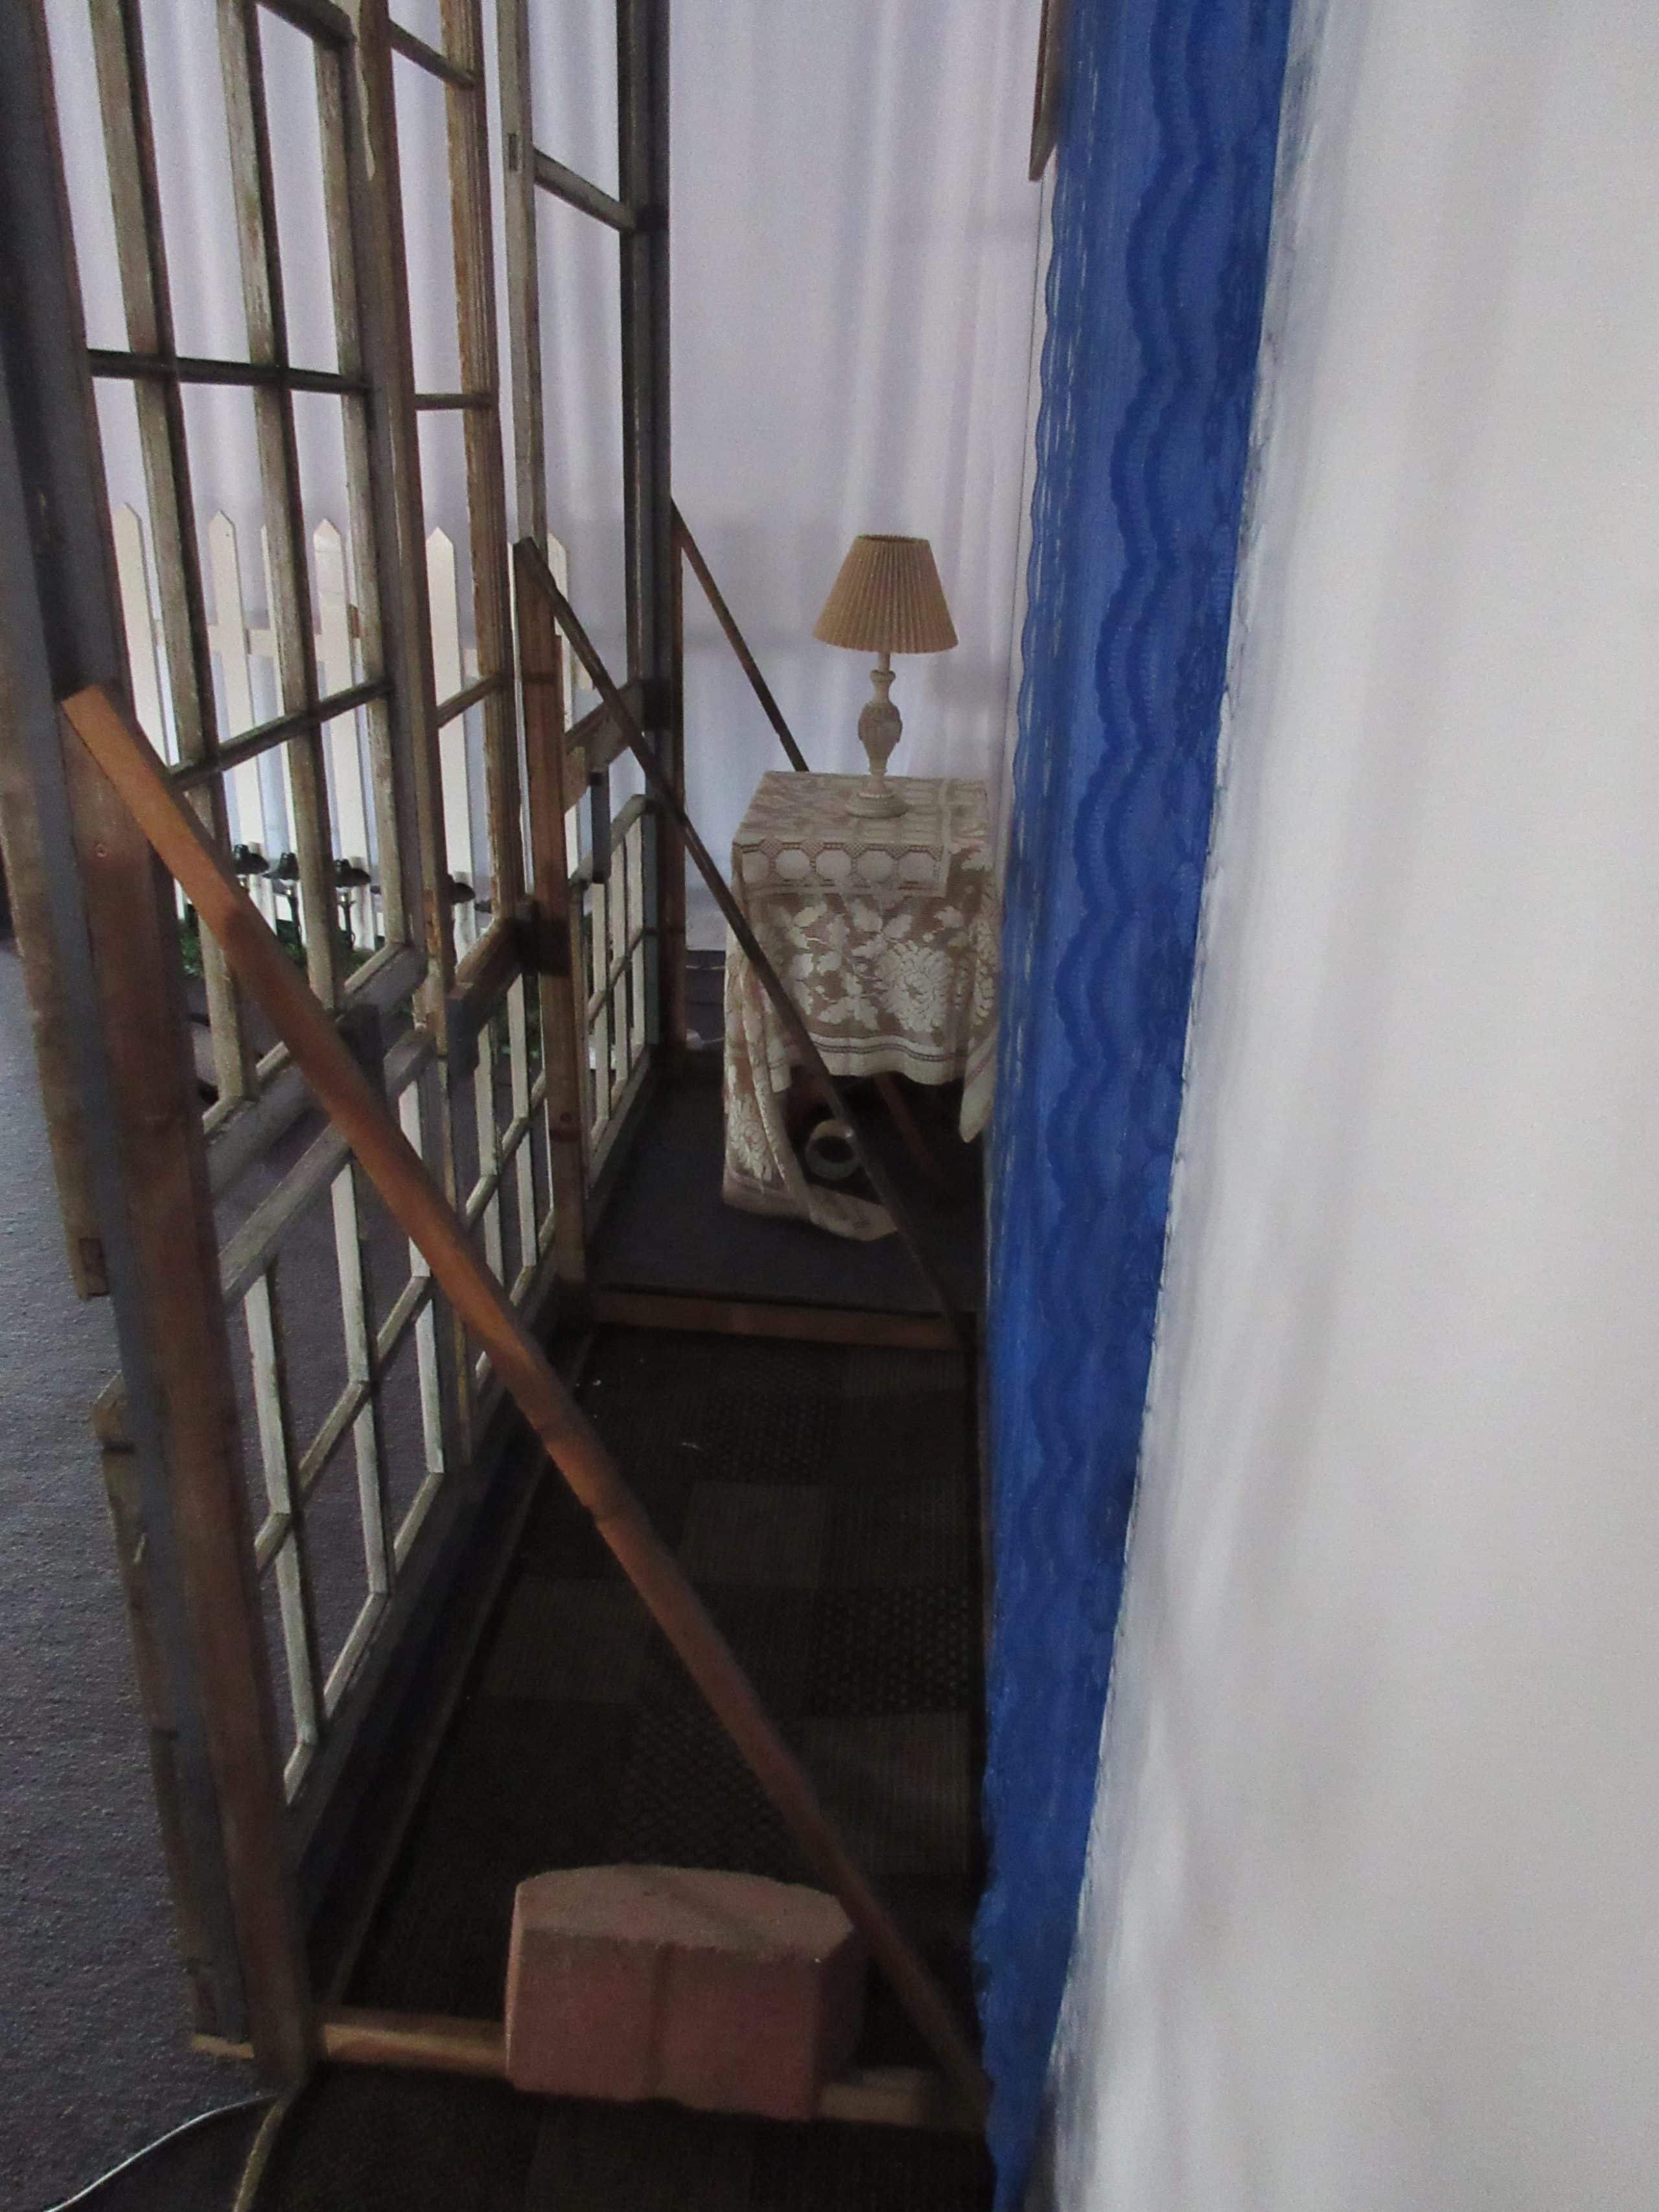
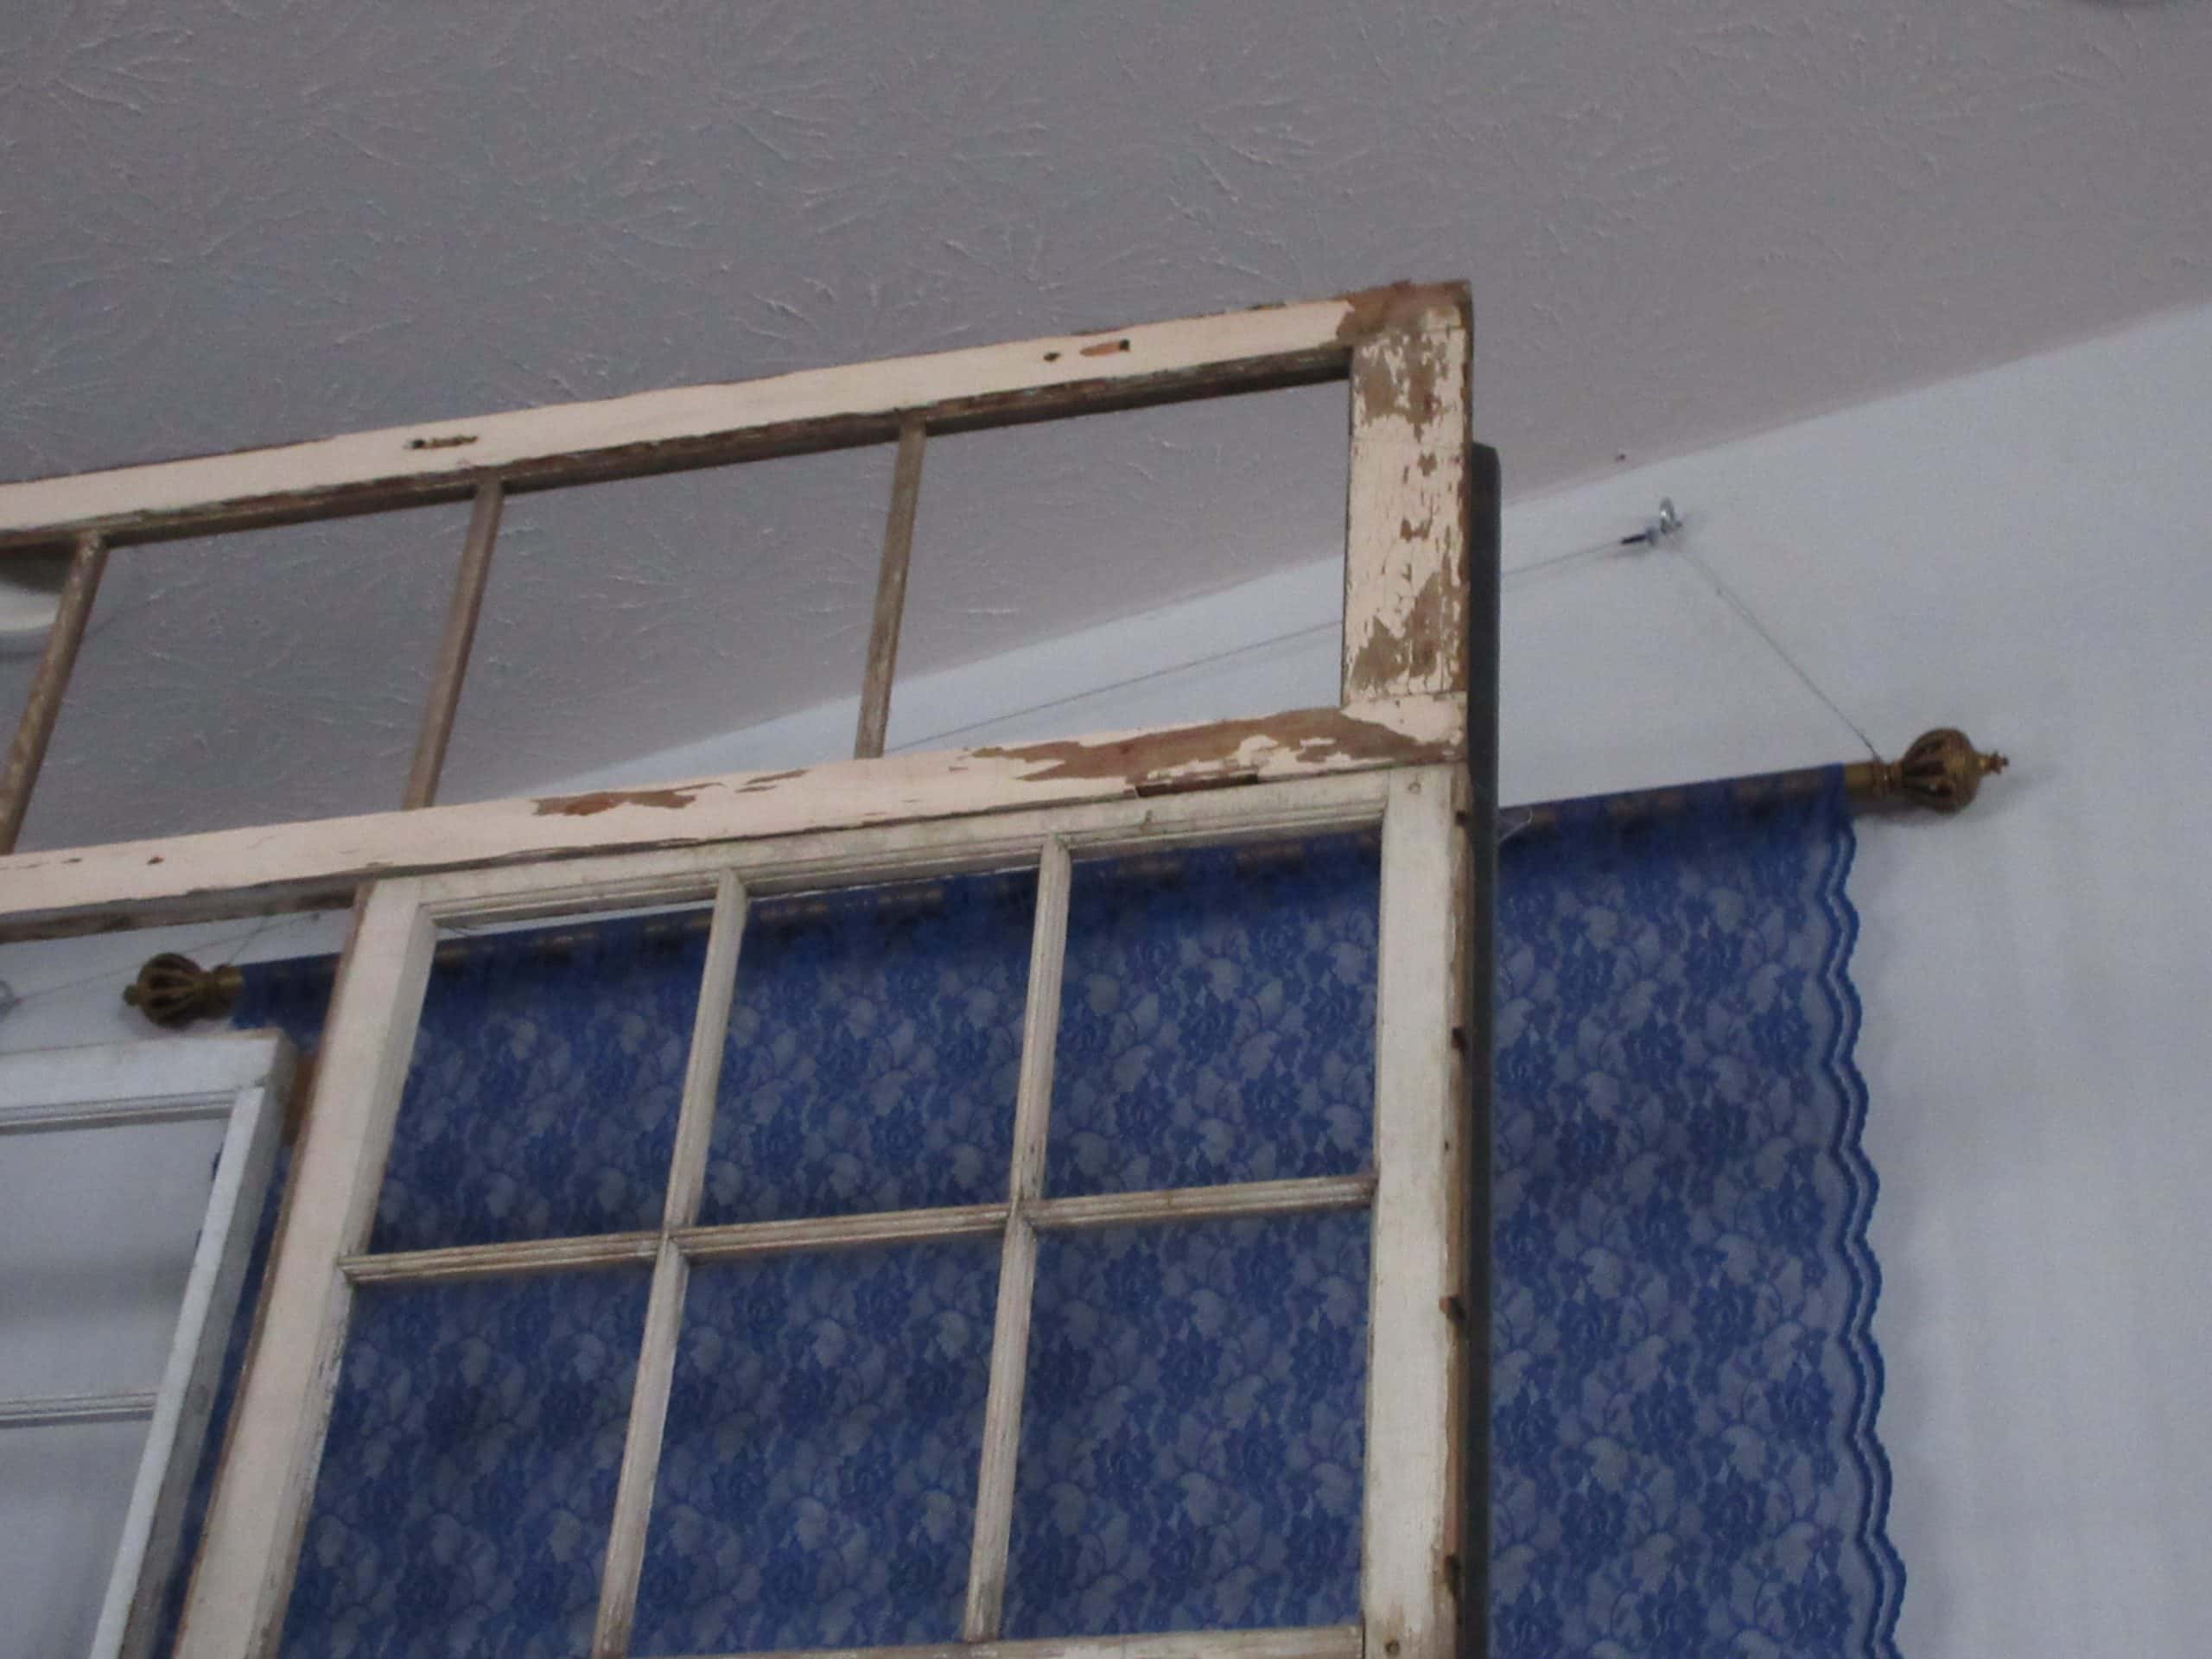
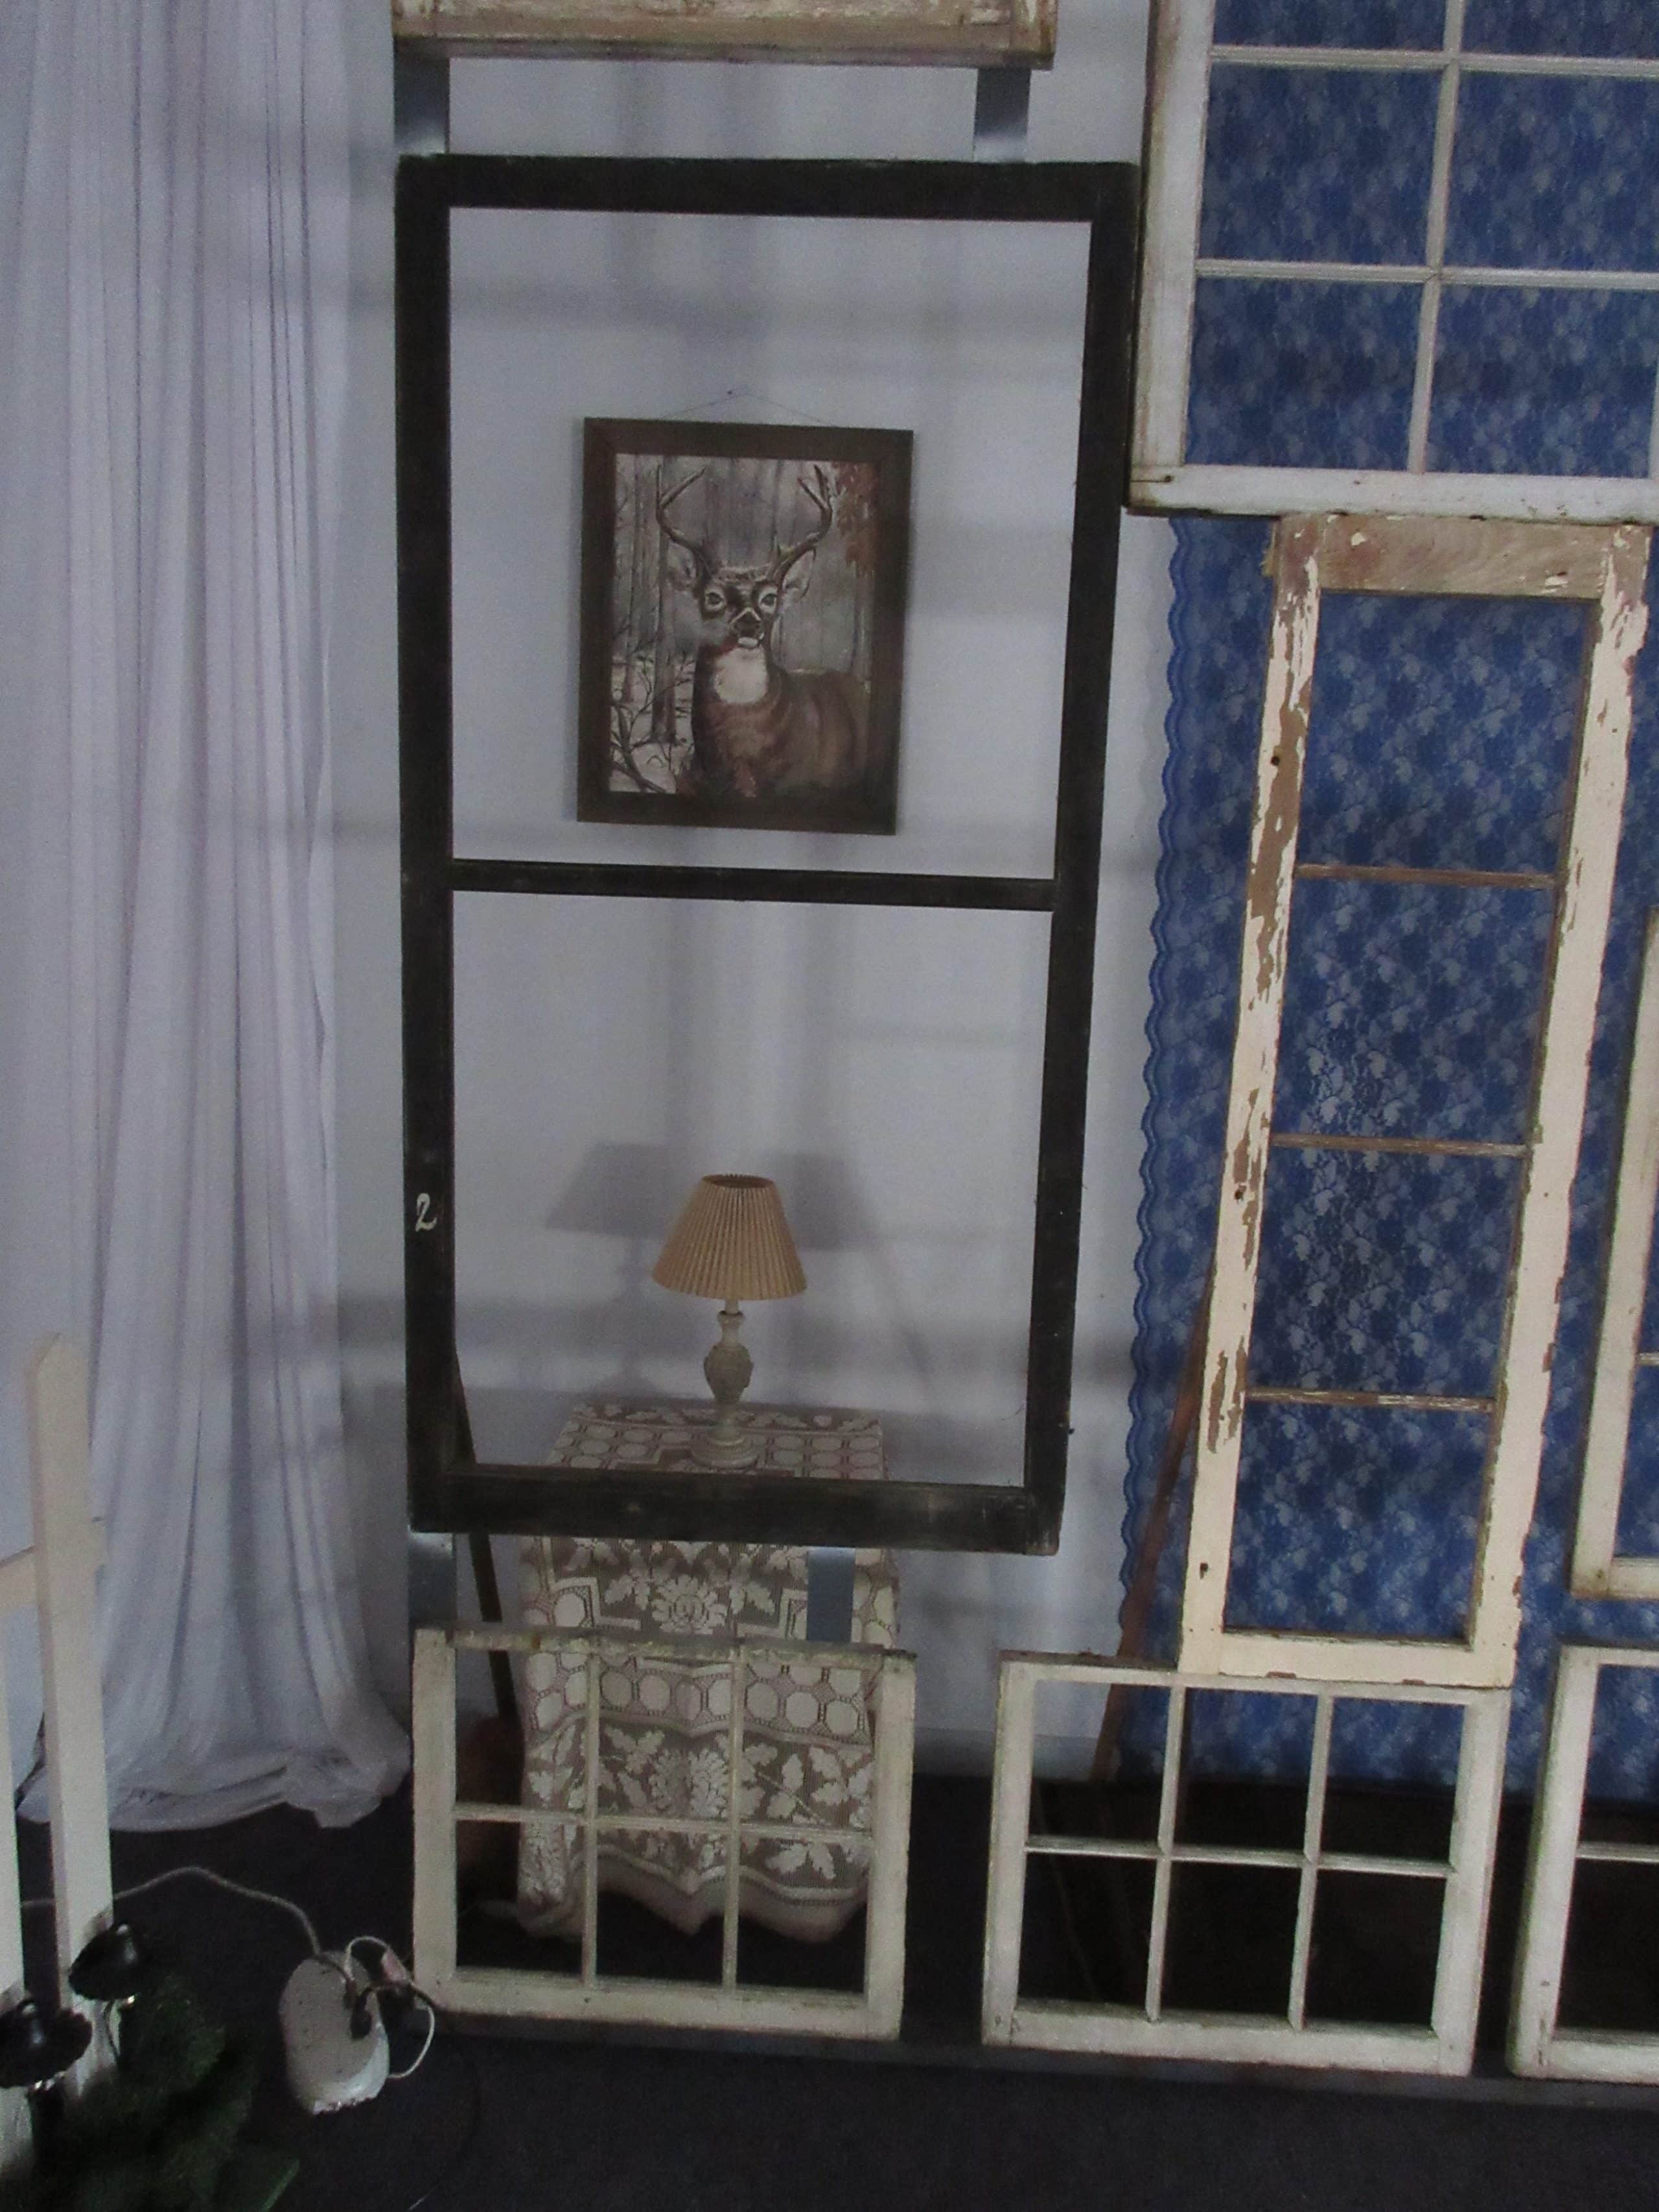
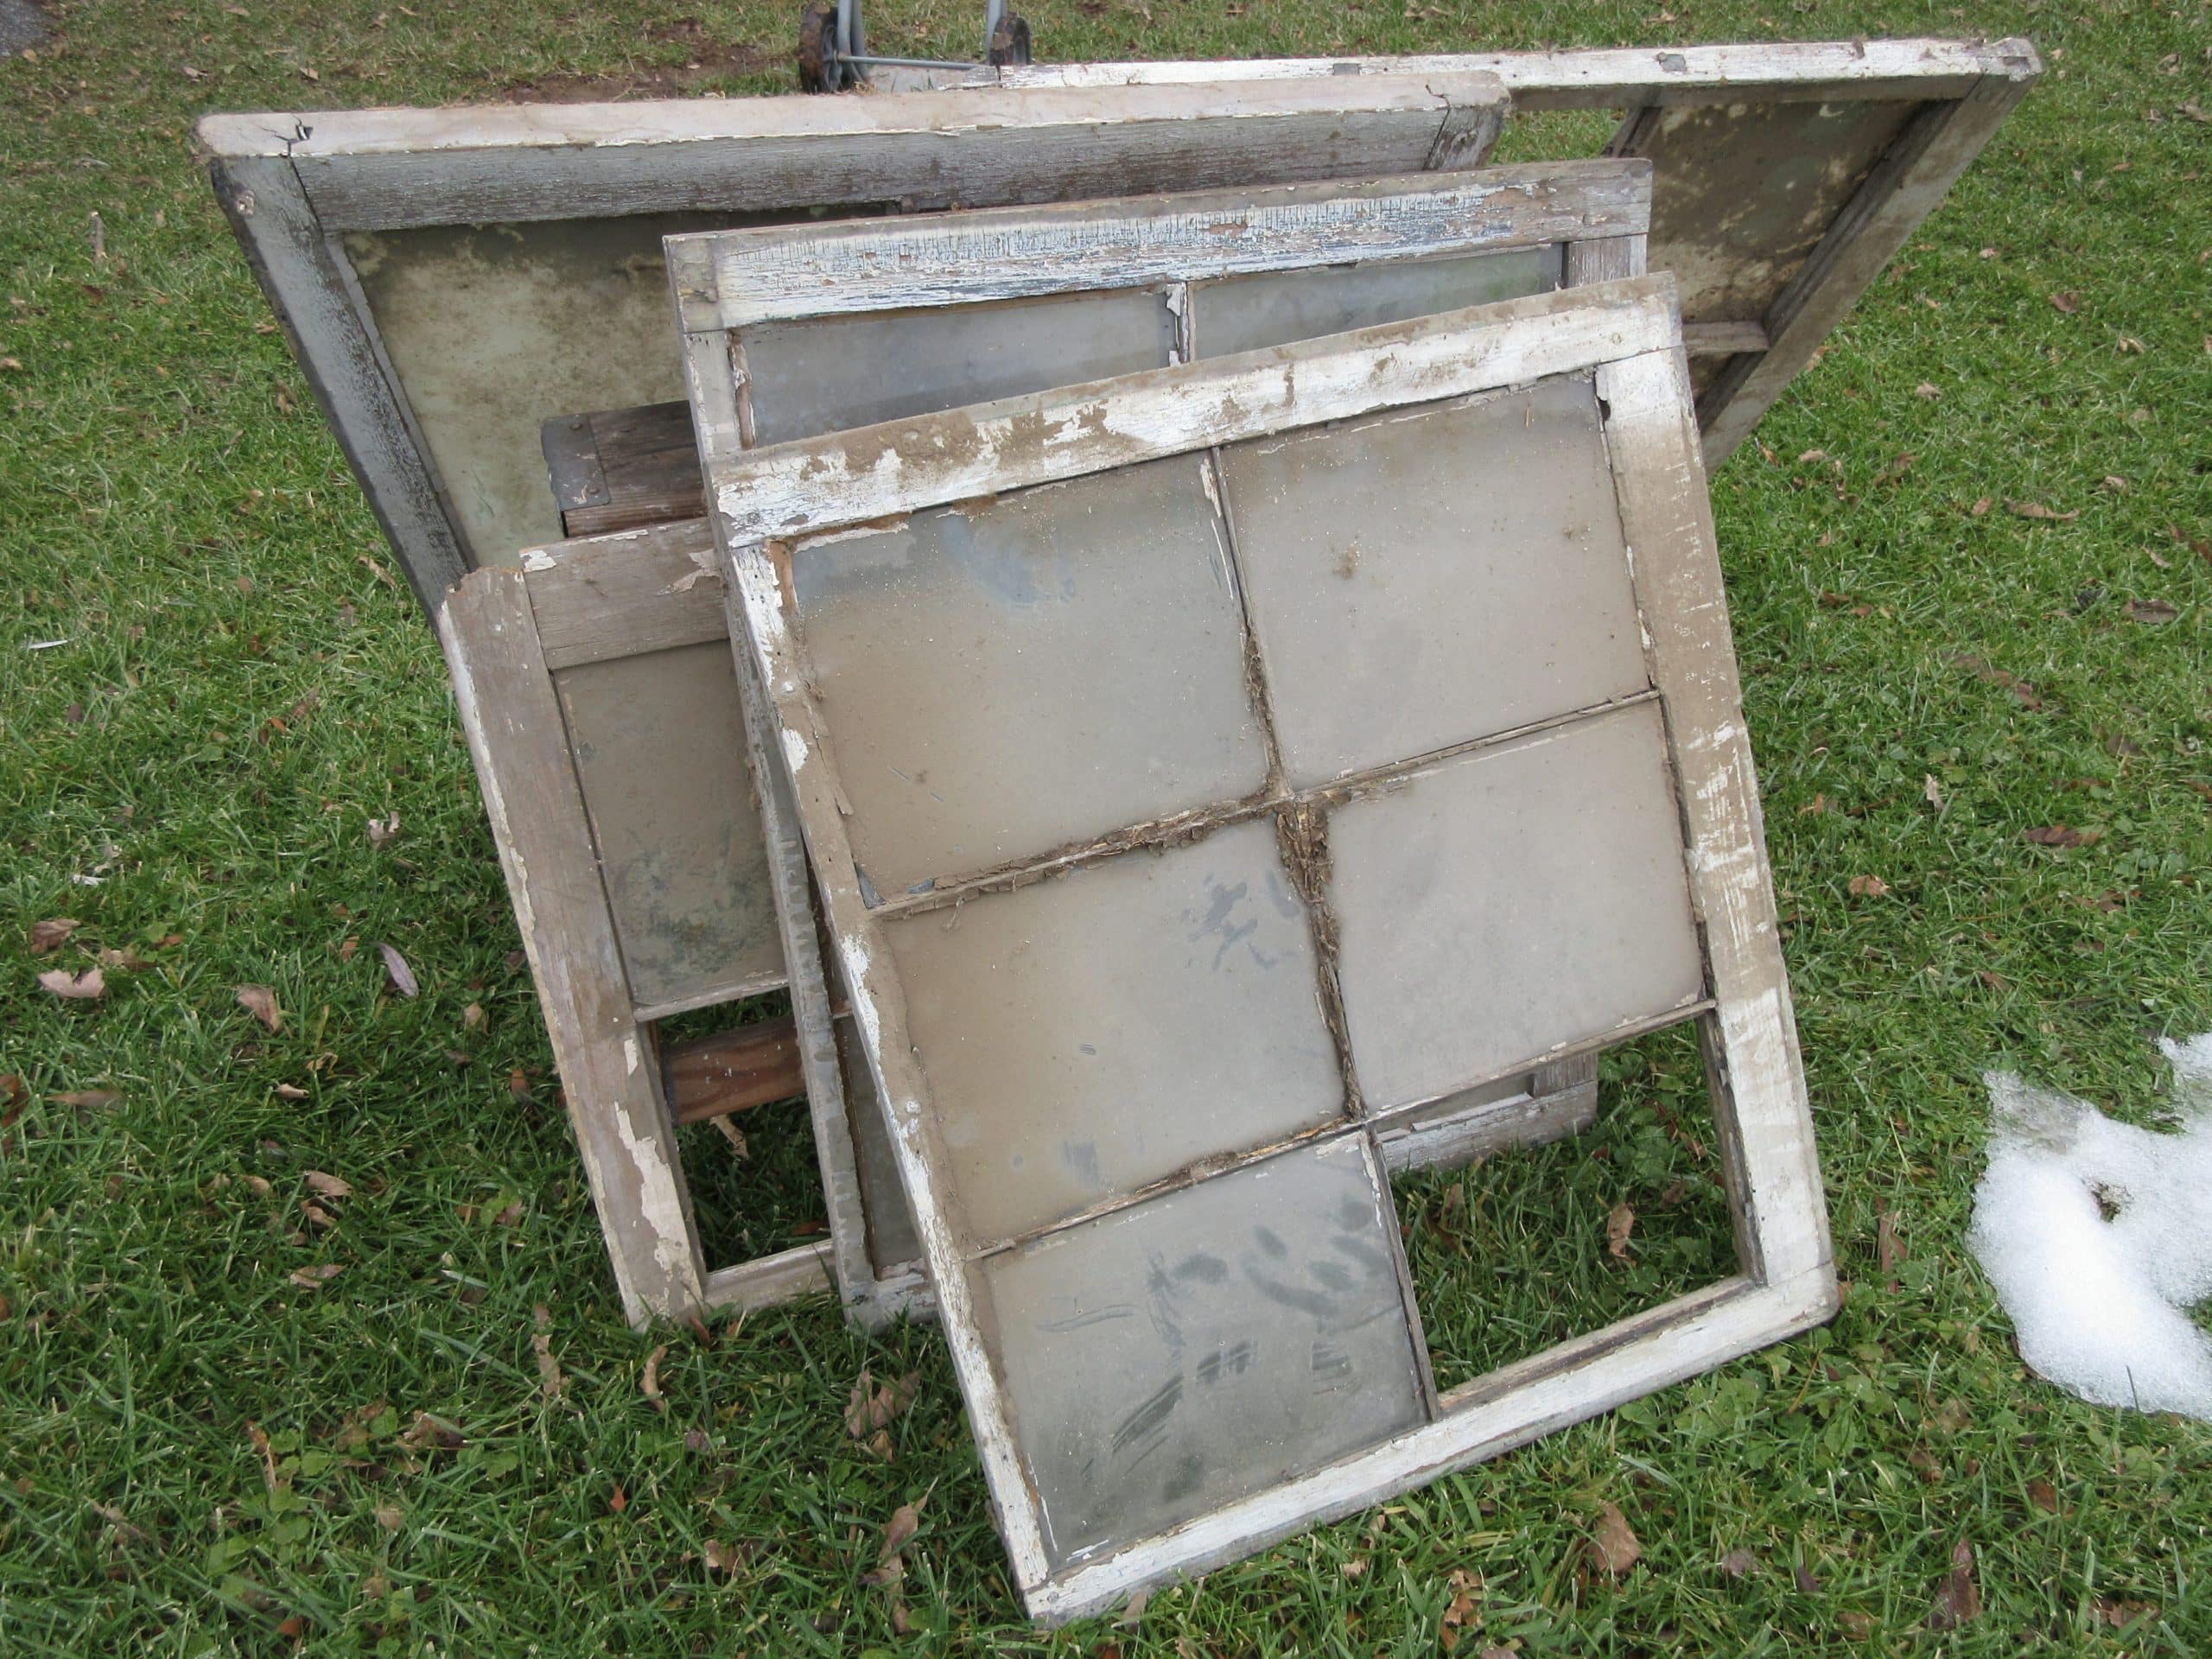
From Donna: We started by acquiring old windows. The best are ones with several panes (6, 8, more) which adds character. The more weathered the better. We carefully removed mud, glass, caulking, loose paint (note: old frames have lead paint). Washed and dried them thoroughly. We had 2 units, one for the left side of the power point screen and one for the right side of the screen. We laid out our design face down on a wide flat surface. We took a photo to use as guide for later. For each unit, we attached the left side and right side to wooden uprights. We pre-assembled each section at home to load into our small truck. At church we assembled 3 individual sections (left, middle, right) to make one complete 8-foot wide by 10-foot high unit (one on each side of the power point screen). The middle window frame sections were hitched together and to the outer frames using gray spanner pieces. The gray spanner pieces gave the illusion that some of the windows were suspended in the air. We put 3 braces on the back of each unit for stability and used landscaping bricks on the braces so the structure would not fall forward.
Before erecting the units, we hung the dark blue lace cloth flat against the wall to look like a curtain inside a home. We hung paintings and used a TV tray covered with a lace table cloth, and a neutral colored lamp and fluted shade to make it appear homey.
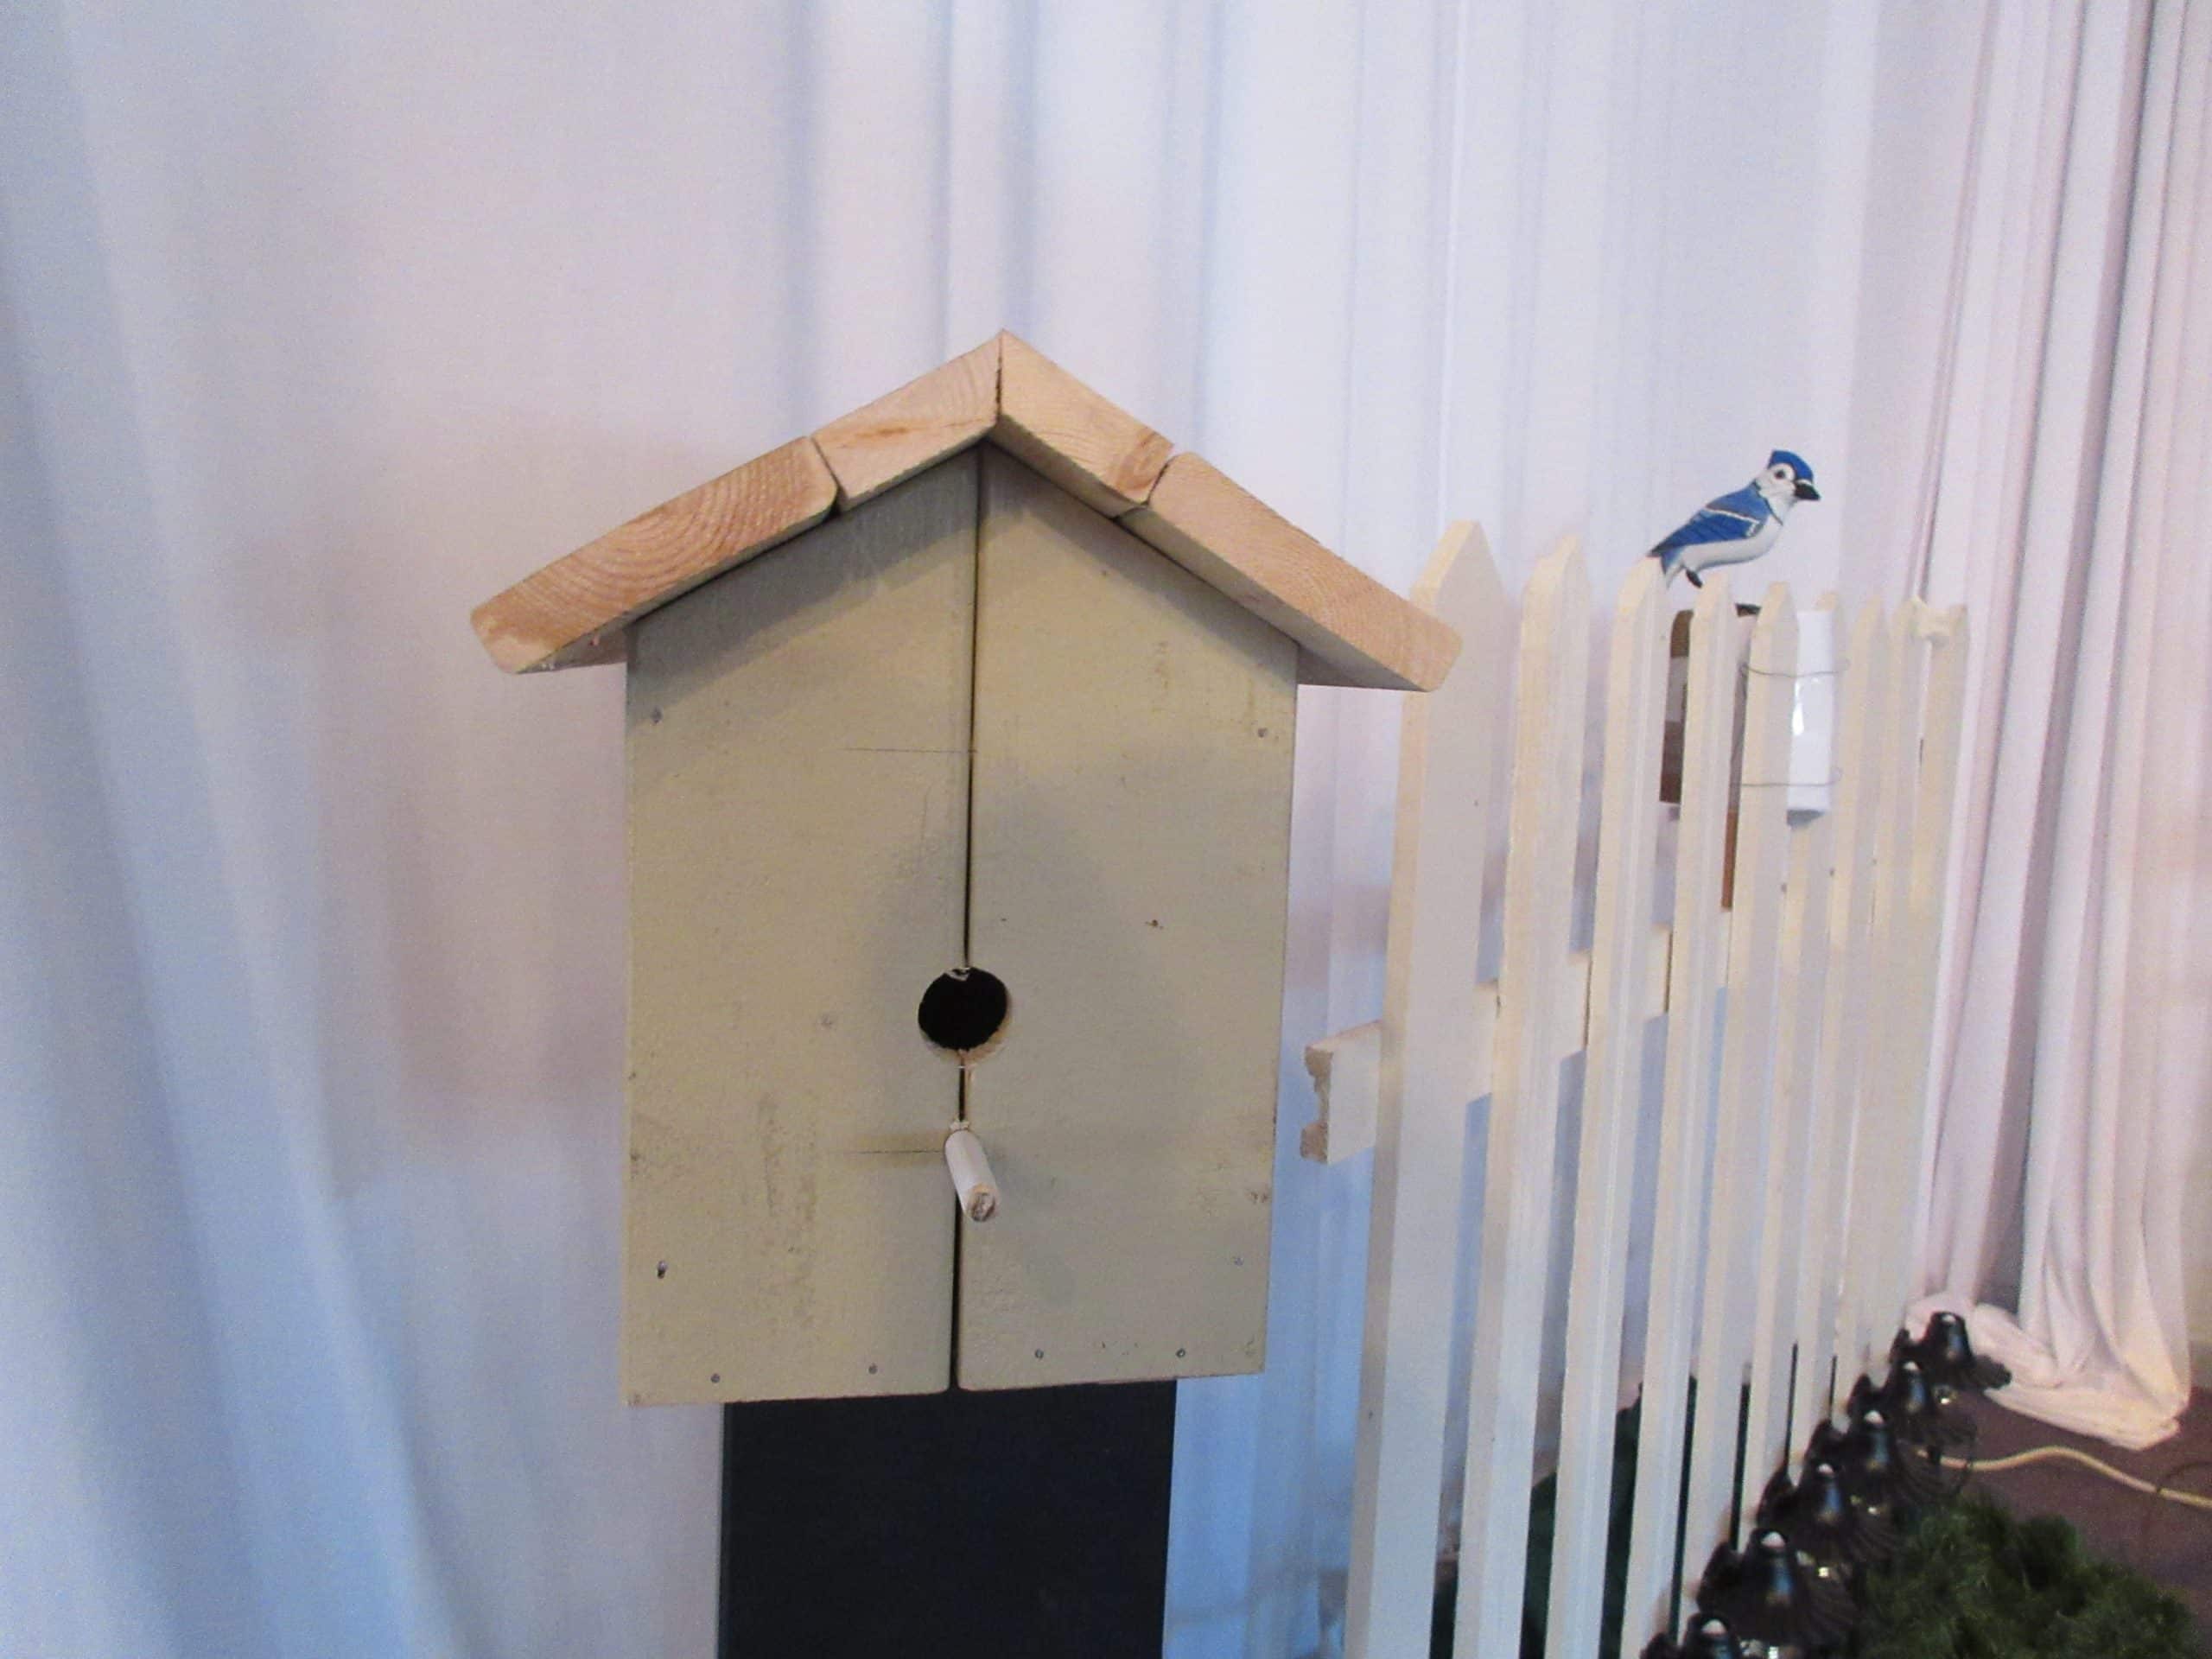
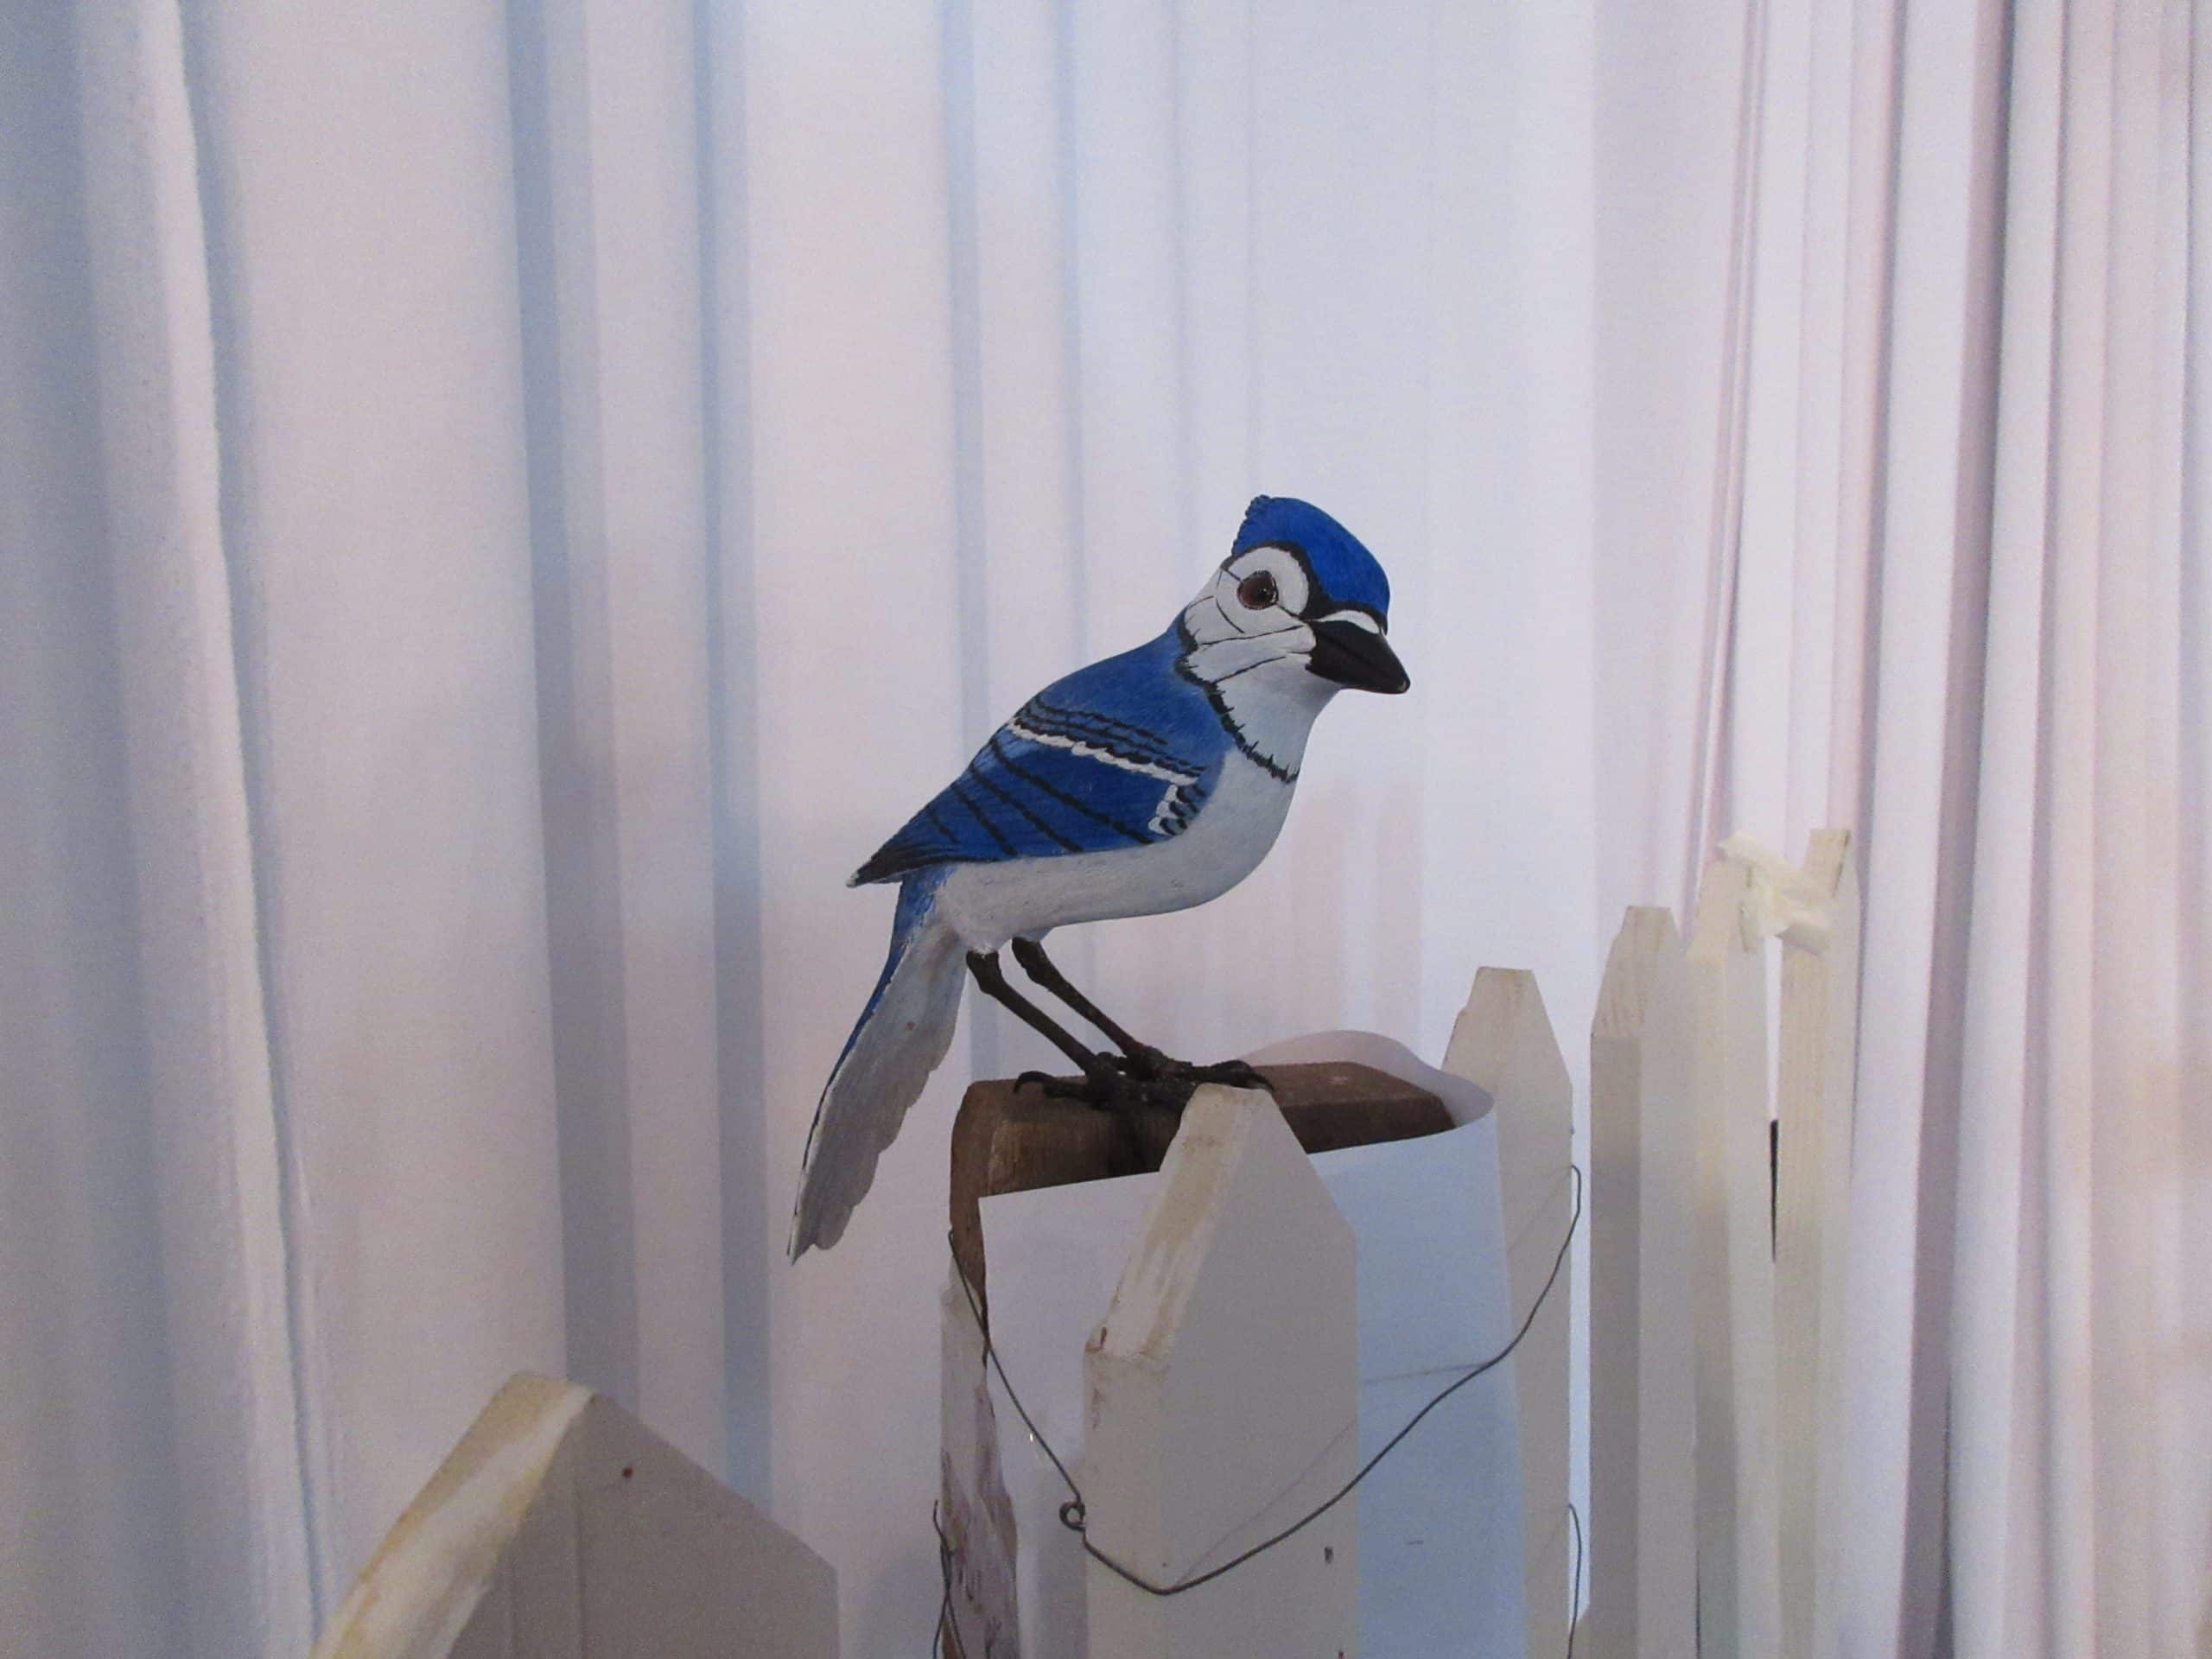
On the outside of the “house” we added a white picket fence on each side of the stage. Attached to the bottom were pathway lights (7c watt bulb only) to give the illusion of a sidewalk. Details were a bird, birdhouse, wreath, and green garland to represent grass. A single can light was directed on each painting.
The cost (after donated and previously used materials) was $30 for the cloth and path lights.


Leave a Reply
You must be logged in to post a comment.