Brandon Baldwin from Greenwood Baptist Church in Weatherford, Texas brings us these fun Christmas trees.
From Brandon: This tree and ornament design was used for our most recent Christmas season background. We began with the trees sizing them for the height and width we were trying to fill on our back wall. The shapes for the trees were all cut from Coroplast sheets and attached directly to our back wall. These were lit with 5 color rails (2 top, 3 bottom) and 4 Tri-7s (top) per Tree.
We then added the LED strips in 6 meter and 3 meter lengths, which really made it pop! For the LED strips, they are RGB LED strips inside black aluminum channels with a frosted cover. We used 4 channel DMX512 Decoders to control the color and brightness. We had used the decoders and channels on a previous background and were able to re-use some of the standard 6 meter and 3 meter lengths for this design.
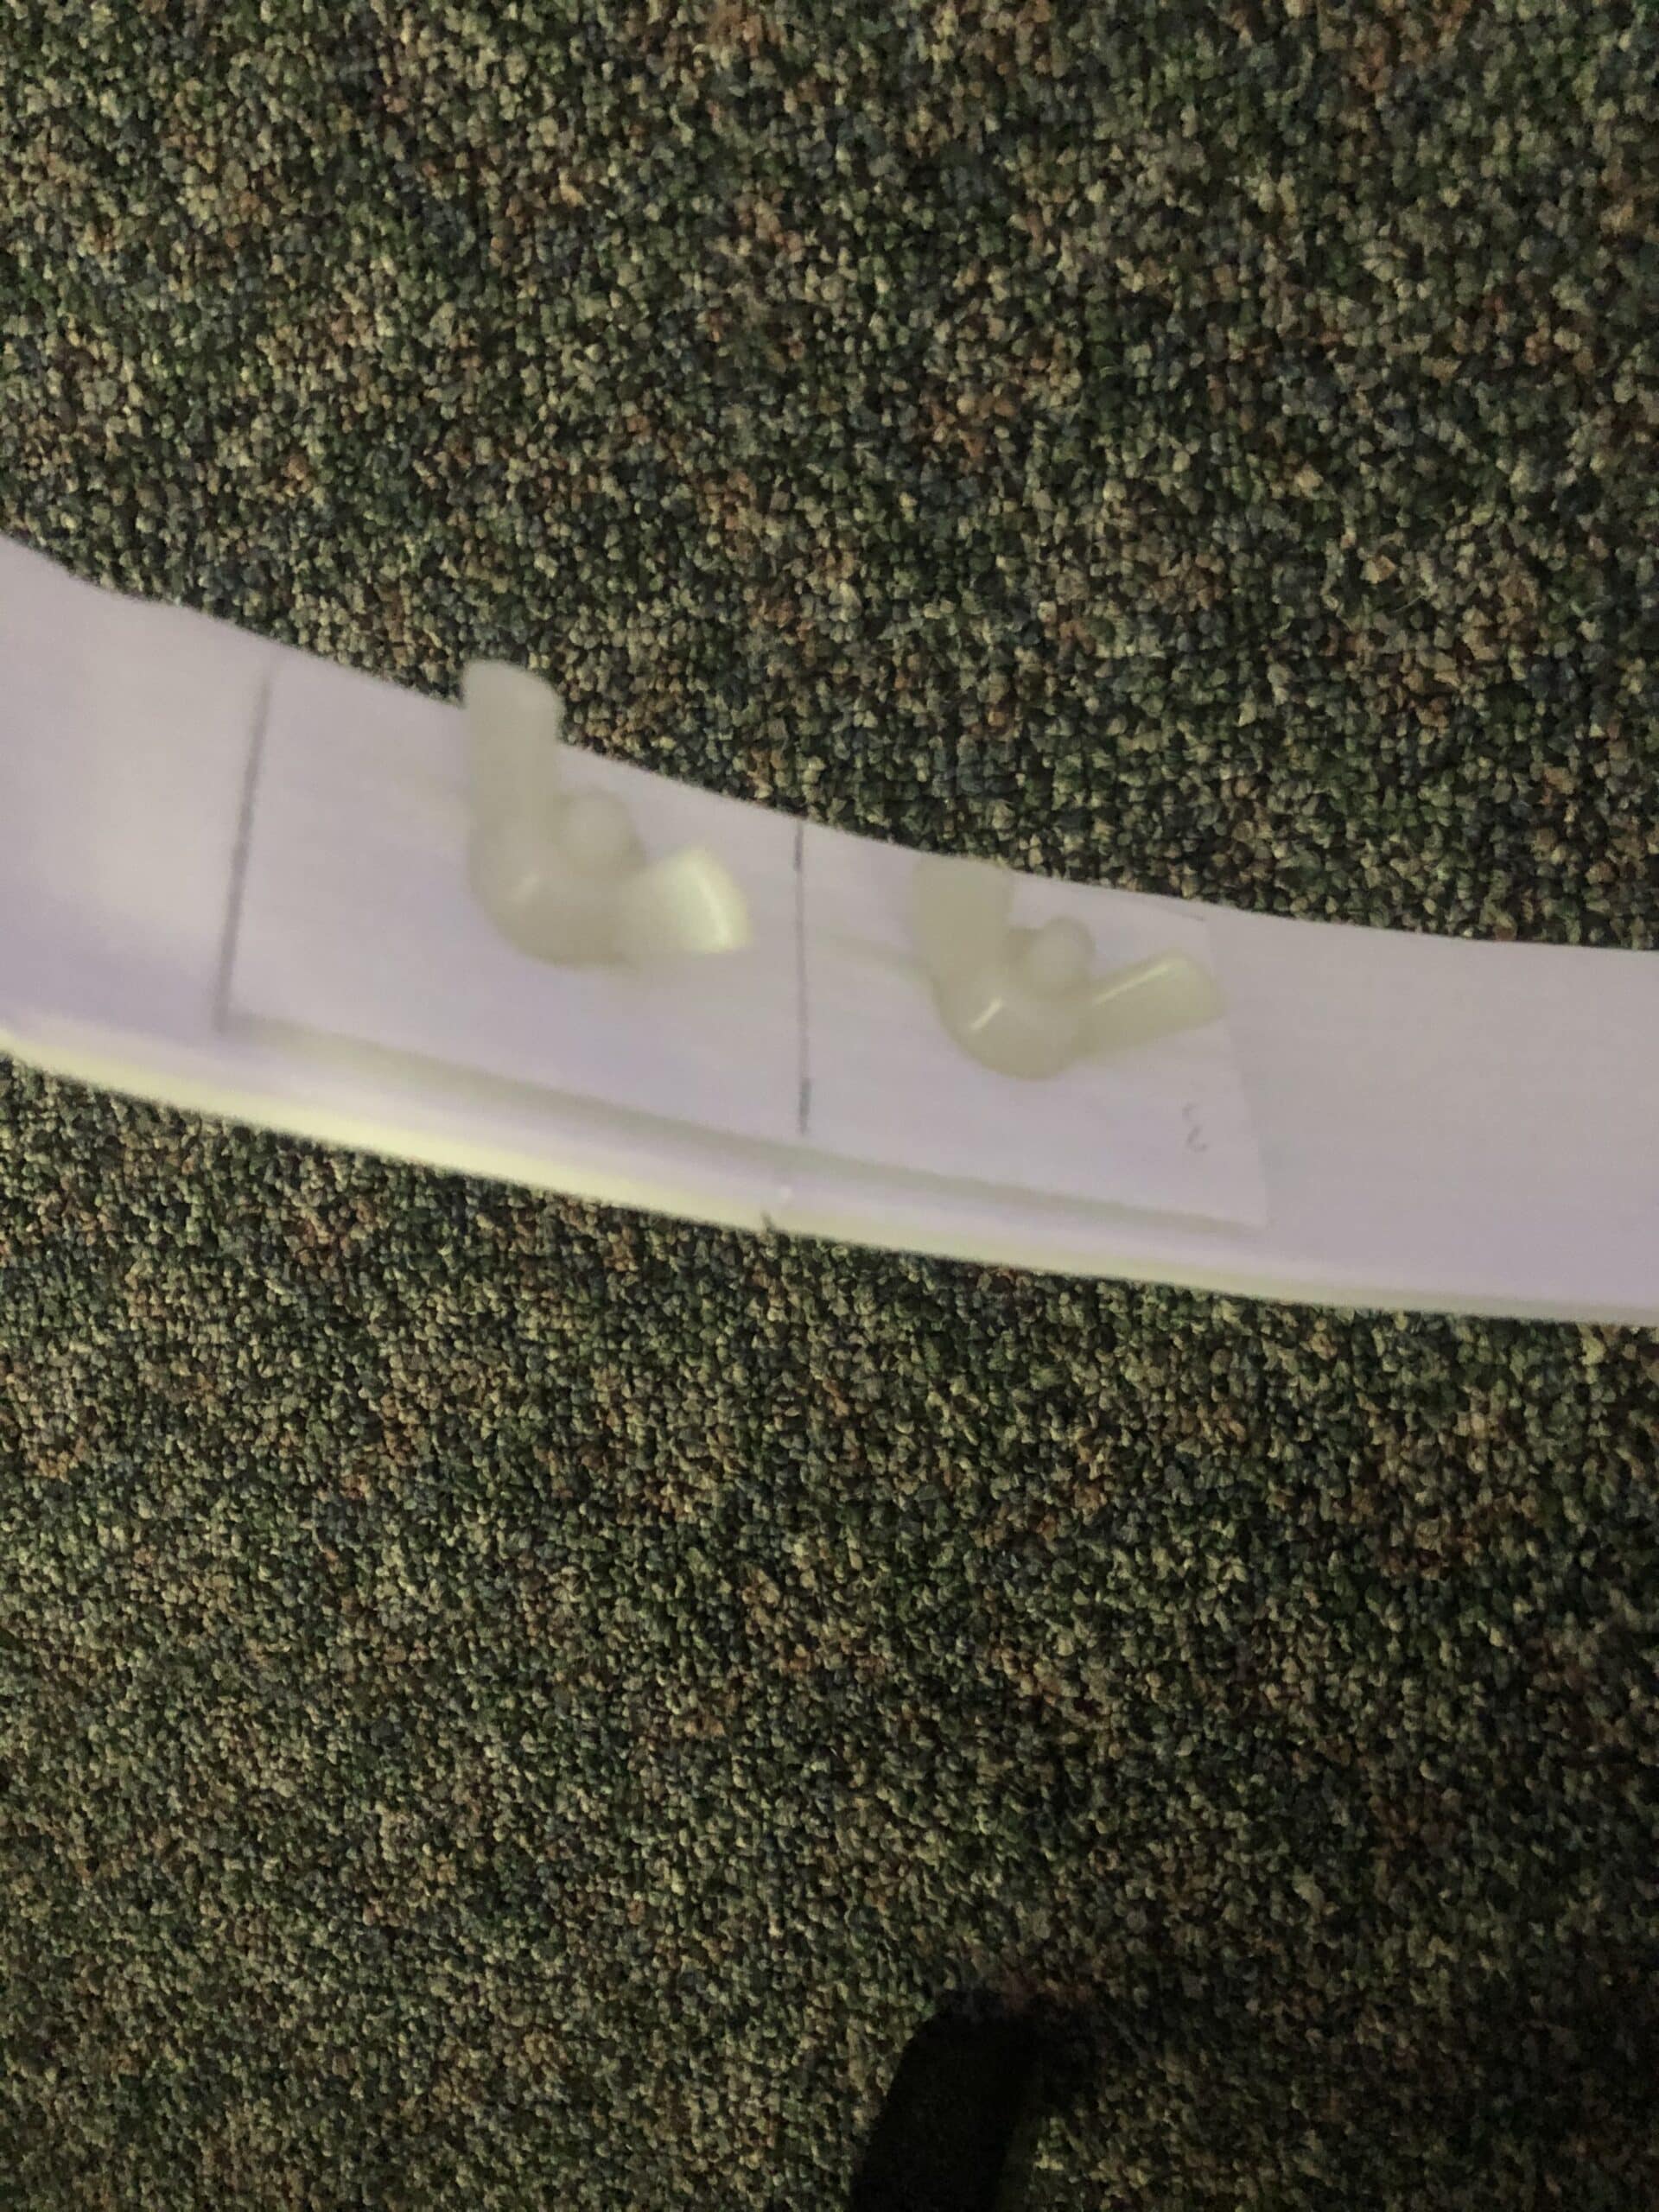
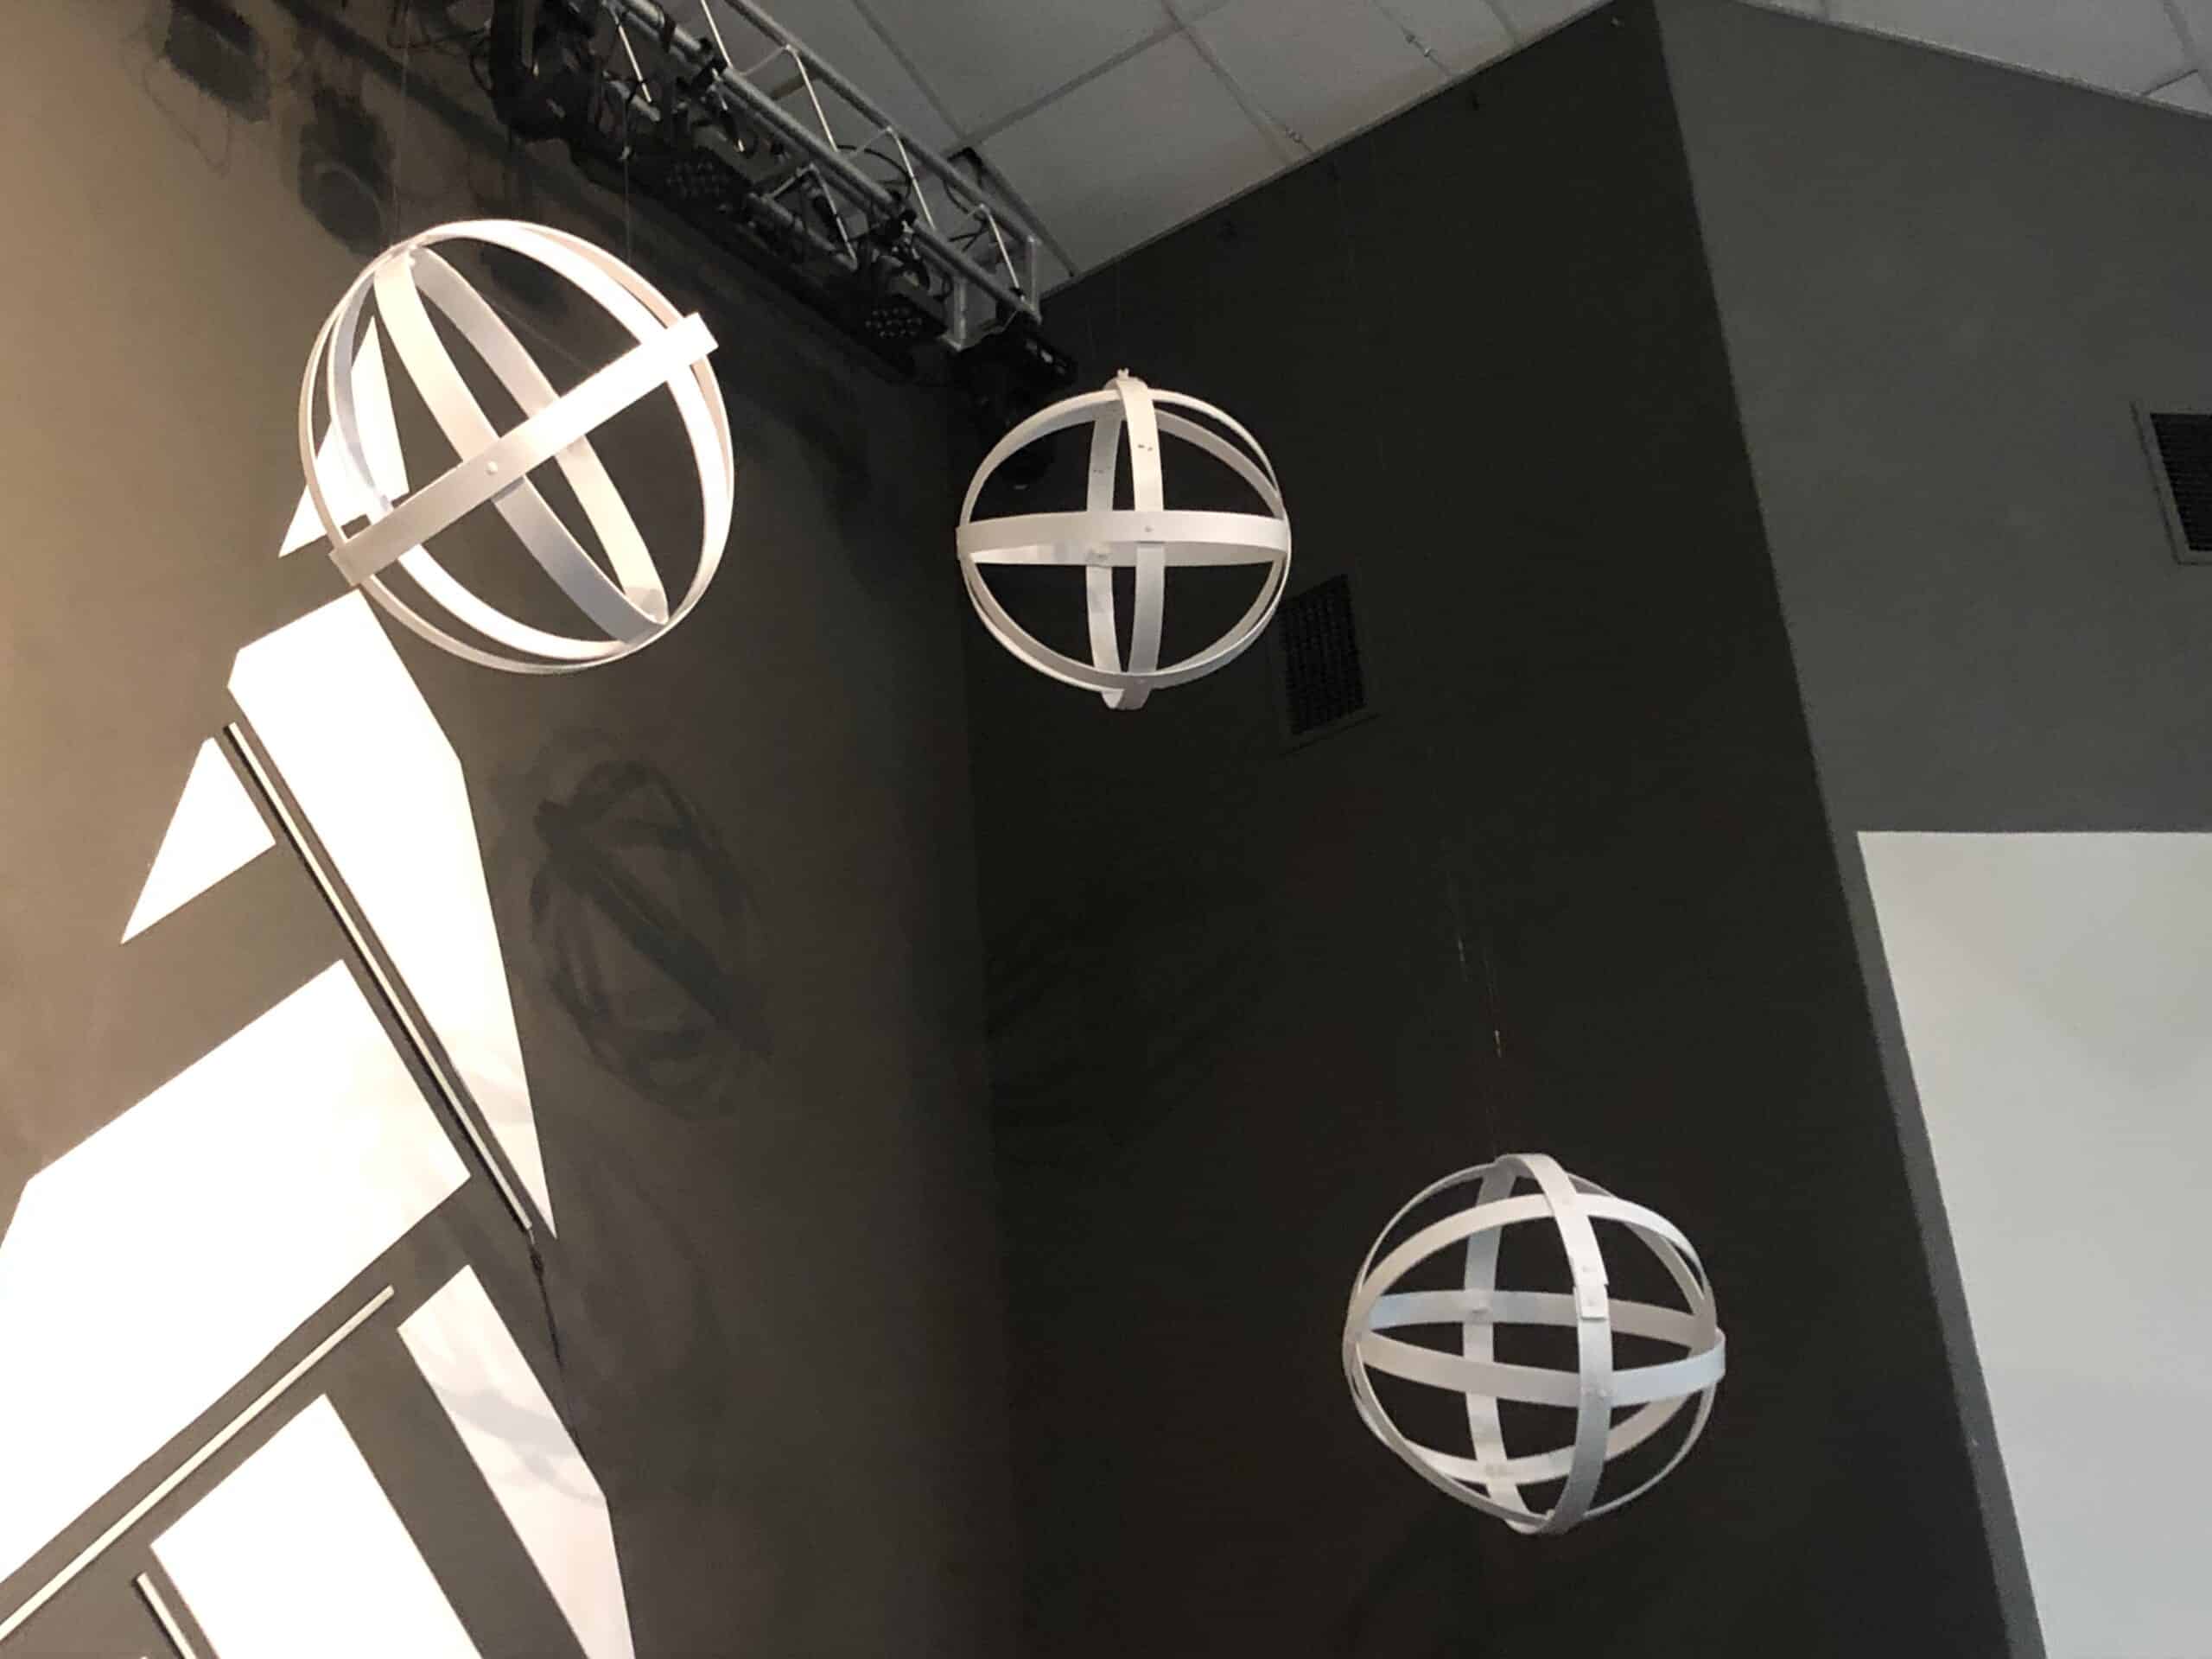
We felt like there was too much open space at the top so we added hanging “ornaments” to fill in the space and add depth to the design. The ornaments were 2′ in diameter and were made with 2″ strips of Coroplast. We assembled them with nylon hardware (bolts and wingnuts). We hung them from different points and different angles on the ornaments to give them all a different feel/look. We also hung them at different distances from the wall to give more depth. We then used a couple of wash intimidators to light them. A couple of lessons learned with these: We had seen others do the ornament design and many appeared to be larger in diameter. With the thickness and width strips we used, we found that any larger than the 2′ diameter started warping and distorting. Also, we cut some 1.5″ x 5″ pieces of Coroplast to “bracket” each connection where our strips came together. This helped to reinforce the connection and keep the shape more true and consistent.
Since we already had the nylon hardware, lights and channels, this was a fairly inexpensive design. We spent less than $200 on the Coroplast. Total man hours for cutting, assembly and installation were approx 60 hours (3 men – 20 hrs). It would have been less but a lot of time was spent on the larger ornaments, which we were not able to make work well and did not use.


Awesome job you guys! I am curious as to how you cut the Coroplast sheets. How did you cut it to get the right angles and even design for both trees?
Dan, We had all the shapes drawn out, with dimensions, in our CAD program. From there we used straight line rulers to draw out our shapes and utility knifes to cut them. We have used a variety of shapes and lines (straight and curved) and the utility knife has been the fastest and most consistent for us. Up close you can see the inconsistencies but get a few feet back and they disappear with the lights on!
Brandon, thank you for the response.
I am curious as to what the shape dimensions or measurements you guys used?
If it was a 4’x7′ chloroplast sheet and if you cut it diagonal and then straight across? I am trying to figure our the pieces you cut of chloroplast. Would you happen to have that written down somewhere?
I’m with Dan’s comment – any chance you can toss us the CAD drawing of measurements?