Cameron Helwege from Statesboro First United Methodist Church in Statesboro, GA brings us these awesome homemade light fixtures.
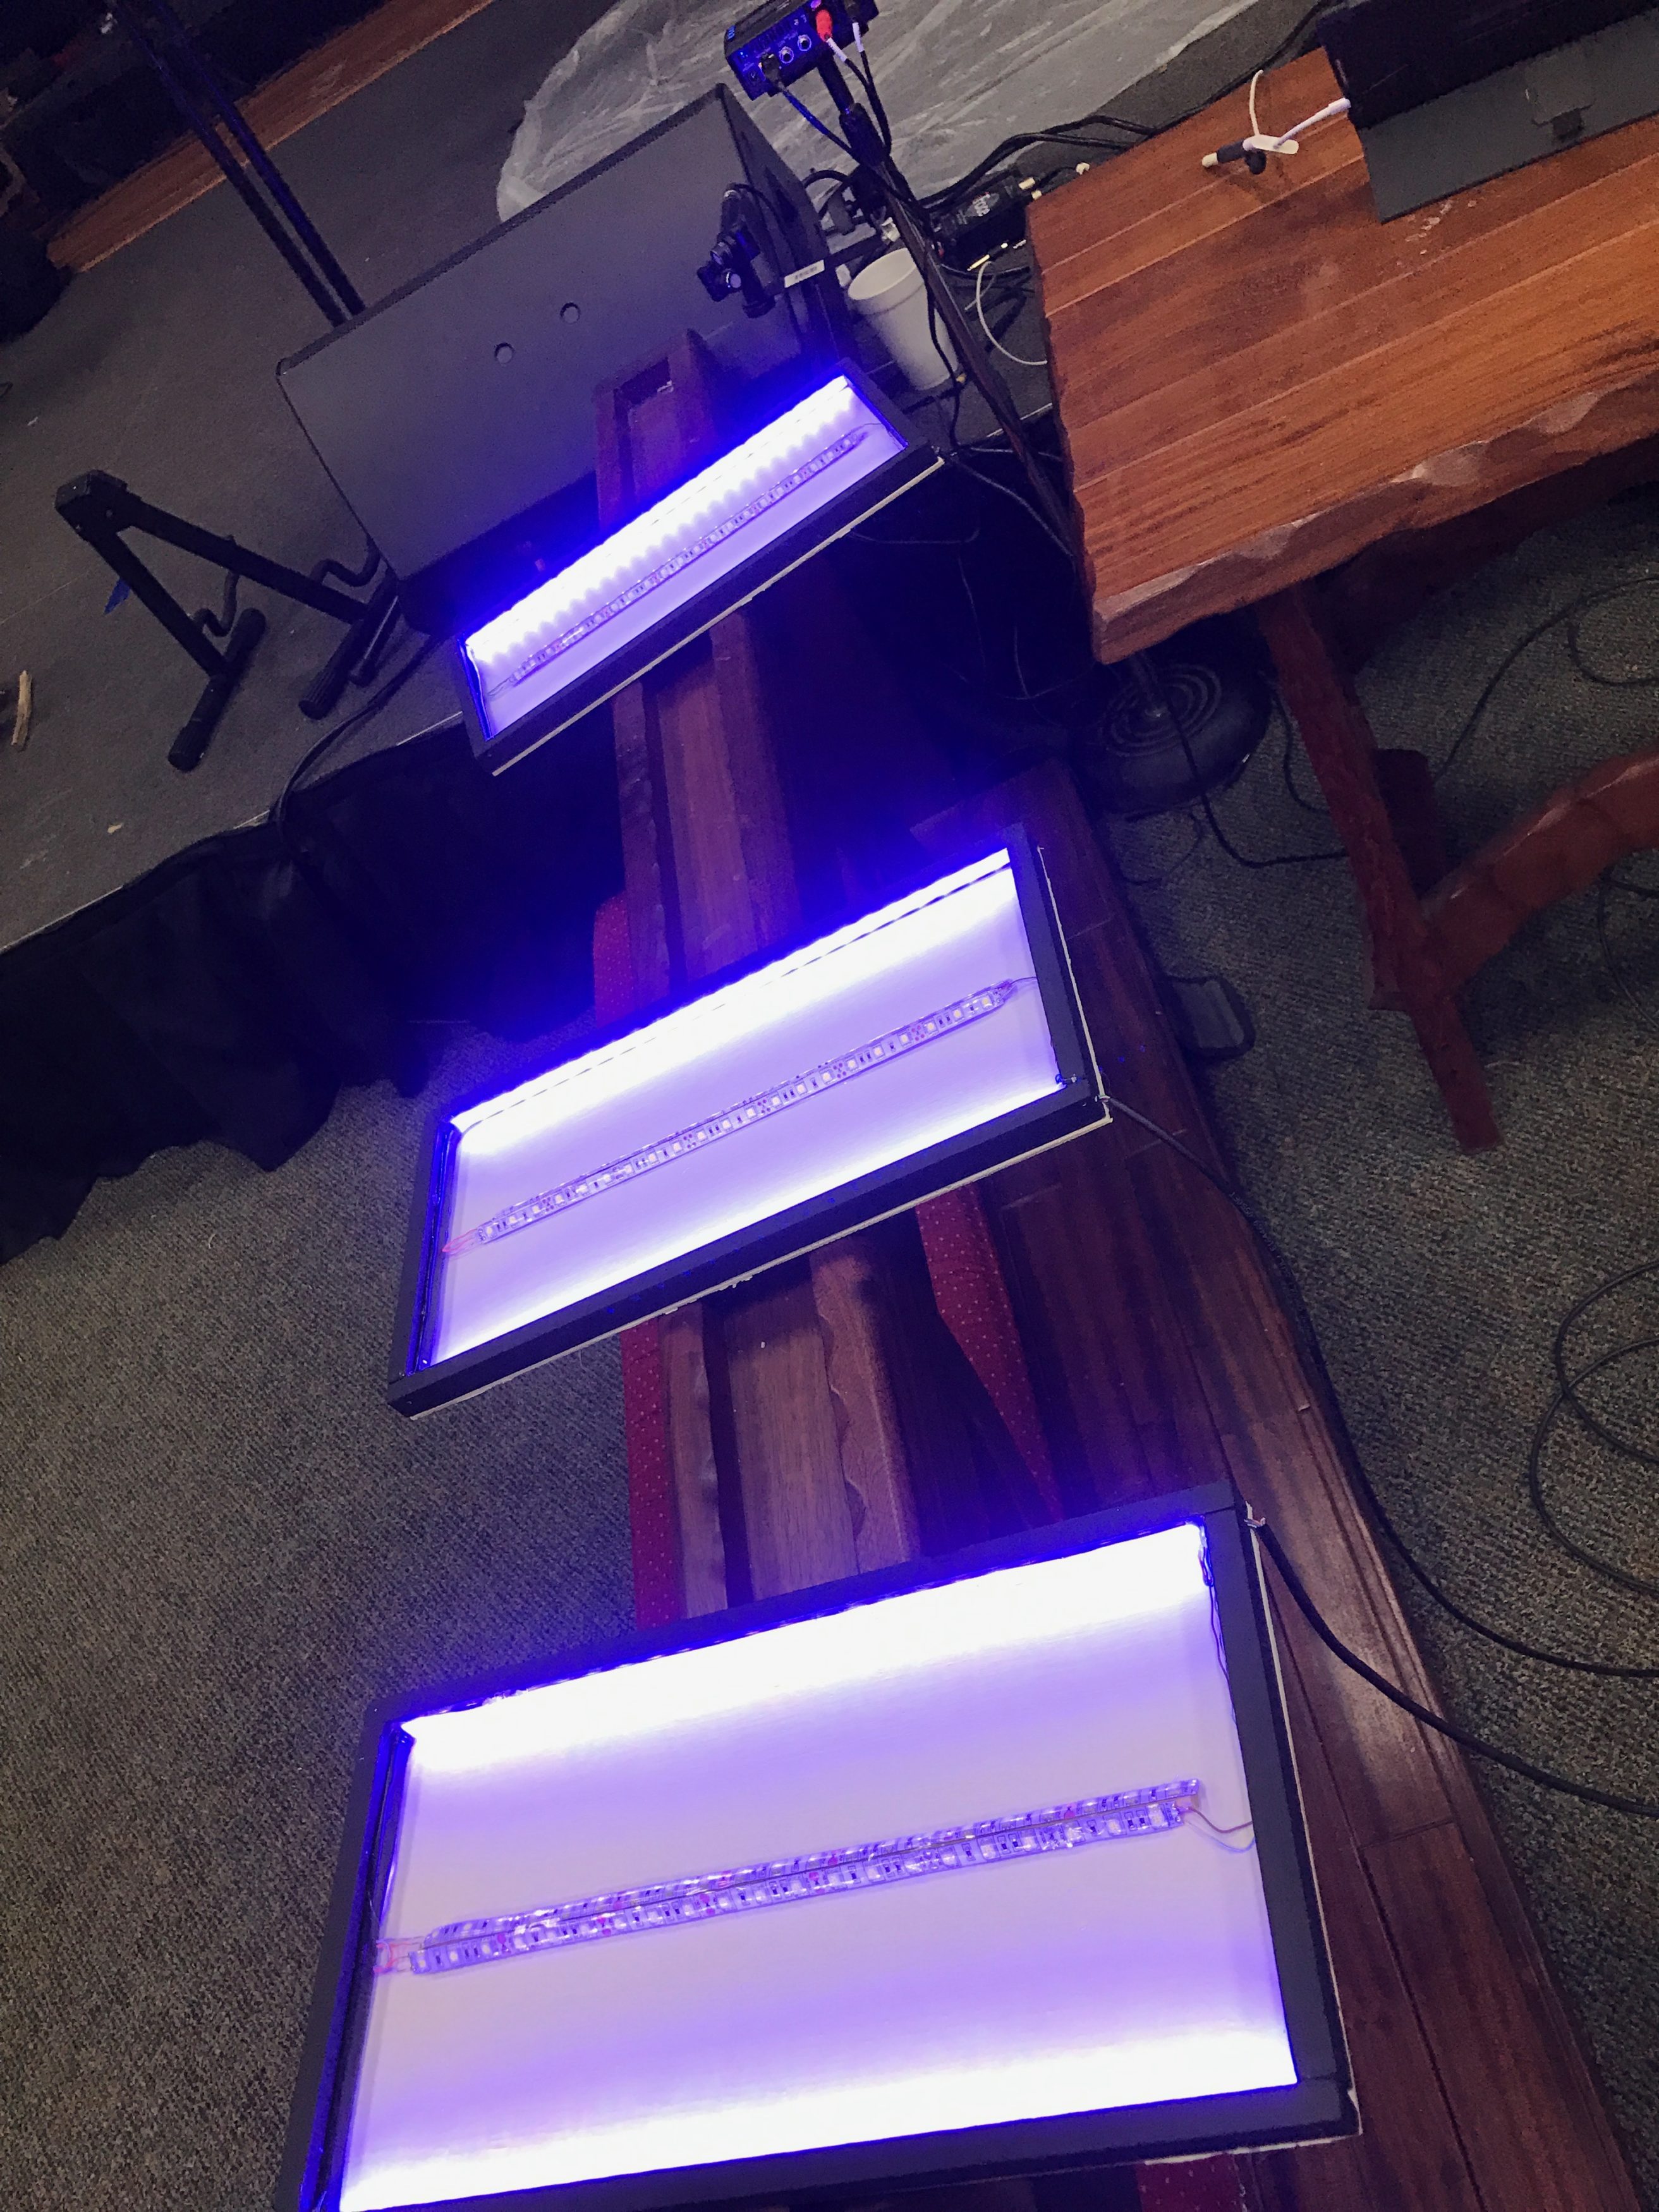
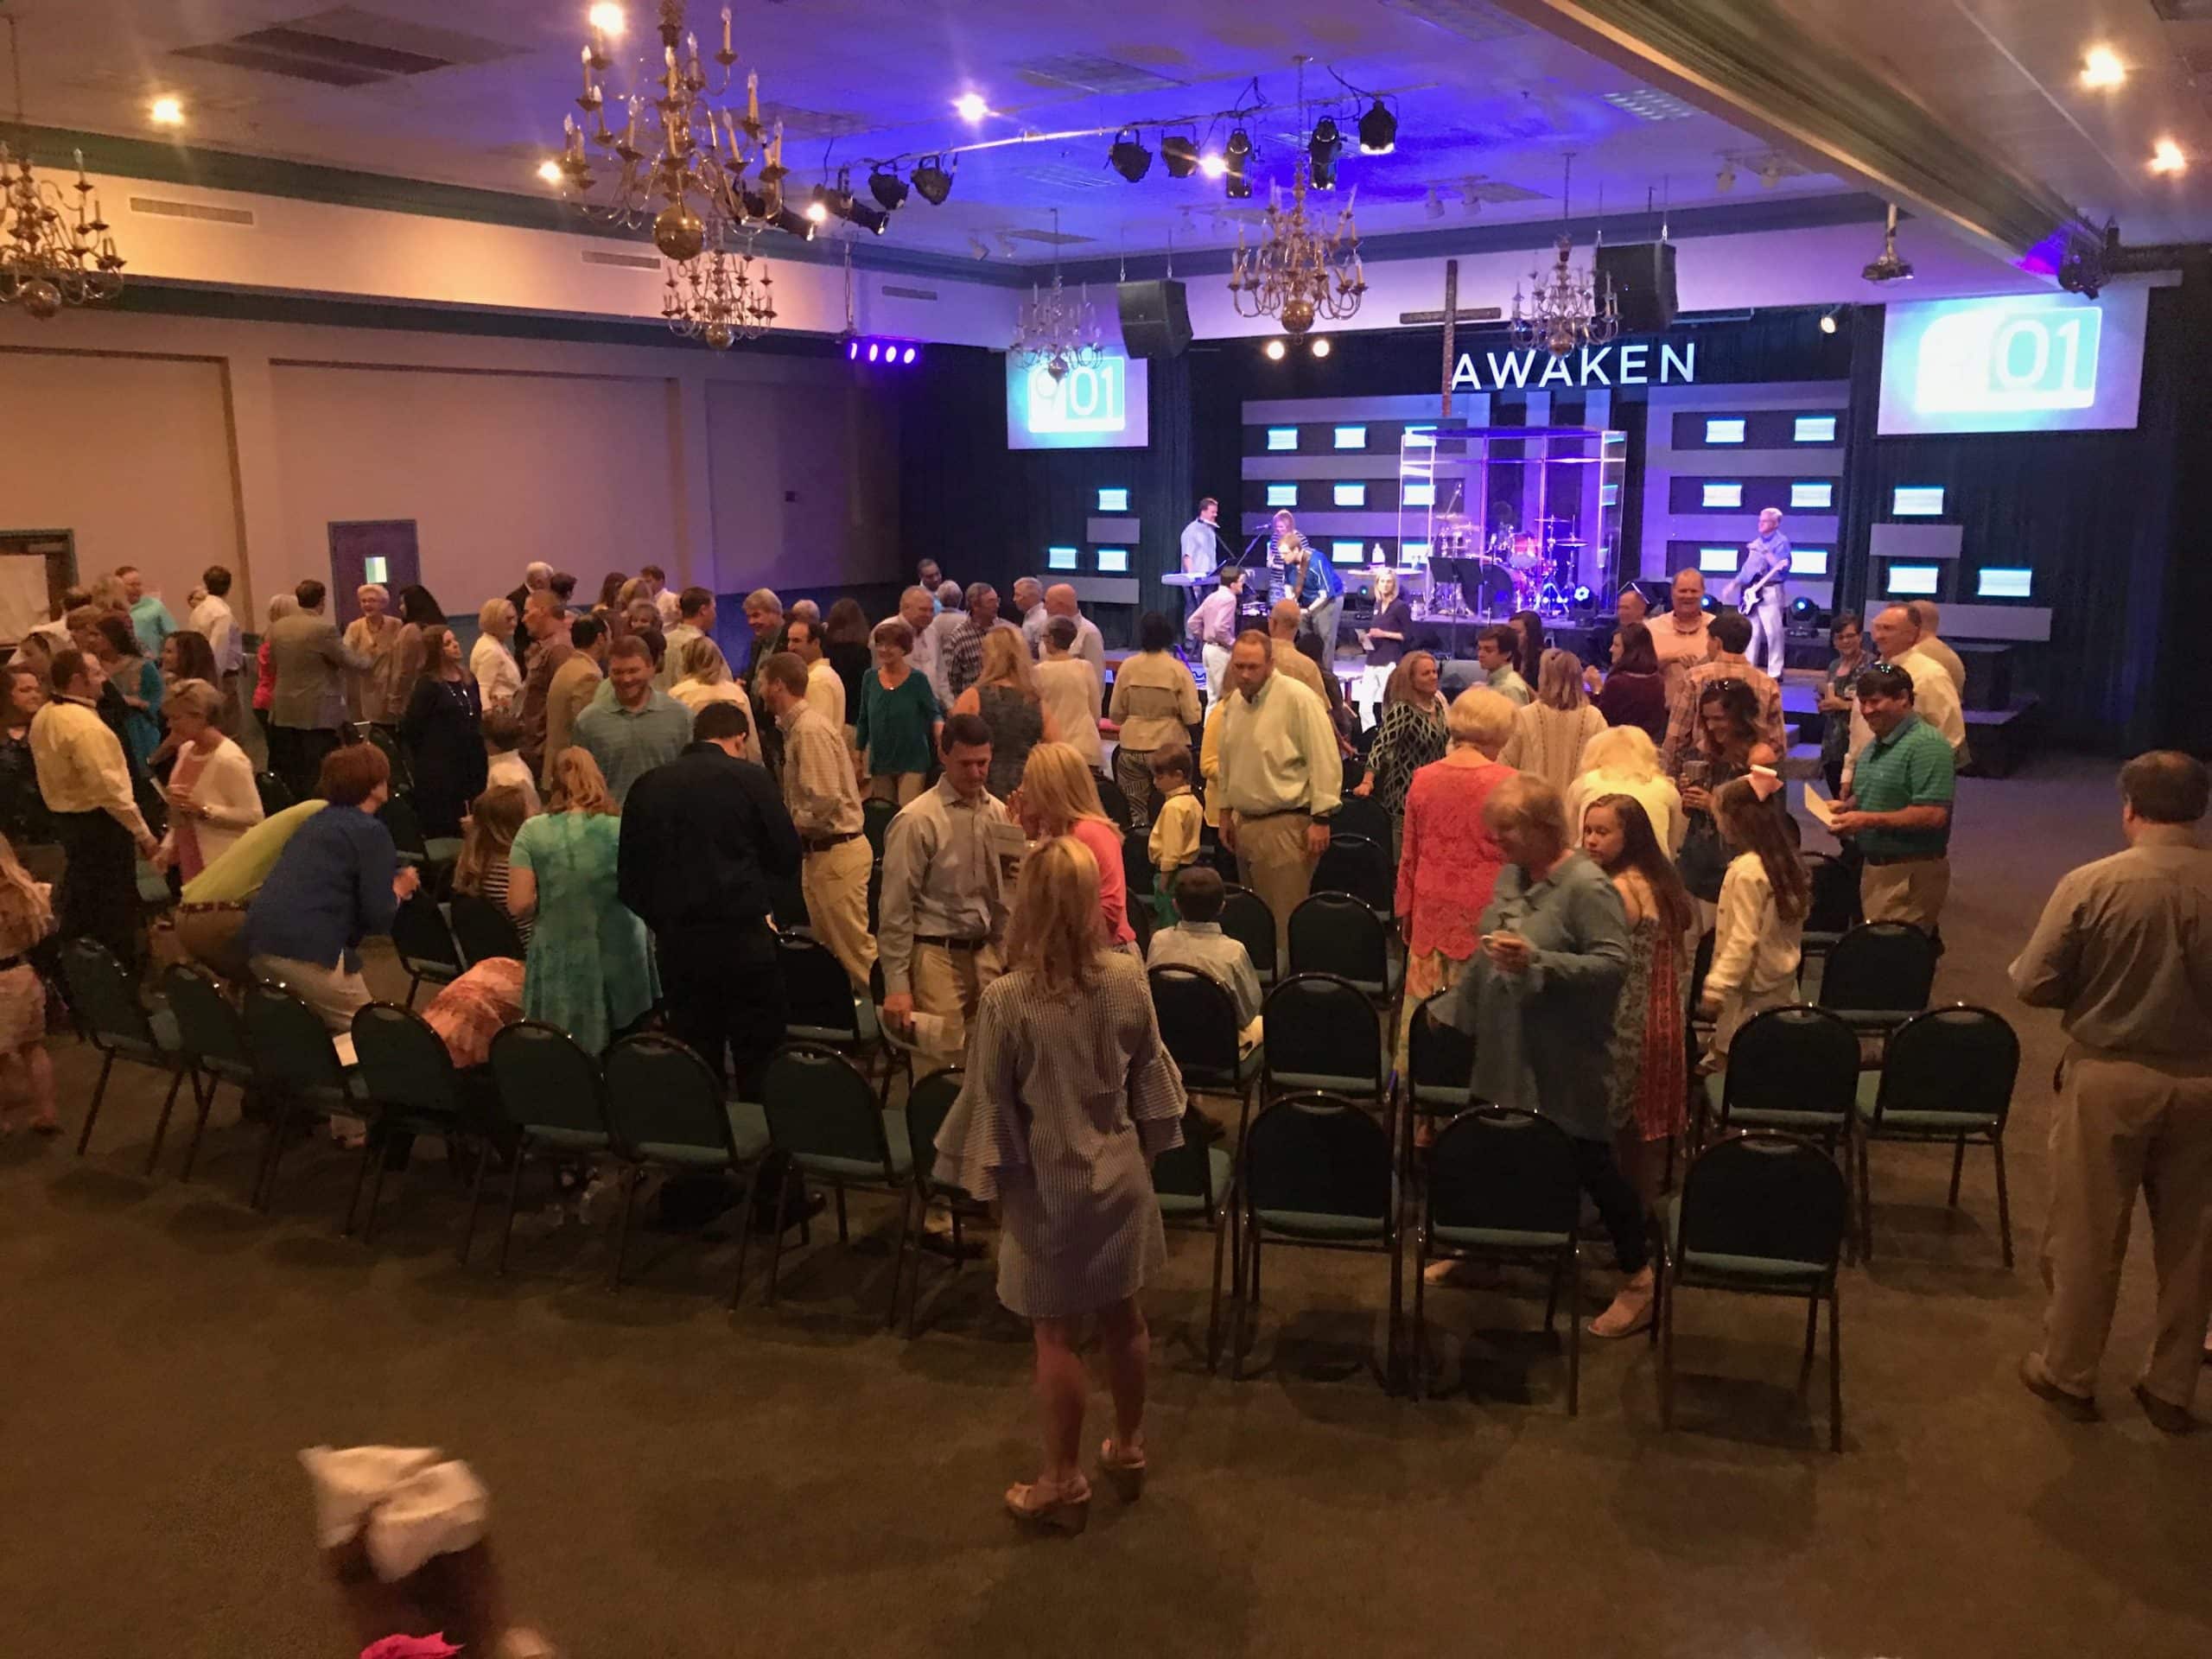
From Cameron: For our Lenten series this year, we custom fabricated 24 strobe light style light boxes for the back wall of our stage. Our series was called “Awaken” and we wanted to have lighting that could be kept low, desaturated, and subtle for the first part of the series, but could then become more of a focal point as the series progressed culminating in bright, colorful, and exciting Easter services.
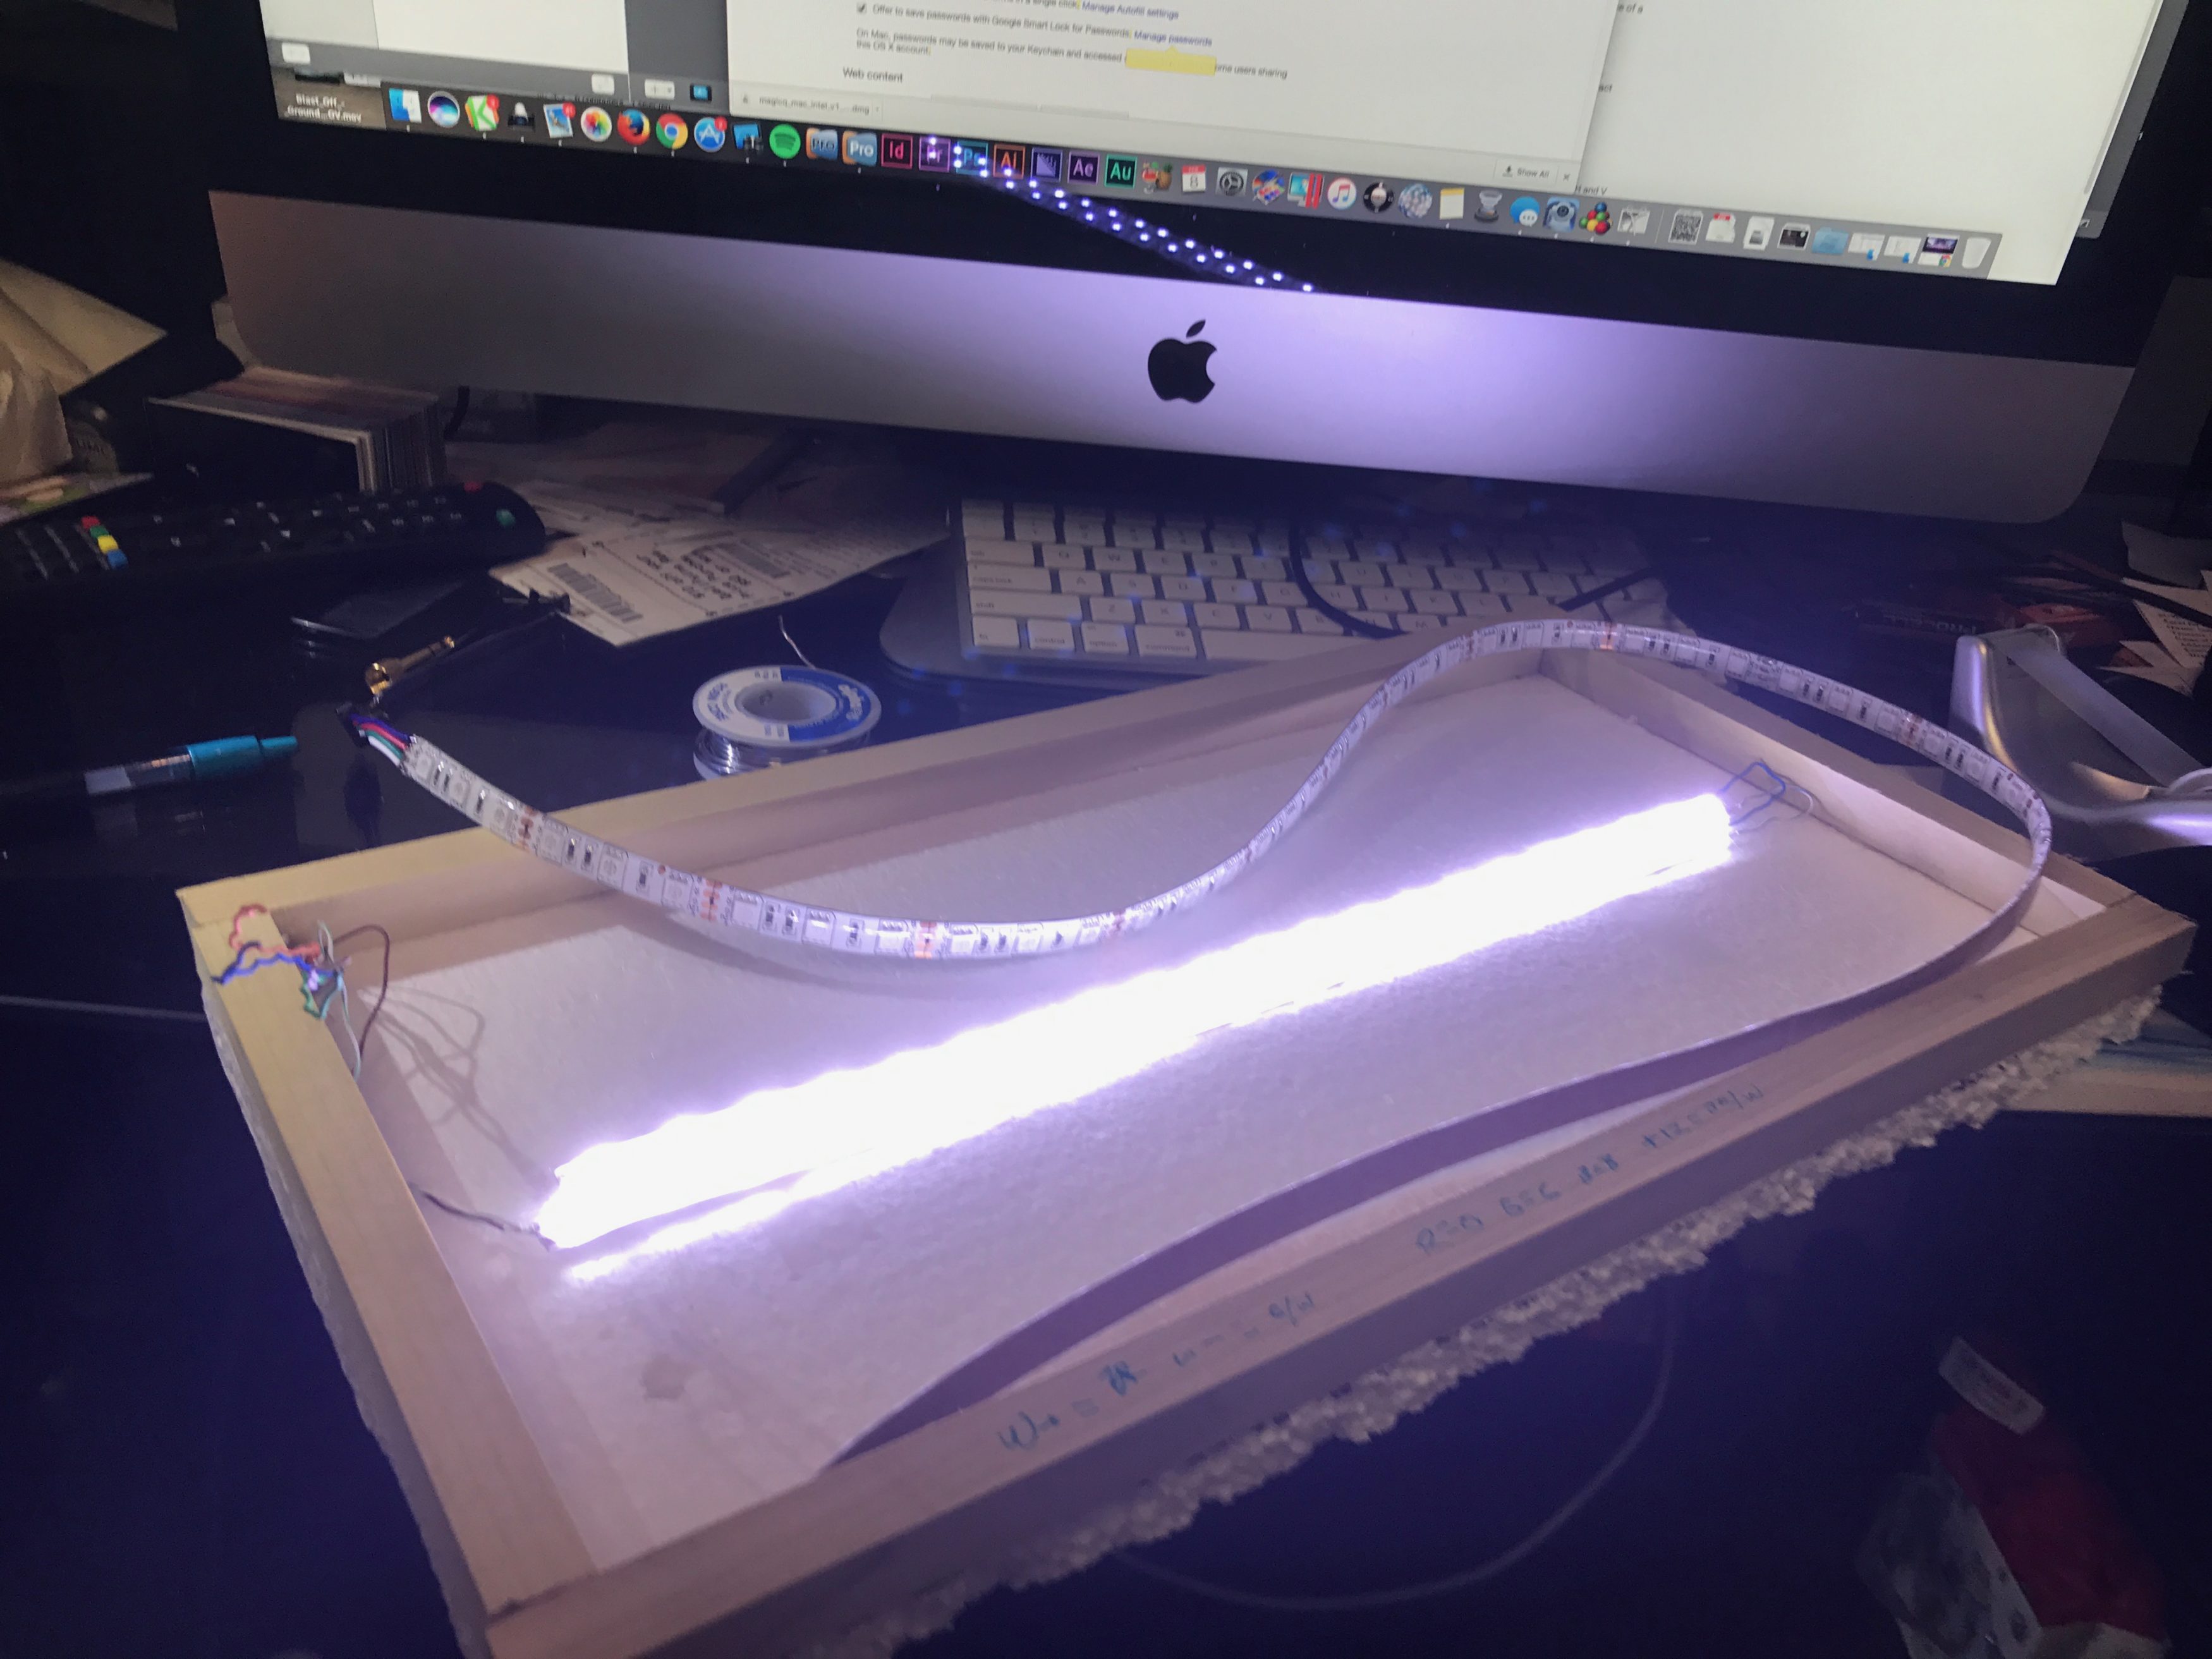
Our design called for 24 light boxes. Each light box consists of a one 1 meter length of RGB SMD 5050 led tape attached to the border of the box and two ~15 inch strips of cold white LEDS attached to a dowel rod in the center of the backboard. The led tape we used came in rolls exactly 5 meters in length, so we were able to create the entire design using a bout 5 full rolls of RGB and 4 rolls of cool white 5050 SMD LEDs. Before purchasing a ton of materials and components, I built a prototype unit to make sure the measurements would work and that we could knock out several more easily. I’m glad we created the prototype because it changed a bunch of the design aspects.
Instead of mounting the strip of white lights in the center of the backboard, we added a dowel rod and mounted the white LEDs at a 45° angle so that the beam spread of the white light strip can also bounce some light off of the backboard giving the illusion of a brighter light which worked tremendously. The prototype also allowed us to change the paint scheme of the backboard. Originally we were going to go with a metallic or foil finish, the thought being to reflect the light forward. That didn’t look very good and the light being reflected around didn’t make it look as bright and it seemed like it could have added some headaches to the wiring process, so we opted for a white backboard instead.
We built a led controller to drive this display using 96 channels of DMX. (24 fixtures with 4 channels each) The controller consists of 3 36 channel controllers and 3 power supplies. The first two drivers power the RGB for the light boxes in two groups of 12. The third driver powers the white strobe light for all 24 boxes. For ease of connecting and disconnecting each light, we opted to use cat5e cable and network connectors which worked well for our short, low current strips. A 24 channel networking patch panel was built into the controller which allowed for quick installation and will allow this system to be reconfigurable in the future without having to do much extra work. I realize this solution wouldn’t work for everyone, particularly for longer led strips or longer cable runs. Be careful when using non-standard wiring solutions unless you know the limitations of the cable and the current draw of your strips.
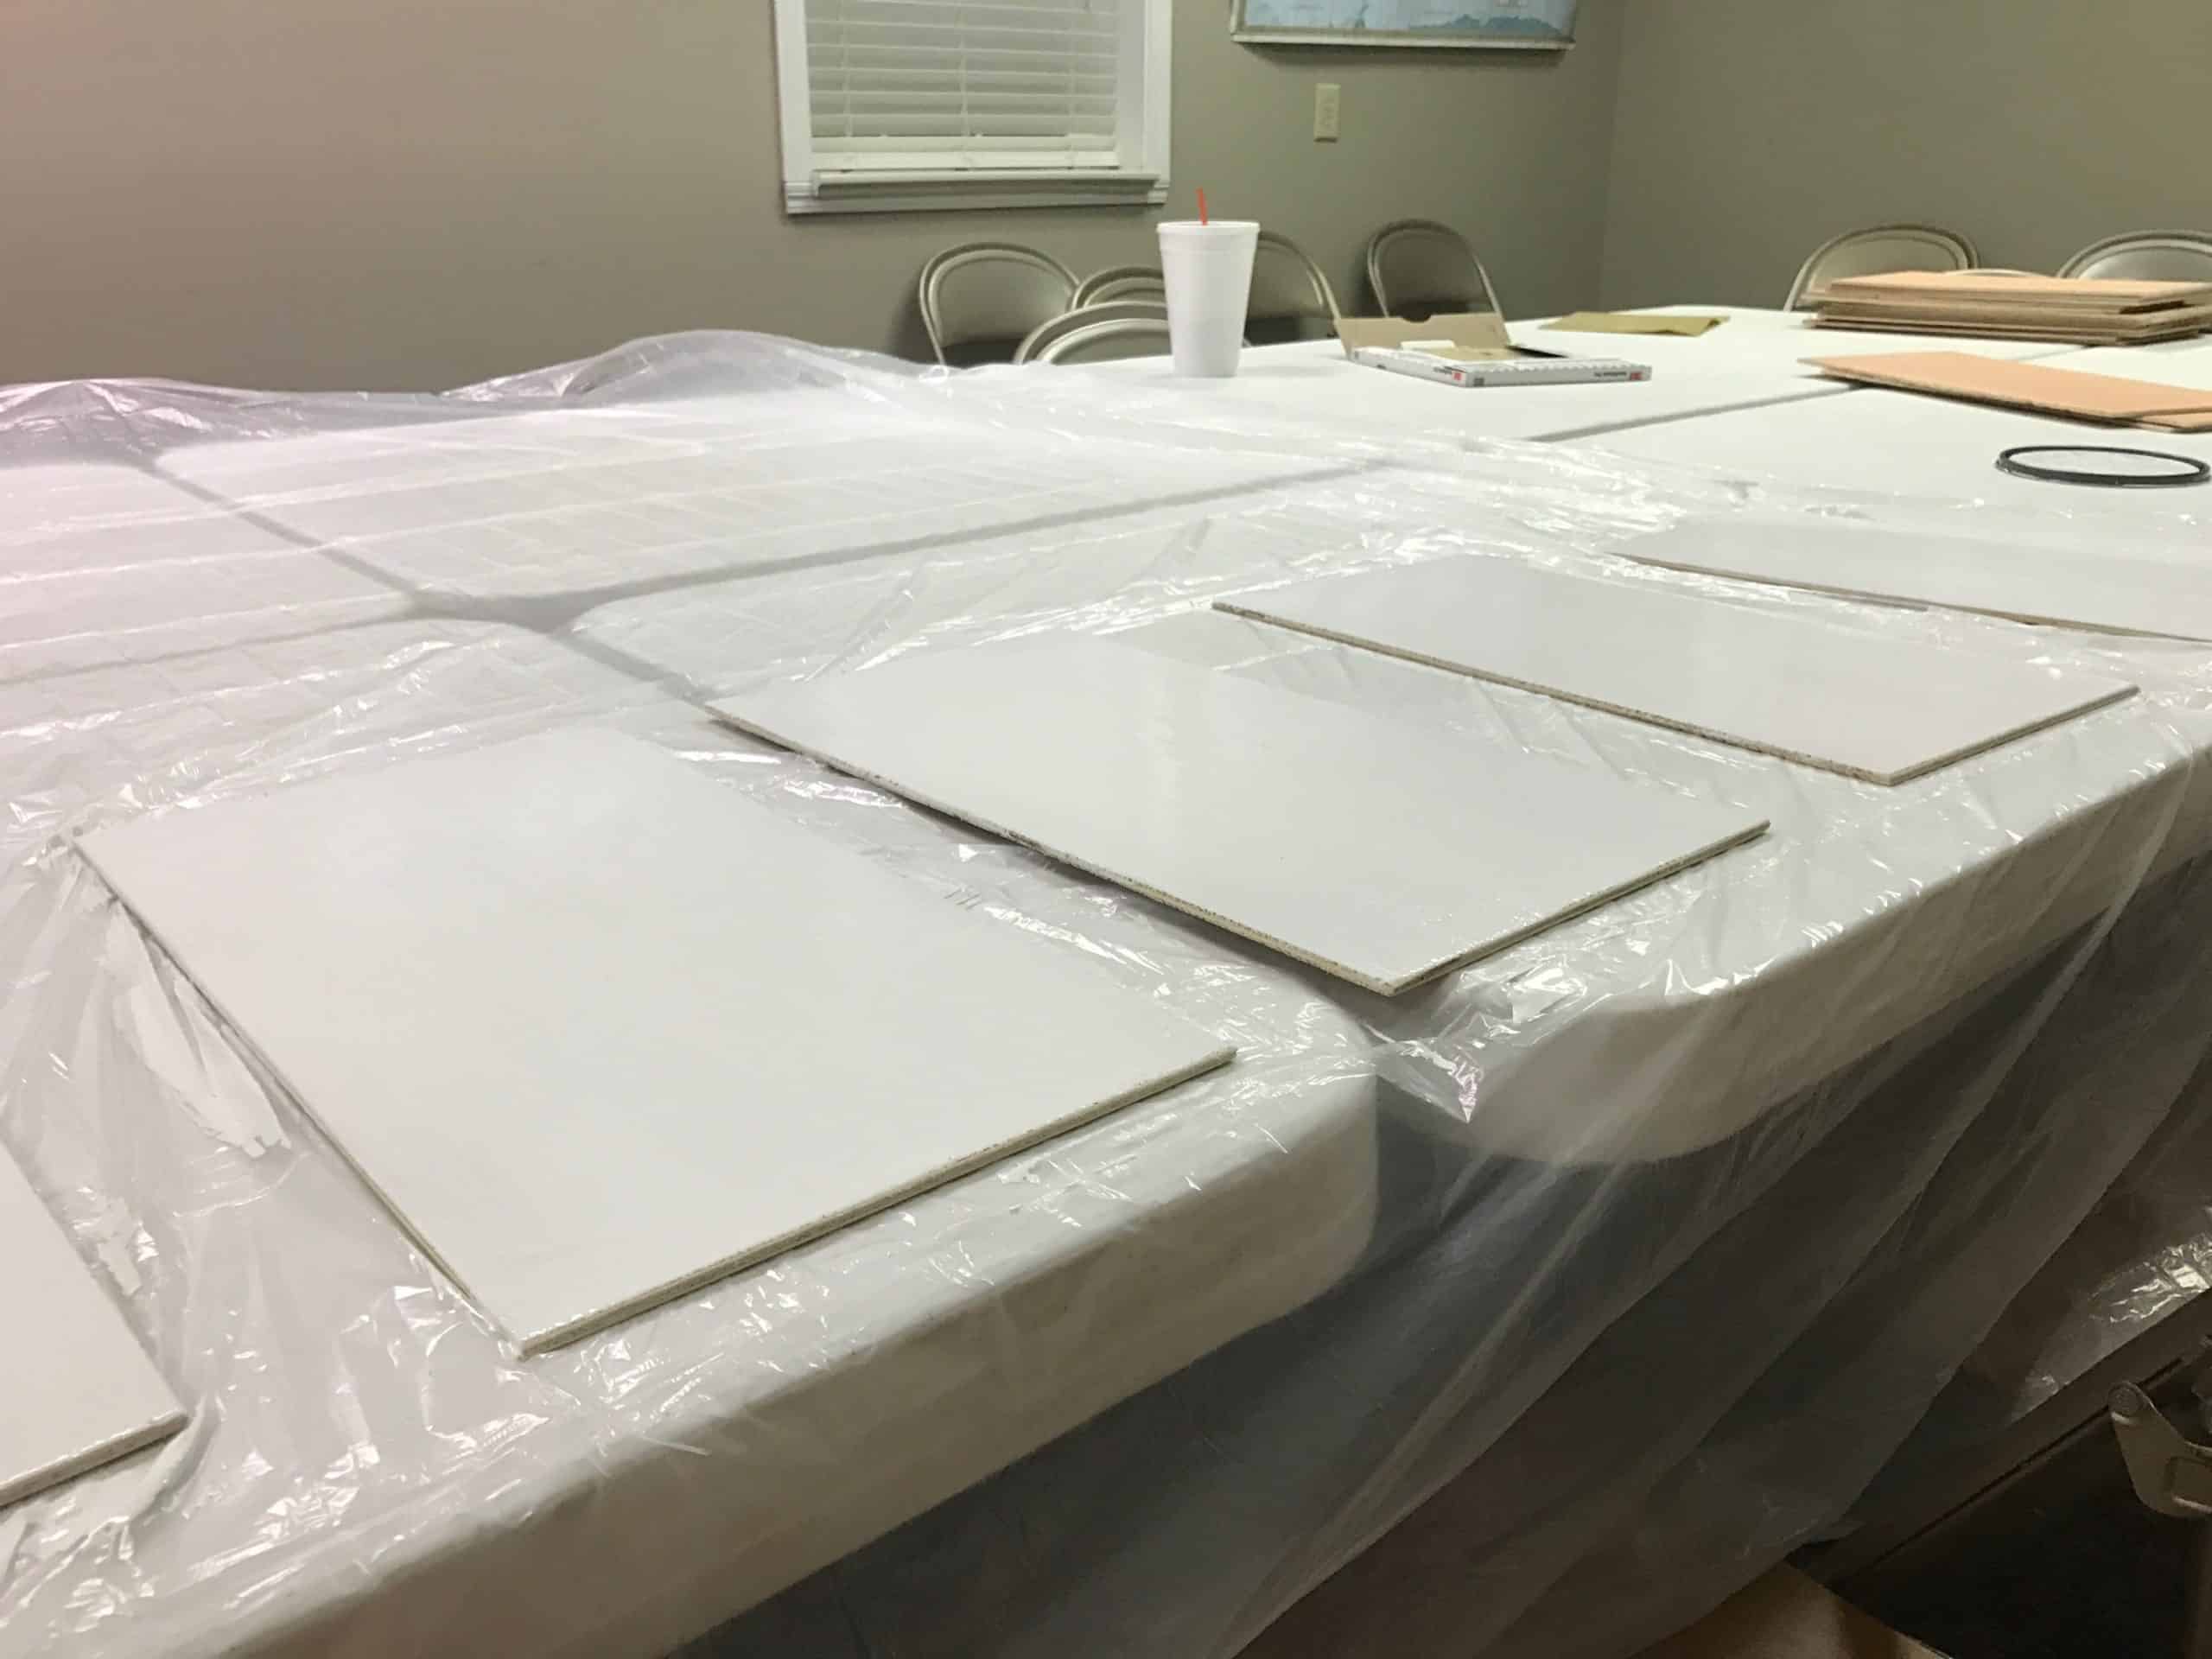
A local high school shop class volunteered to trim the wood to size and help us prepare some of the pieces for assembly. Thank you Statesboro High School and Mr. White! Each light box is built with a Luan back board measuring 17”x9” with a frame made from two 0.5”x0.75”x17” pieces and two 0.5”x0.75”8” pieces. The luan backboard was painted flat white and the frame painted flat black. The 17” pieces had a 10° angle to help direct the RGB light onto the backboard.
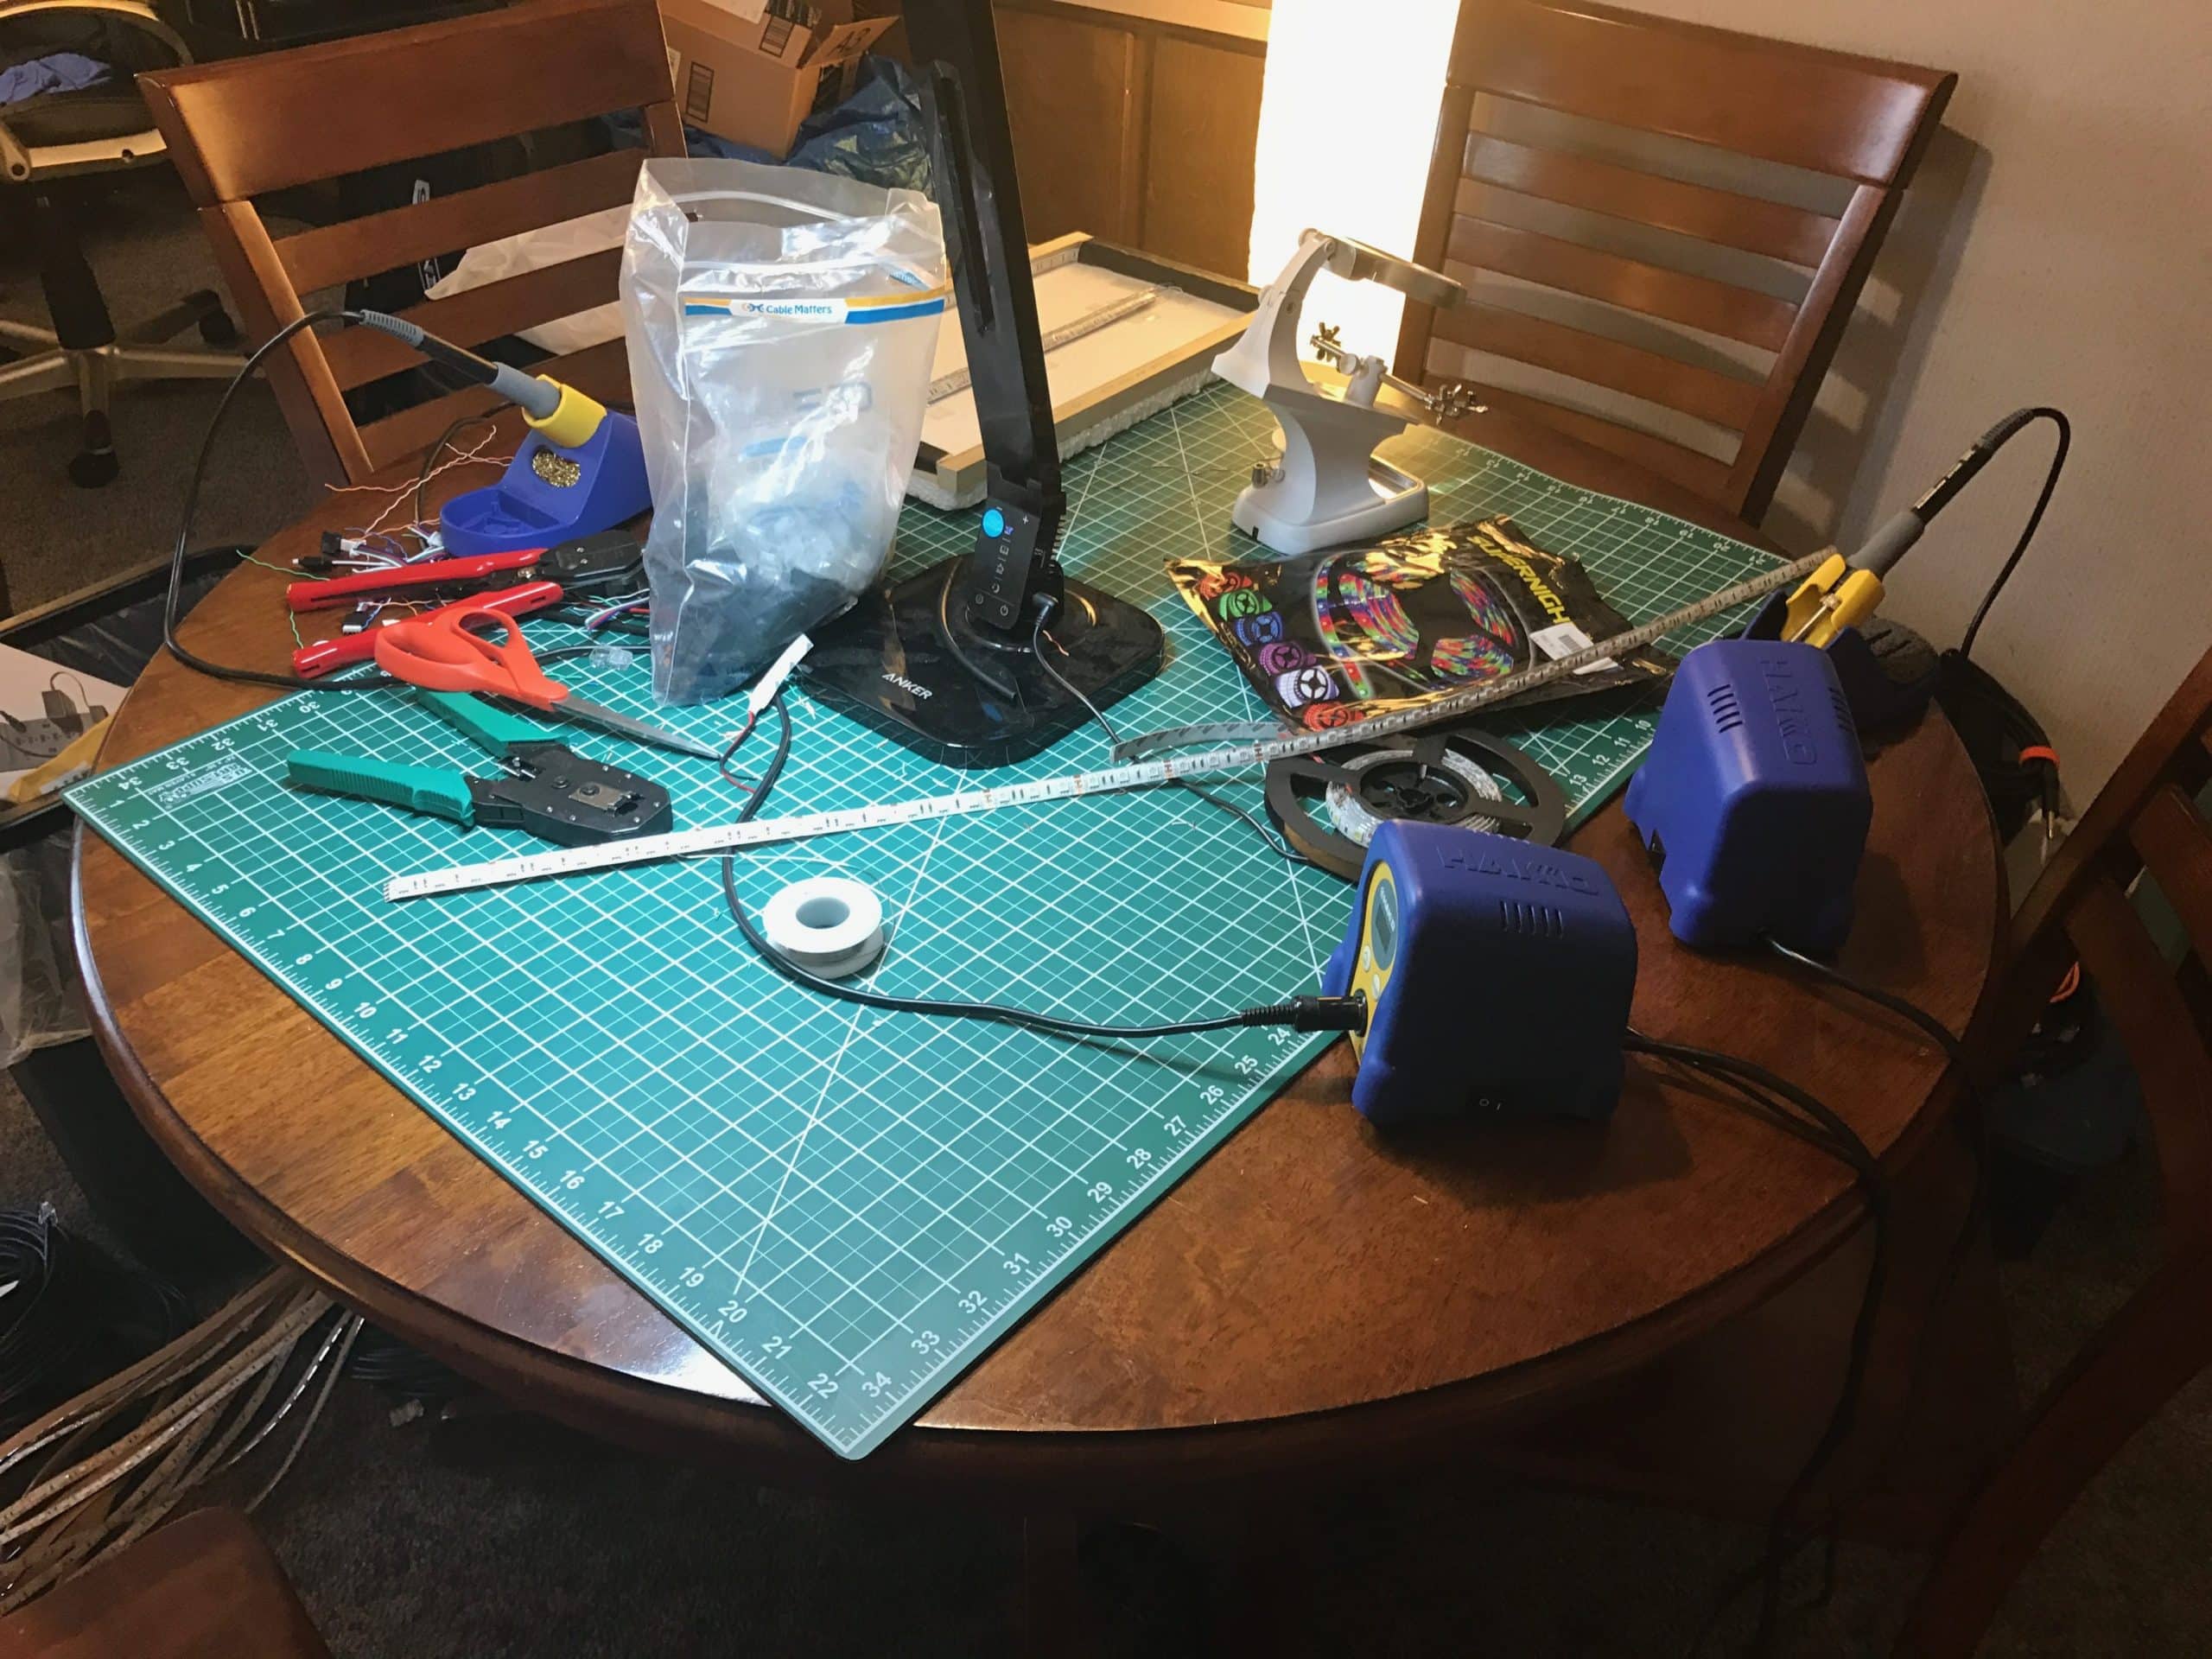
We soldered the LED strips while waiting on the wood to arrive. The one meter length of RGB tape runs along the inside of the frame starting at the top, wrapping around one side, and ending at the bottom. The LEDs are covered on the side that runs up and down so that light only comes from the top and bottom of the frame. The way the wiring ran into the frame allowed us to solder all of the RGB wiring in advance but we decided to wait until the lights were assembled before attacking the white LED strips
Once the wood pieces arrived and were painted, they were assembled around the LED strip and then the LEDs were adhered to the frame. The strips came with adhesive on the back, however that adhesive didn’t work very well with the freshly painted wood, so we ended up using contact cement to attach the LEDs to the frame, the contact cement has held up well after months of use. The white LED strips were then glued to a wooden dowel and attached to the center of the backboard using hot glue.
The final step was to solder the white LED strips to the cat5 and the boxes were ready to mount. The fabricating process actually went pretty quickly and was a lot of fun. We had an assembly line set up with church staff and volunteers all pitching in to help with assembling the lights.
The grey boards were painted and mounted to the stage wall by second crew while we worked on the light boxes. We then came in and attached the light boxes to the wall using a finishing nailer through the backboard. The lights weigh next to nothing and we wanted a clean look, so we opted to use finishing nails instead of screws.
The controller integrated with our existing lighting system with no hiccups and the result was amazing! For a little less than $700 (not including tools we already had on hand) we were able to add 24 new fixtures into our lighting rig and create a dynamic display that has now withstood months of use. It took about 120 work hours between everyone and a few movie nights/solder parties to pull it off.
[tentblogger-youtube ld9kZmcSsdA]


Fantastic! I love the assembly and clean layout of the controllers. Really inspiring. One question- your white holder/magnifier thingy – do you remember where you purchased that? It’s really strong-looking and looks helpful.
Again-well done.
AWESOME Job! That was one OCD wiring job. Perfection.
That helping hand magnifier actually belongs to my buddy, so I’ll have to reach out to him to verify, but I believe it’s this: http://amzn.to/2y0lrHX