



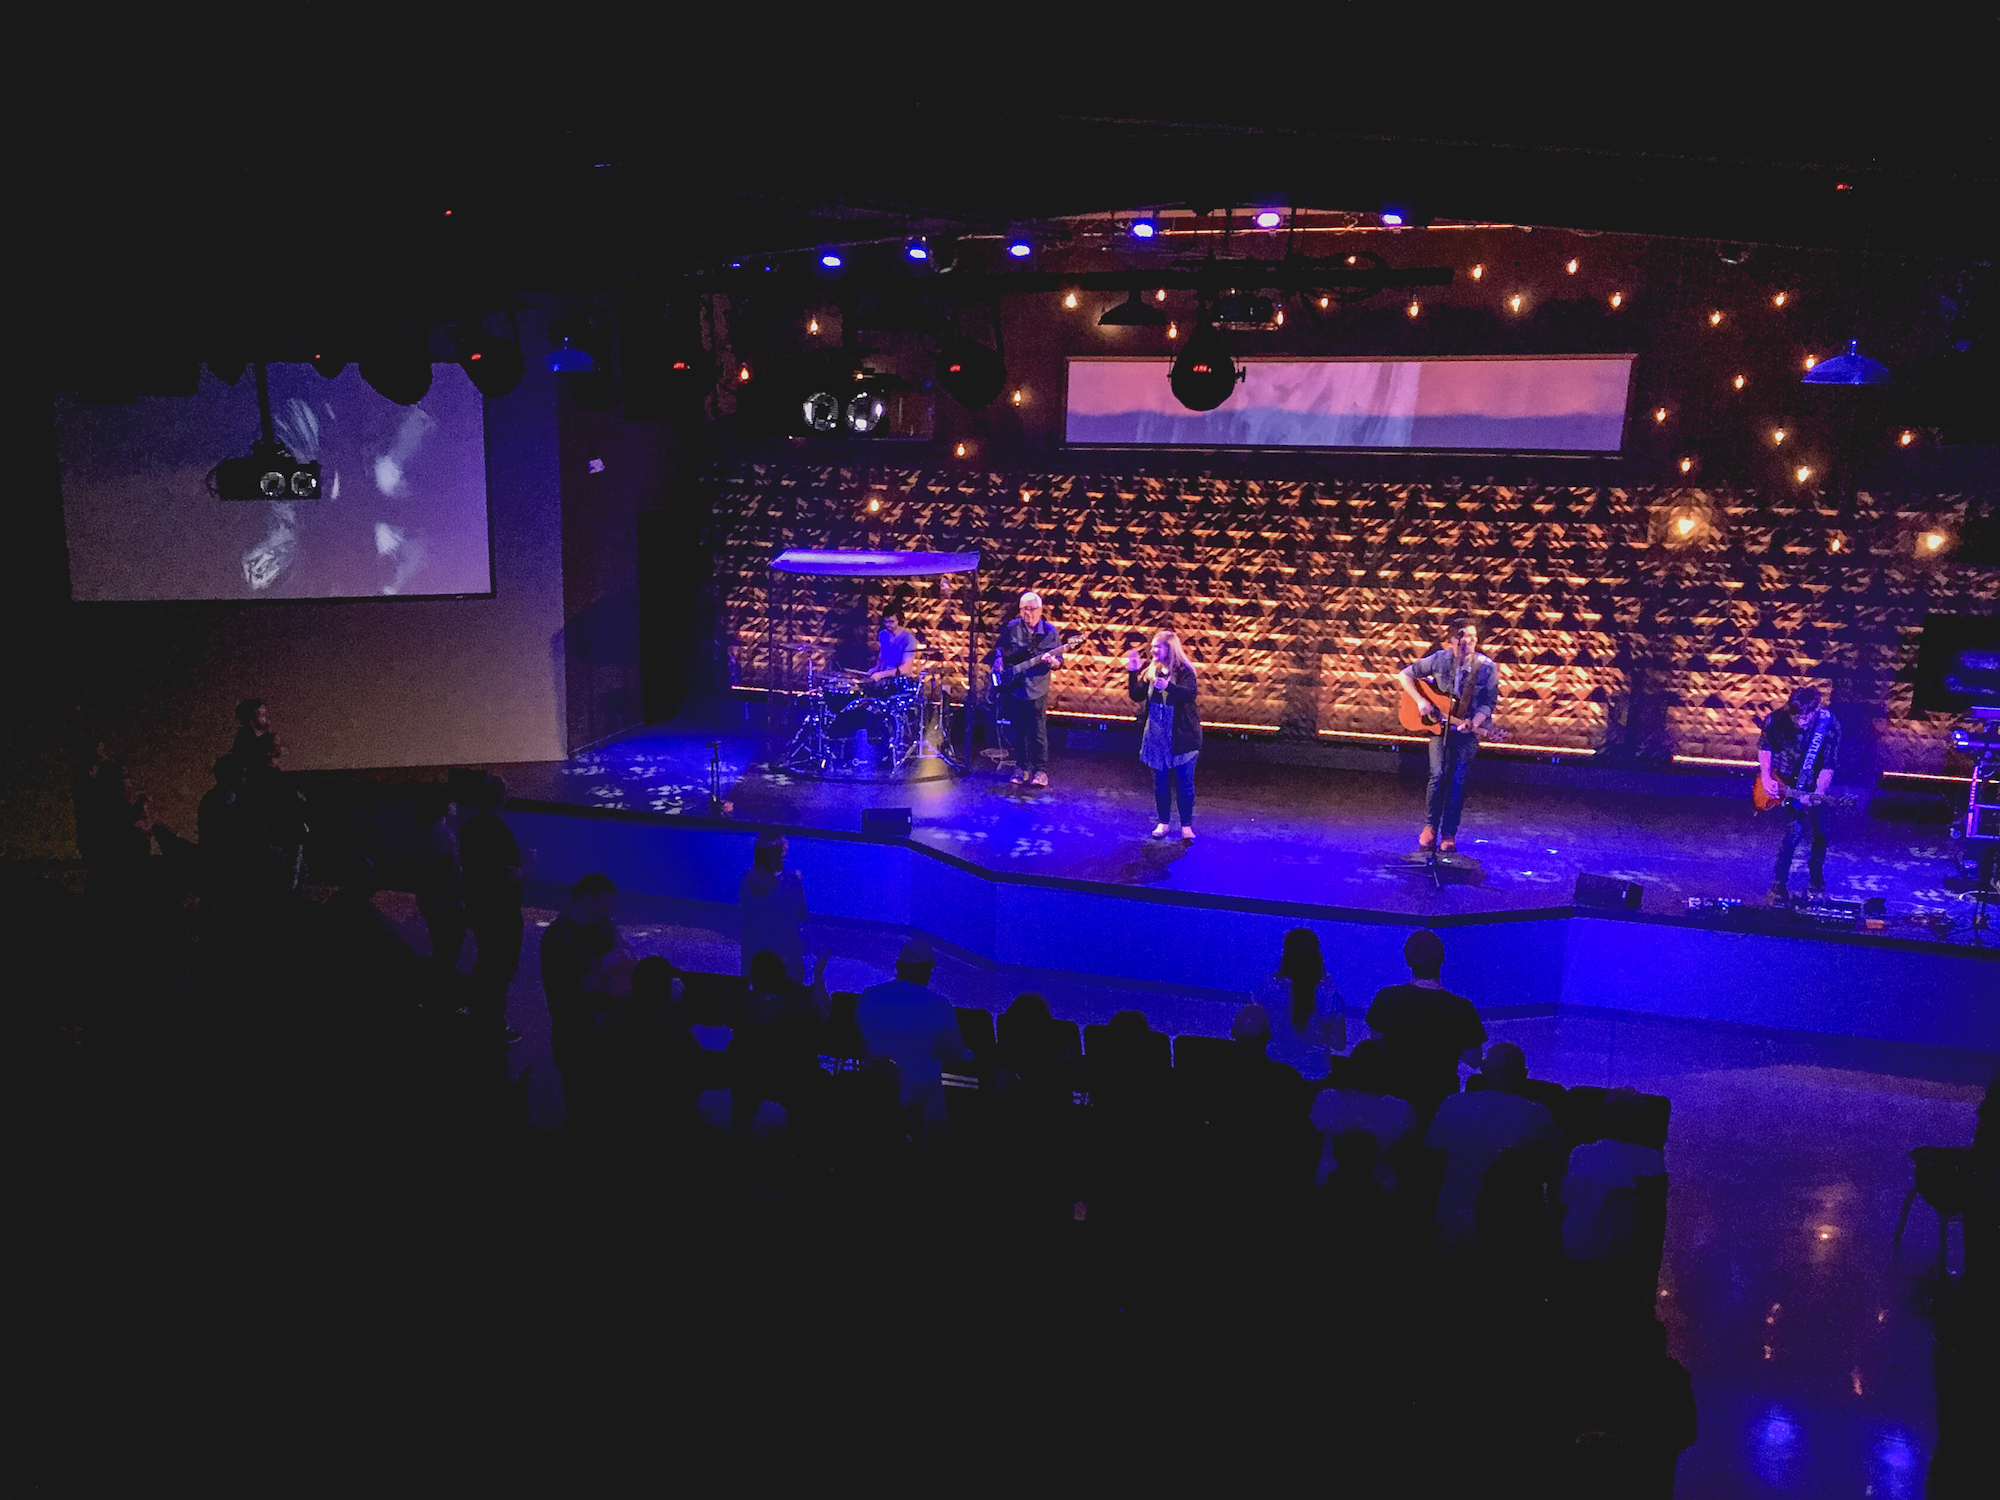
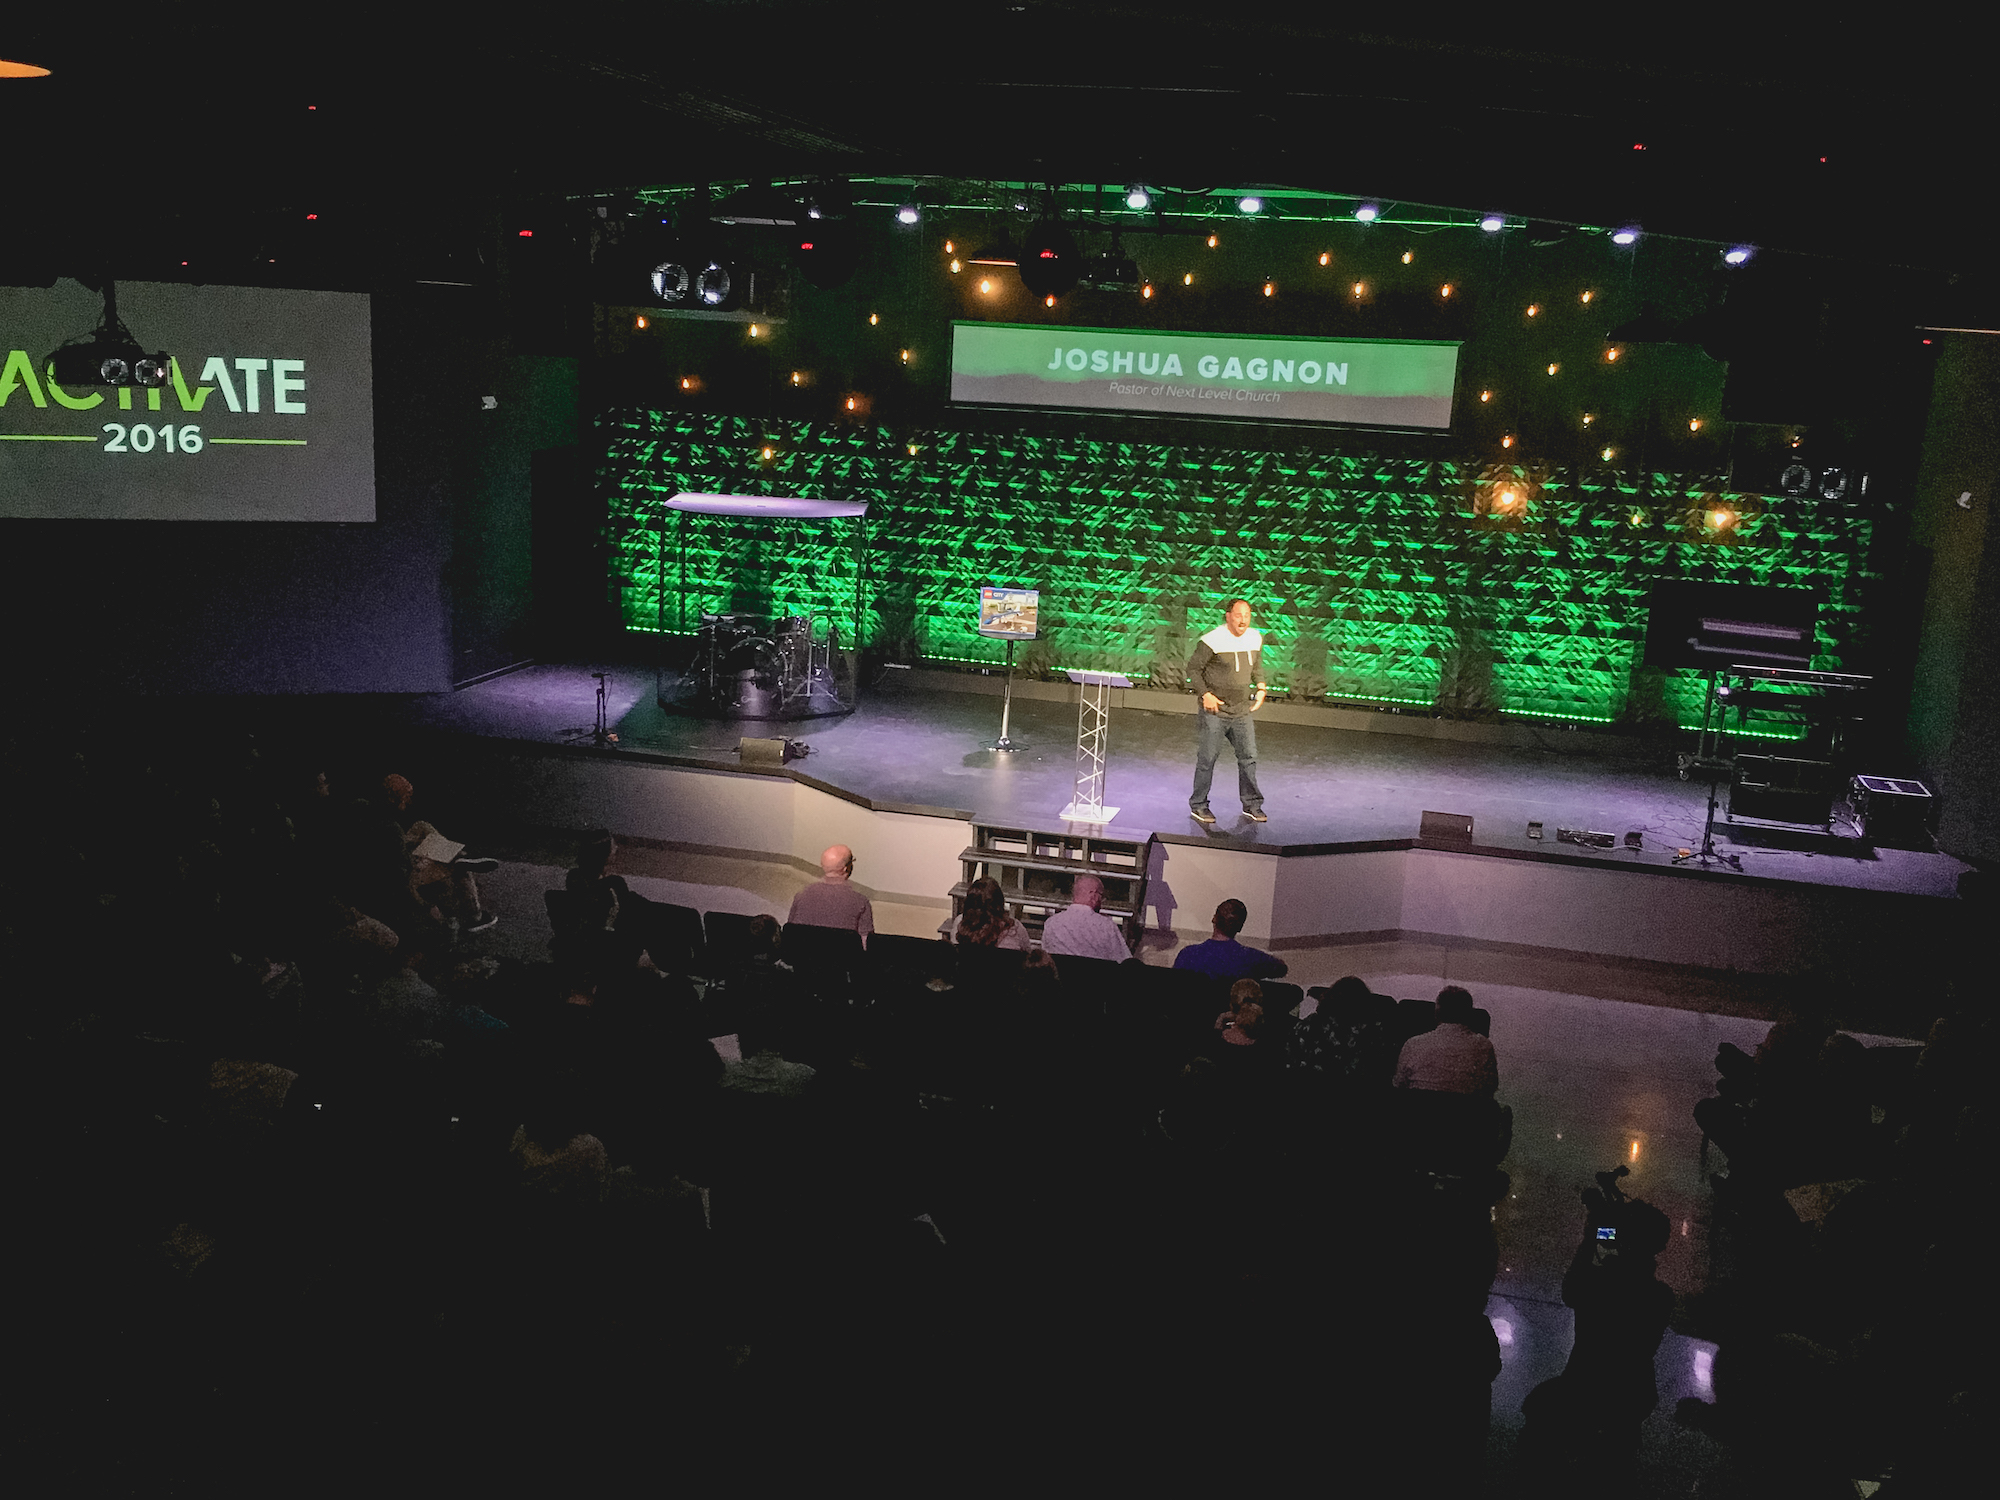
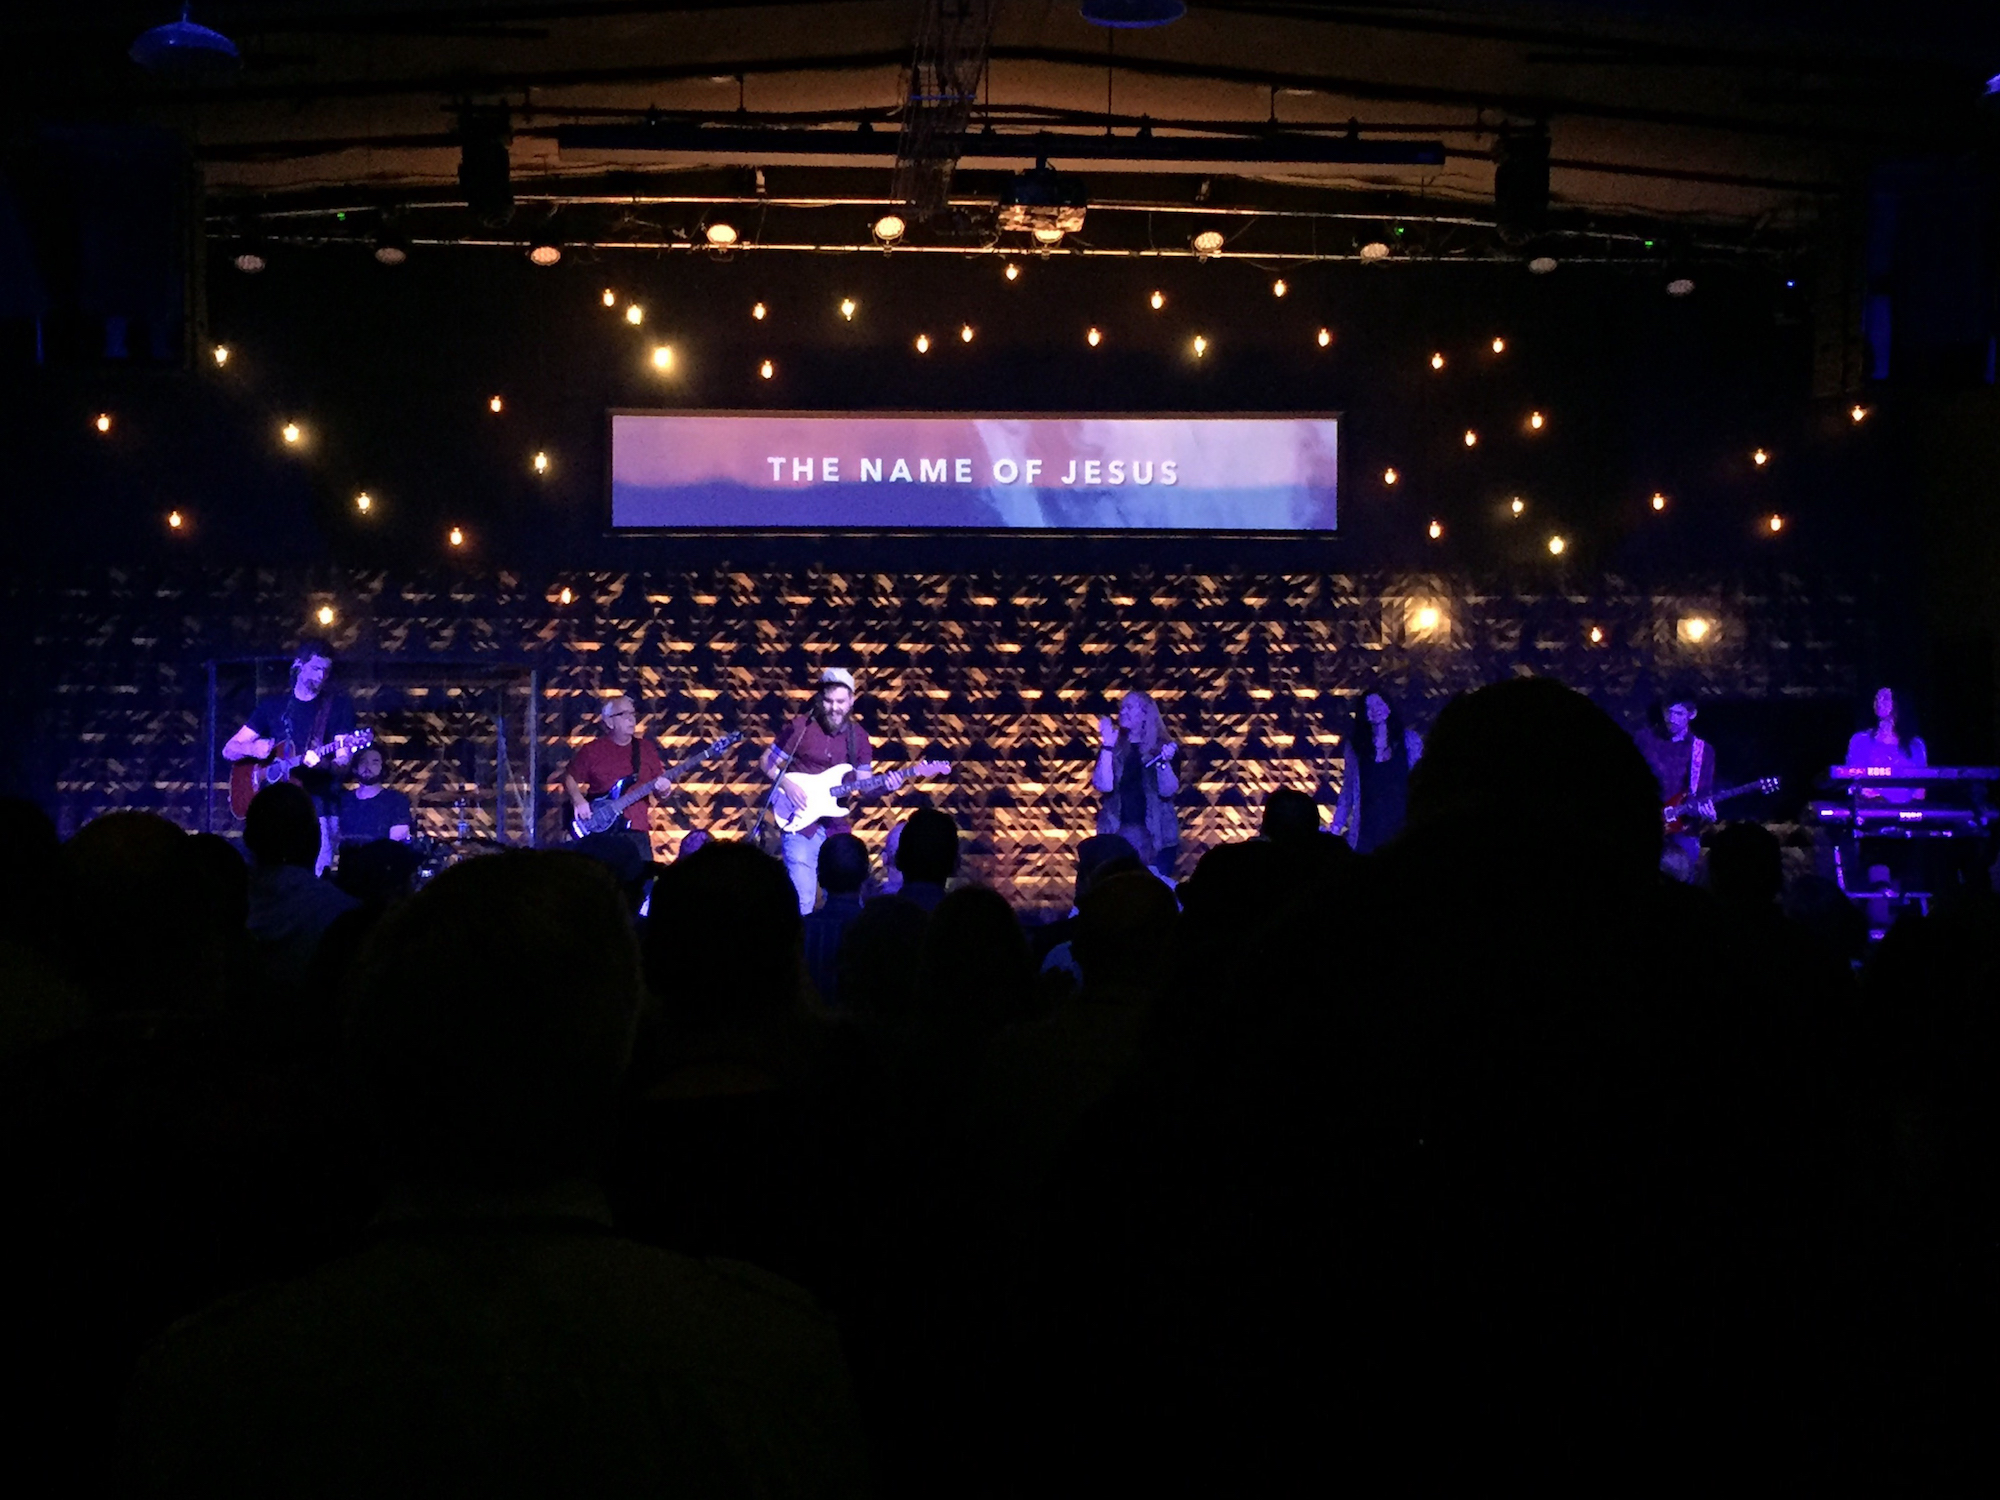
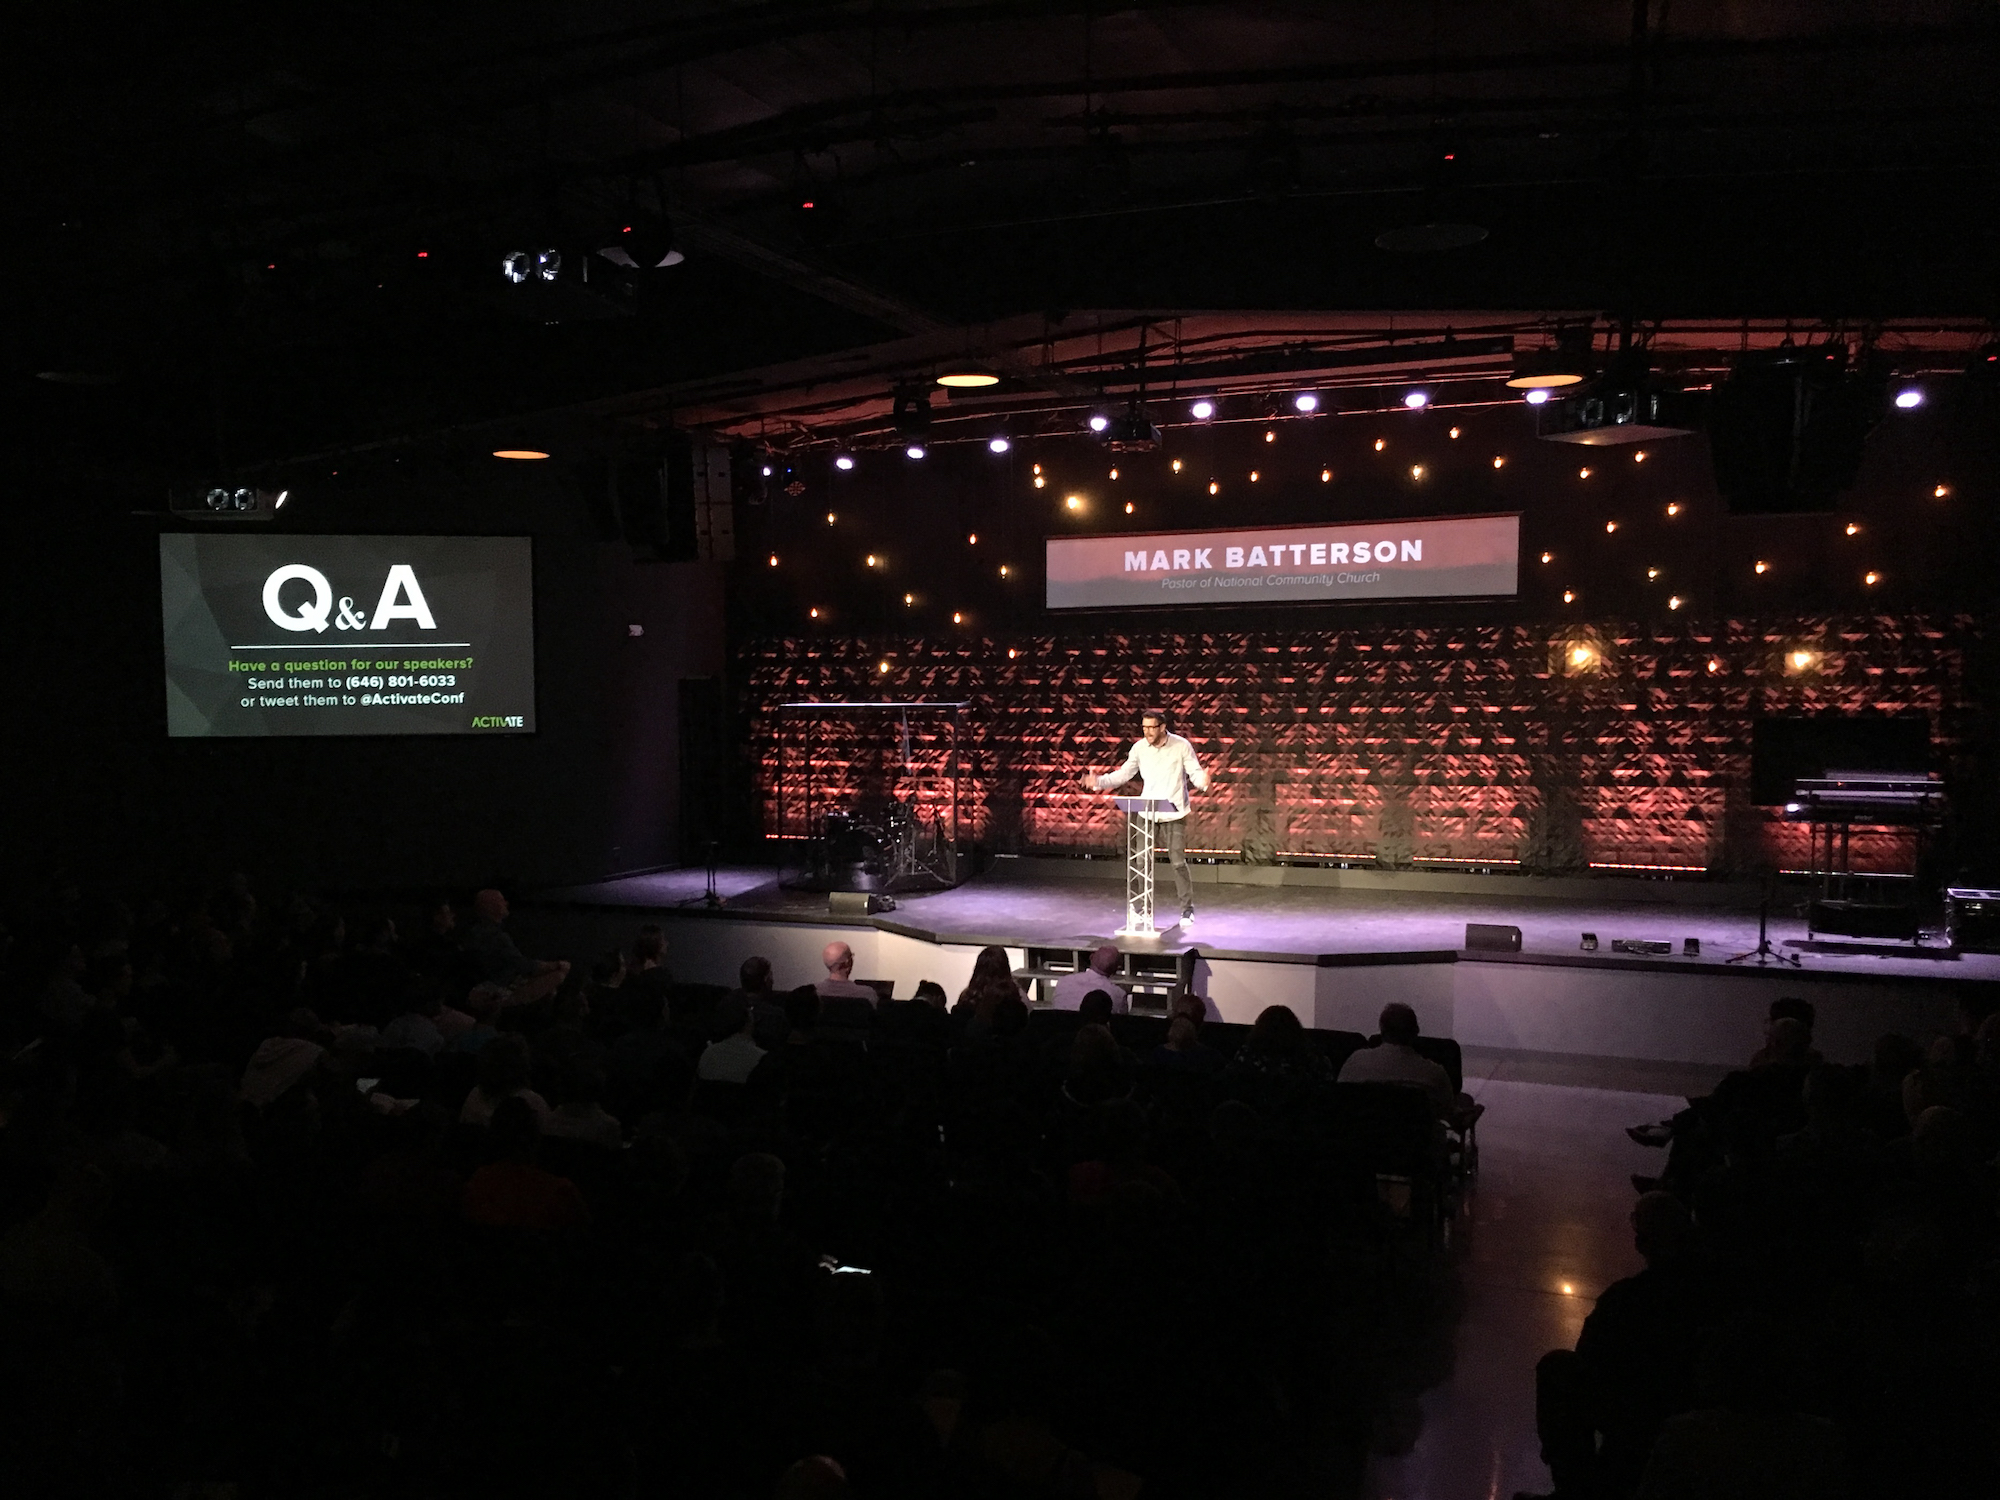
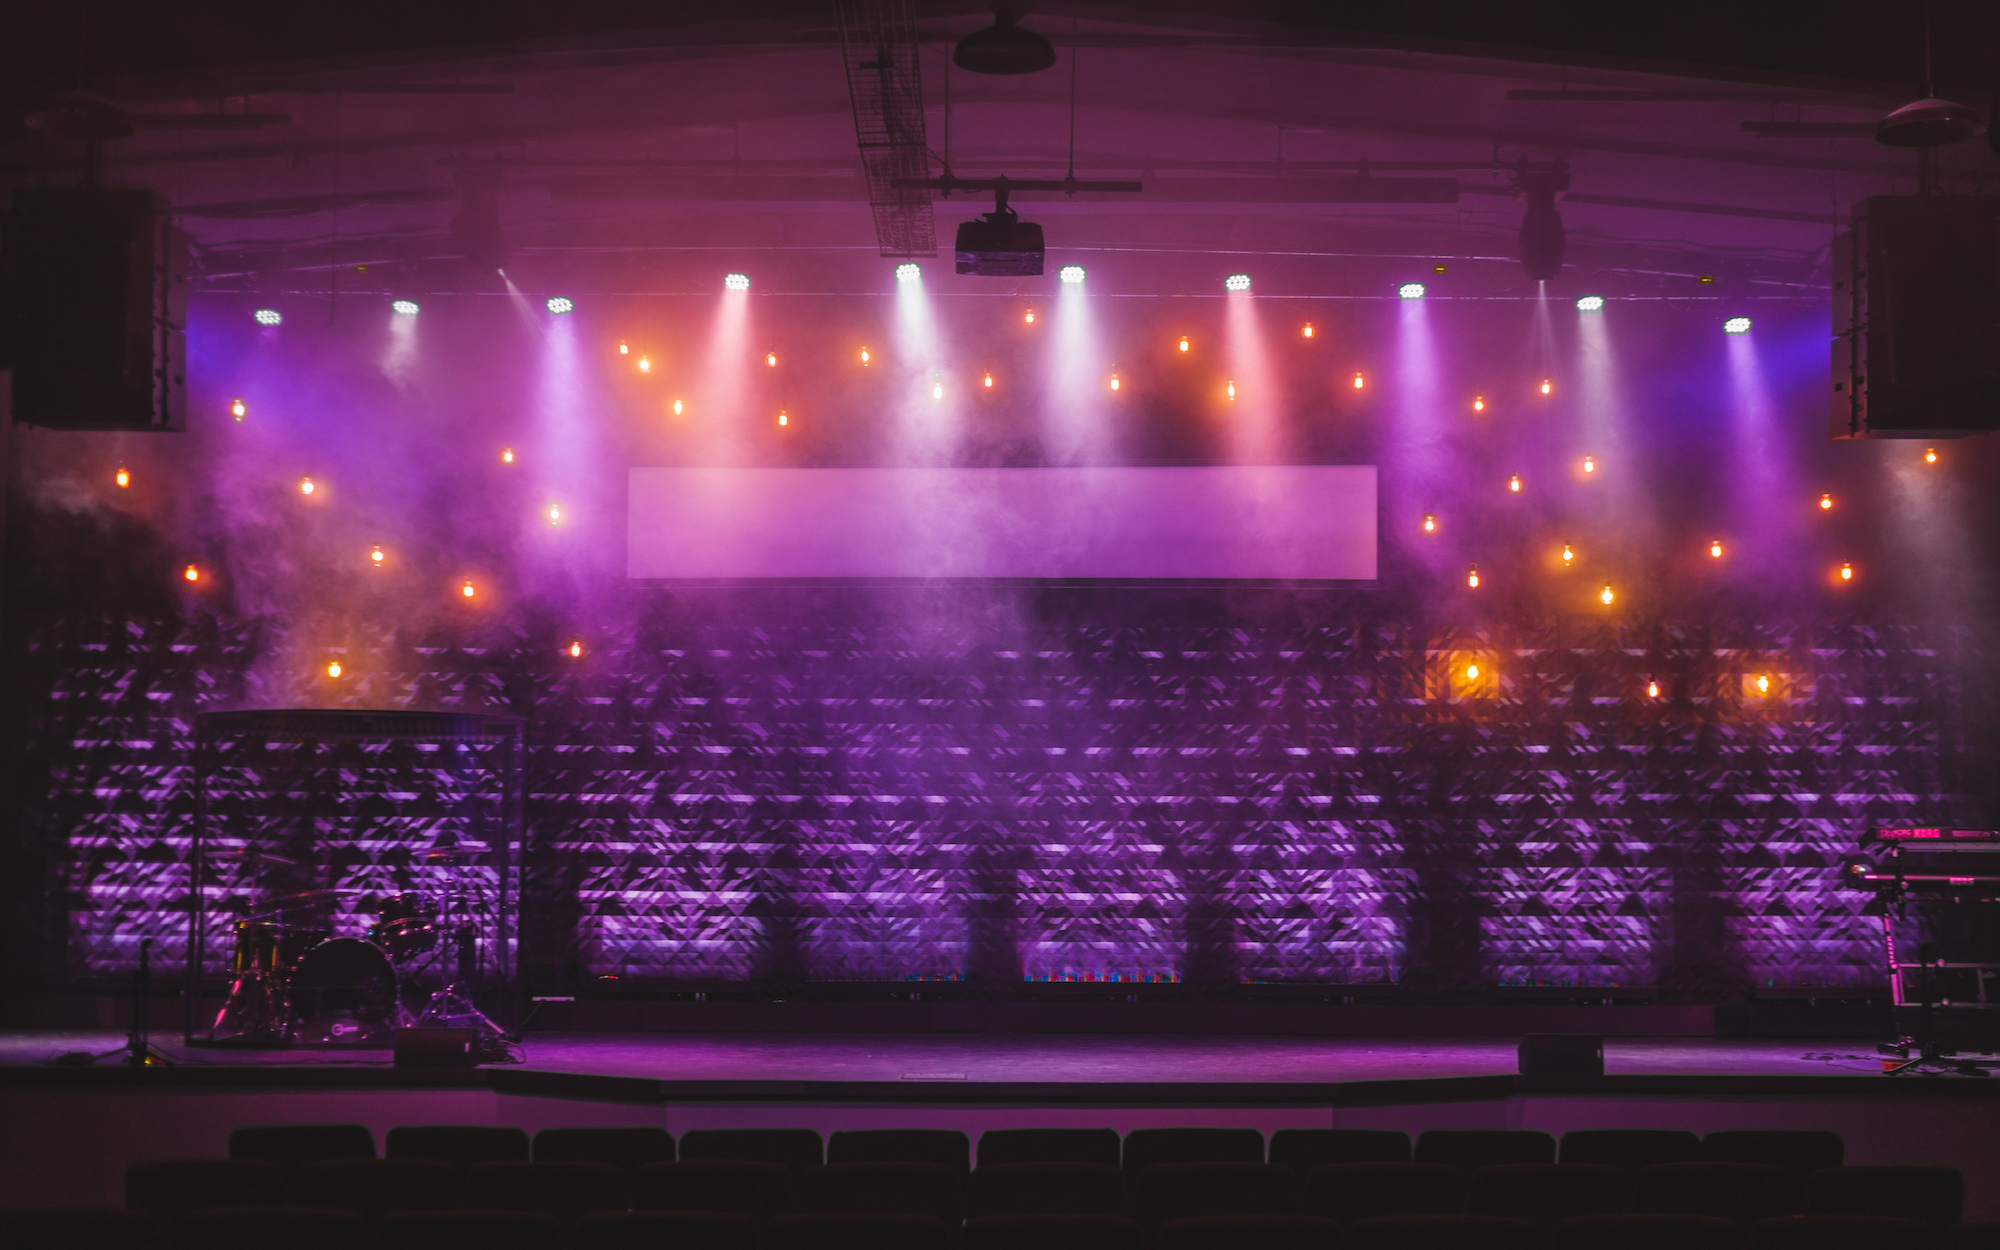
Matt M Higgins from Next Level Church in Somersworth, NH brings us this textured stage design.
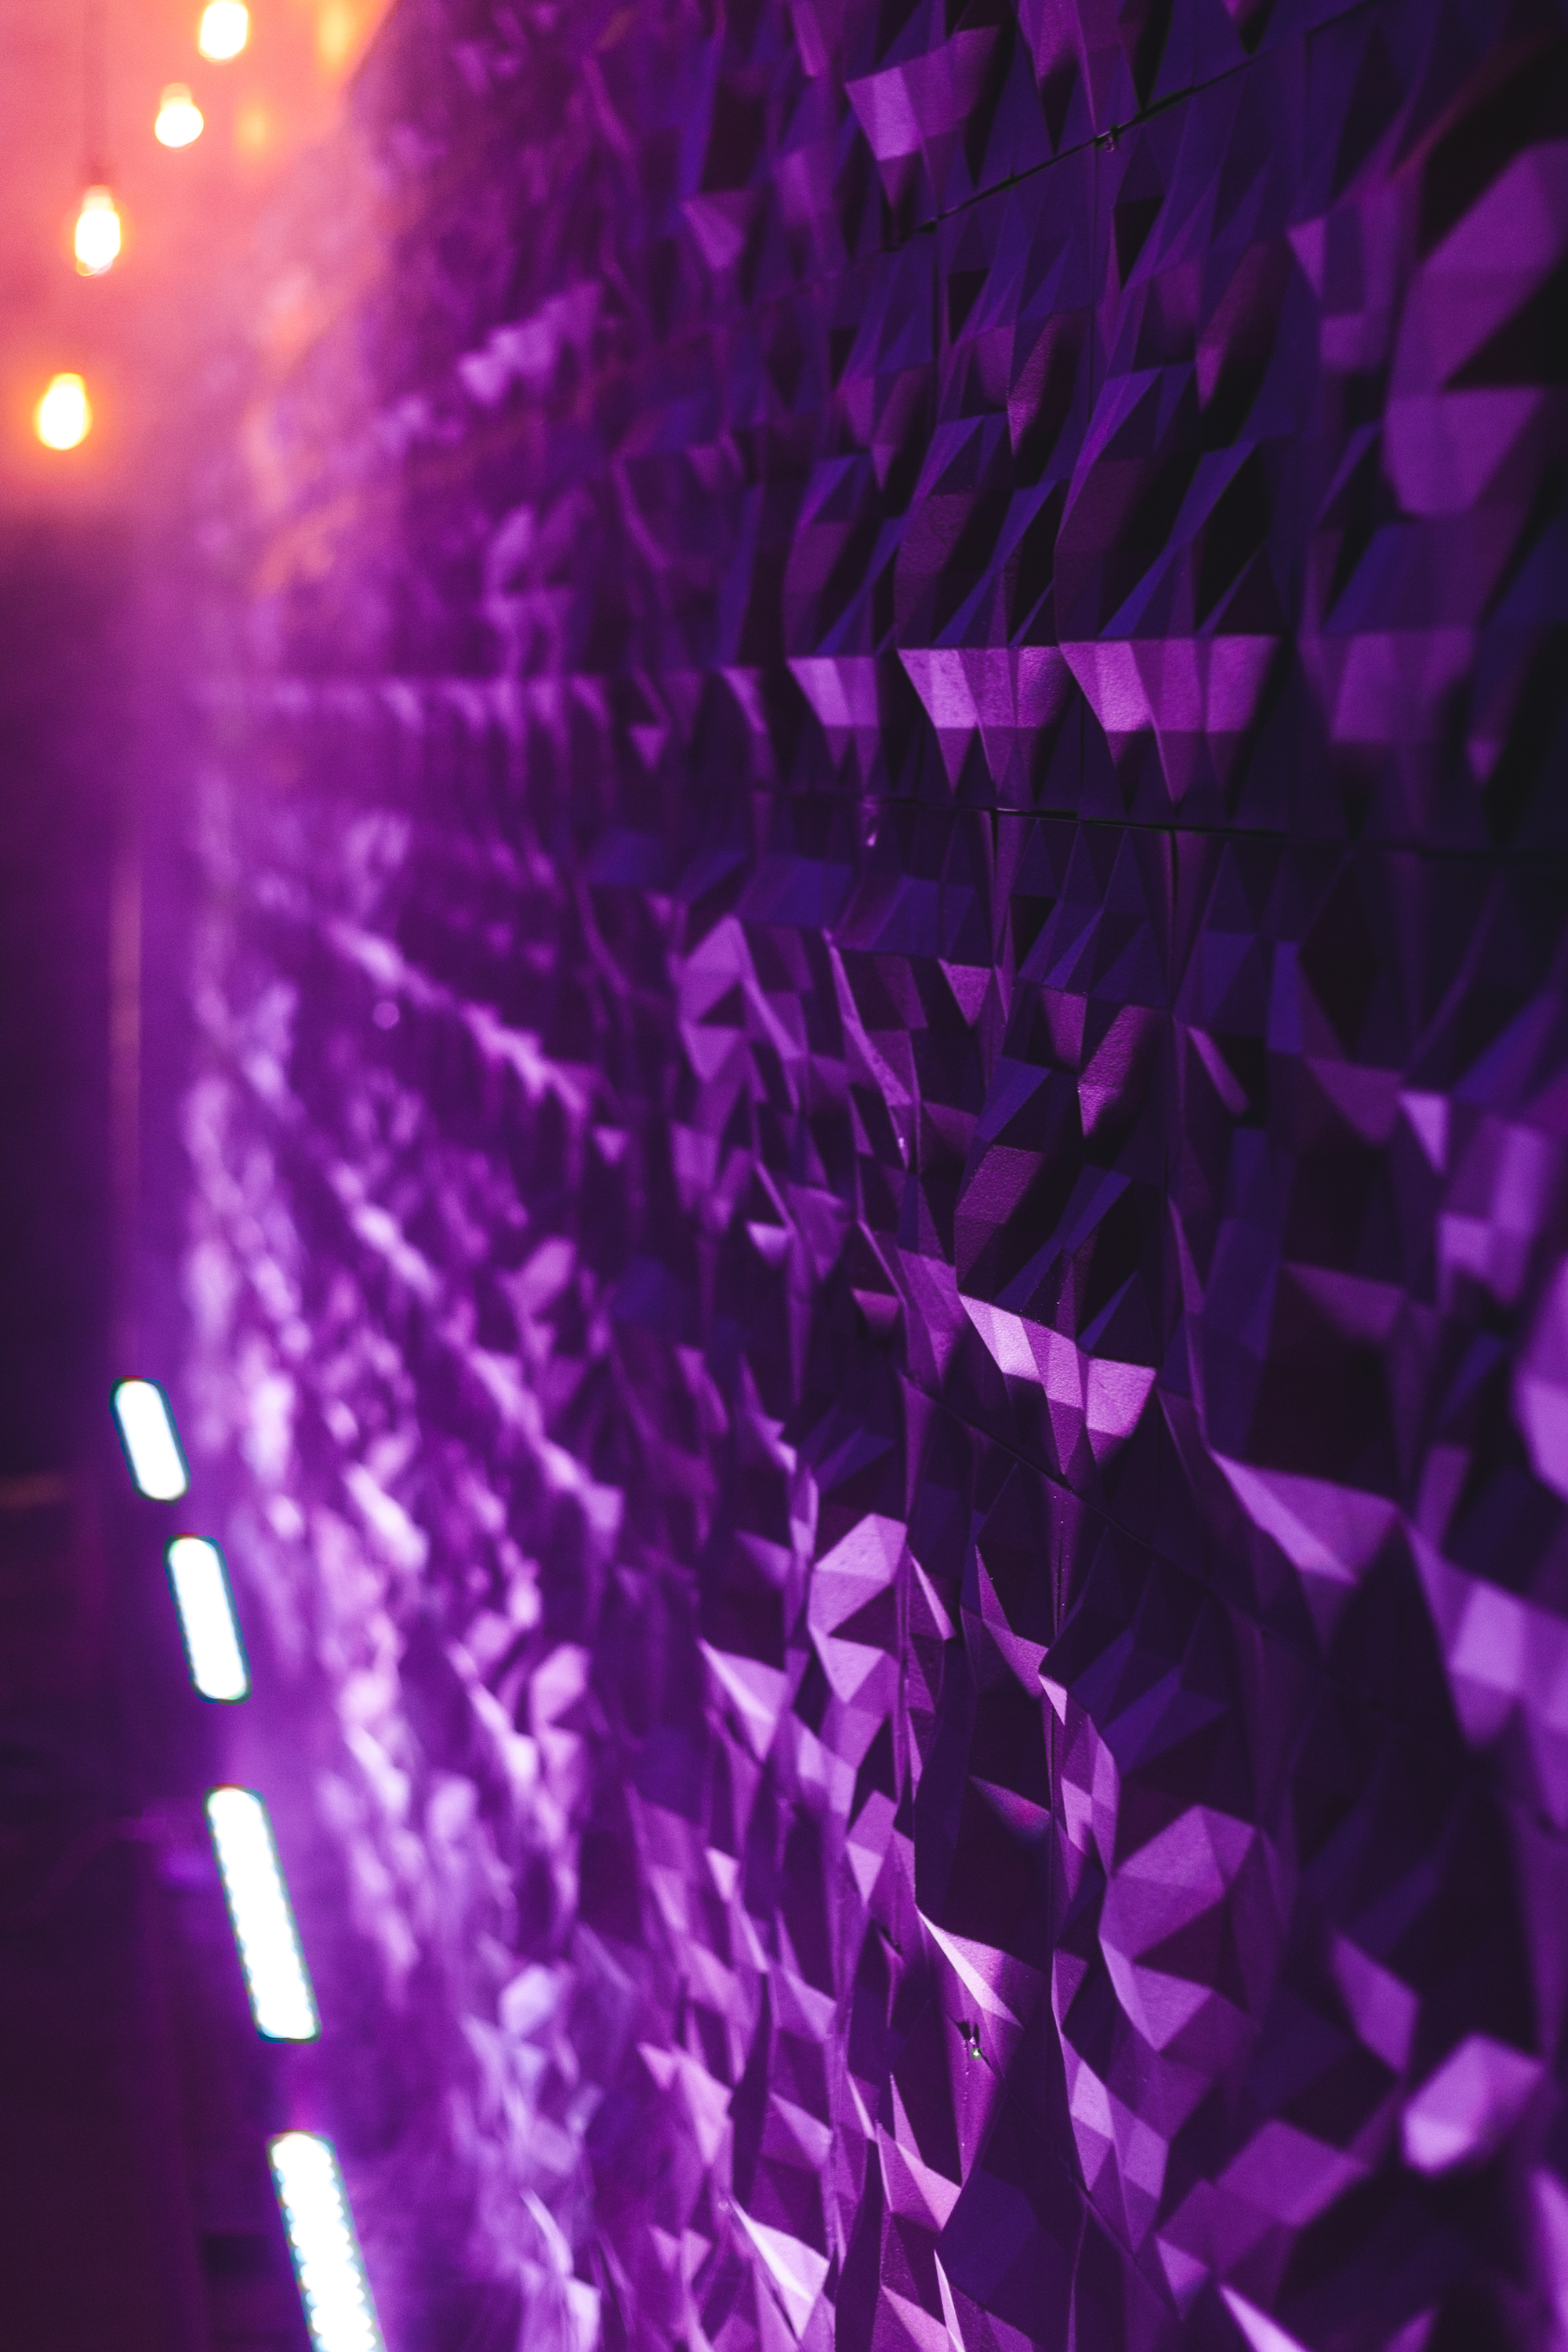
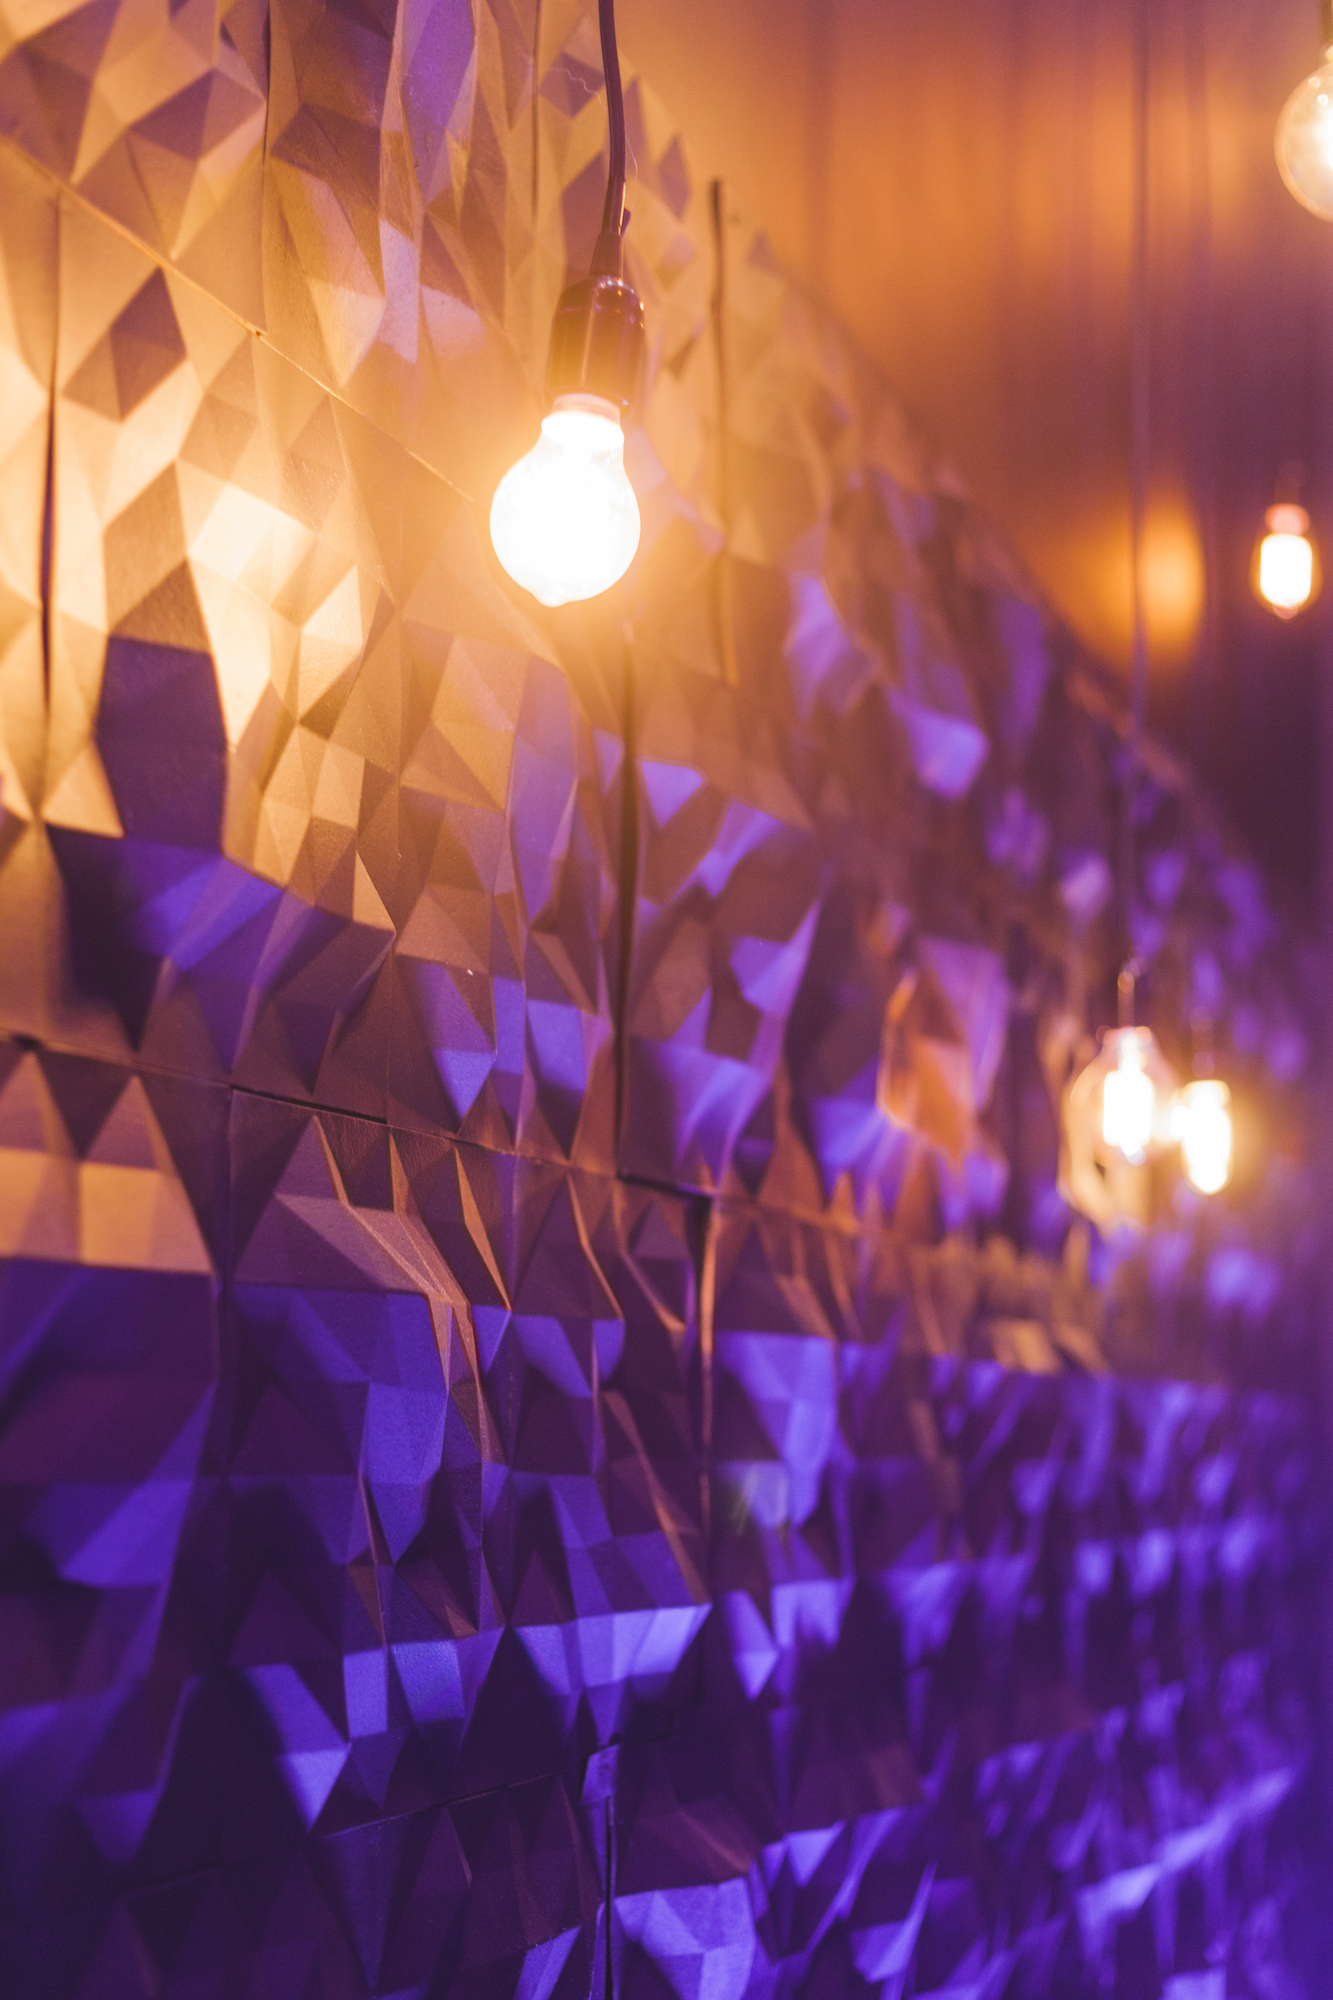
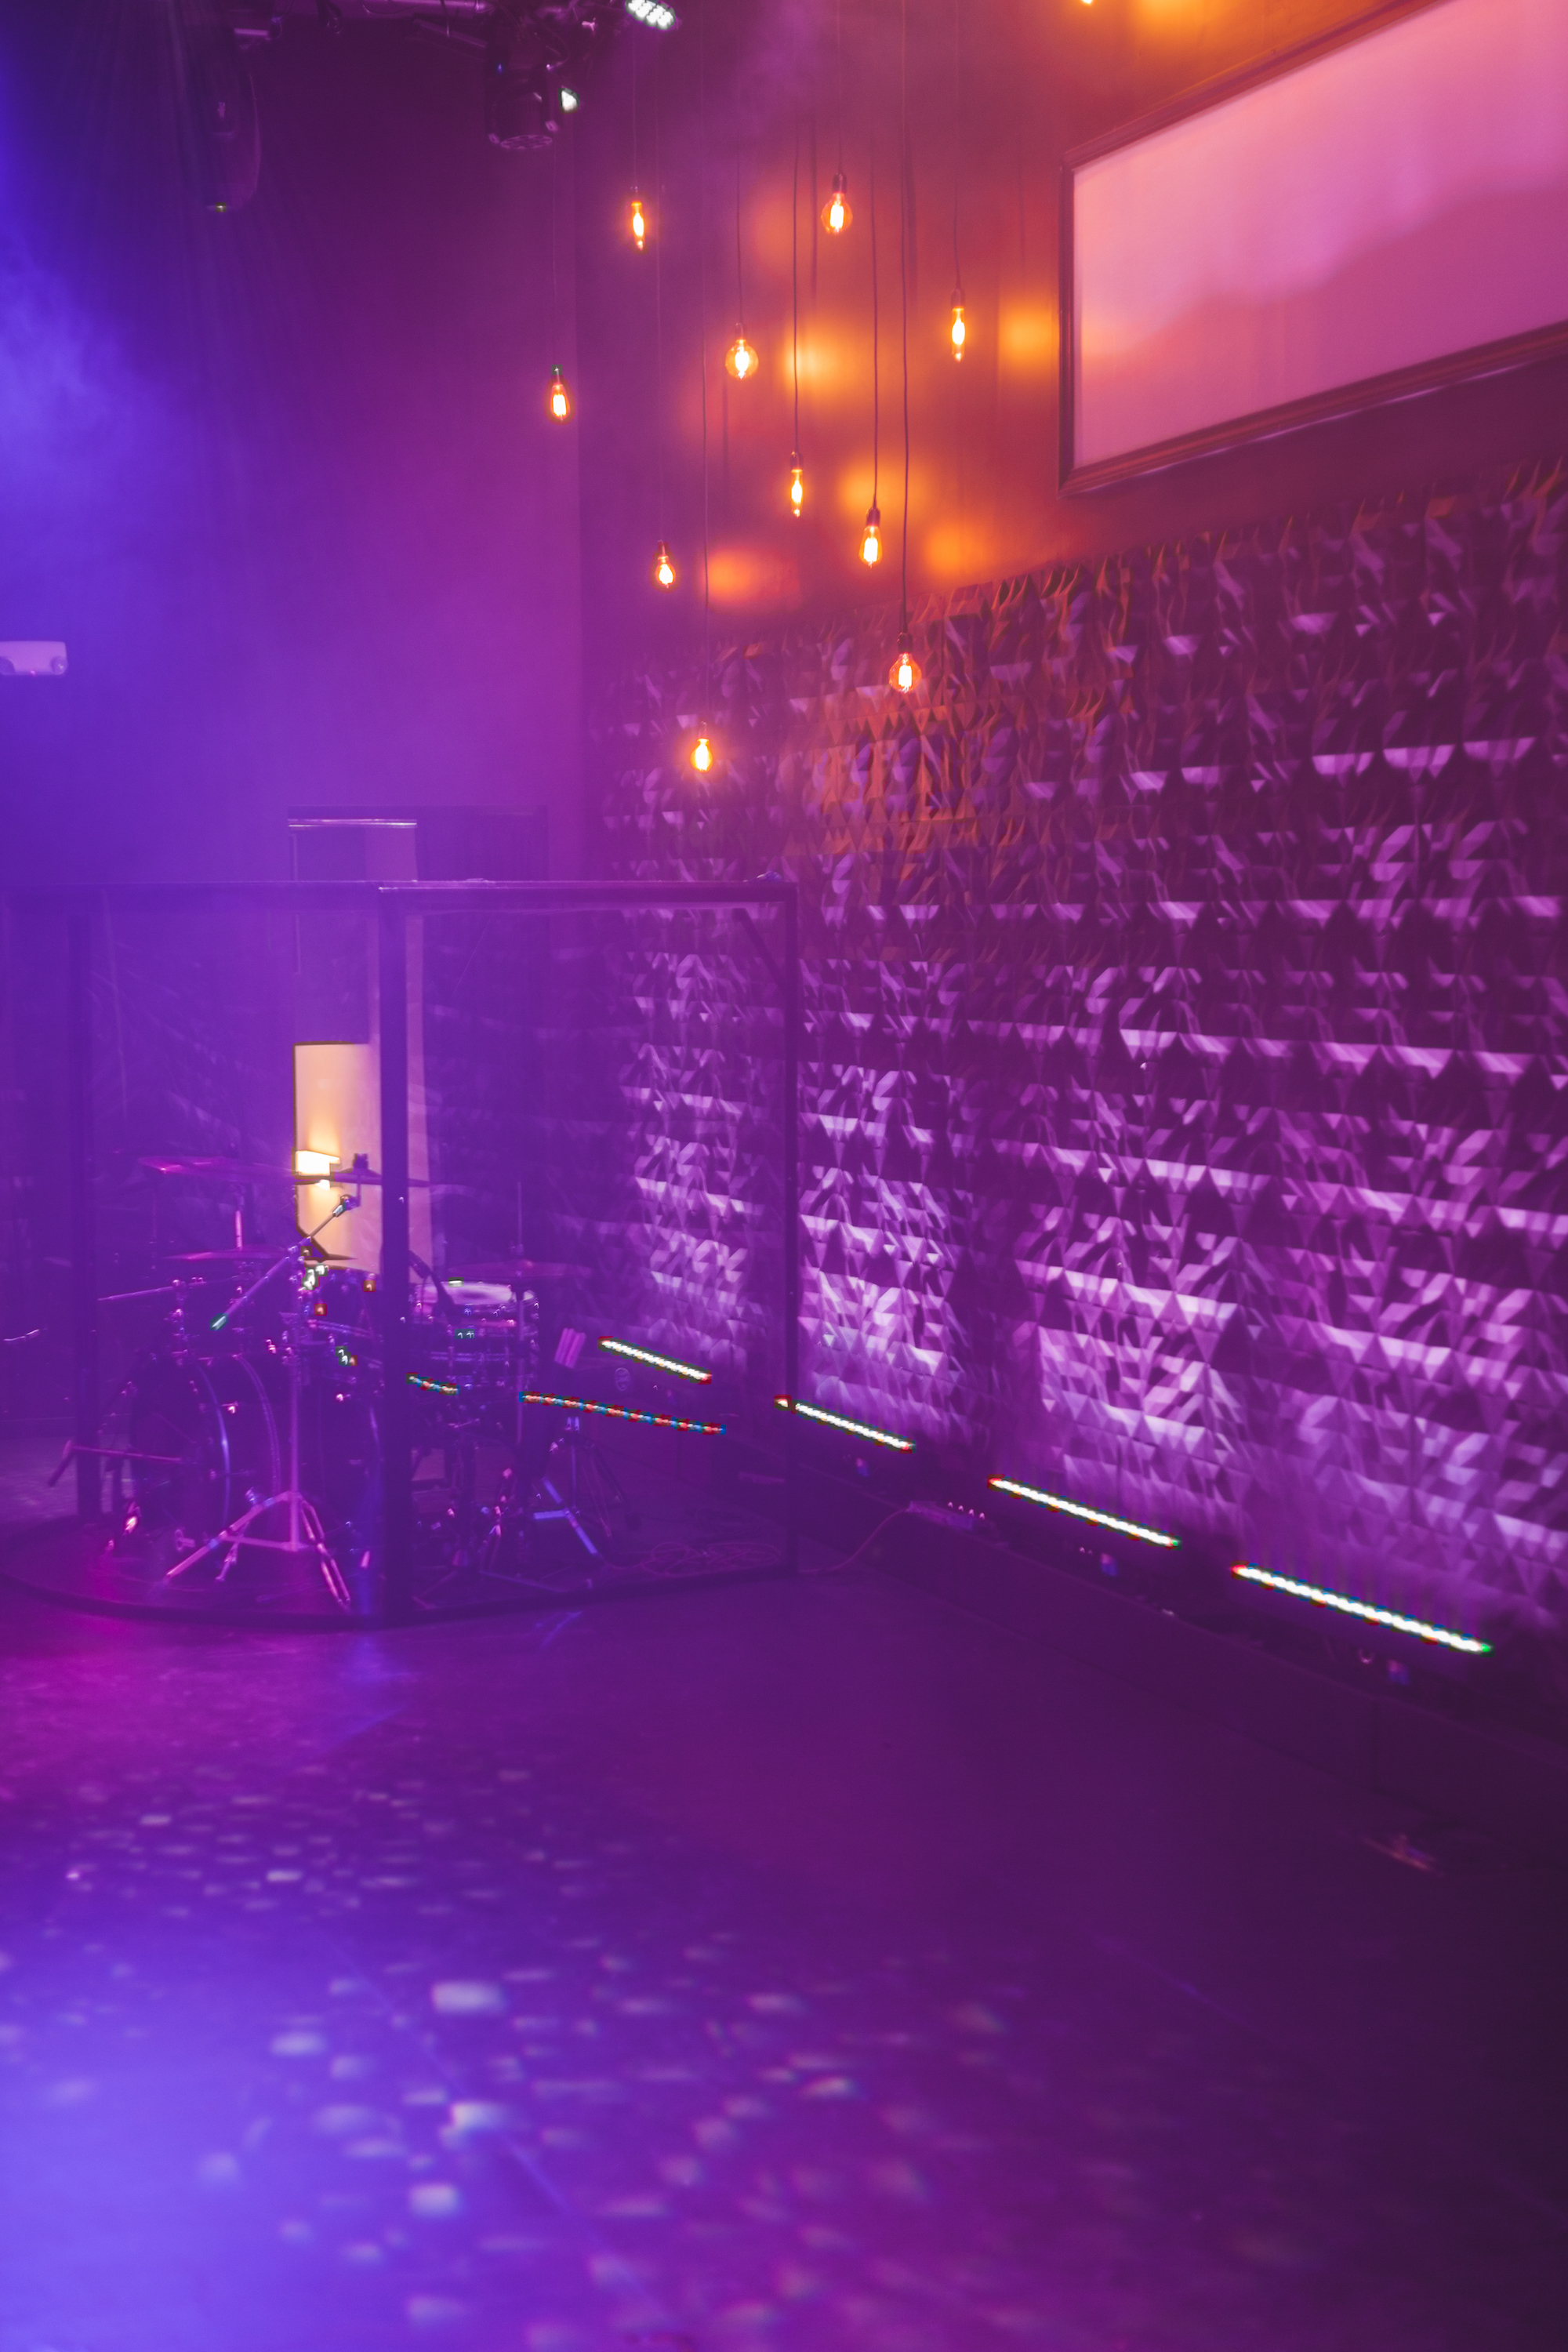
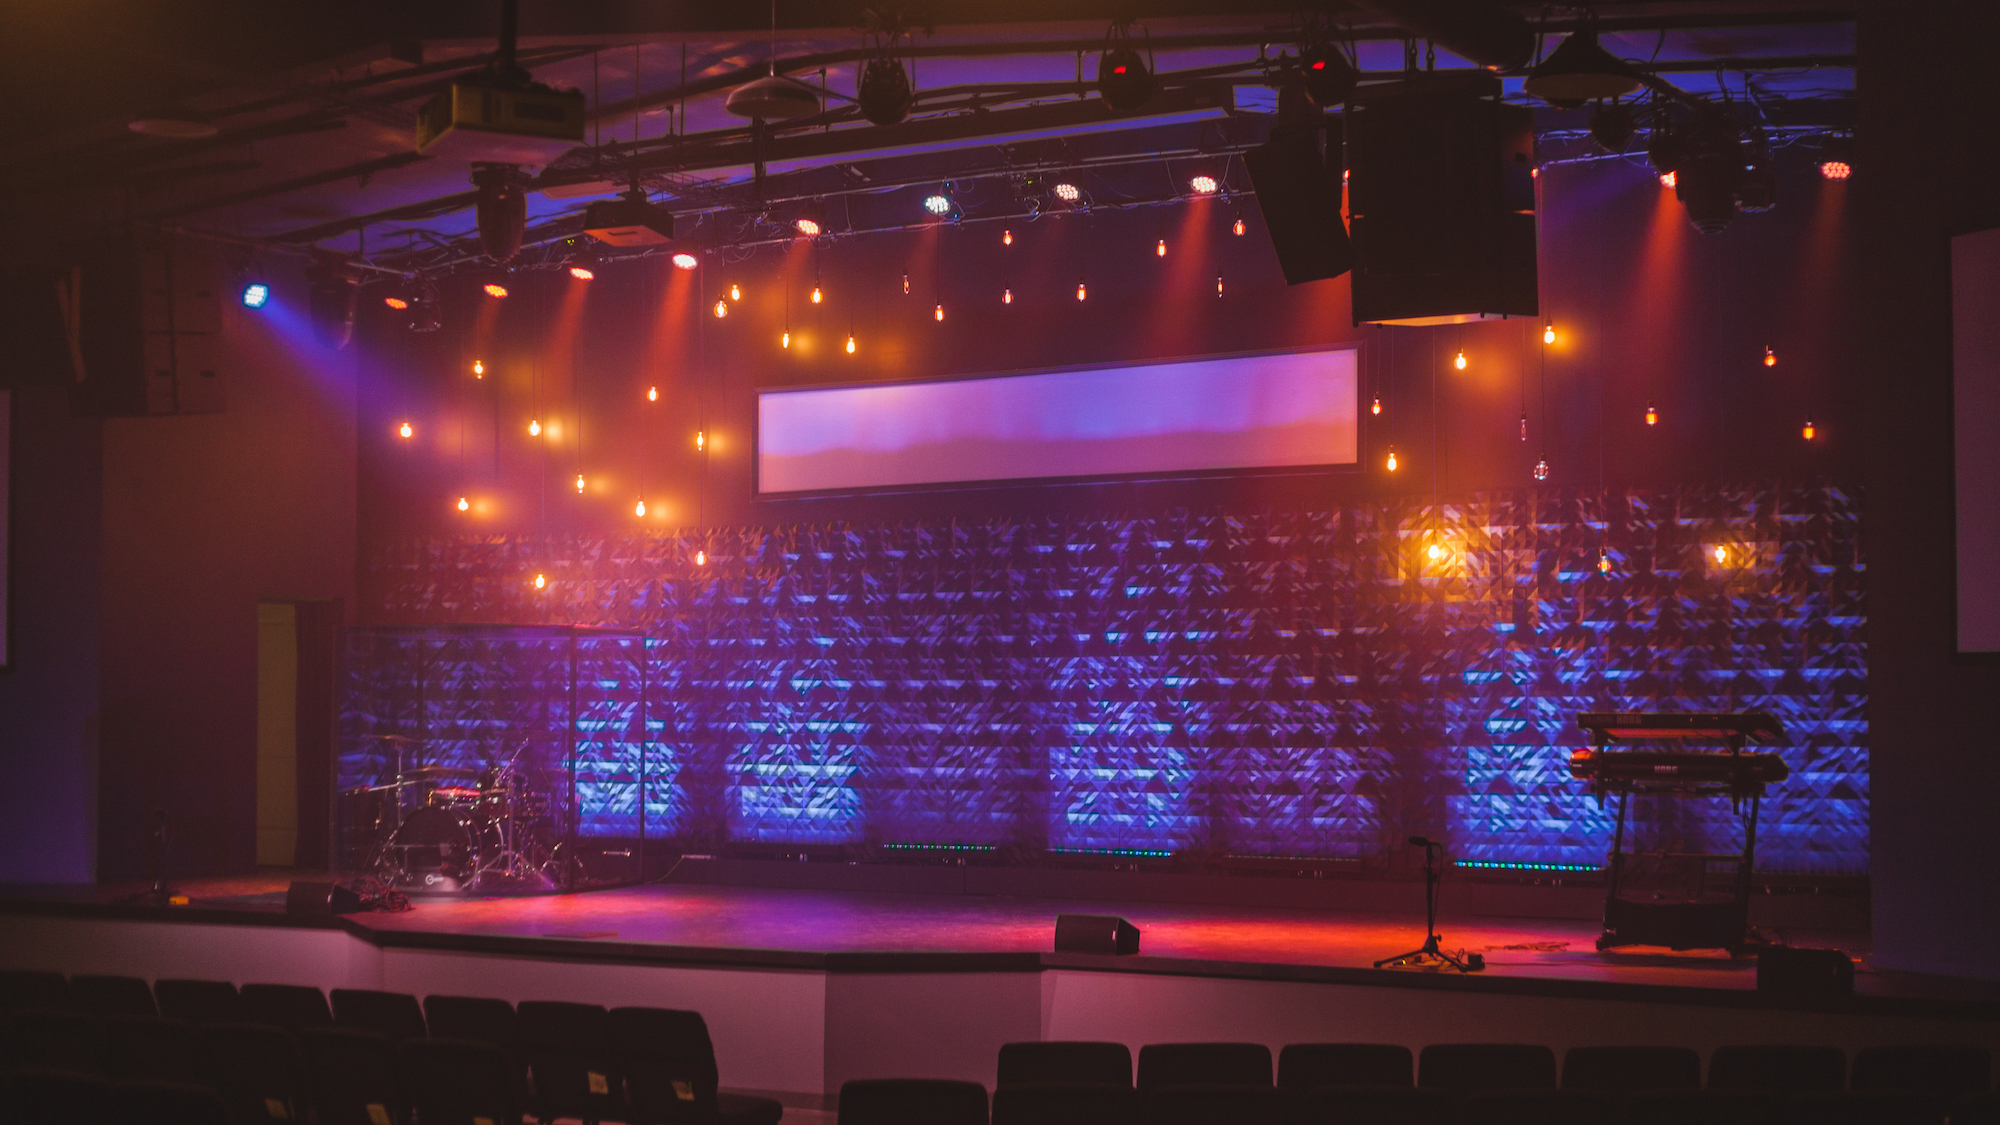
From Matt: Here at NLC, we designed a simplistic approach to creating a dynamic color wash for video teaching and worship. We used Mio Paperform Tiles along the back to achieve a seamless, dynamic geometric wall that allowed variation of colors and intensities. Having a smaller stage, this really helped create a sense of depth in person and in video teaching. Making installation easier, we adhered the tiles in the desired pattern on nine plywood sheets using a spray adhesive. Following which, we screwed the plywood sheets to the back wall and proceeded to paint the whole piece matte black.
We created a 13:3 screen above the wall using white projector paint and a simple black molding as a frame, which gave us an illusion of a taller stage as well as giving us a more concentrated area for lyrics to be displayed behind our worship team.
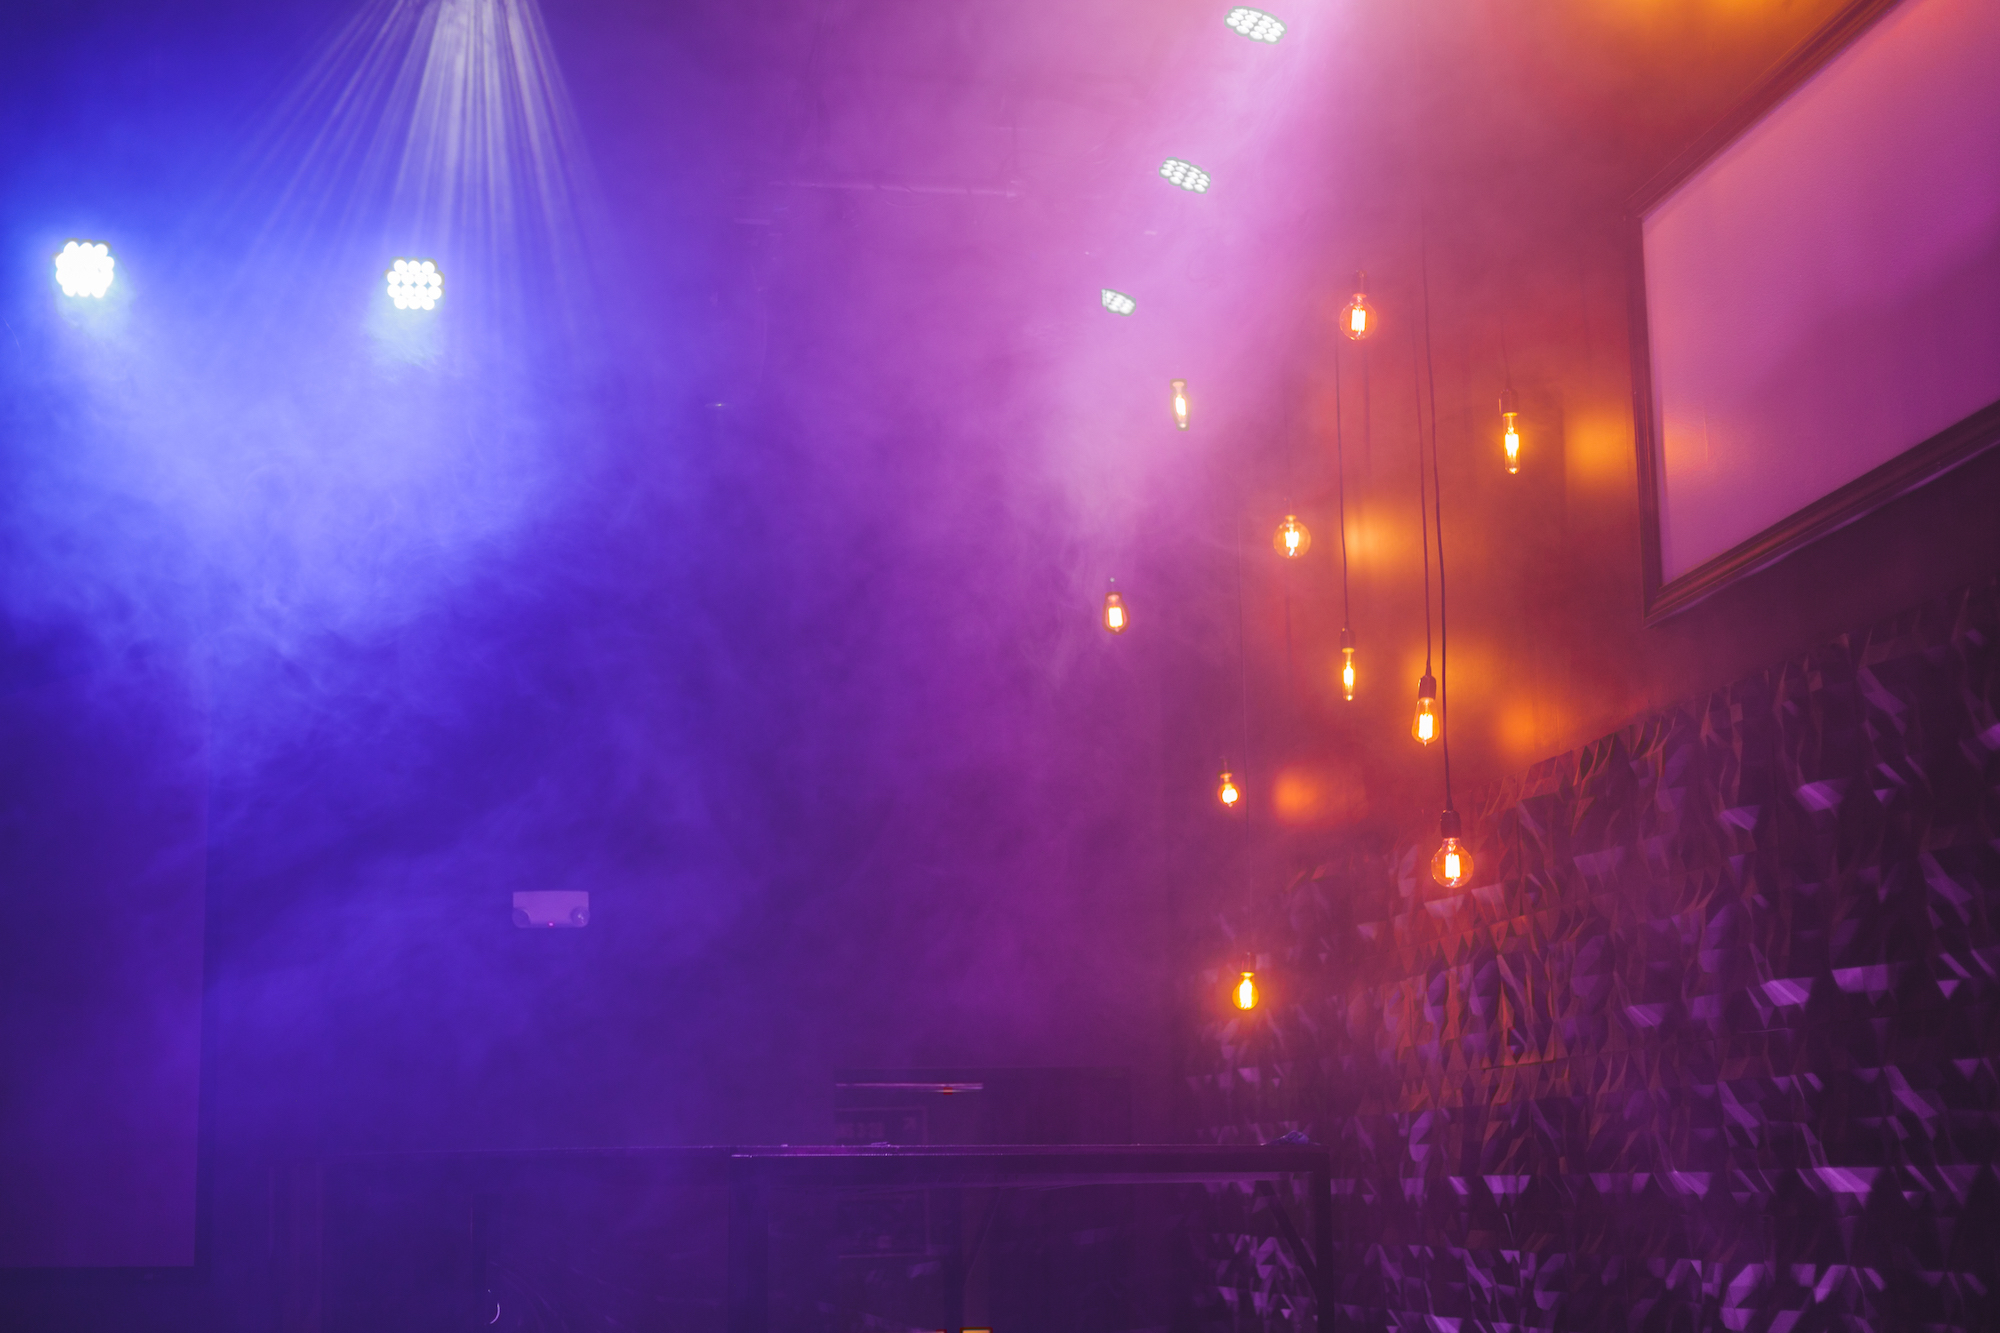
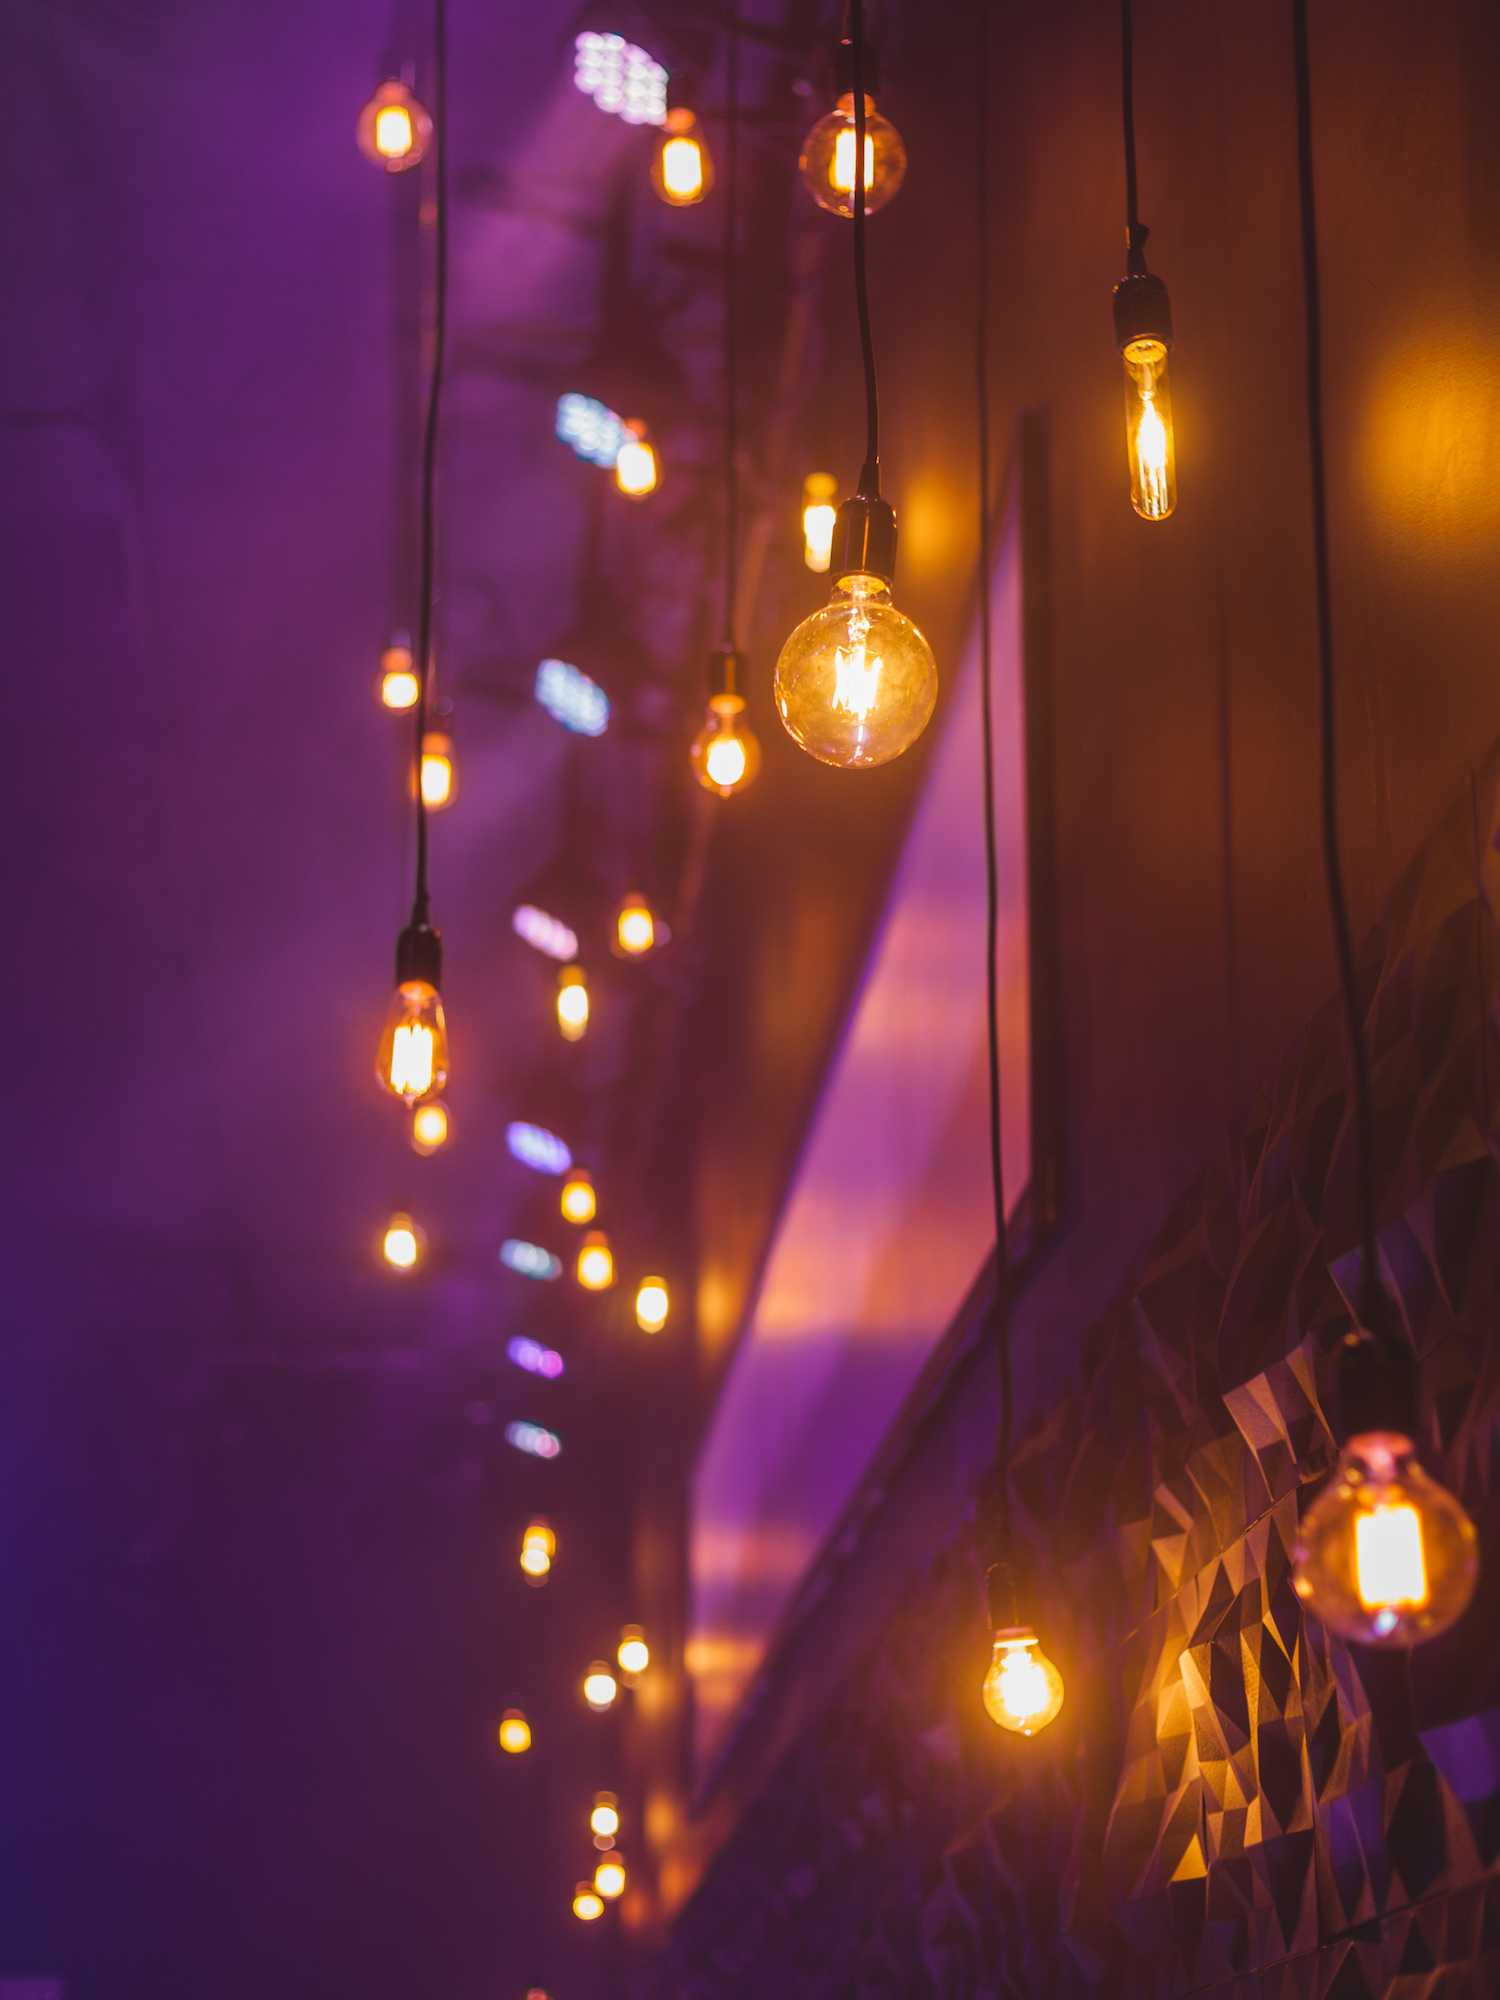
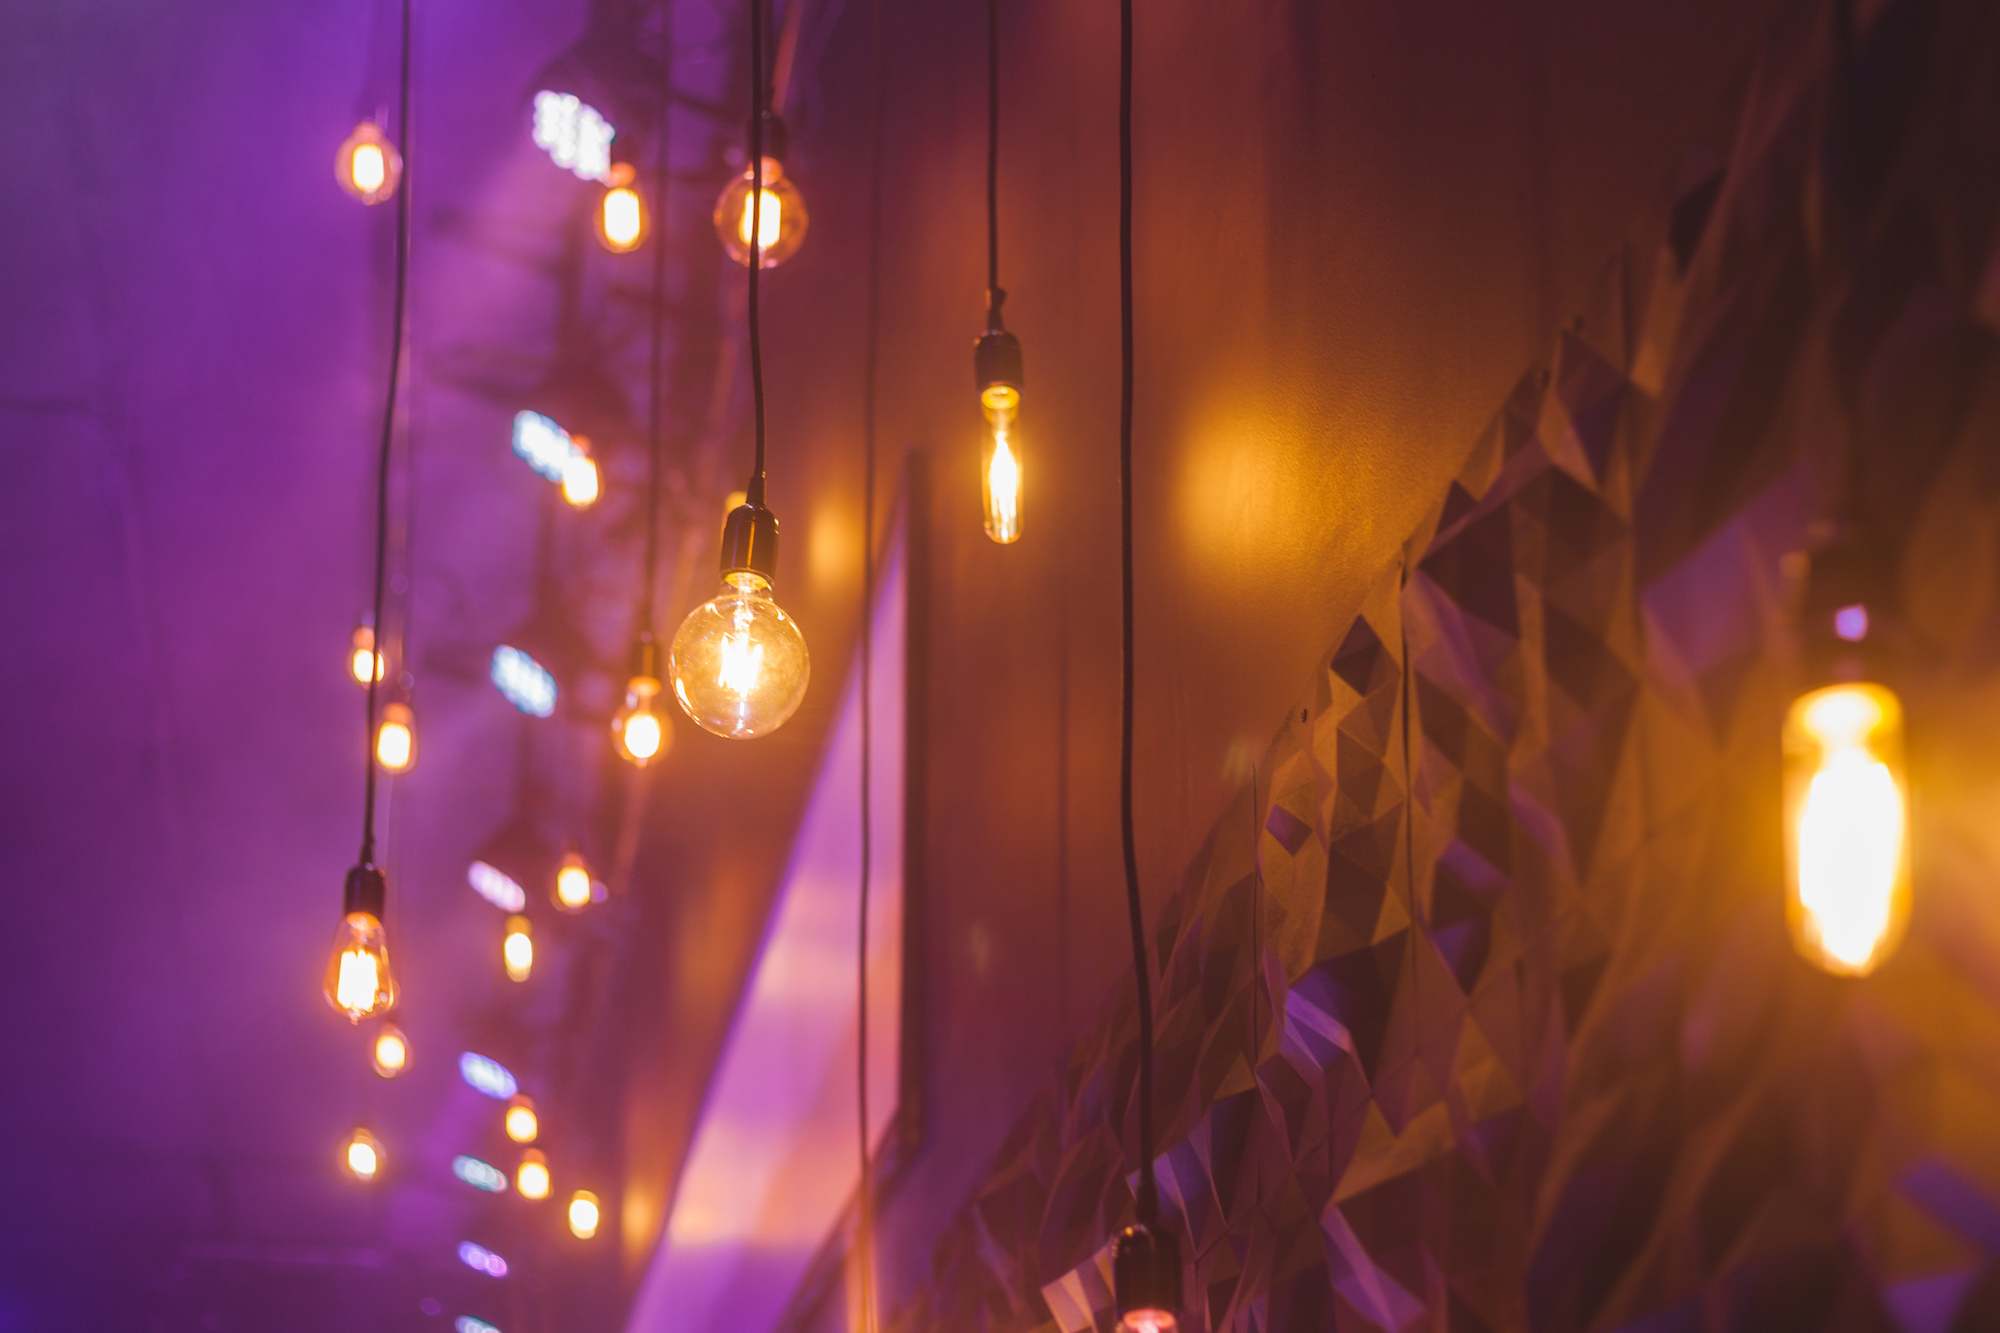
Hanging from the ceiling are 40 pendant lights with assorted filament bulbs. Attached to five dimmers across the back wall, these lights give vivid light shows throughout the experience and serve well as giving more ambient light throughout our experiences. Along the bottom of the back wall are several LED bar lights creating a beautiful wash of color for the stage.
We had a budget of $6,000 and came in under budget by assembling everything in-house with the help of our awesome volunteers and staff members! If you are thinking of doing a design like this, we would love to give tips and tricks for how we achieved this stage design!
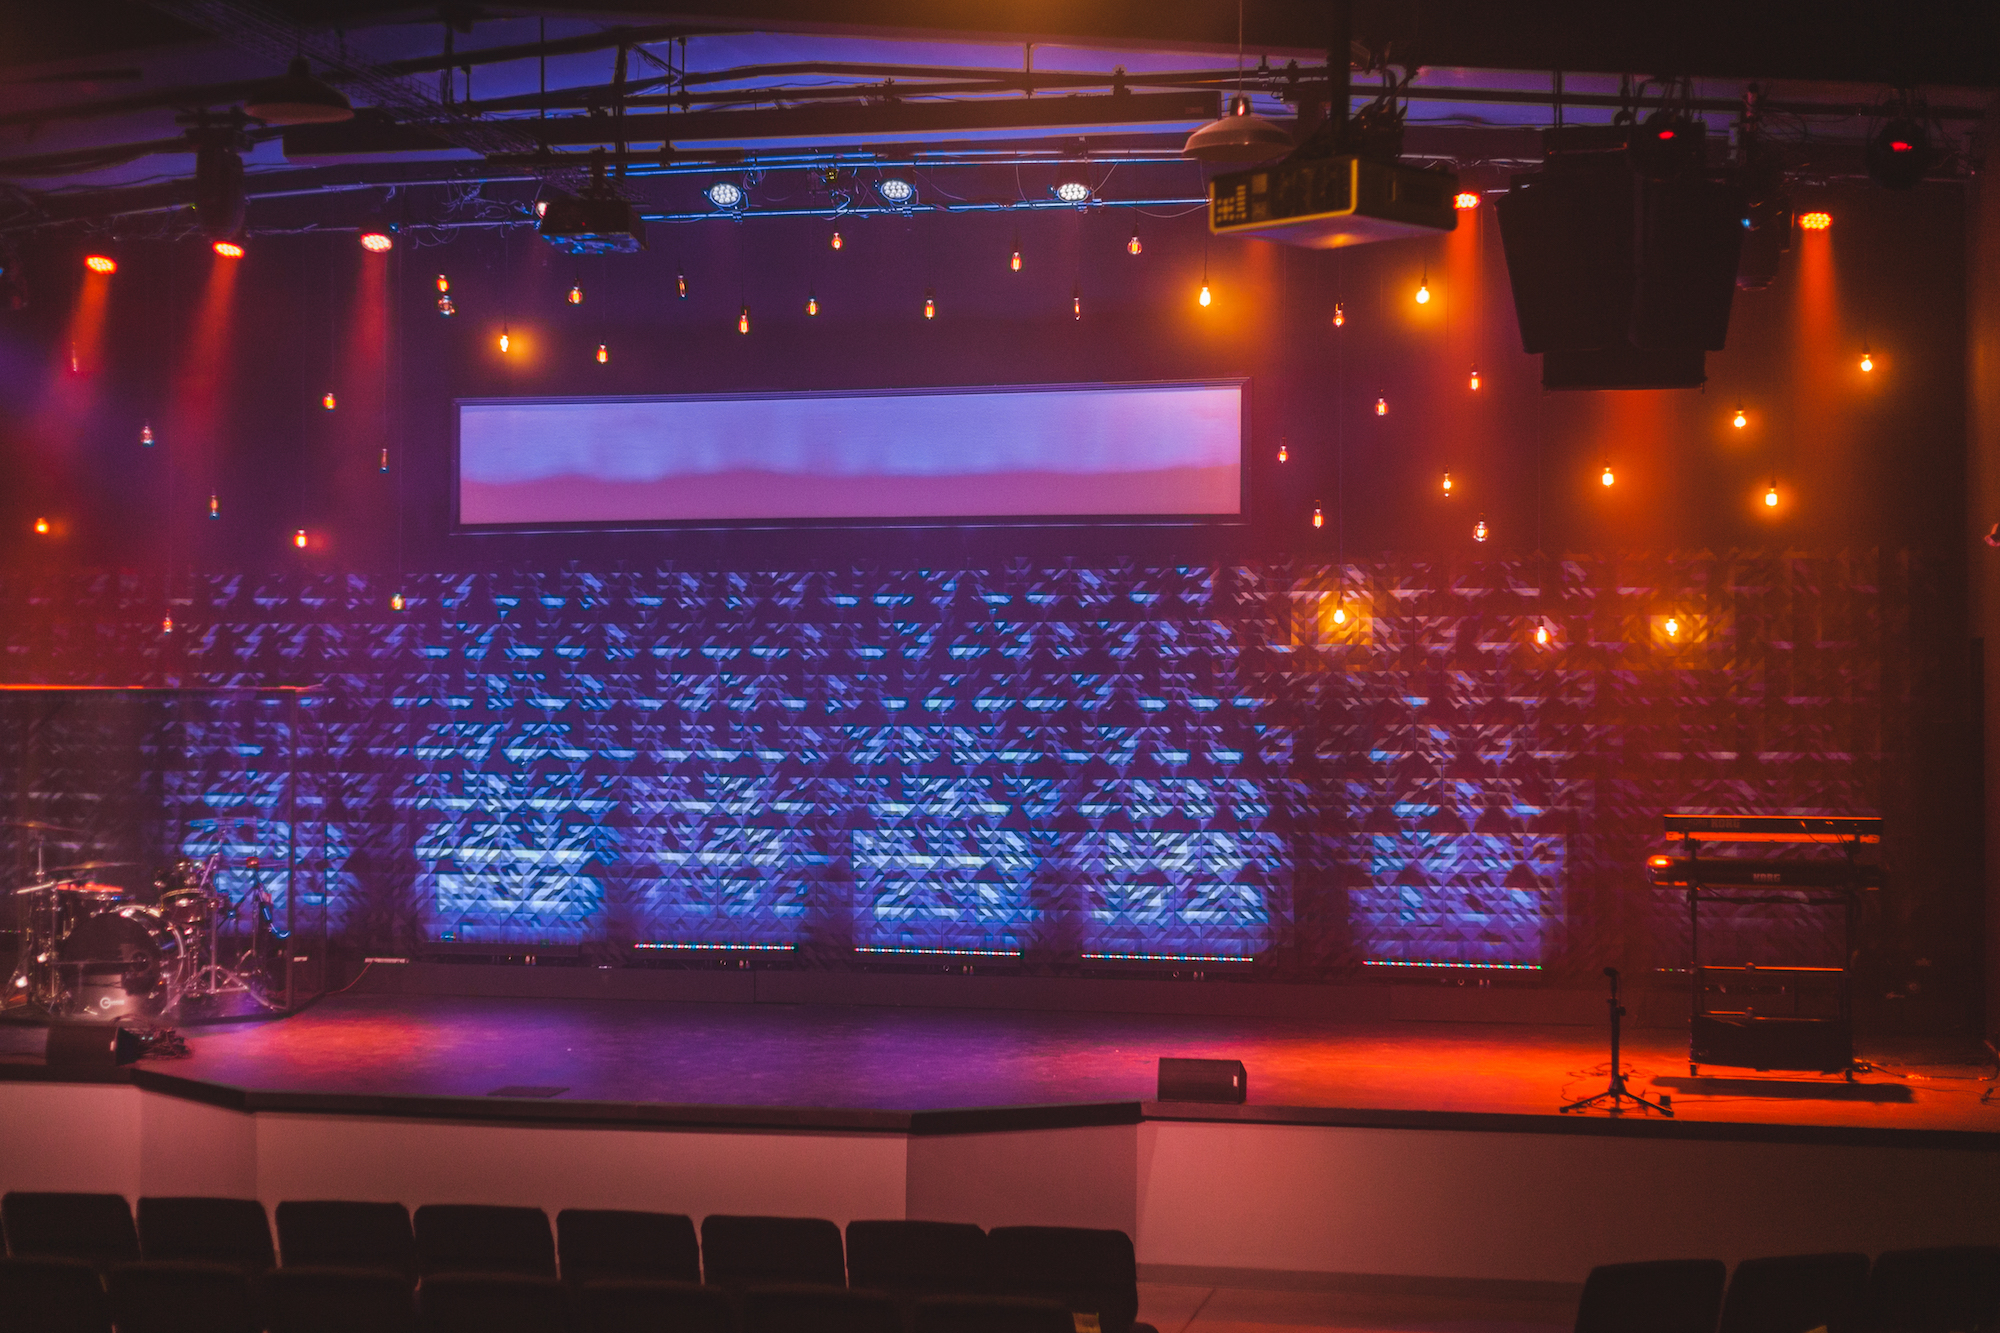
Creating Dynamic Stage Depth with Textured Wall Panels
Geometric textured walls have become a cornerstone of modern church stage design, offering visual interest that transforms flat surfaces into dimensional focal points. This fractal wall design from Next Level Church demonstrates how modular panel systems can create sophisticated backdrops that respond beautifully to changing light colors and intensities. The strategic use of textured surfaces adds layers of visual depth that make even modestly sized stages feel expansive and professionally designed.
The Mio Paperform tiles used in this installation represent an innovative approach to creating architectural texture without the weight or complexity of traditional materials. These lightweight, eco-friendly panels feature intricate geometric patterns that cast interesting shadows and catch light in ways that flat surfaces cannot achieve. The modular nature of the tile system allows for custom configurations that can be adapted to any stage width or height, making this approach scalable for venues of various sizes.
Installation methodology played a crucial role in the success of this project. By mounting the tiles onto plywood sheets before attaching them to the wall, the team created manageable panels that could be precisely positioned and easily removed for future design changes. This approach also allowed for off-site preparation, enabling volunteers to work on sections during the week and install them efficiently during limited weekend timeframes. The spray adhesive application method ensured consistent bonding across the entire surface while maintaining the dimensional quality of the tile patterns.
The matte black paint treatment serves multiple design purposes beyond simple aesthetics. Black surfaces absorb excess light, preventing unwanted reflections that could distract from the worship experience or interfere with video recording. When illuminated by colored LED fixtures, the black background makes the colored light appear more saturated and vibrant. This absorption quality also helps the textured tiles stand out as dimensional elements rather than flat patterns.
Lighting design integration was clearly a priority from the project’s inception. The combination of pendant filament bulbs, LED bar lights, and dimmer controls creates a versatile lighting environment that can shift from intimate and contemplative to energetic and celebratory. The filament bulbs add warmth and visual interest through their exposed glowing elements, while the LED bars provide the color-changing capabilities that make the textured wall come alive. Having independent dimmer control over different lighting zones allows for sophisticated scene changes that can support different moments within a single service.
The custom projection screen represents thoughtful space planning that maximizes functionality without sacrificing aesthetics. By creating a wide-format screen above the textured wall, the team concentrated the audience’s focus upward while maintaining the visual impact of the full stage width. The white projector paint technique offers a cost-effective alternative to expensive projection screens while integrating seamlessly with the surrounding design elements.
Related Designs
- Bottled Lights – Discover how Watermark Church built a stunning Lite Brite stage wall using 7,000 water bottles and LEDs for an immersive visual experience.
- Blinded Behind Sheer – Discover how Asbury United Methodist Church created stunning fabric circle ornaments using quilting looms and sheer fabric for their stage design.
- Italic – See how Heritage Church created giant 3D letters using corrugated plastic and LED lighting for their Daring Faith series stage design.
- Rubber Glove Wall – Learn how Oasis Church transformed 3,000 latex gloves into an eye-catching textured stage design with dramatic LED lighting.
- Branched – Explore how to build stunning LED light box panels for your church stage under $600 using simple materials and DIY techniques.
- North Point Apps – See how North Point Church built a stunning gridded stage design with 342 App Icons using steel pipe structures and fabric panels.
Pro Tips for Textured Wall Designs
Plan Your Panel Layout: Before purchasing any materials, create a detailed layout plan showing exactly how tiles or panels will be arranged on your wall. Consider sight lines from various seating areas and camera angles to ensure the pattern reads clearly from all perspectives. Account for any architectural features like doors, windows, or existing stage elements that might interrupt your design.
Test Adhesive Compatibility: Different textured panel materials respond differently to various adhesives. Always test your chosen adhesive on sample pieces before committing to the full installation. Consider factors like temperature fluctuations in your venue, as some adhesives can become brittle in cold conditions or soften in heat, potentially causing tiles to detach over time.
Integrate Lighting Early: The impact of textured walls depends entirely on proper lighting. Plan your fixture placement and lighting angles during the design phase, not as an afterthought. Position lights to graze across the textured surface at low angles to maximize shadow and depth. Consider using a combination of static and moving lights to create dynamic looks that can evolve throughout a service.
Budget for Maintenance: Textured wall elements require ongoing maintenance to keep them looking their best. Factor in costs for touch-up paint, replacement tiles, and occasional deep cleaning when planning your project budget. Create detailed documentation of your installation including measurements, materials used, and construction photos to simplify future repairs or modifications.
Related: Waiting in Lines – Discover how to create stunning projection effects using wood slats and ultra-short throw projectors for an affordable versa-tube stage design.



What projectors does your church have ?
What color tiles did you order? This looks great.
Hey, Josh! We used an eggshell black latex paint on white Mio paper form tiles.
Any reason why you chose black for the color? I’d be afraid of it absorbing all of the light/color (even though it doesn’t look like you are having any issues from the pictures).
Hey Matt, I was wondering what the dimensions of your Fractal wall are?
Hey, Matt! The fractal portion of the wall is 40′ wide by 8′ tall.
how to make that projector too wide?
i want to apply that on my church.
please, could you tell me? thanks
Hey, Nehemia!
The projection “screen” is 13′ wide by 3′ high. We cropped the projector screen using a mask in Propresenter (which is the program we use for our lyrics, video teaching, notes, etc.) Here’s a tutorial from Propresenter on how to achieve this: https://vimeo.com/38442329
well, thanks… Matt.. i really need this…
Can you tell me more about how you painted them? I have a ton of mio tiles that I was curious about painting black so they disappear more when light isn’t on them.
Hey, Ryland!
We ended up using a matte black latex paint that we applied with a paint gun that can be found at Lowes, Home Depot, or similar stores that sell larger tools. Make sure to apply it evenly and allow plenty of time for this. It took us several applications to cover everything. Even after the paint fries, you’ll find some pores in the tiles that weren’t hit by the paint.
Good luck!
hey! This looks great, we’re totally ripping it off! :-D
Did you fill in the gaps with putty, or did the black paint take care of that?
Black paint, my friend! Photos?!
I’m curious where you found the hanging lights, were they already set at different lengths? is each light it’s own fixture, or are they all connected?
I hand assembled each hanging light. They’re all daisy chained into one another.
Great look! What kind of adhesive did you use to attach the tiles to the board. Thinking of doing a similar design, but with foam core board.
Honestly, we tried glueing but nailing was the only thing that worked.
We are ripping this off thanks for the great idea! We found black tiles similar to this on Home Depot and will be done in a day or so. We love the result already and love that we didn’t have to paint them all black!!
Hey Matt, looks great, can you tell me what LED bar lights you used on floor and where you got your pendant lights? This would be a huge help! Thank you!