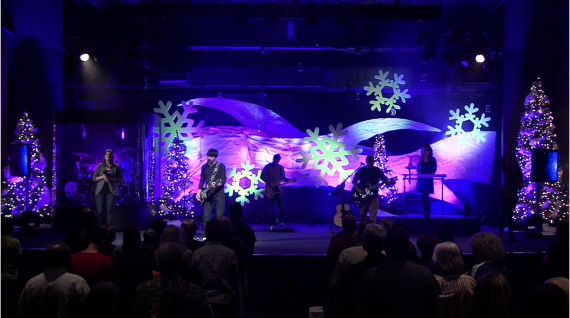
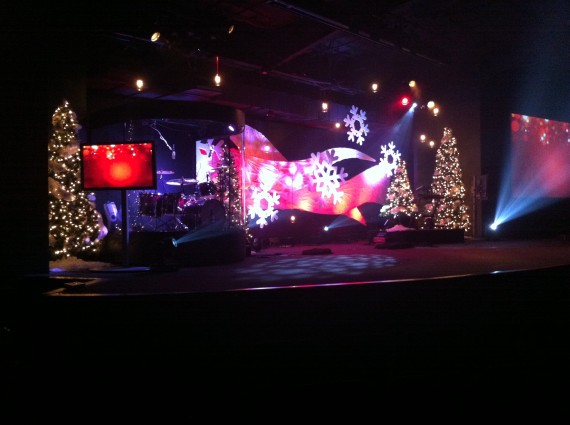
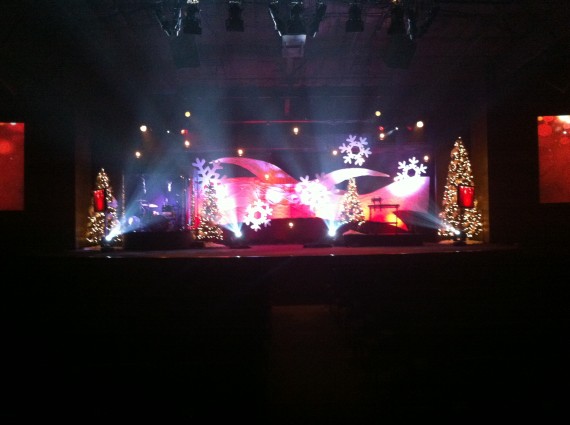
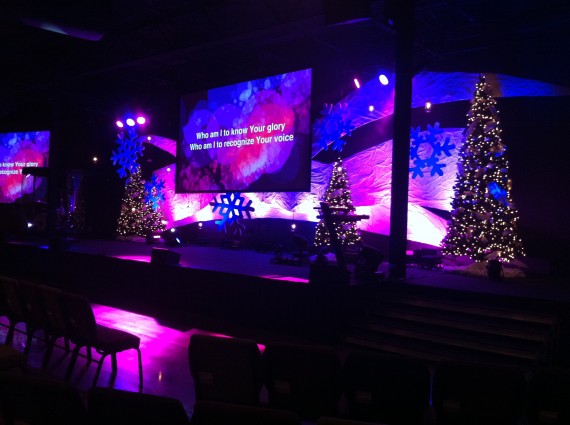
Taylor Hiddon from Hope Fellowship in Frisco and McKinney, TX brings us this snowy cold front on their stage. (Originally posted December 2012)
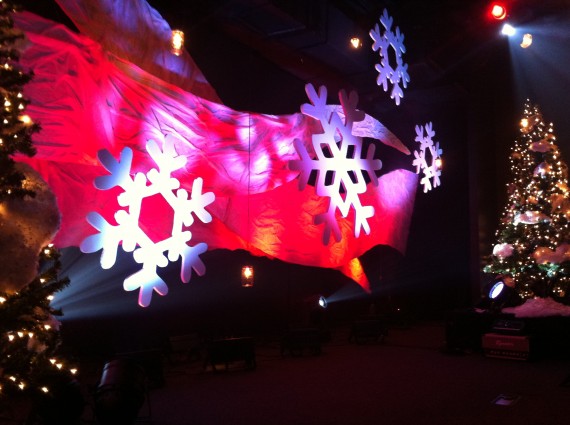
The hill type designs were made from R-13 insulation board from Home Depot. They placed the pieces together to draw out the shapes they needed. After that, they cut each board with a jig saw then placed each piece together to complete the look. Once that was complete, they took gossamer and set it on front of the pieces to create that crinkled look for the light to pick up.
The snowflakes were made from 3/4″ thick pink insulation boards from Home Depot. They were projected on a screen, then traced using a couple of snowflake designs they found on Google images. They were then painted pure white with latex paint.
The lights hanging above and around the set were mason jars with a typical light bulb inside. They were hanging from the actual power cords used to power the bulbs. The jars were extremely lightweight and did not cause any strain to the power cord. They got the instructions on making these from here.
Finally they had the Christmas trees. Those were standard pre-lit trees from Sams Club and Walmart. They used buffalo snow and artificial snowflakes to give it that wintry feel. Those elements were purchased at Walmart.
[tentblogger-youtube dNOqvaKo4tU]




Very nice design. Thank you for posting it. What method of cutting the insulation board did you use. I recently used a hot knife to cut some. It did a nice job but the smoke was almost too much.
I used a jigsaw. I have used the hot knife before but I wasn’t liking the outcome. I wasn’t getting the straight cuts I needed. So I switched to using a jigsaw and I have loved using it! It definitely brings finer edges and straighter cuts. I recommend the jigsaw for cutting foam materials.
Thank you for the reply! I will do that the next time.
WOW! That video was amazing. Great lighting! What did you use to automate the lighting/DMX to your audio/click?
Hi Jeremy, I was running “internal timecode” through our lighting board. We use the Martin M1 Professional. Here’s how it worked, we made a loop for the song and manually programmed each lighting cue to the loop. The loop didn’t run from the lighting board. The band controlled the loop. The lighting director had to wear headphones so he could hear the loop start. Once he heard the starting cue, he pressed the “play” button on the board and from there, the lights went along with song. He had to hit it precisely on the first beat of the song to make it follow correctly. If he was a bit late hitting play then the lighting cues would of been a bit behind the song. Hope that makes sense! It definitely took a lot of practice during rehearsals but we nailed it each time!
I like the design. I just now watched the video of the light show. WOW! That was very nice. Would love to do that at our church. Thank you for sharing!
What did you use to hang the snowflakes?
How did you hang the snowflakes? What did you use and did they spin at all being light?
Chad & Karissa,
I used 30ibs fishing line to hang the snowflakes. I used two hanging points for each snowflake so they wouldn’t spin.
How big did you cut the snowflakes?