



Steven Hall from Journeychurch.tv in Norman, OK brings us this superhero base VBX
This year the theme was Superheros. So for their scenic and lighting design they tried to turn their campus into a super hero training facility. Their craziest challenge was that the event started with Monday AM rehearsals. The majority of this set was put up overnight on Monday by their team.
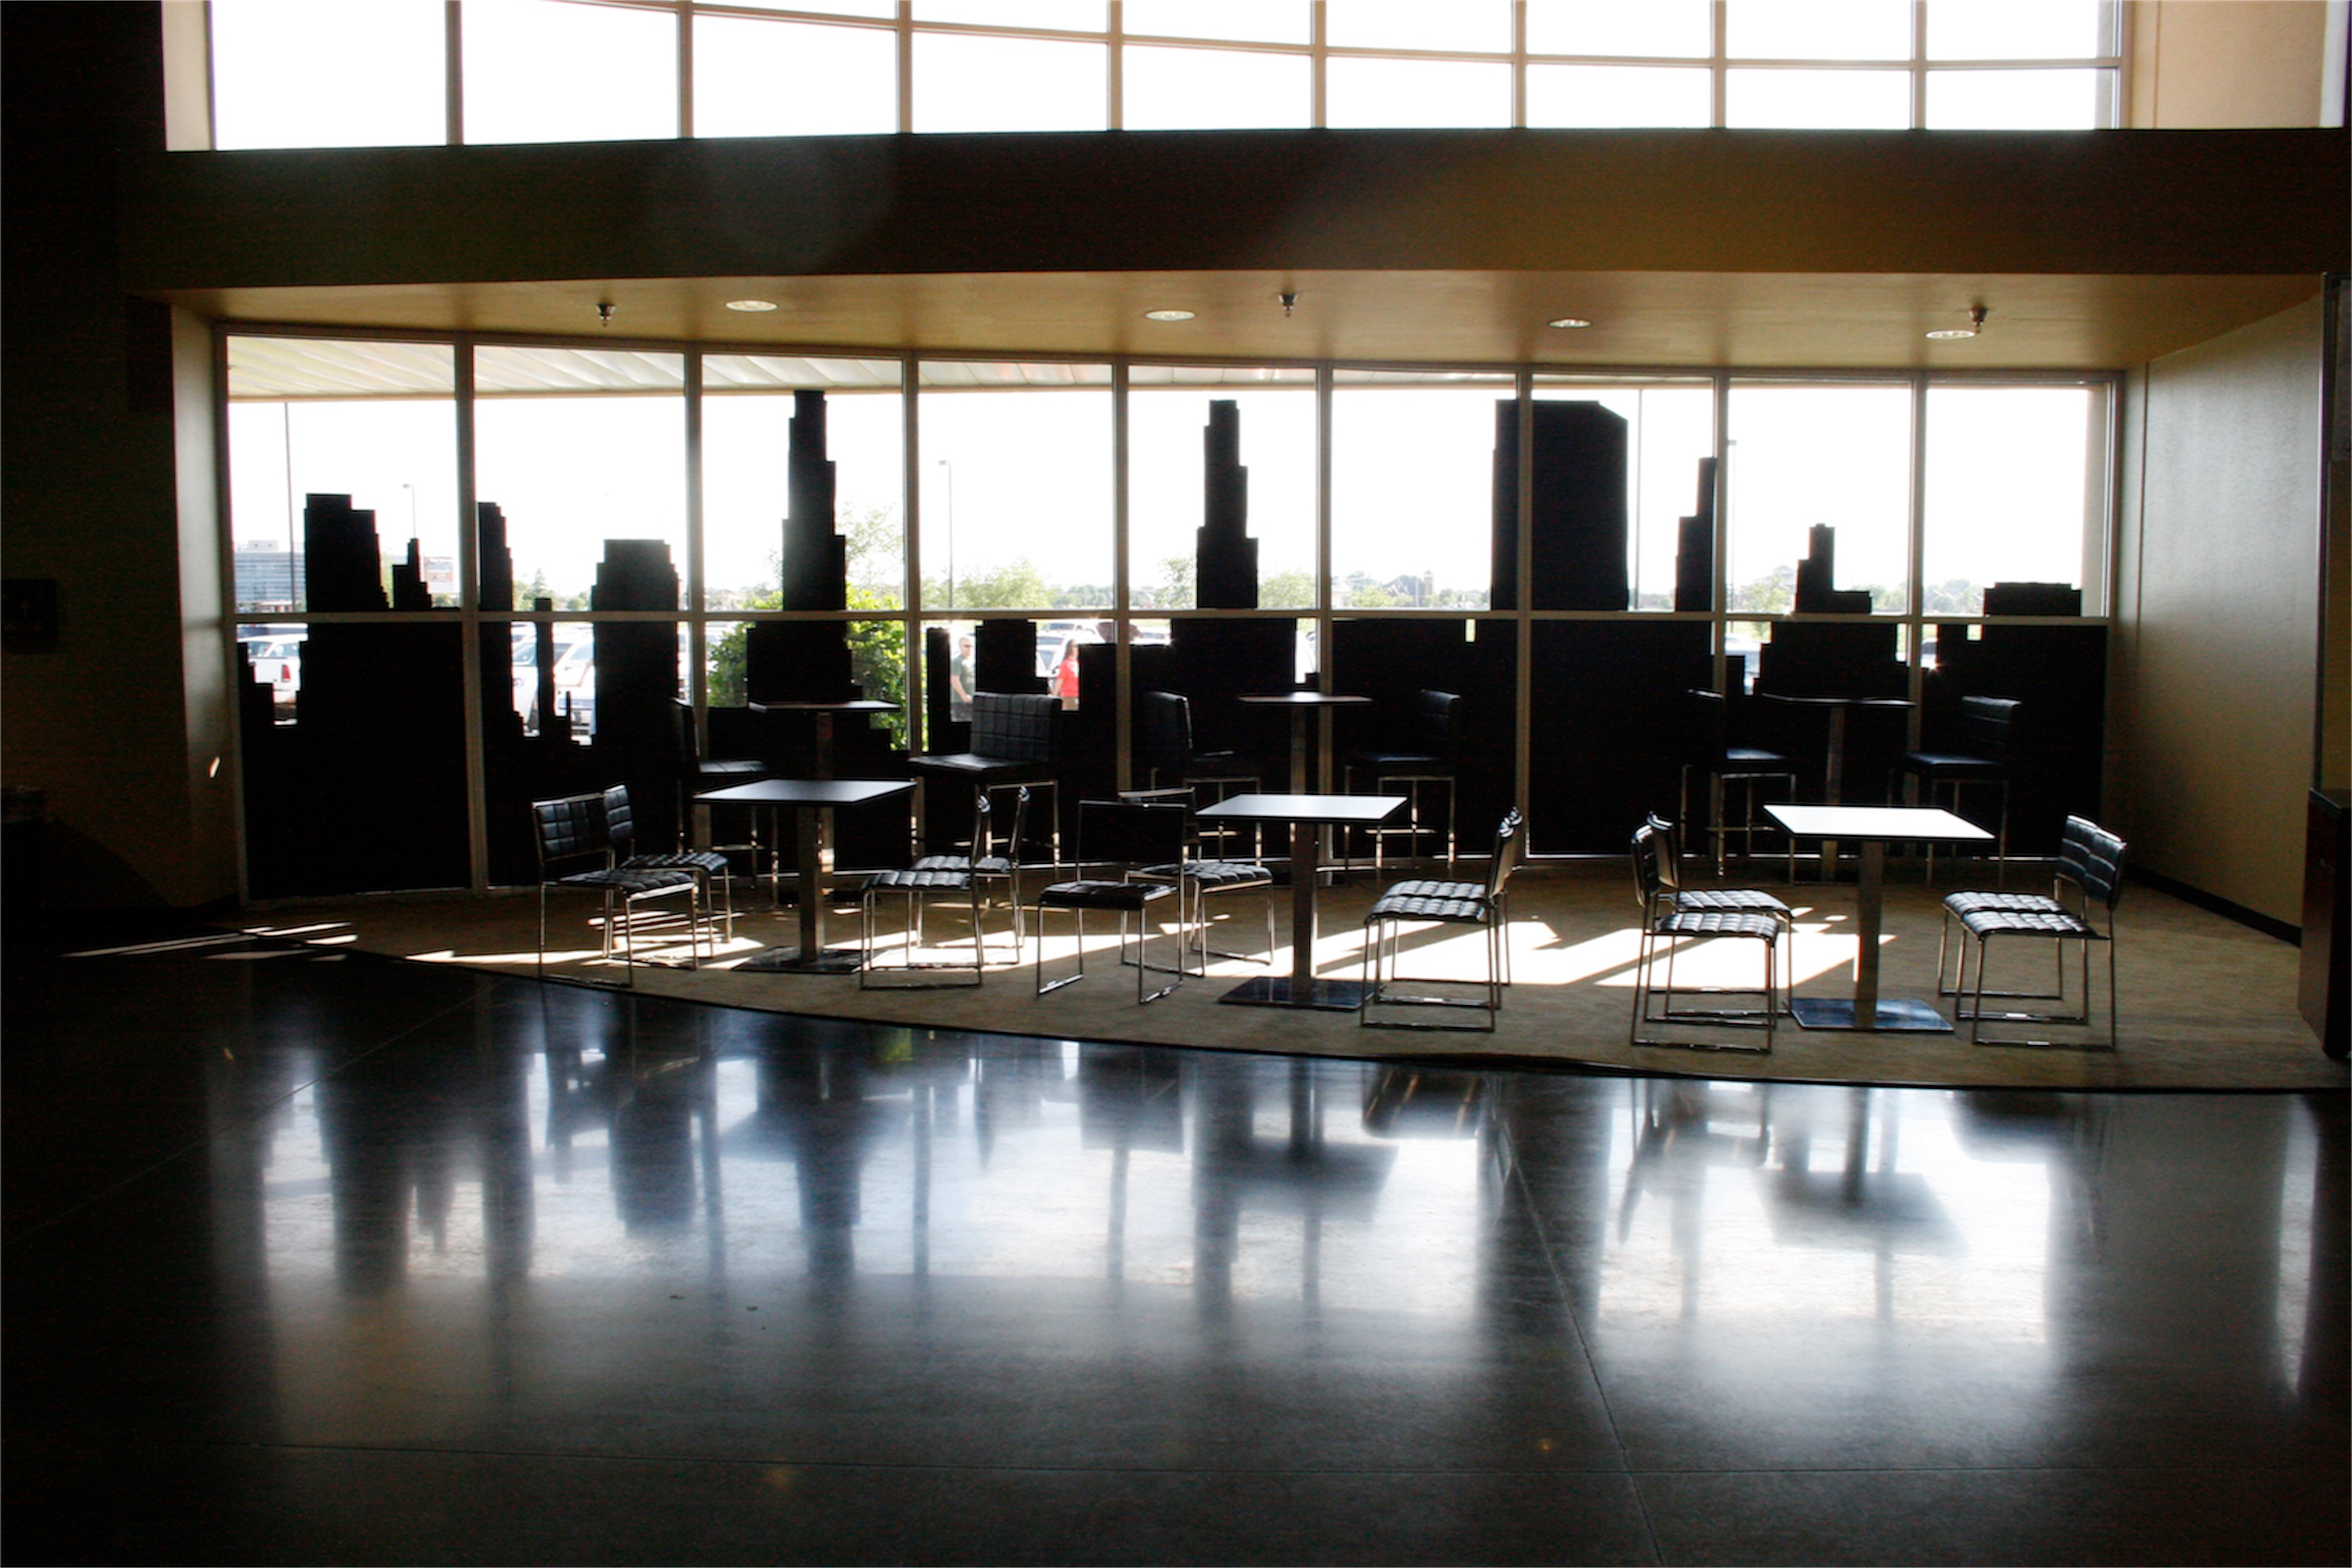
In their lobby, they covered their windows with a cityscape. They traced a projection of the cityscape onto black Coroplast with white paint pens.
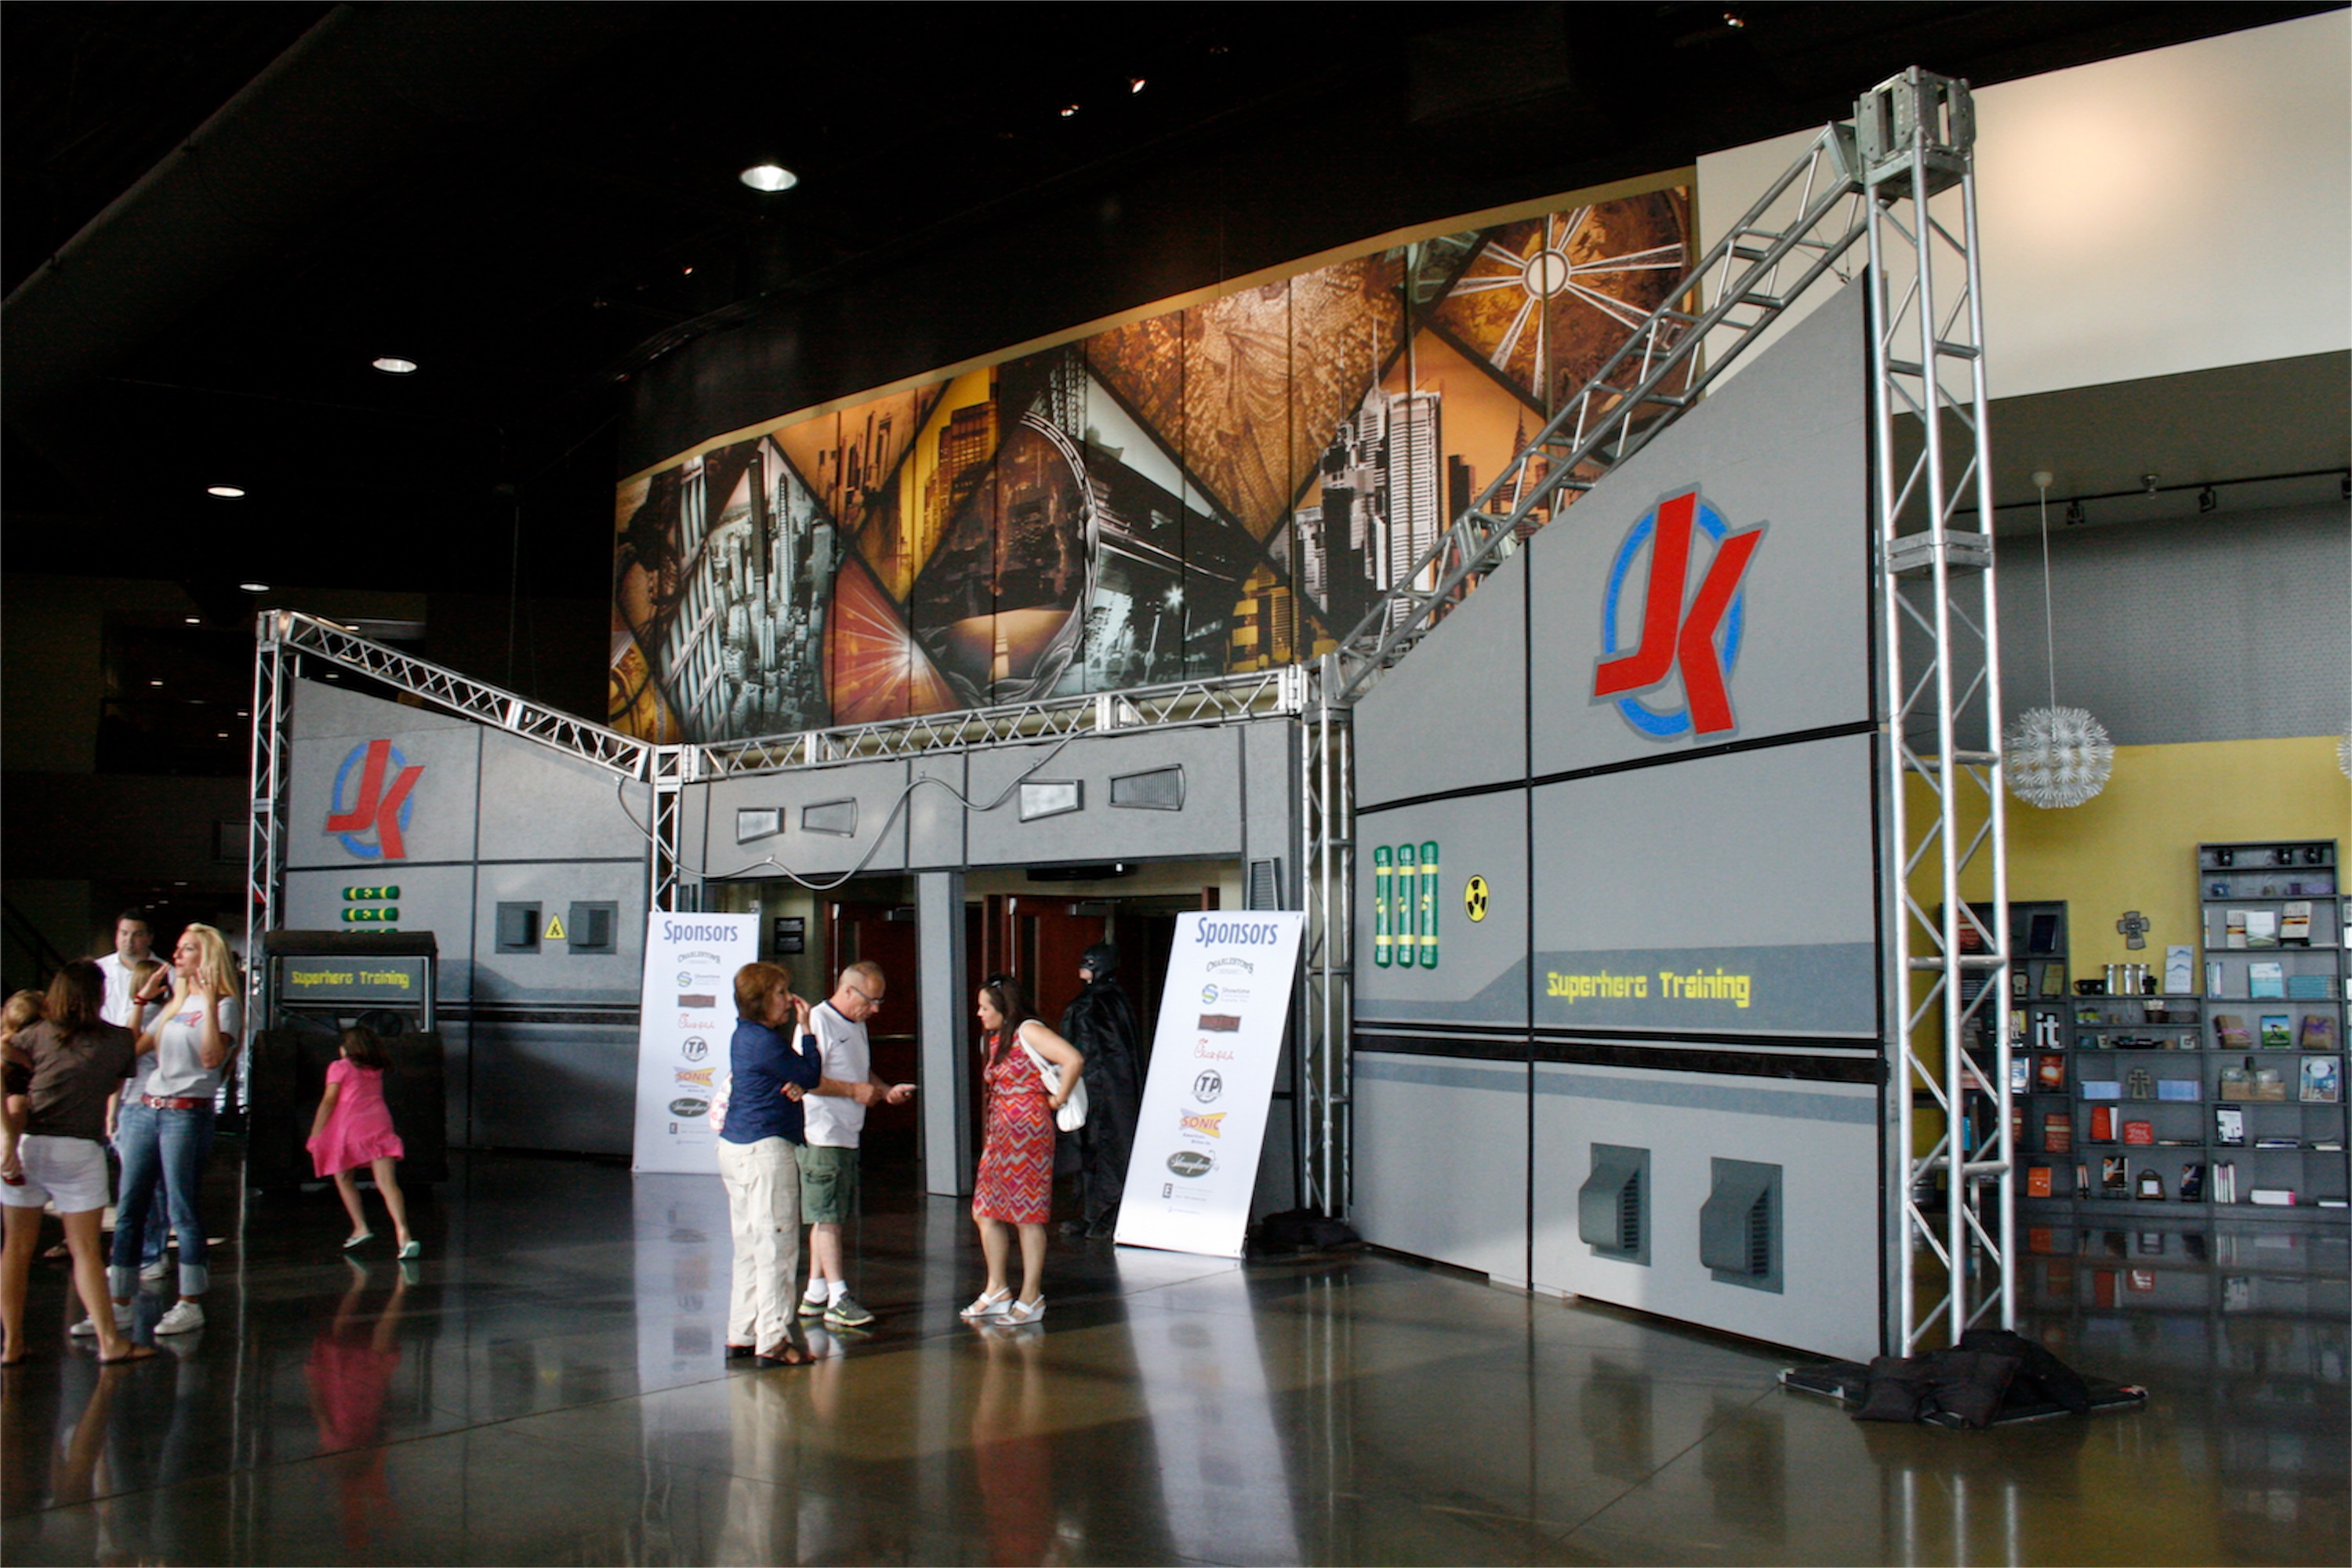
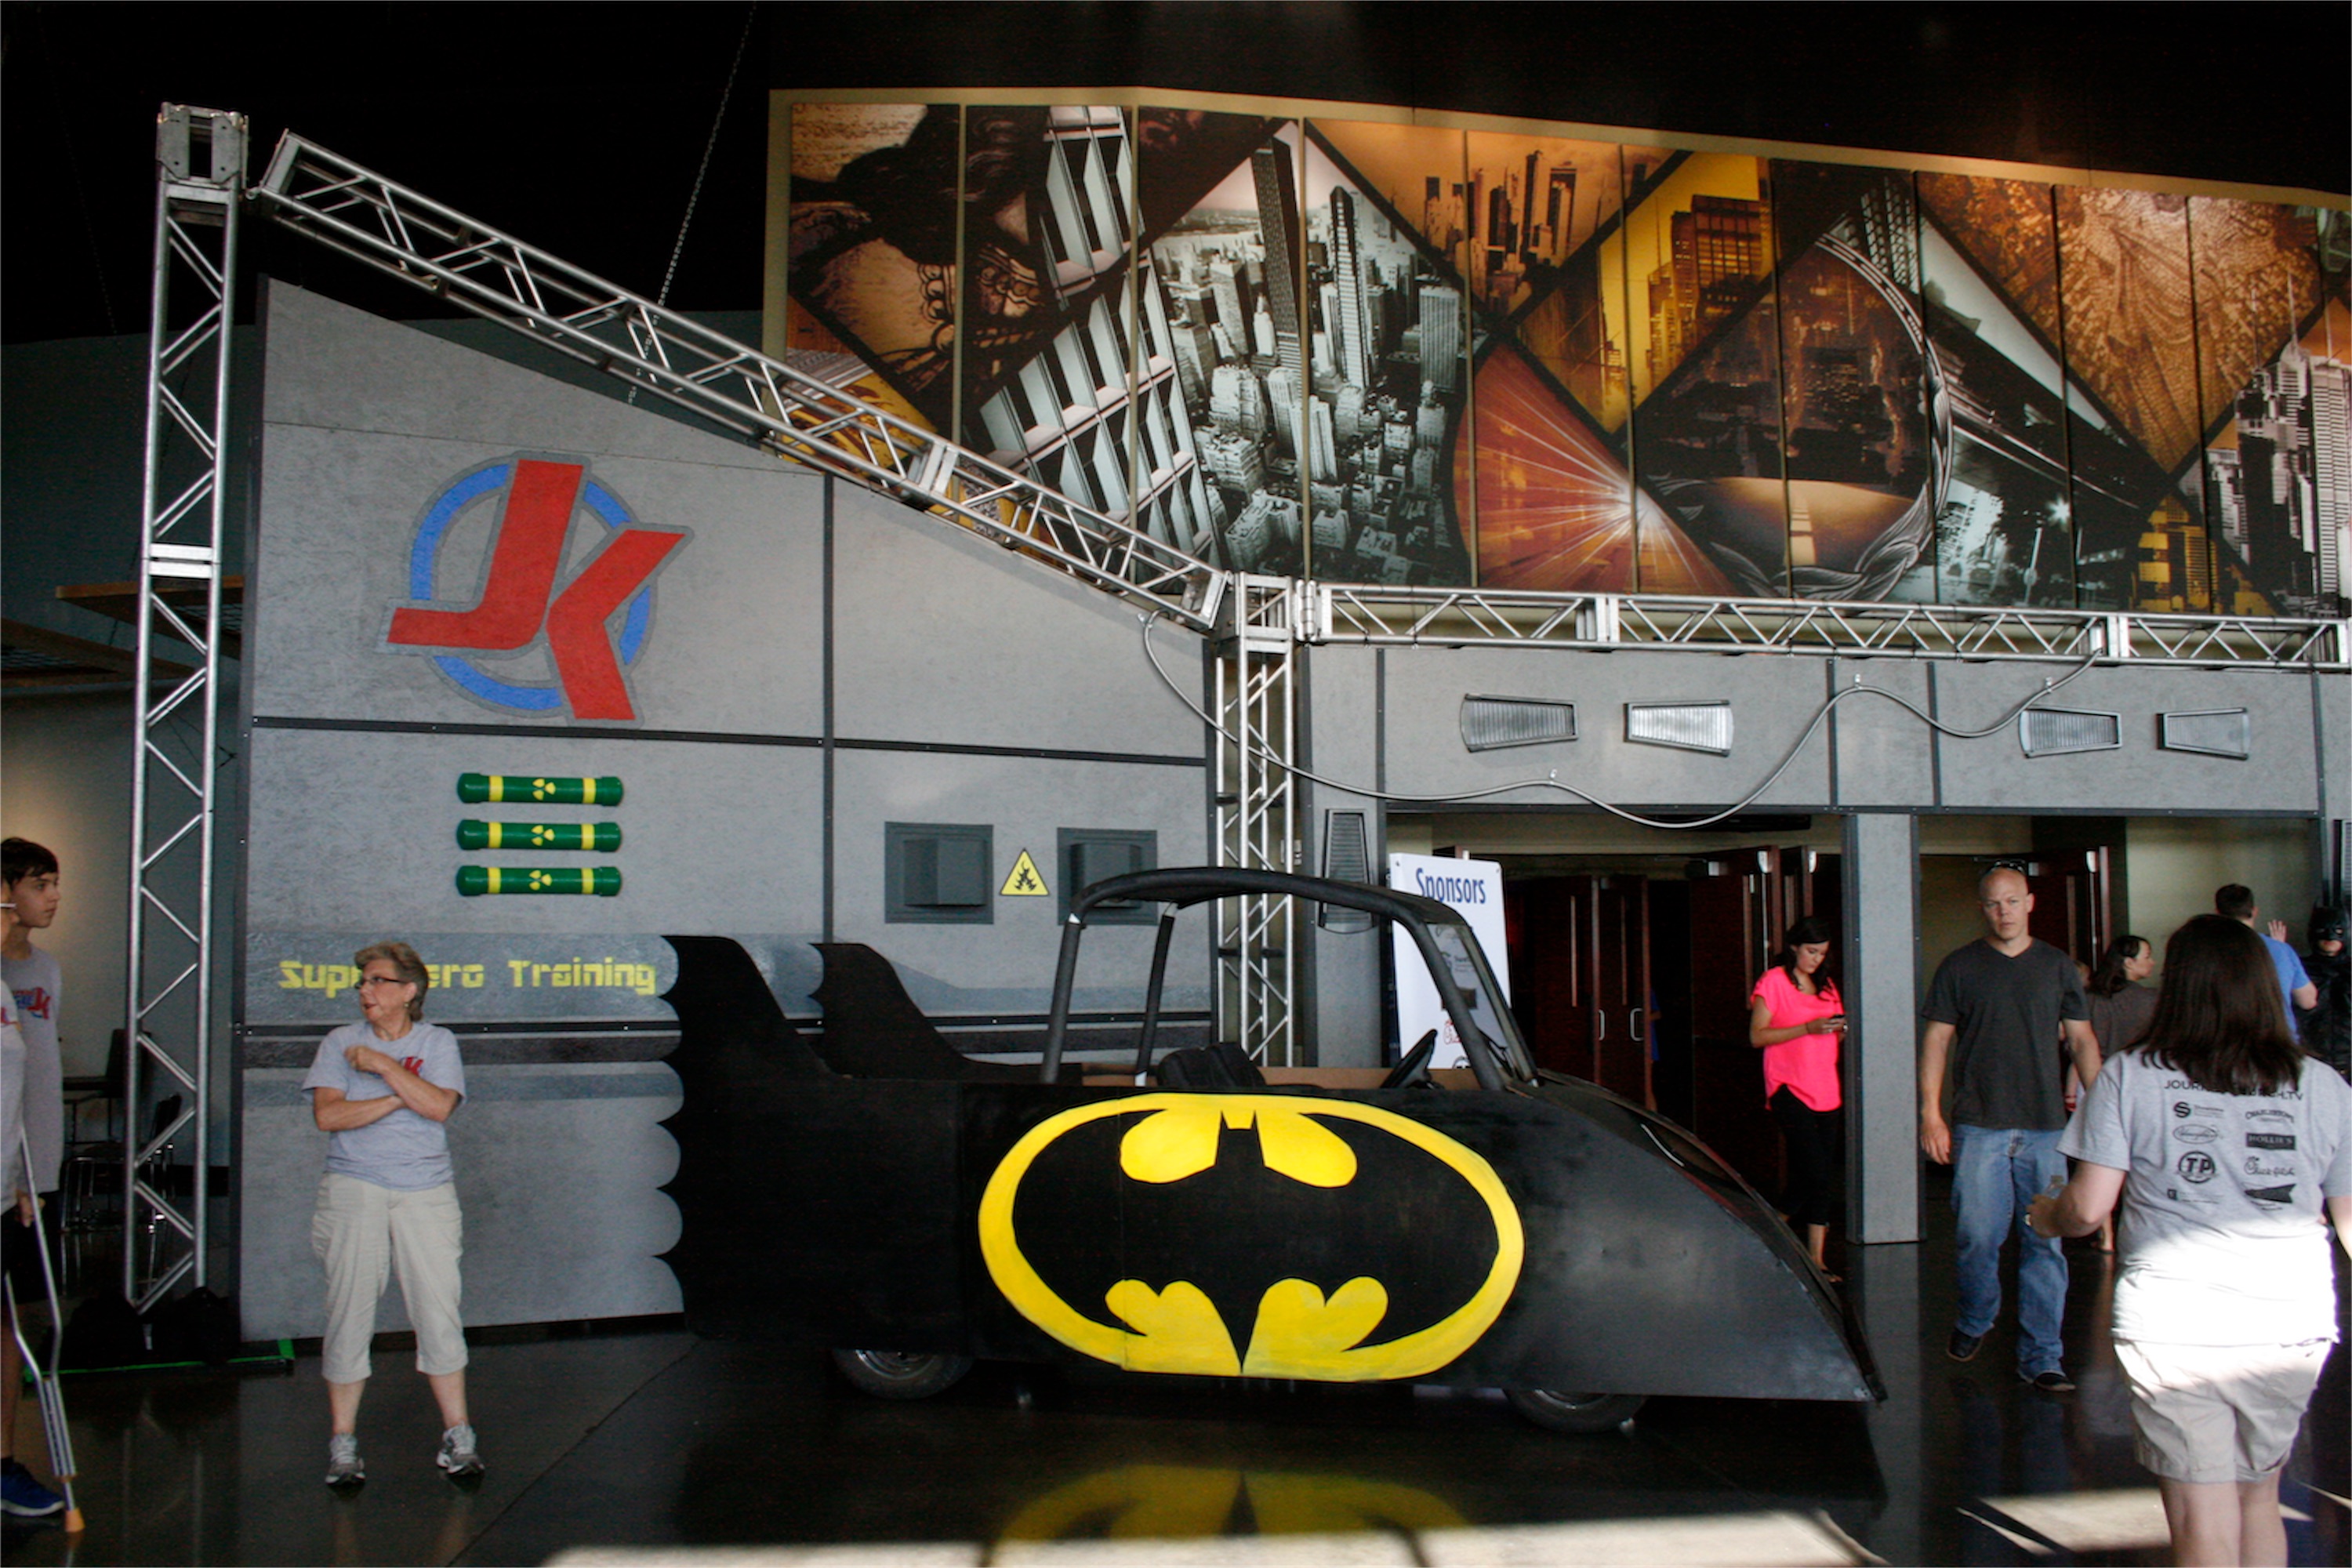
They also built a huge entryway into the Superhero training facility (Auditorium).
They built a 12″ truss structure to support the walls of their entry way. They used 6 hinge plates to get the angles they needed with the truss. The walls were made from 7/16 osb and 2″x4″s that were painted grey. They tried to keep everything no larger than 4′ x 8′ so that it simplified transportation from their shop to the church. To liven up the entryway they used a bunch of things to accent the entry way. They used painted gutter splashes, conduit, hazard signs, paint stripes, strips of Coroplast, and two painted logos. Steven’s favorite part though was the bio hazard tubes. They cut 6″ PVC pipe and caps in half and painted them bright green. Then with a stencil, painted on the yellow Biohazard sign.
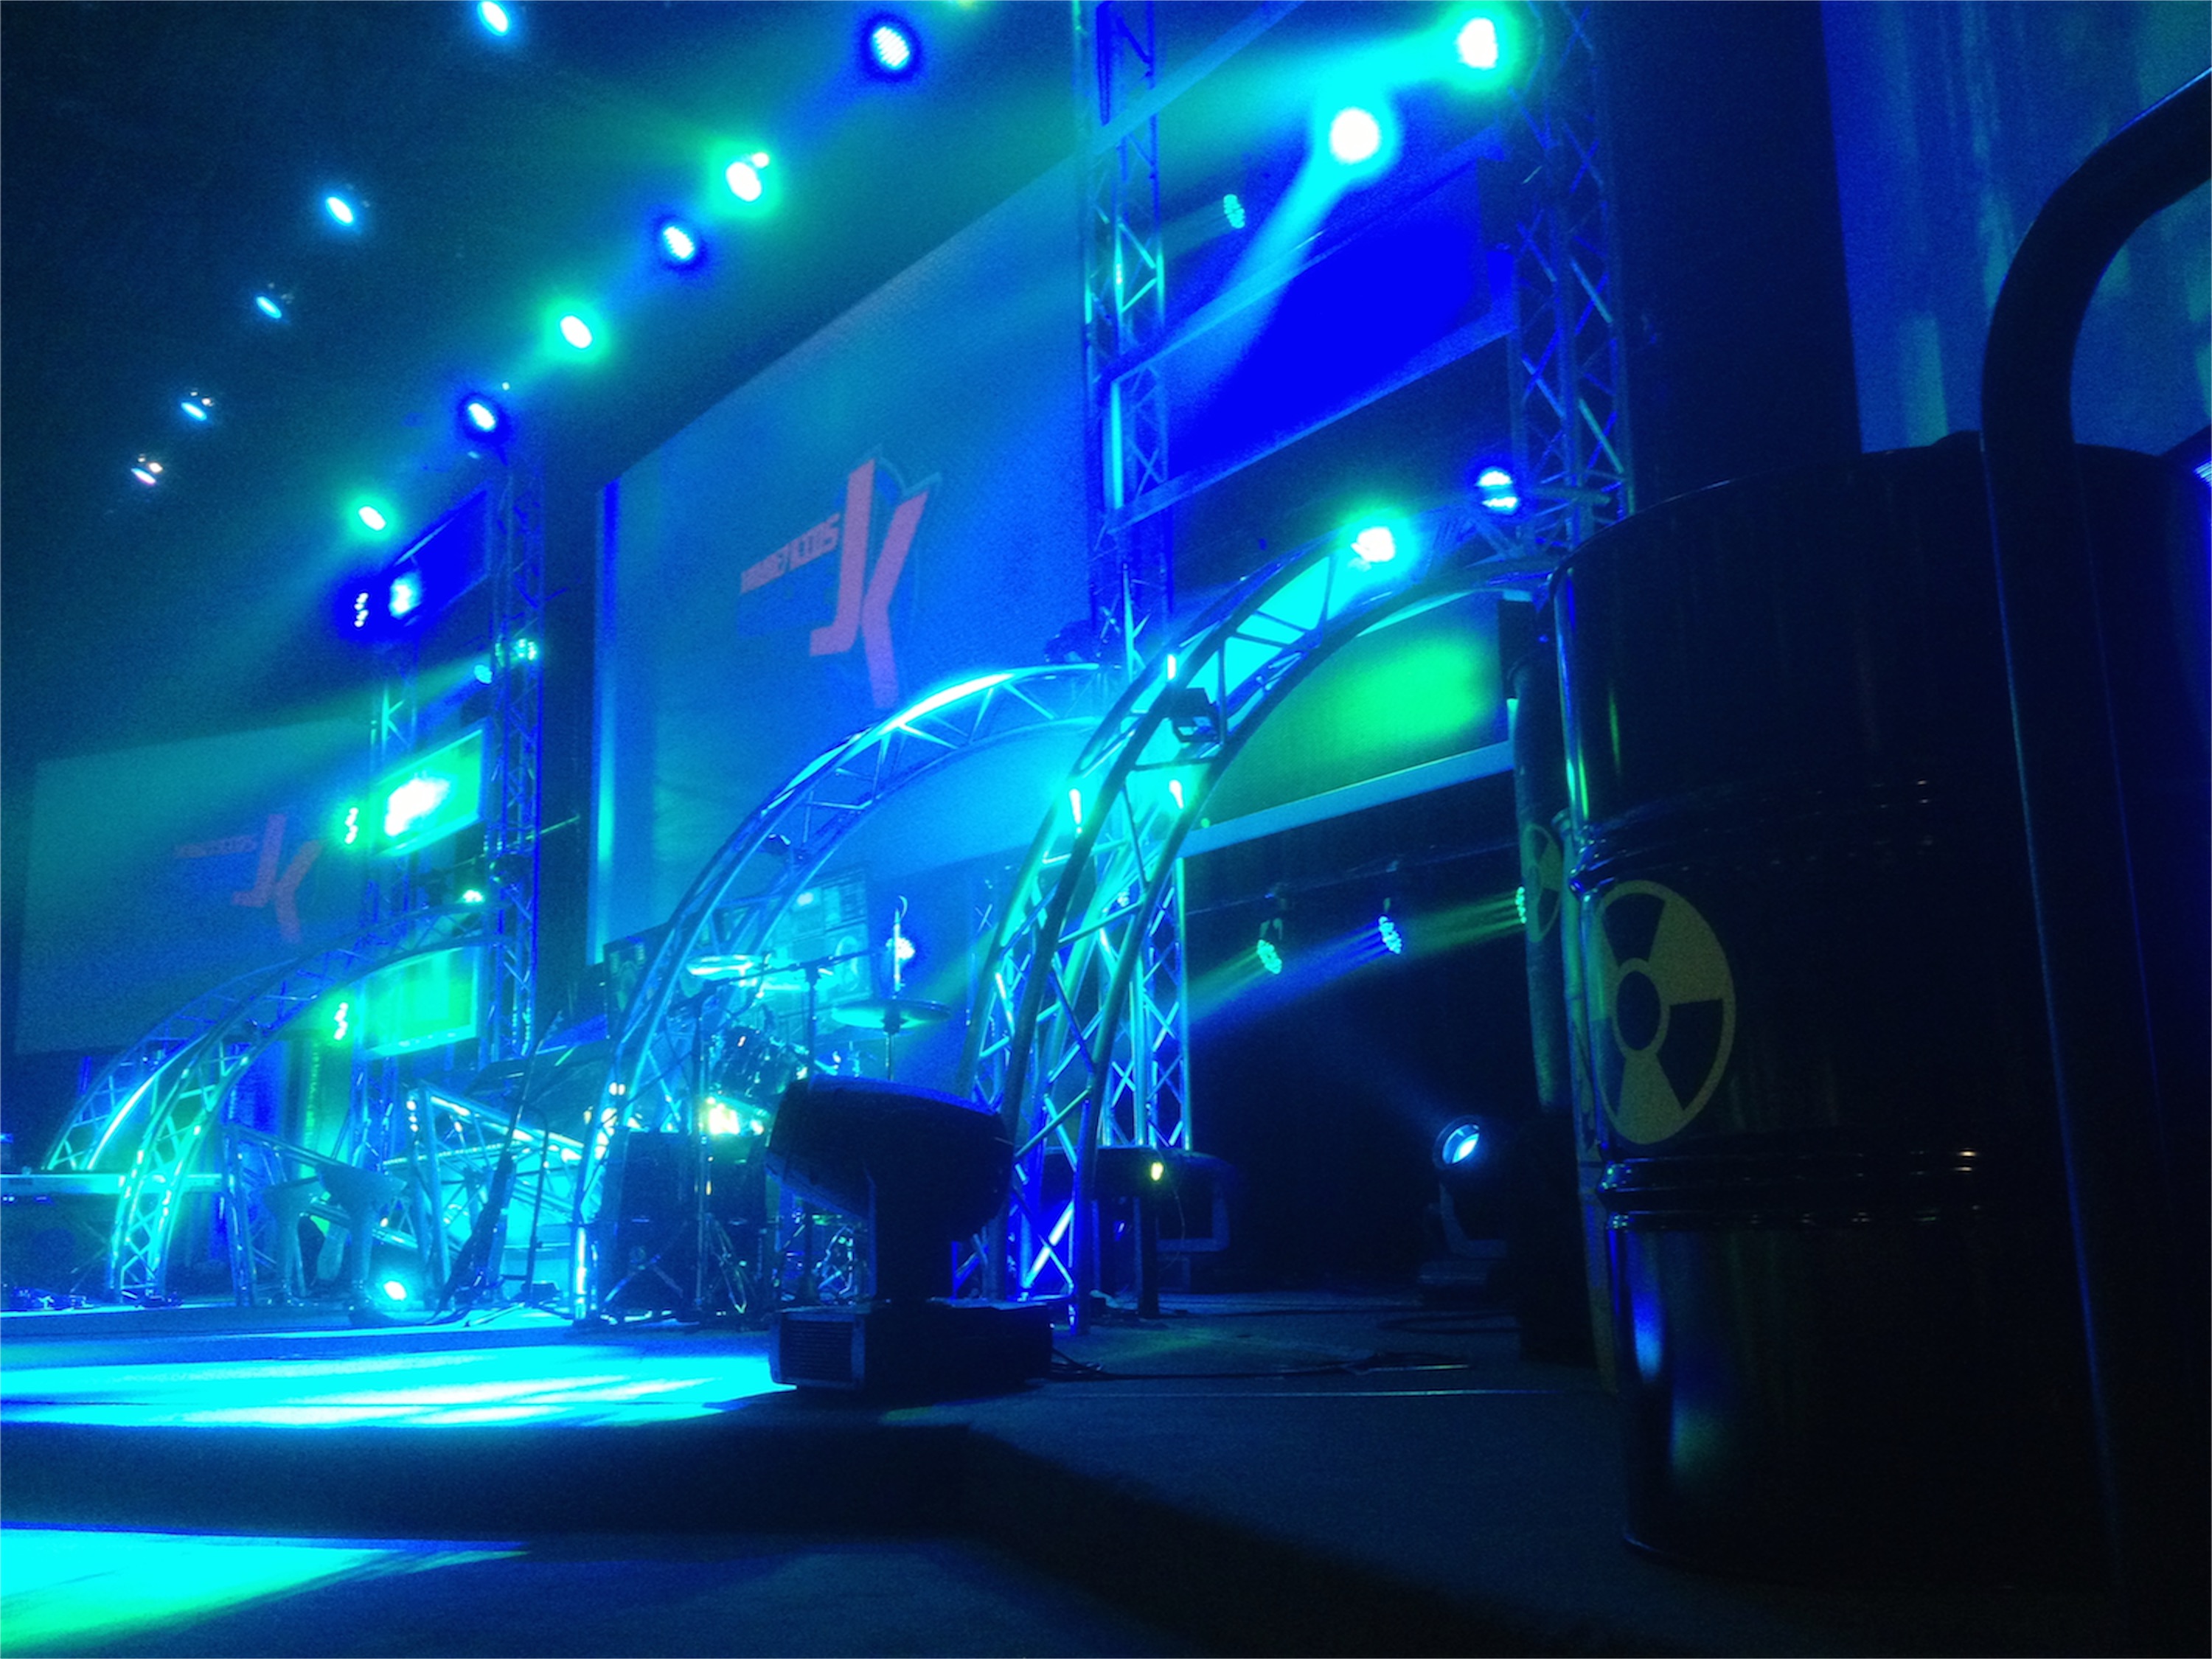
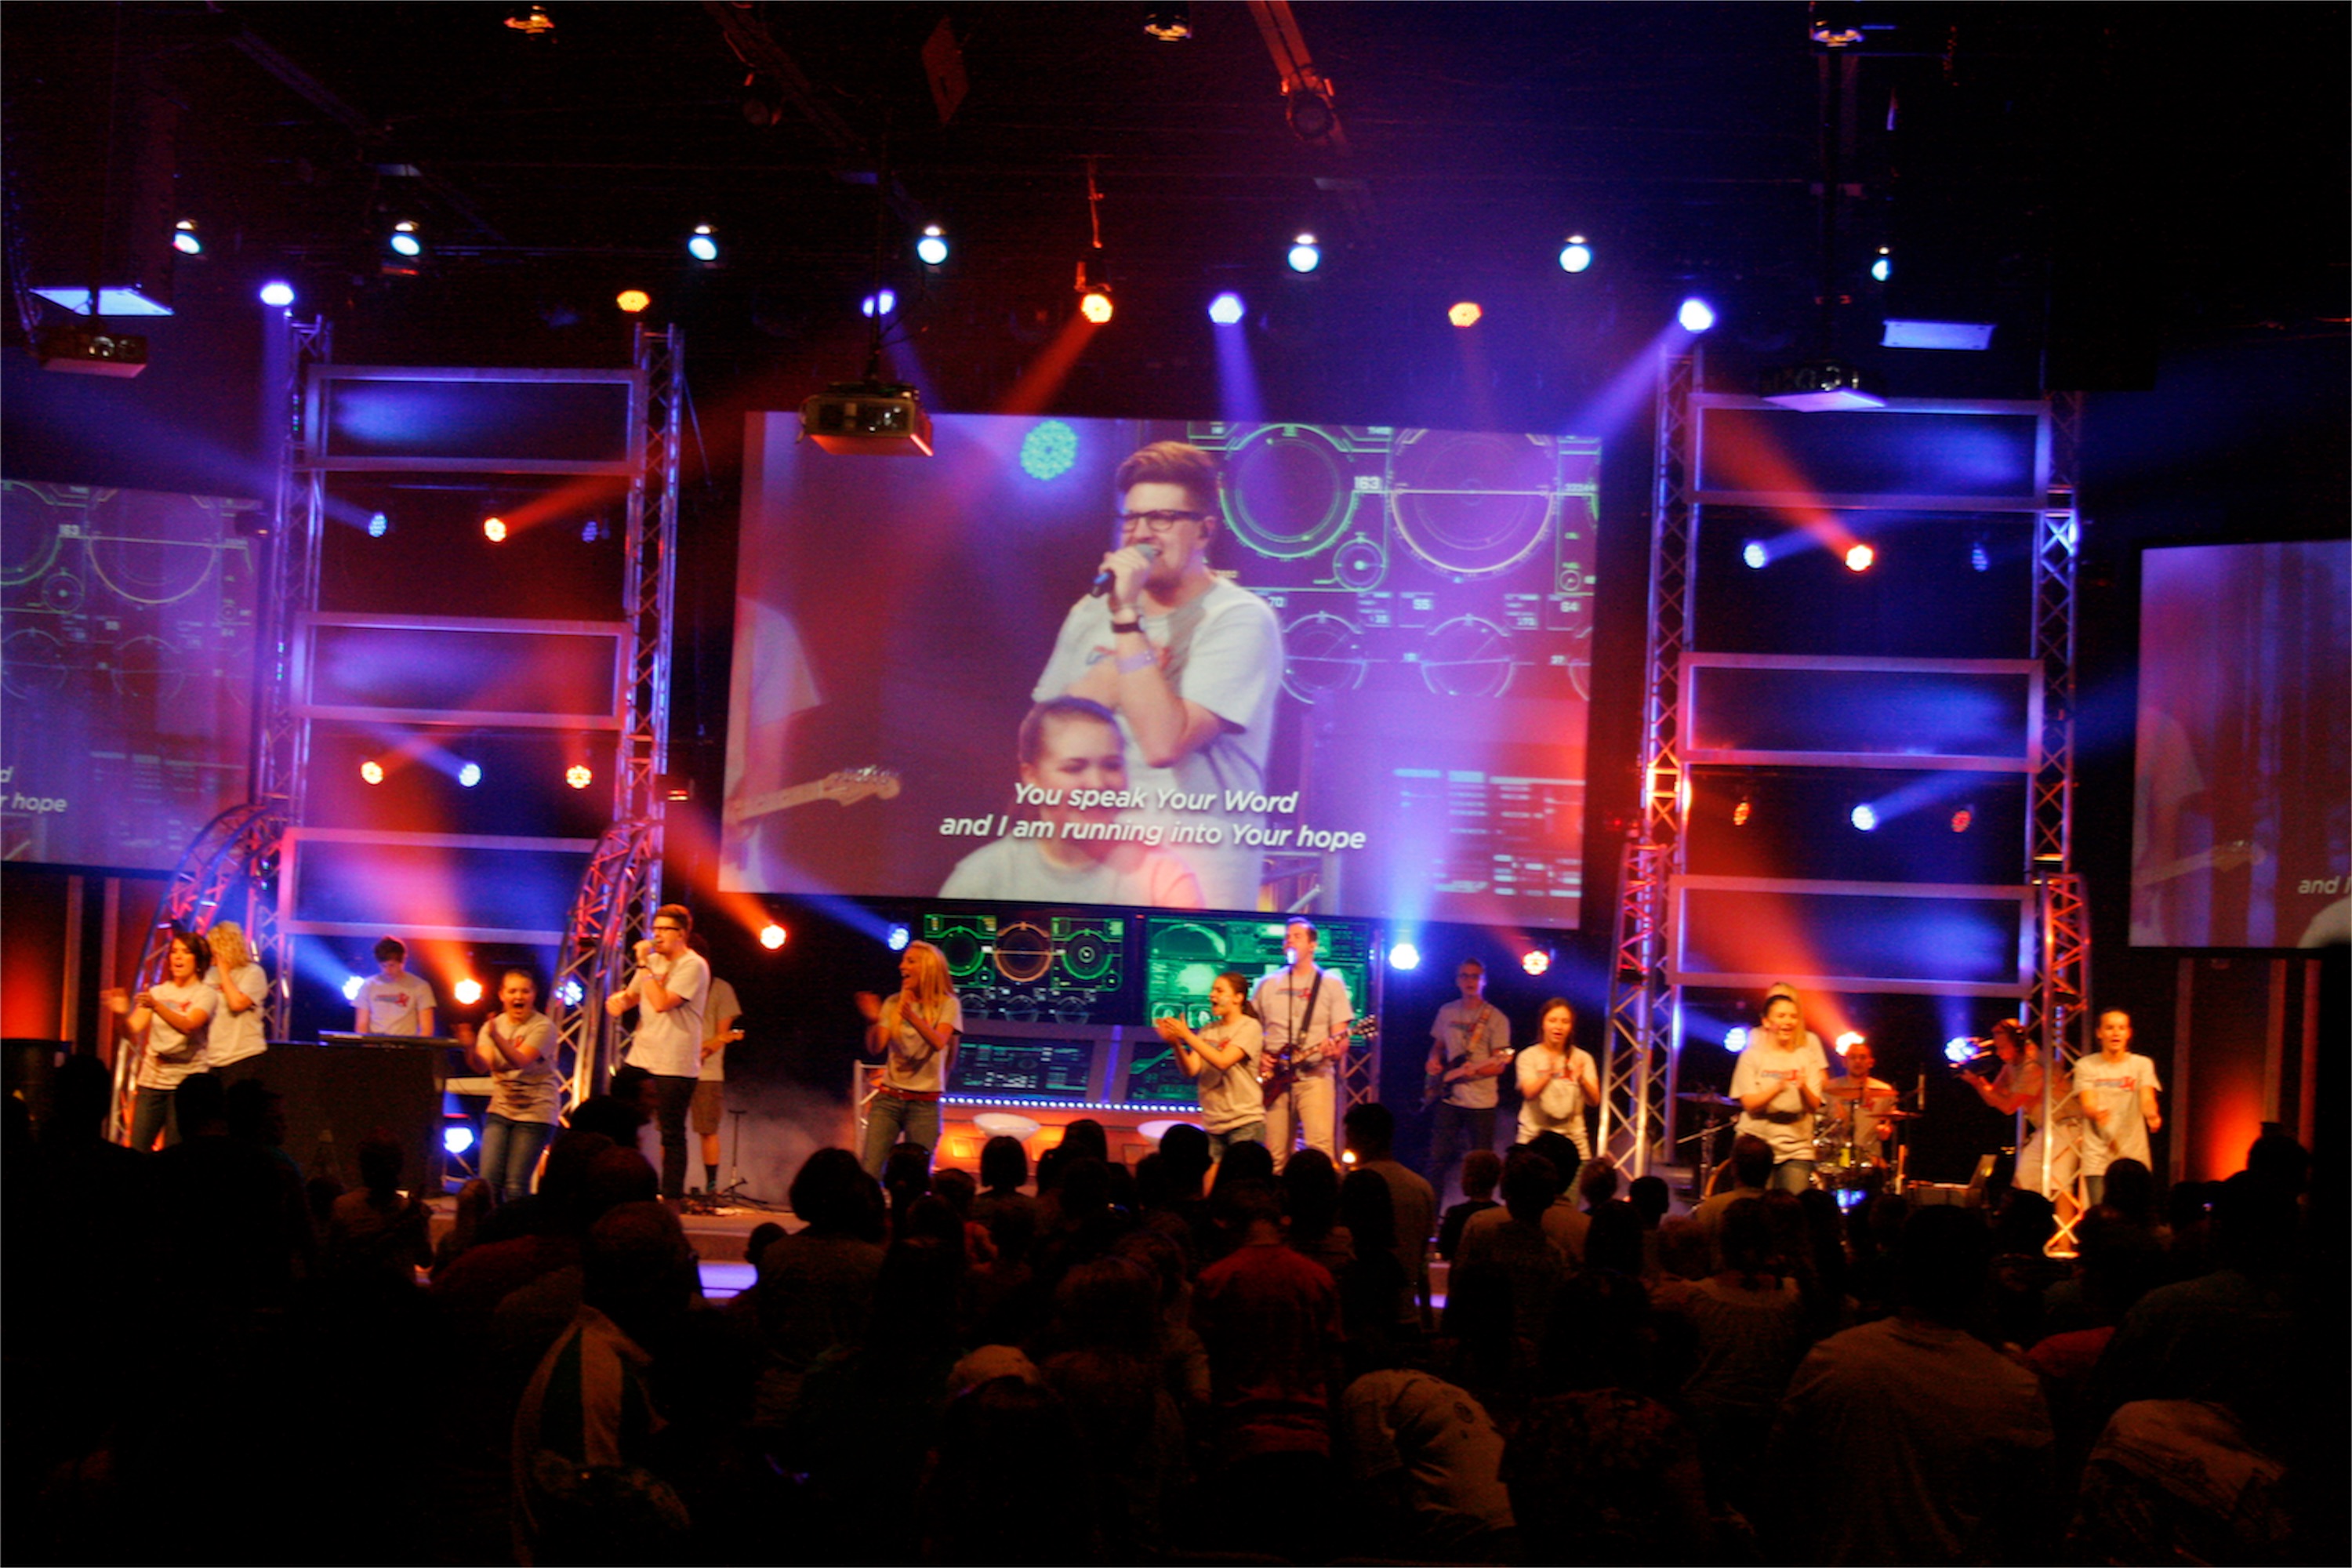
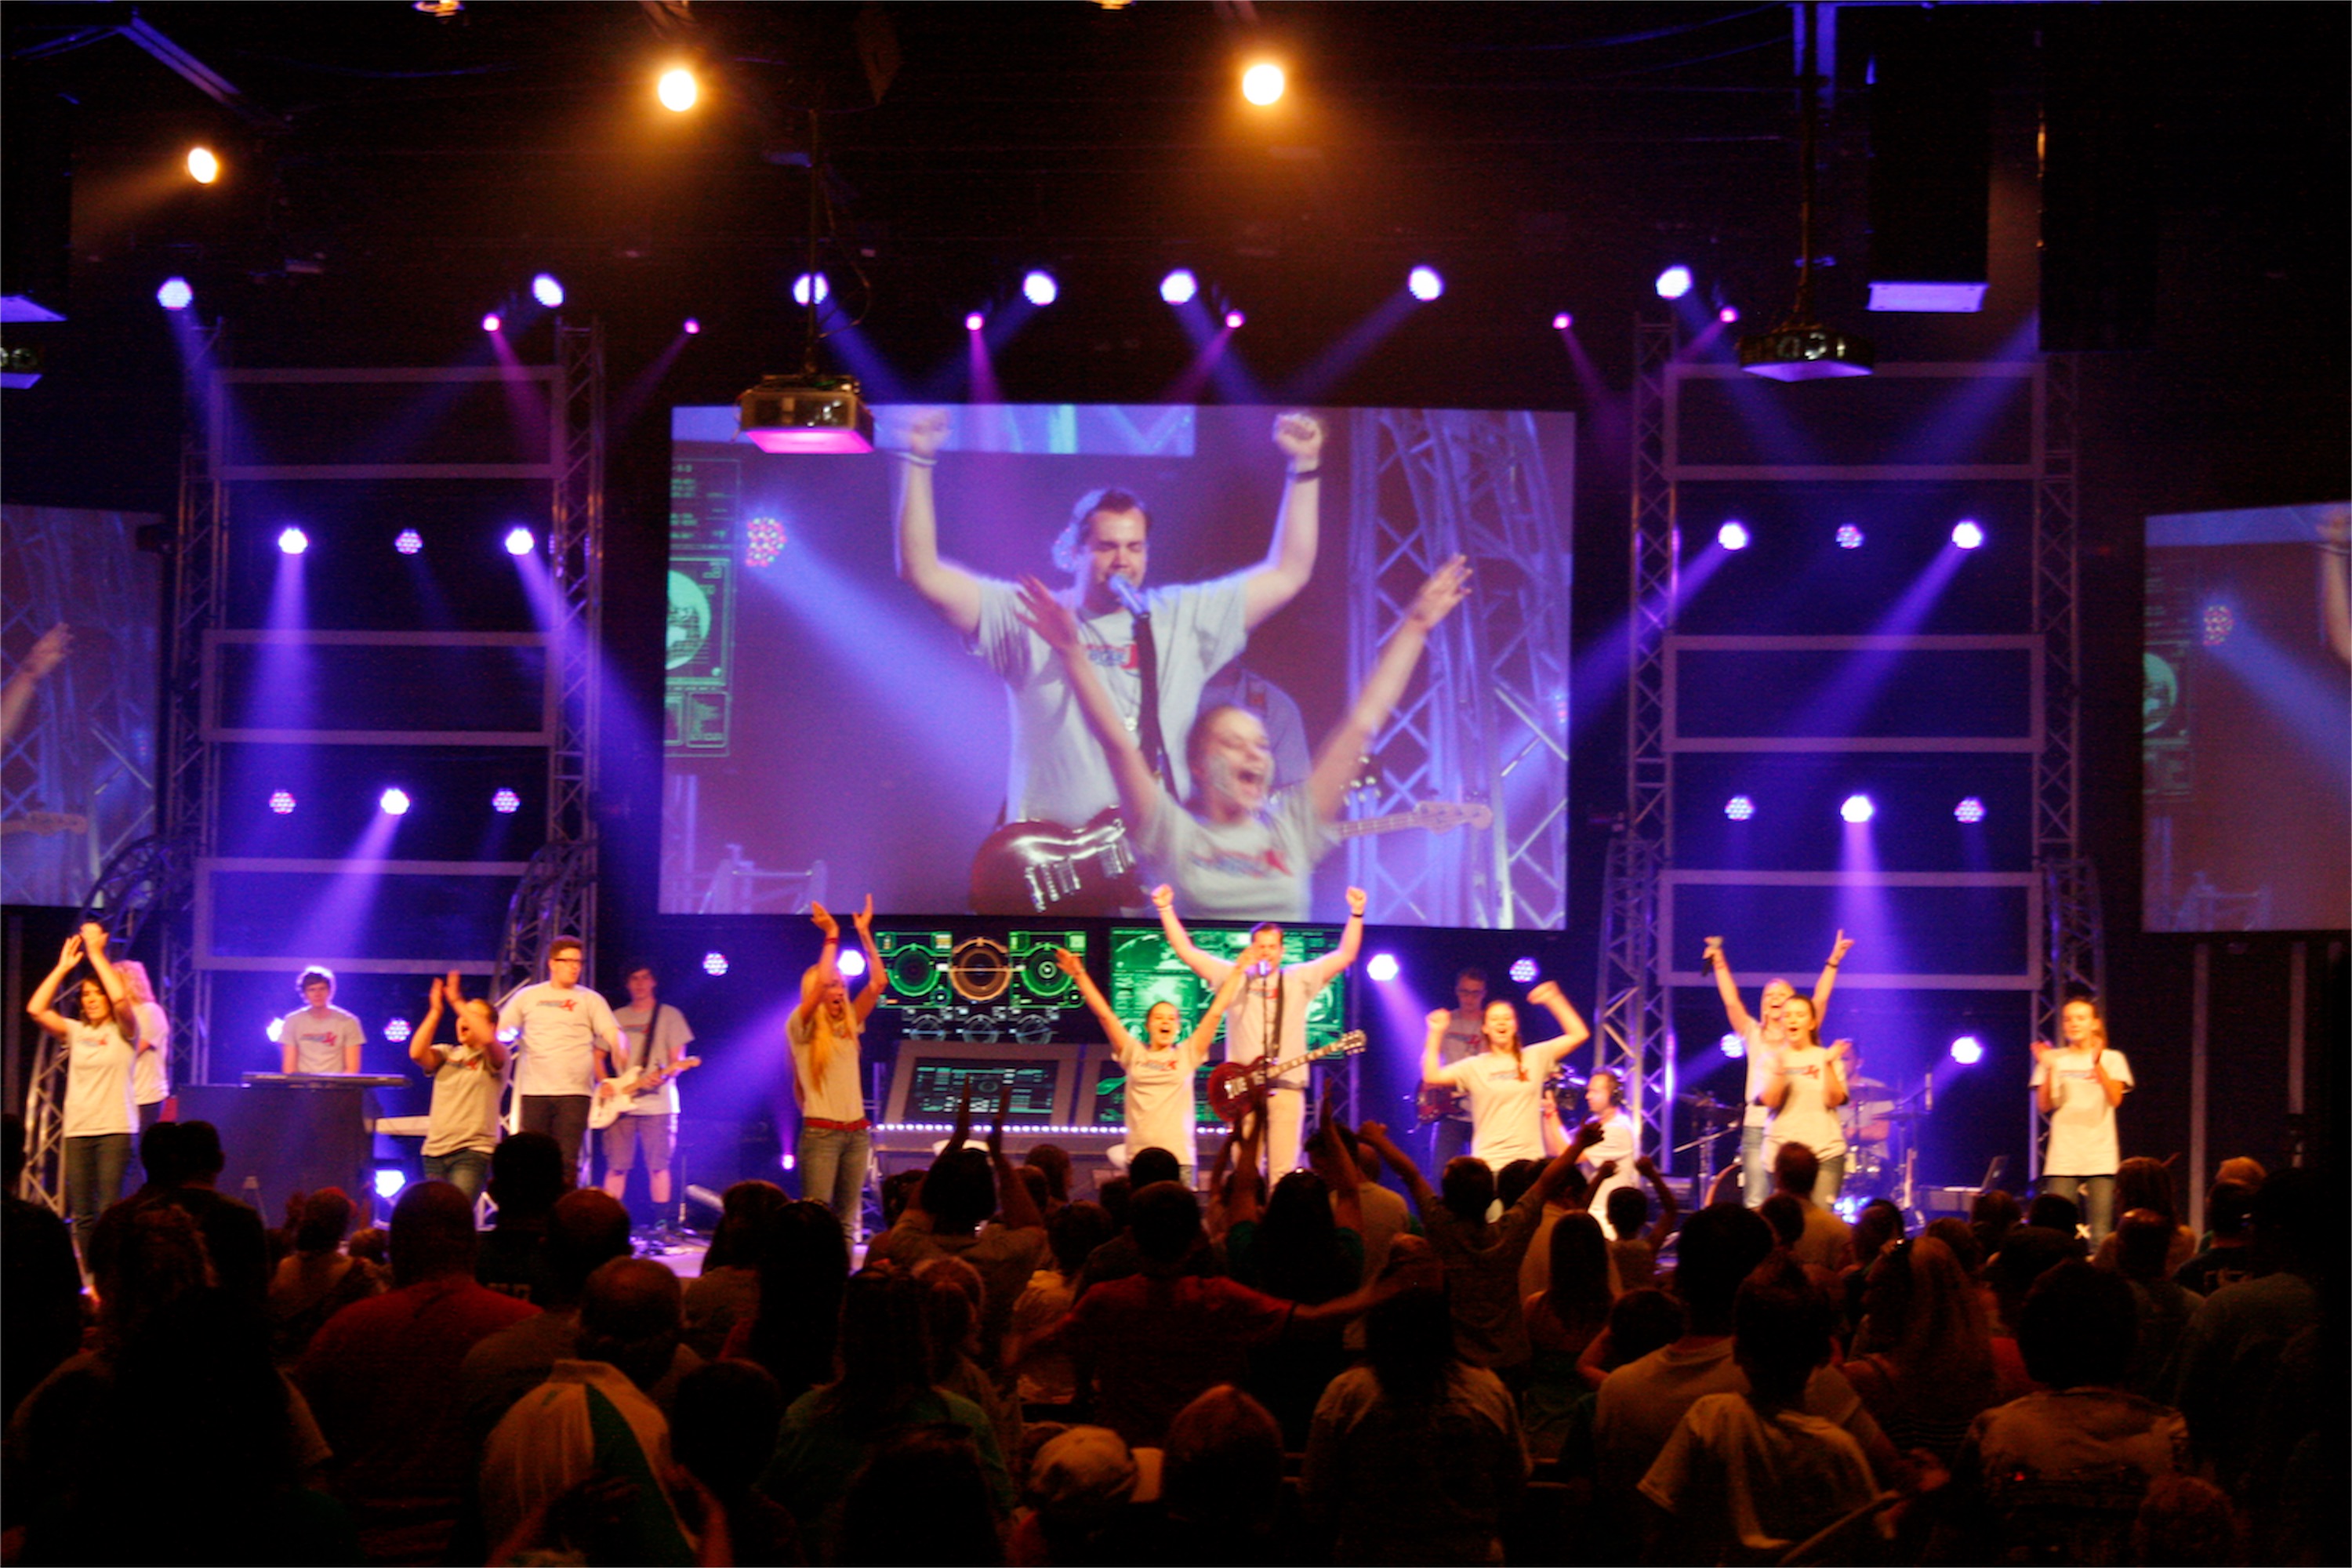
Inside the auditorium they did a lot to make the room look like a Superhero training base too. Their concept was to make the stage look like the command center and the seating area to look like the training grounds.
One of their simplest, easiest to build, most effective, and most reusable set pieces was what Steven likes to call the “Cheese Grater” panels. They are 3’6″ wide x 8′ tall 2×4 frames with a piece of steel lath attached to the back. They cut 45 deg. angles on the boards and used 3″ screws to fasten them together. They attached the steel lath to the 2″x4″s with a hammer stapler. They are simple but they lit up very well and they have them to use as a stand alone piece in the future. They used them on the wings and horizontally from the truss uprights
To add some vertical dimension they put up some 20′ truss towers. They also acted as supports for the horizontal Steel lath and a few police beacons as eye candy.
They also attached a few 90 deg. sections of circle truss that they own to the uprights. They jutted onto the stage and gave a nice dimension.
Above the students, they hung yellow steel grates in the ceiling.
Another one of the cool elements they used were 8- 55 gallon drums they painted and added graphics to. With a few hours of work and some nice printing they made Biohazard and explosive barrels for under $40. (drums were donated)
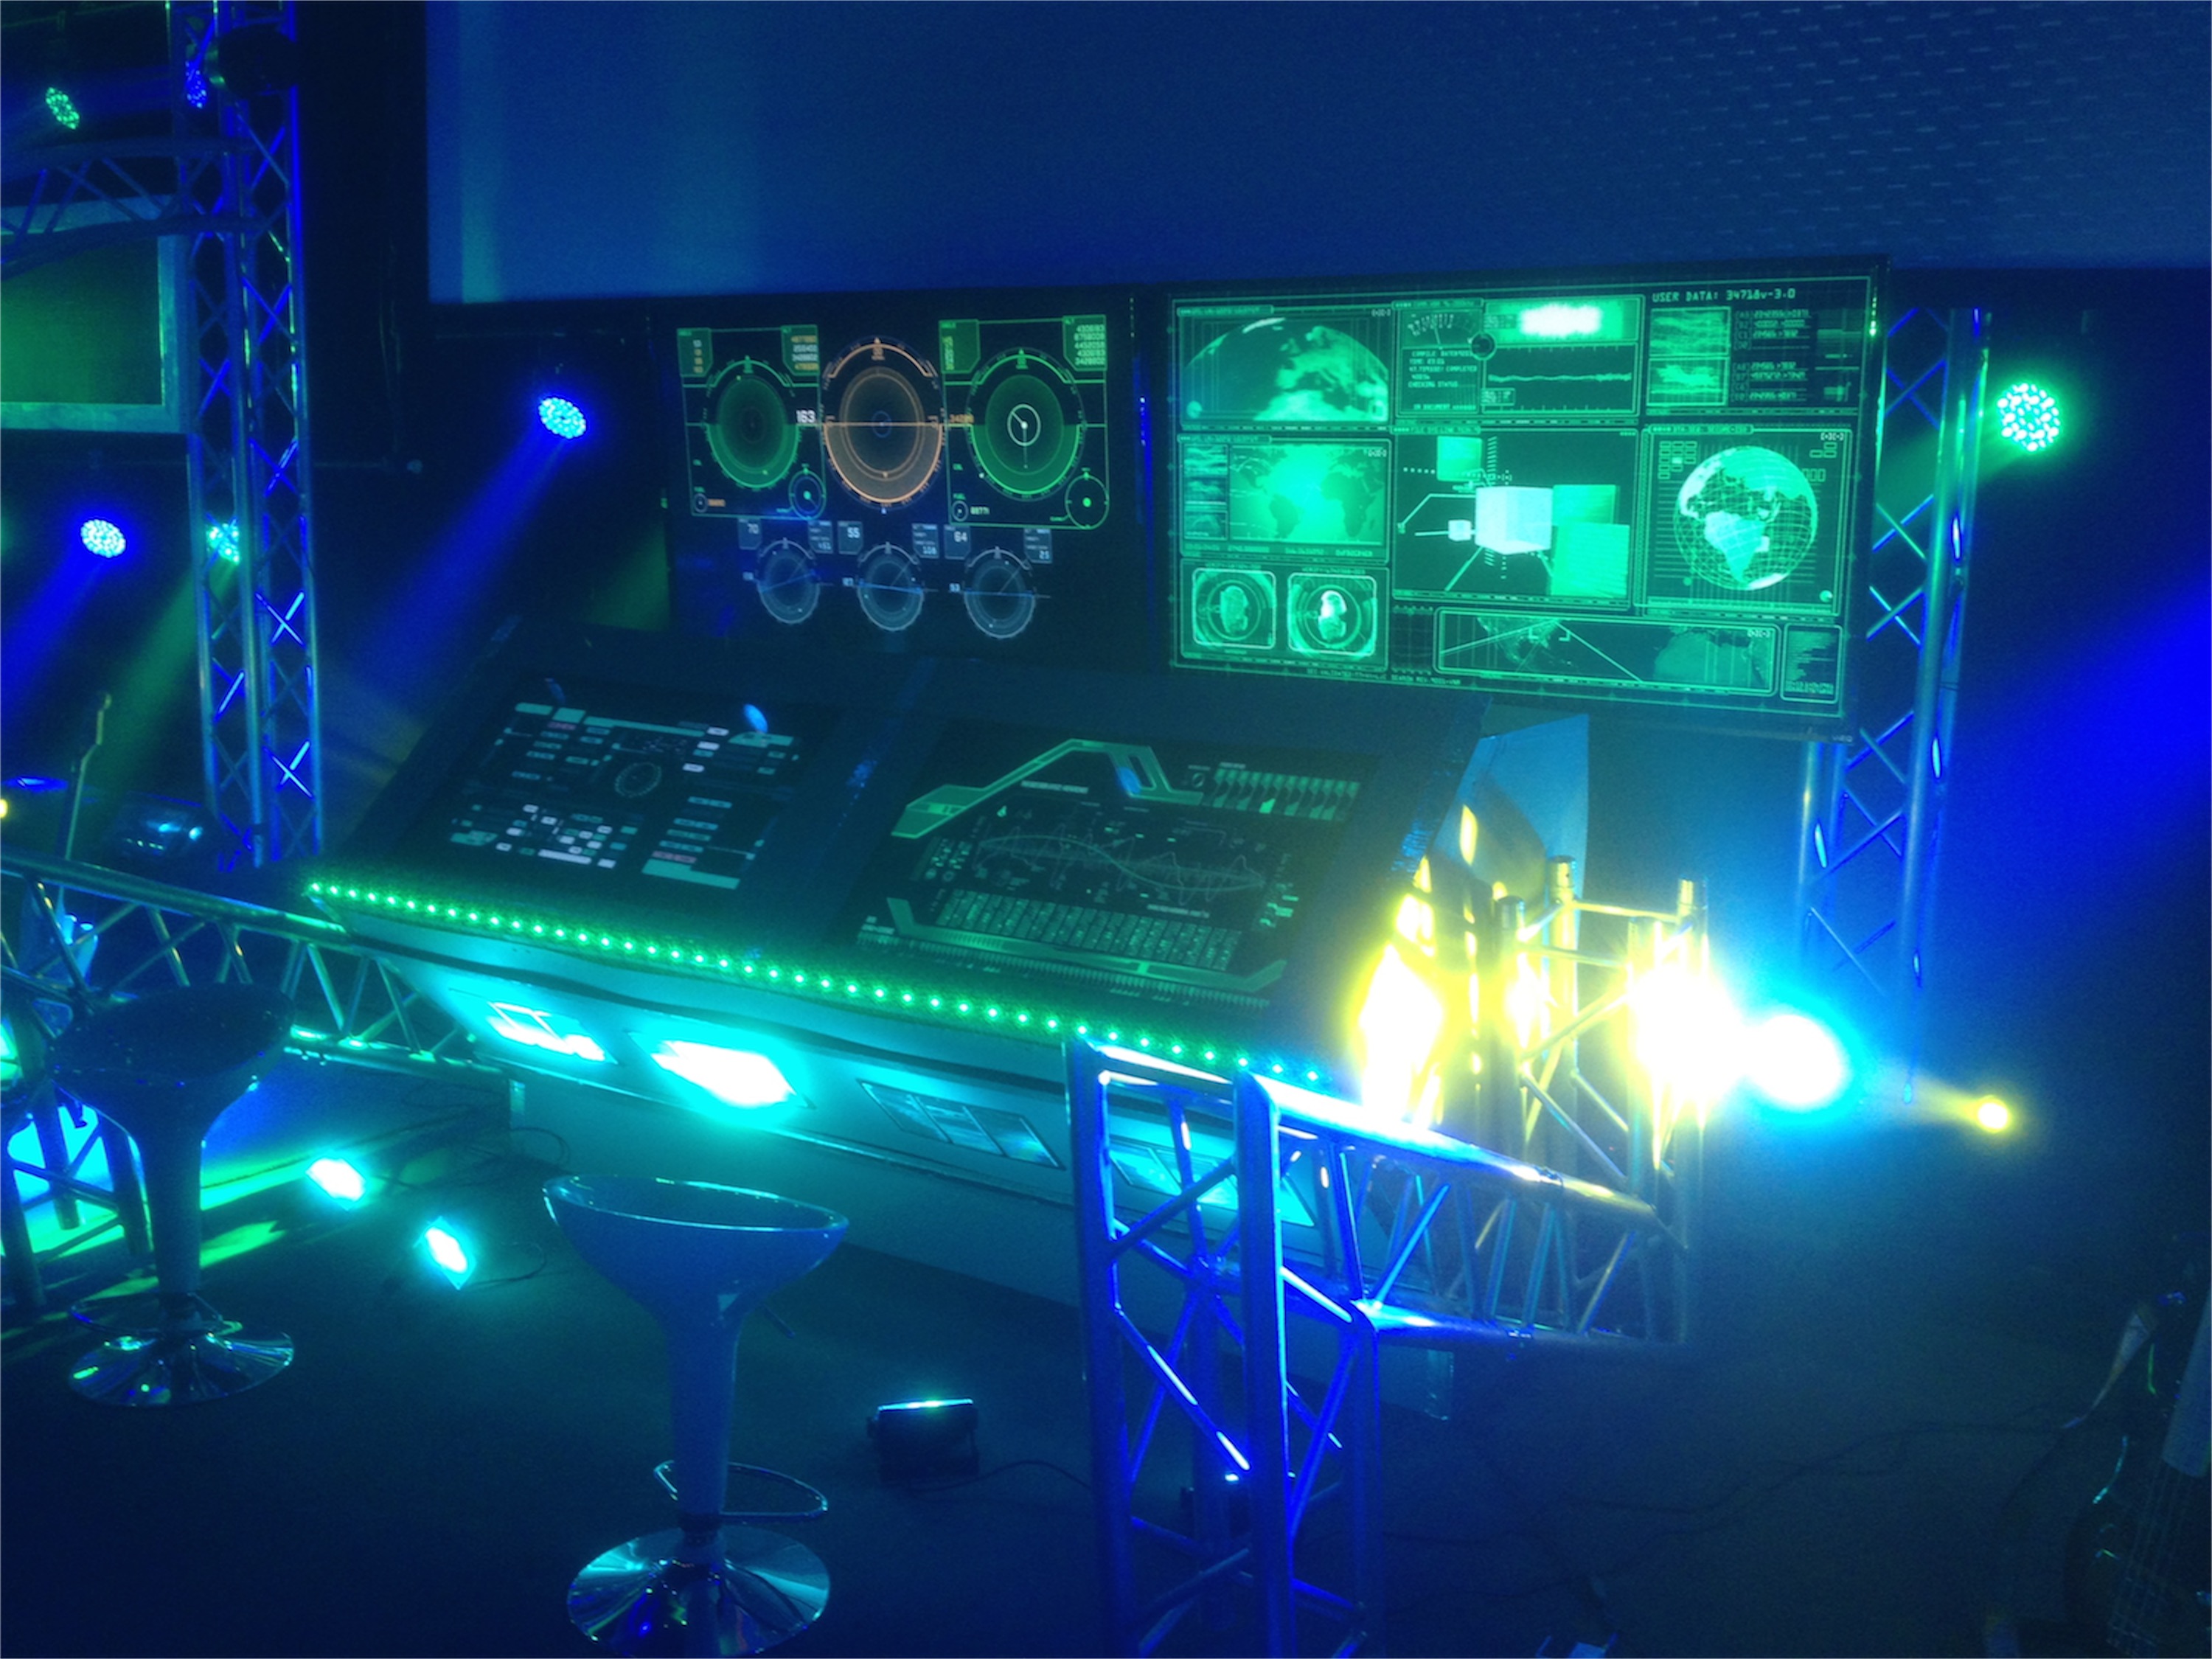
They also built a training facility control panel as the stage center piece. They built an angled console out of 2″x4″s that held 2 large LCDs on an angle that played back futuristic HUD display graphics. They also placed 2 LCDs behind the control center on stands. The content ran from an old IMAC and an Apple TV setup. They faced the 2″x4″ frame with masonite that they painted grey. They added a line of Icove LEDs at the bottom of the TVs, some vents, reflective metal tape, and some cheap LEDs to light the control center to make it look finished.
To round out the set in the main room they added 12 Mac 101s, 4 Mac 700s, 6 Martin Atomic 3000 strobes, and a Glaciator. It worked amazing and gave them some flexibility with lighting in the seating that they normally don’t have. Plus, honestly, strobes and low fog are cool as long as they are used in the right context; and this was certainly the right context.
They spent 9 days in the month of May building the set pieces they could. The finishing touches were done on Sunday night and Monday before the Tuesday through Thursday Event.
Their budget was for all the scenic was $2500. 90% of their materials will be (or have already been) used in other sets.
Get more info on Steven’s blog.
Creating Immersive Themed Environments for Youth Events
Transforming a church facility into a superhero training base requires more than just decorations—it demands a cohesive vision that carries through every space your students will encounter. Journeychurch.tv’s approach demonstrates how effective themed environments can create memorable experiences that reinforce your event’s message. By extending the design from the lobby through the auditorium, they created an immersive journey that began the moment students arrived.
The key to successful themed environments lies in attention to detail and consistency. Notice how the team carried industrial and scientific elements throughout their design—from the biohazard tubes to the hazard signs, from the steel grates to the control panel. These repeated visual motifs create a unified aesthetic that feels intentional and professional. When planning your own themed events, identify three to five key visual elements and find ways to incorporate them throughout your space.
Budget considerations are always important for youth events, and this design shows how strategic material choices can maximize impact. Coroplast, PVC pipe, and OSB are affordable materials available at any hardware store, yet when painted and assembled with care, they create convincing industrial scenery. The team’s decision to keep pieces under 4′ x 8′ was smart not just for transportation, but also because these standard sizes minimize material waste and reduce cutting time.
Lighting Design for Themed Stage Environments
The lighting package used in this superhero base design illustrates how proper illumination brings scenic elements to life. The combination of Mac 101s, Mac 700s, and Atomic 3000 strobes provided versatility for different moments in the event—subtle washes for teaching times, energetic movement for worship, and dramatic strobes for high-impact moments. The Glaciator low fog machine added atmospheric depth that made the lighting more visible and dramatic.
When lighting themed environments, consider how your fixtures will interact with your scenic materials. The steel lath “Cheese Grater” panels used here are particularly effective because they create texture that catches light differently across their surface. Backlighting or side-lighting these panels creates interesting shadow patterns that add visual interest even with simple color washes. The reflective elements like the metal tape on the control panel and the painted barrels also respond well to colored light, allowing you to shift the mood of the entire room instantly.
For churches without access to professional moving lights, affordable alternatives can achieve similar effects. LED par cans with proper gels can provide color washing, and simple dimmer packs allow for basic cueing. Even a small haze machine can dramatically improve how your lighting reads in the room. The key is understanding that lighting is an essential part of your scenic design, not an afterthought.
Related Designs
- Blinder in an Arch – Another youth-focused design featuring truss-mounted lighting and industrial elements that create high-energy worship environments.
- Lit Truss – See how truss structures can be combined with LED fixtures to create dramatic architectural elements for your stage.
- Stage Origami – A geometric Coroplast design that demonstrates how affordable materials can create stunning visual impact for special events.
- Coroplast Ribbons – Learn creative techniques for working with Coroplast that you can apply to your own themed designs.
- PVC Pipe Dreams – Discover more ways to use PVC pipe as a versatile, budget-friendly building material for stage construction.
Pro Tips for Themed Stage Designs
Plan for Quick Installation: Youth events often have tight setup windows. Design your pieces to be modular and easy to assemble. Label all connections clearly and create detailed setup diagrams. Consider doing a full assembly rehearsal before the event to identify any issues and streamline your process.
Reuse and Repurpose Materials: The Journeychurch.tv team designed 90% of their materials to be reusable in future sets. When planning your scenic elements, think beyond the current event. Standard sizes, neutral base colors, and modular construction allow pieces to be adapted for different themes and purposes, maximizing your investment.
Create Focal Points: Every themed environment needs clear visual anchors. In this design, the control panel serves as the stage centerpiece, while the entryway creates a dramatic first impression. Identify the key moments in your event flow and ensure you have strong visual elements to support them. These focal points become the backdrop for photos and the visual center of your design.
Coordinate with Content: The HUD graphics displayed on the control panel screens show how digital content can enhance physical scenery. Work with your media team to create graphics, videos, and lighting cues that complement your scenic design. When physical and digital elements work together, the result is more impactful than either could achieve alone.
Related: Star Falls – Discover how to create stunning LED neon tube stage designs for youth worship on a budget under $100.
Related: Infinity Lights – Discover how to create stunning infinity mirror-inspired LED lights for your church stage using RGB strips and angled mirrors.
Related: One Direction – See how custom LED arrow designs can create impactful focal points for youth ministry stages.
Related: Road Trip – See how Genesis Church created an immersive road trip themed stage design with traffic lights, road signs, and environmental projection for only $10.



Looks good. I like the use of trusses.
Looks awesome! I have looked into doing a similar design but with more of a space ship design. I was curious about how long this set was up for? Was it up for a week long VBS or was this up for a whole year?