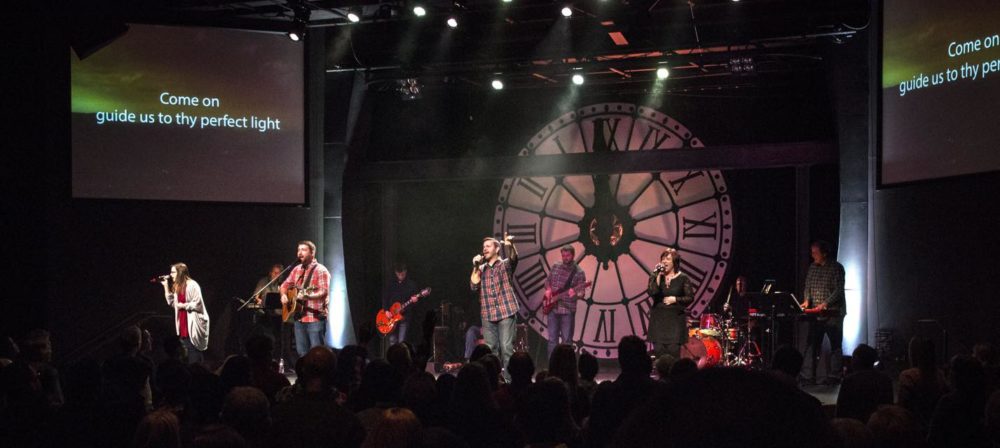
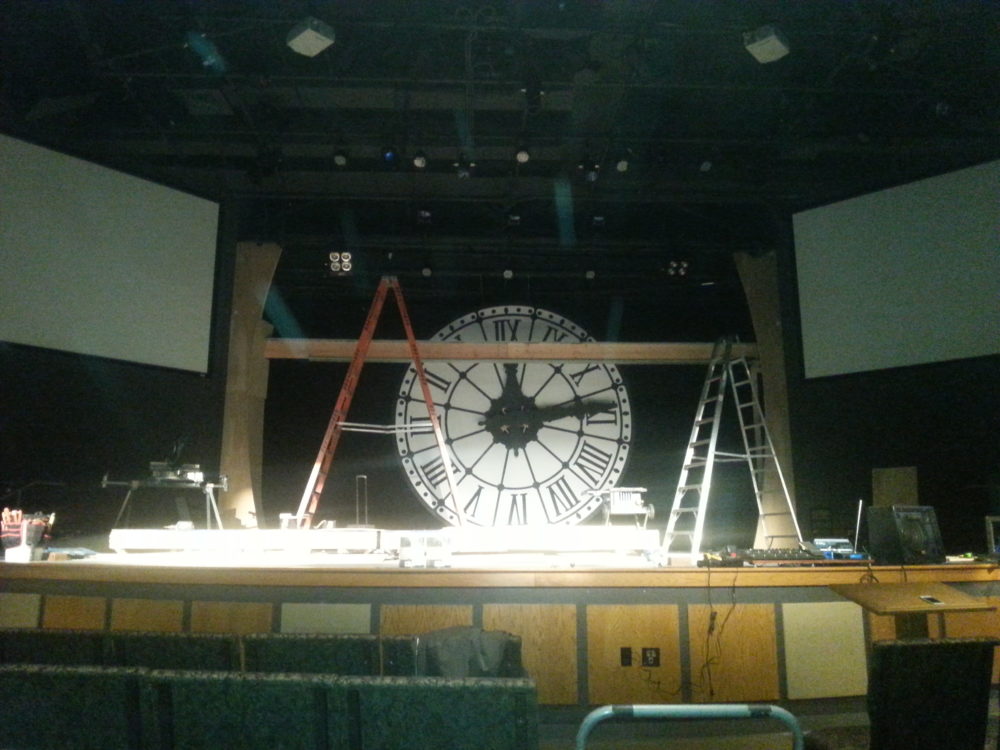
Andrew Muth from LifePoint Church in Reisterstown, MD brings us this beautiful clock stage design.
The design was based off the clock at the Musee d’Orsay in Paris. The concept was to be inside the clock, which is why they built support beams and steel-like structures. The steel structure lookalikes were made out of wood. The horizontal beam was two 16′ 2x12s lapped together in the back. They put foam board on the top and bottom to give it an “I-beam” look. Same with the vertical beams. They were 2x6s with foam caps.
The curved structures on the side were 2×4 towers that held the beam up and were covered in .25″ ply that bent easily to get the curve.
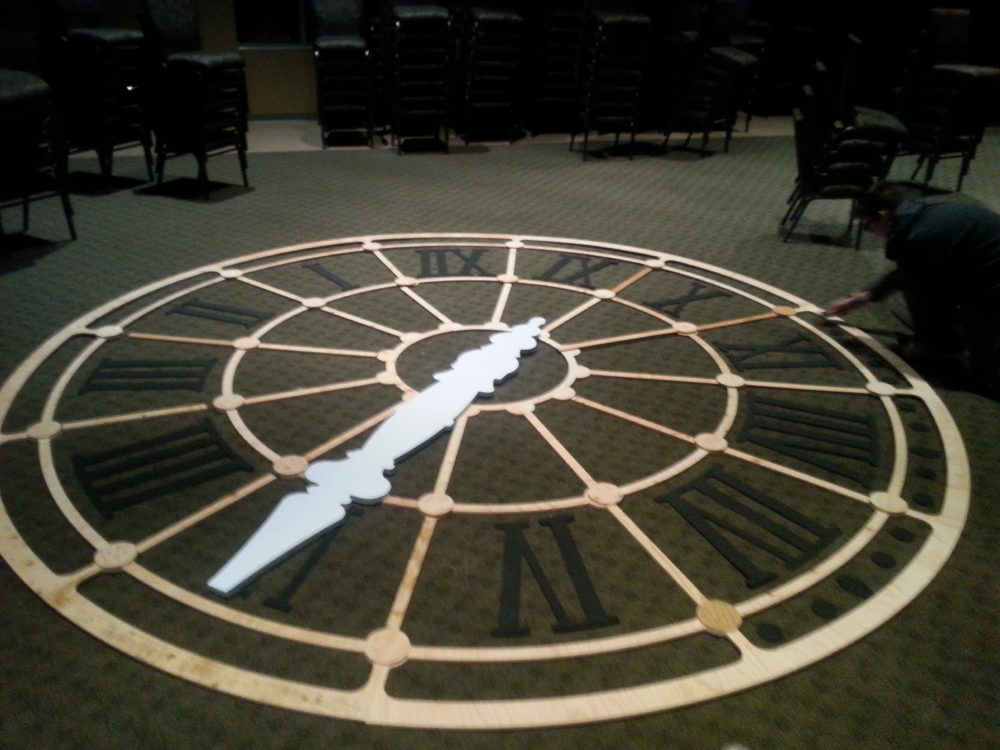
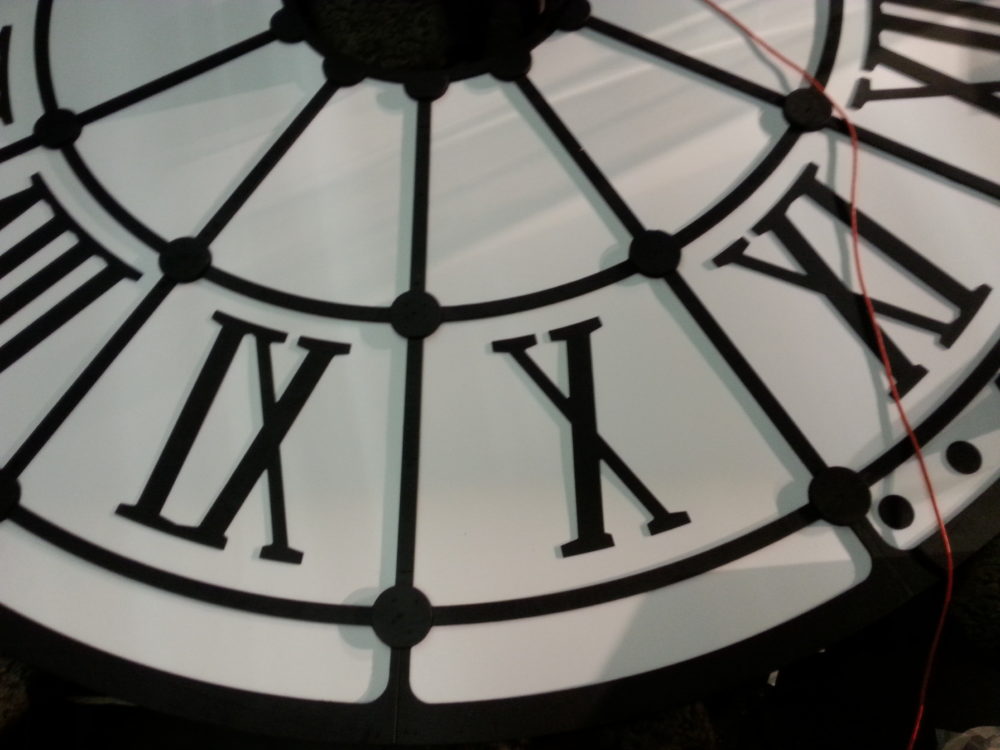
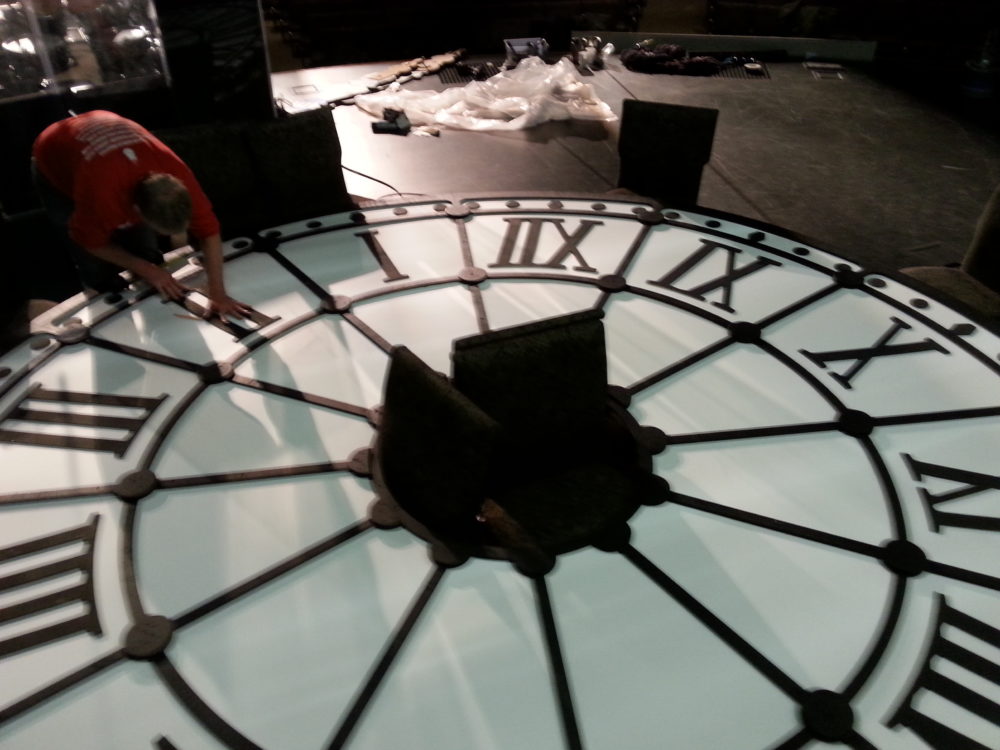
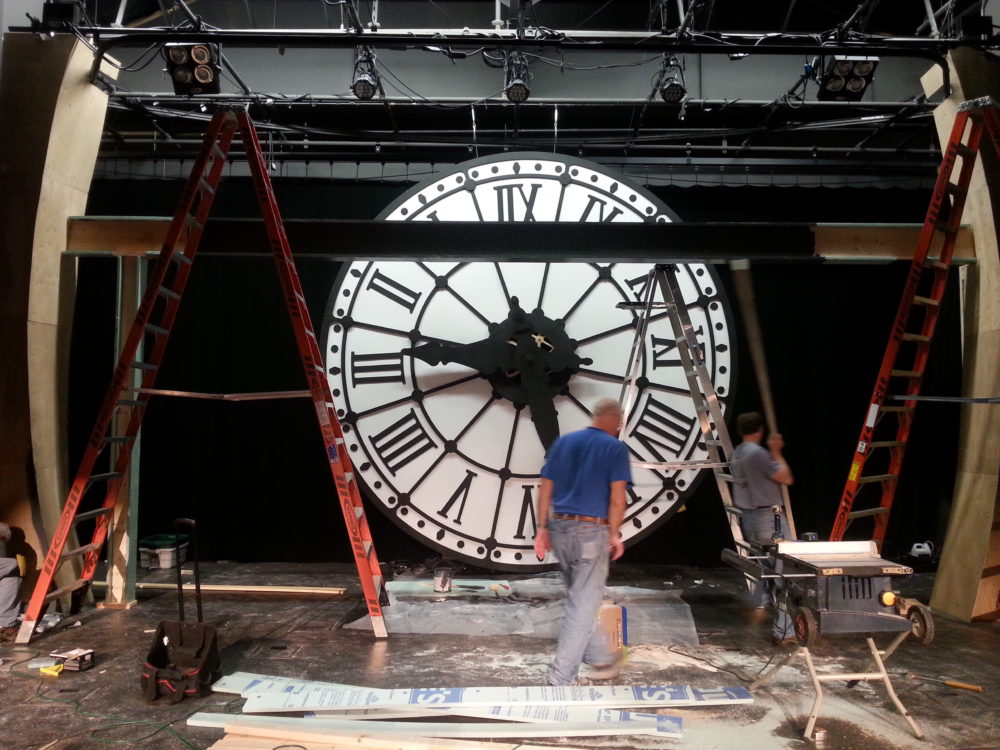
The clock itself was made of .5″ ply cut with a router. The numbers were .25 ply. All black sections were wood and the white was Coroplast.
The center gearing system was cut from plywood. They made a planetary gear system with a 1-12 ratio so it actually functioned and kept time. It was powered by a step motor. So the center gear drove the minute hand, and the 3 orbiting gears powered the hour hand that moved at 1/12th the speed.

Engineering a Functional Clock Stage
Andrew Muth and the team at LifePoint Church created more than just a backdrop—they built a functioning timepiece that became a conversation piece and visual metaphor. The decision to make the clock actually work rather than simply appear functional demonstrates a commitment to detail that elevates the entire design.
The planetary gear system is the engineering marvel here. With a 1:12 ratio, the minute hand drives the hour hand at exactly 1/12th speed, just like a real clock. This requires precise gear cutting and careful alignment. For churches considering a similar approach, working with someone who has mechanical experience—or consulting with a local maker space or engineering student—can make this achievable even without in-house expertise.
The construction techniques reveal smart material choices. Using 2x12s lapped together for the horizontal beam provides the necessary strength while keeping costs low. The foam board caps creating the I-beam appearance show how inexpensive materials can convincingly mimic expensive steel when properly finished and painted.
The curved side structures demonstrate effective use of flexible plywood. The .25″ ply bends easily around the 2×4 frame towers, creating smooth arcs that soften the industrial aesthetic. This technique—building a frame and skinning it with thin plywood—can be applied to countless curved design elements.
Creating Scale and Presence
The Musee d’Orsay clock that inspired this design is iconic for its scale—visitors can stand inside it and look out over Paris. Translating that sense of scale to a church stage requires careful proportioning. The vertical beams frame the stage and create an immersive “inside the clock” feeling, while the massive clock face dominates the visual field.
For churches with lower ceilings, the same concept can be adapted by focusing on width rather than height. A wide clock face with horizontal emphasis can be equally impactful without requiring towering vertical elements. The key is maintaining the gear visibility and structural framing that sells the concept.
The combination of wood construction painted black with white Coroplast elements creates high contrast that reads clearly even from distance. This two-tone approach simplifies the visual while maintaining sophistication.
Related Designs
- Romans Reflections – Classical architectural elements and thoughtful design planning
- Slat by Slat – Creative use of wood construction and LED lighting
- Soft Crosses – Detailed construction with wood frames and Coroplast
- Fragmentation – Industrial aesthetic with creative material use
- Jitter Plates – Budget-conscious creative construction
Pro Tips for Complex Stage Construction
Build in Safety Margins: When constructing overhead elements or structures that people might approach, always exceed minimum safety requirements. Use thicker materials, additional fasteners, and redundant support systems. It’s better to over-build than risk failure.
Test Mechanical Elements Thoroughly: If incorporating moving parts like gears, test them under load for extended periods before going live. Mechanical failures during services are distracting and potentially dangerous. Have backup plans—perhaps static gears that look functional even if they’re not moving.
Use Stage-Appropriate Finishes: Materials that look great up close may not read well from 50+ feet away. Test paint colors, textures, and materials from audience distance. High contrast and clear silhouettes typically work better than subtle details.
Document Your Build: Take photos during construction, create diagrams, and keep material lists. Future teams will thank you when they need to repair, modify, or adapt your design. Good documentation also helps when sharing your work with the broader church design community.
Related: Blacking Out Your Stage – Creating blank canvas with black masking.
Related: Light Bulb Wall Panels – Edison bulb stage design ideas.


Leave a Reply
You must be logged in to post a comment.