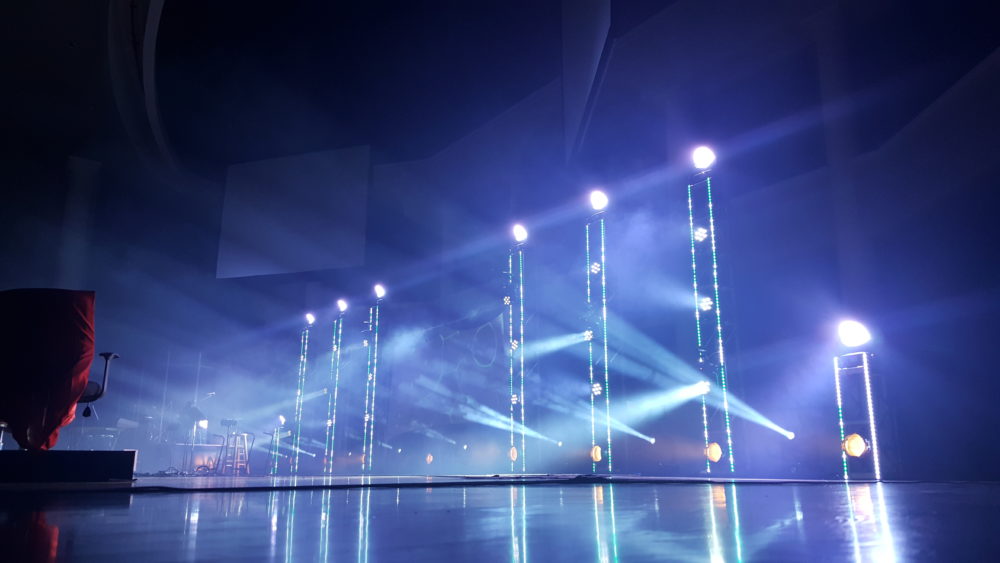
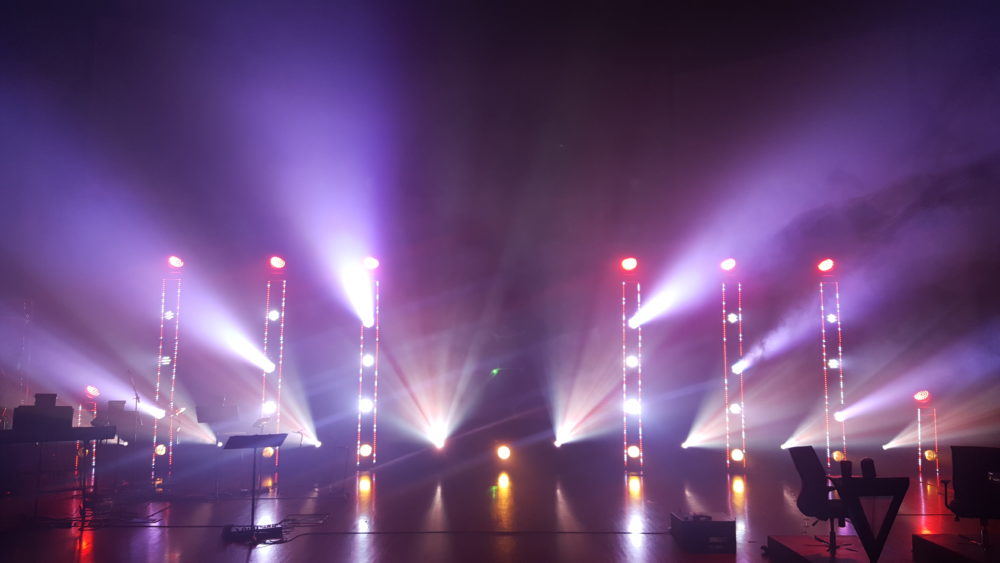
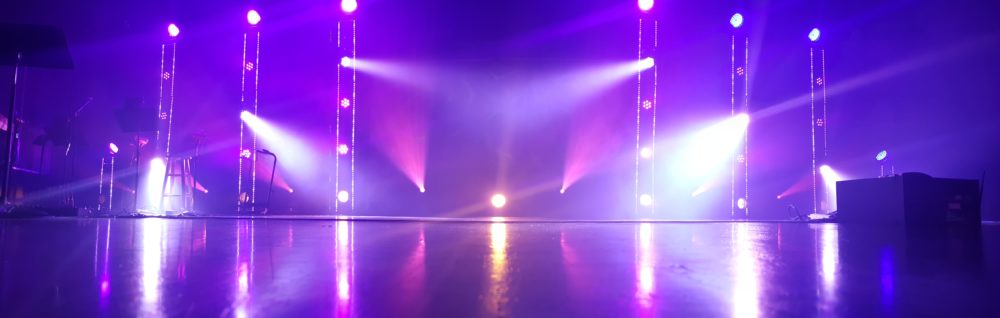
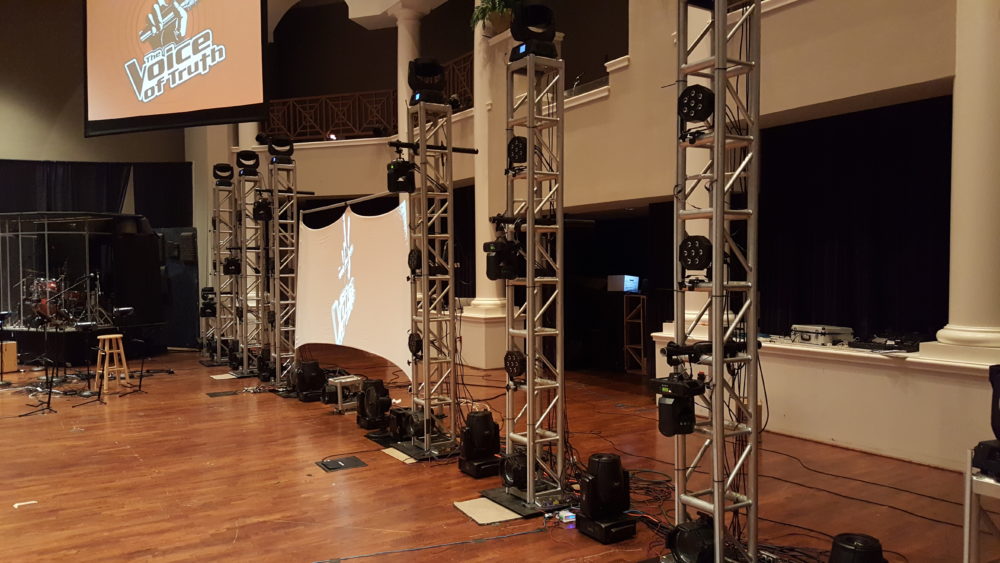
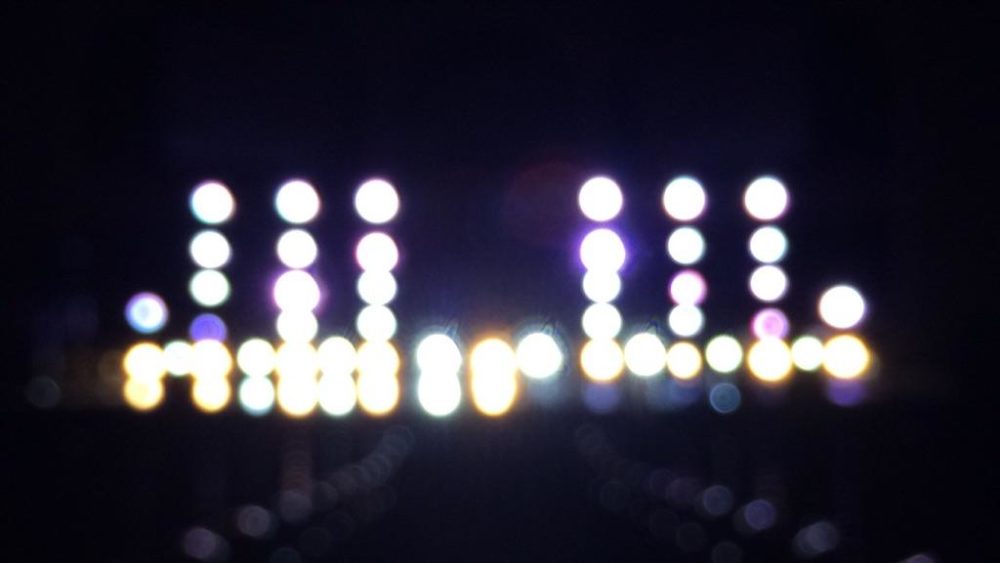
Elliot Matson from Cypress Bible Church in Cypress, Texas brings us this cool LED pixel tape on top of trusses.
From Elliot: This is my VBS stage design this year. Our theme was based by the TV show “The Voice”, so naturally, I had to go all out on lighting. It was mostly based off 8 truss towers we had in place from a previous set, 6 tall and 2 short. I topped each one with a moving wash fixture, and then made a grid of LED pars with an inverted V mixed in made out of six ADJ Inno Color Beams. The beam lights added some variety to the backdrop, while still allowing me to use it as a big 3 x 6 grid for FX. The bottom of each tower had an ETC Source 4 Par for use as a blinder, with an extra one in a truss cube in the middle to fill in the space under the screen. Each truss tower also had 2 vertical columns of my DIY Pixel bars which I will talk more about later. I put our 8 Blizzard GMAX 150’s on the ground in between the towers to give some cool aerial FX. The screen was run from a Chamsys MagicHD media server, which allowed me to display graphics that matched what was happening onstage. I also used some digital LED strips in the drama props, such as the “I Want You” sign on the judges’ chairs.
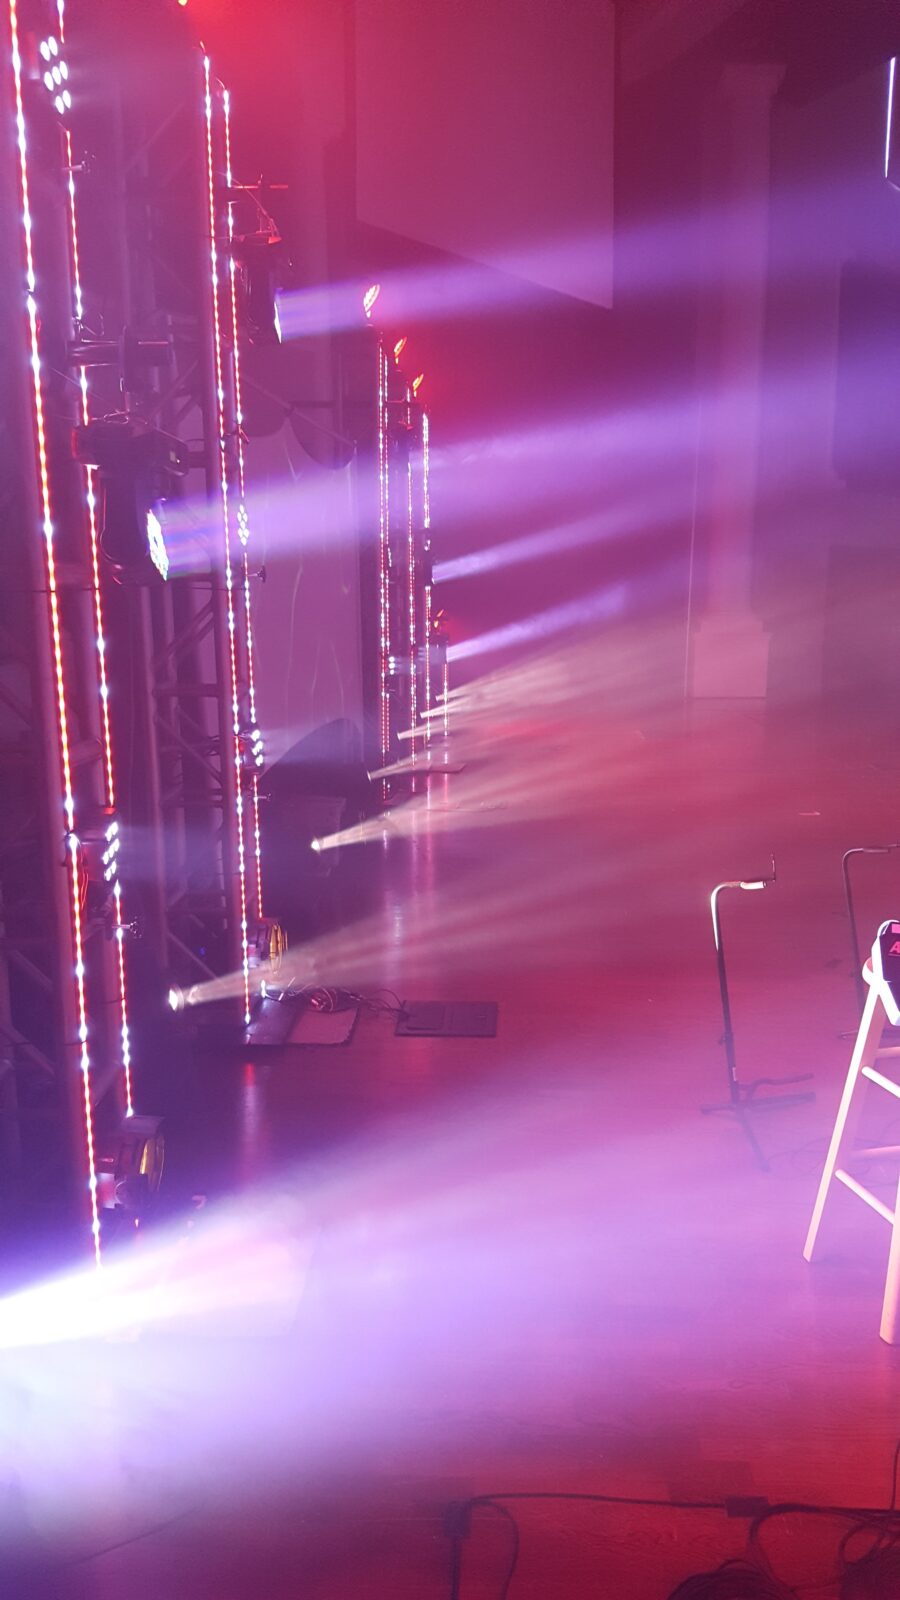
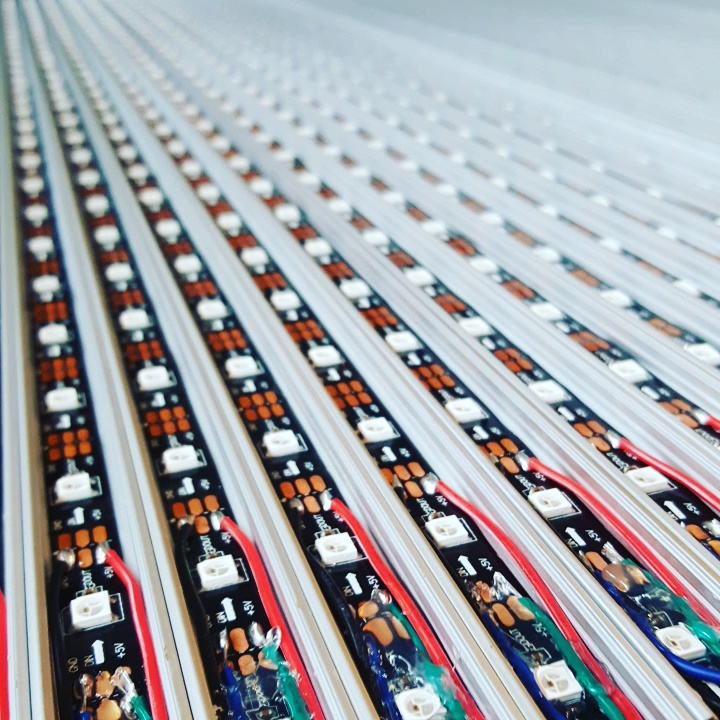
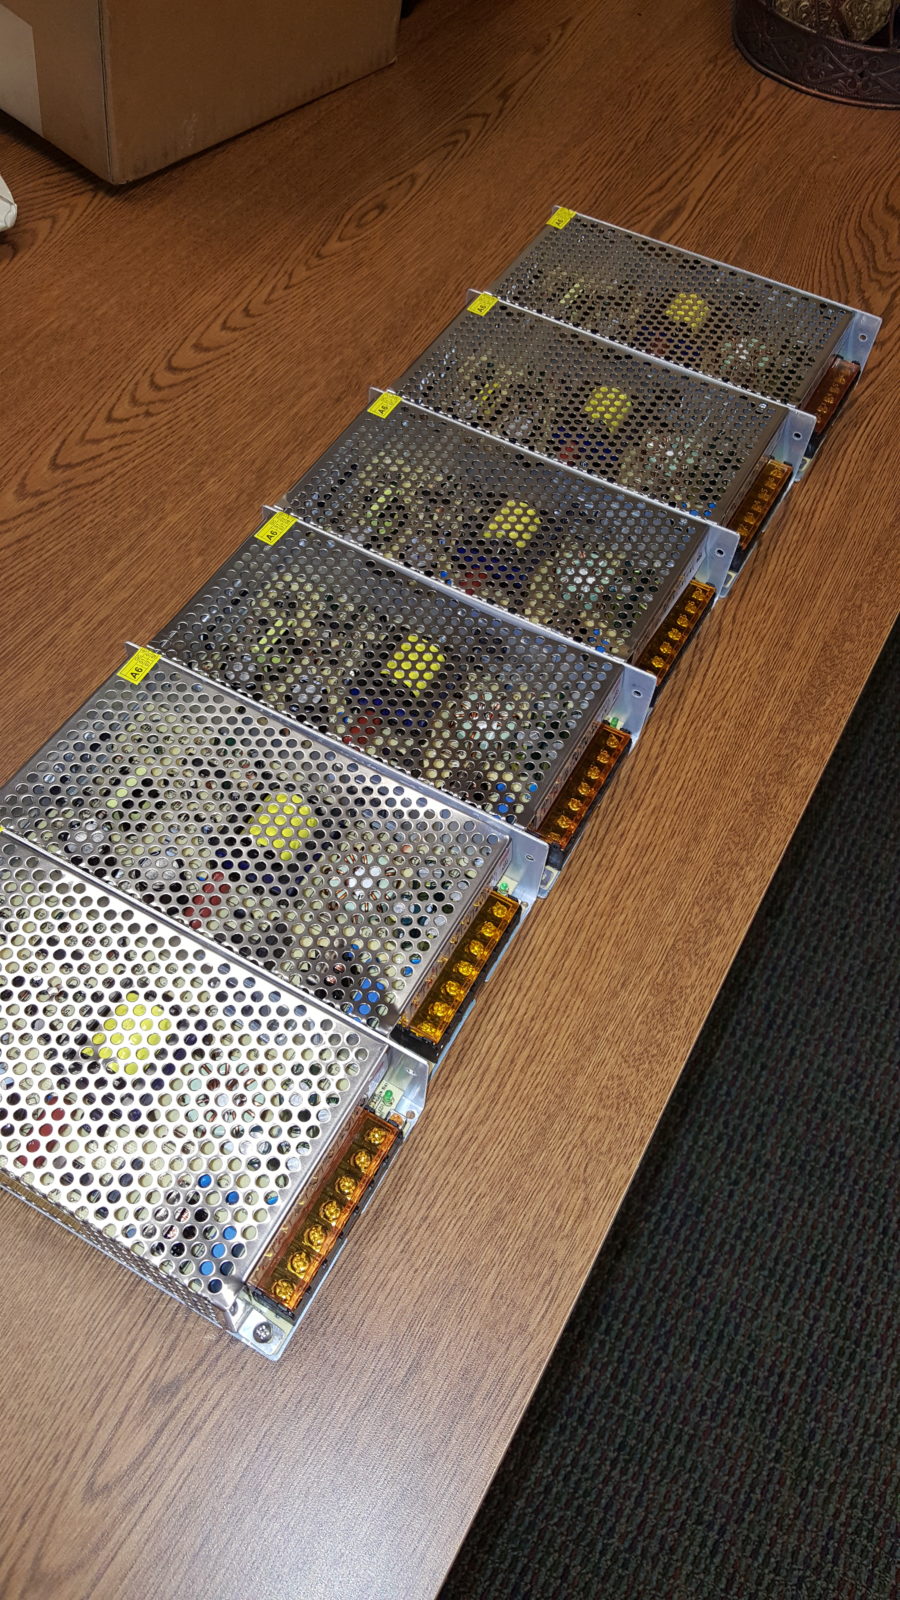
A big part of the design was the 50-pixel bars that I made. I wanted an effect like the Chauvet Epix strip fixtures, but our budget wasn’t even close to the $10k plus required for those, so I built my own. While these admittedly aren’t as flexible in regards to mounting as the Epix strips, they only cost around $750 to build, including cables and drivers, so I think I got the better deal. To build these, I bought 50 meters of WS2812B strips, and put one-meter segments in an aluminum channel. I then soldered on a data connection on both ends and a power connection at one end. I decided not to allow for power daisy chaining, because at 5v, voltage dropover wires add up very quickly. While I could just turn up the power supply voltage to 5.5v or so, I wanted this to be completely idiot-proof, so I just didn’t allow it. I then added the diffusion cover, and sealed it all up with hot glue. I hand-made all of the power and data extension cables, and all power came from six 20A 5V power supplies. With all 1500 pixels at full white, that equates to a 90A load which means the power supplies will be running at 75% capacity, which gives me a nice comfortable margin of error. All the data went to two drivers that could handle 7 universes of pixels each, which were controlled directly from our Chamsys console and its pixel-mapping engine. Since everything was run directly from the console without any specialized pixel-mapping software in between, I could effectively use the whole stage as a low-res video screen, merging the pixel strips and lighting fixtures into a big media display, which allowed for some cool effects. More information is available in the post on my website here: http://elliot-matson.com/vbs-2016-and-pixel-bars/


Why This Design Works
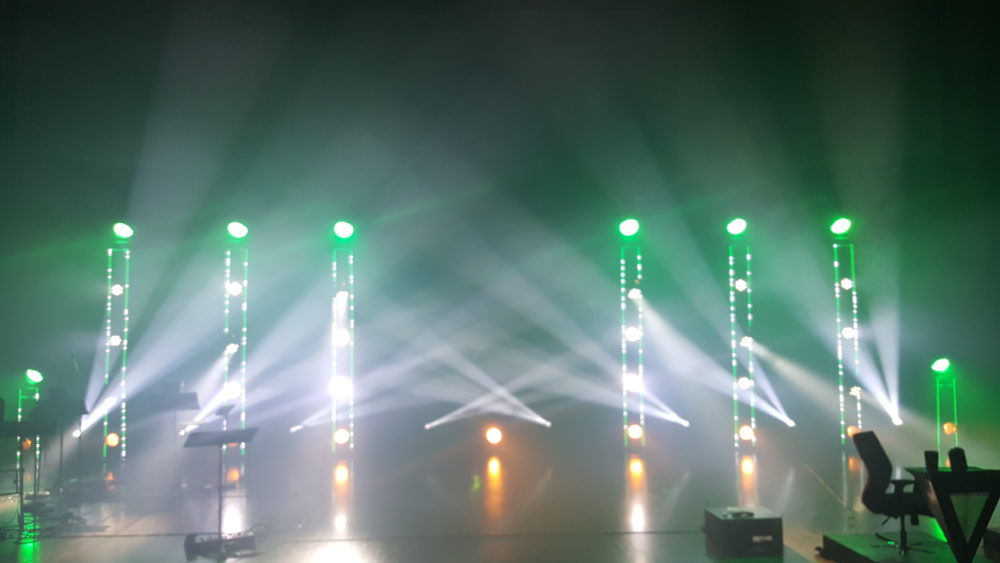
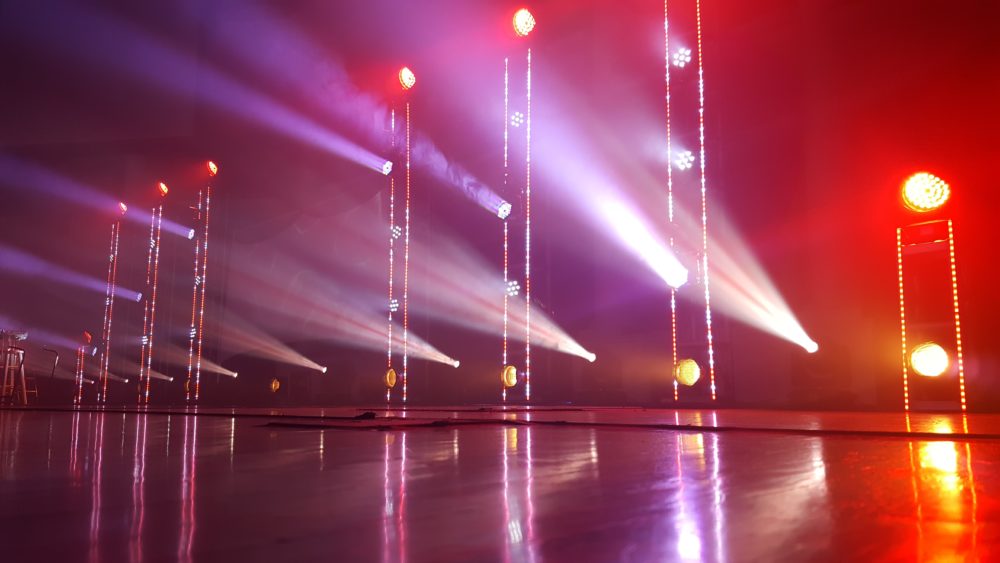
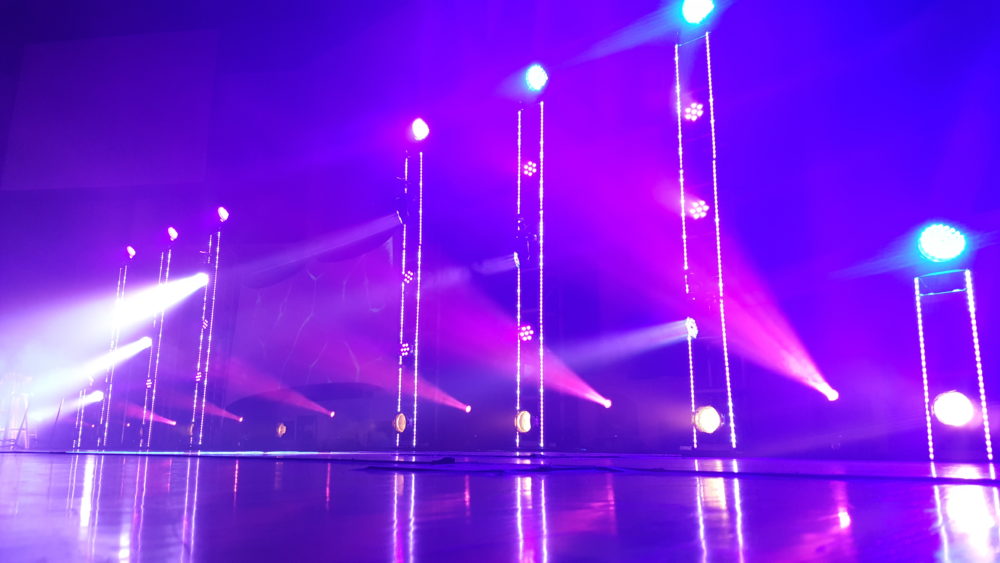
The genius of this LED pixel truss design lies in its versatility and visual impact. By combining traditional truss structures with modern LED pixel tape, Elliot created a stage environment that can transform from subtle ambient lighting to high-energy concert vibes with just a few button presses. The vertical pixel bars add height and dimension to the stage, drawing the audience’s eyes upward and creating a sense of grandeur even in rooms with standard ceiling heights.
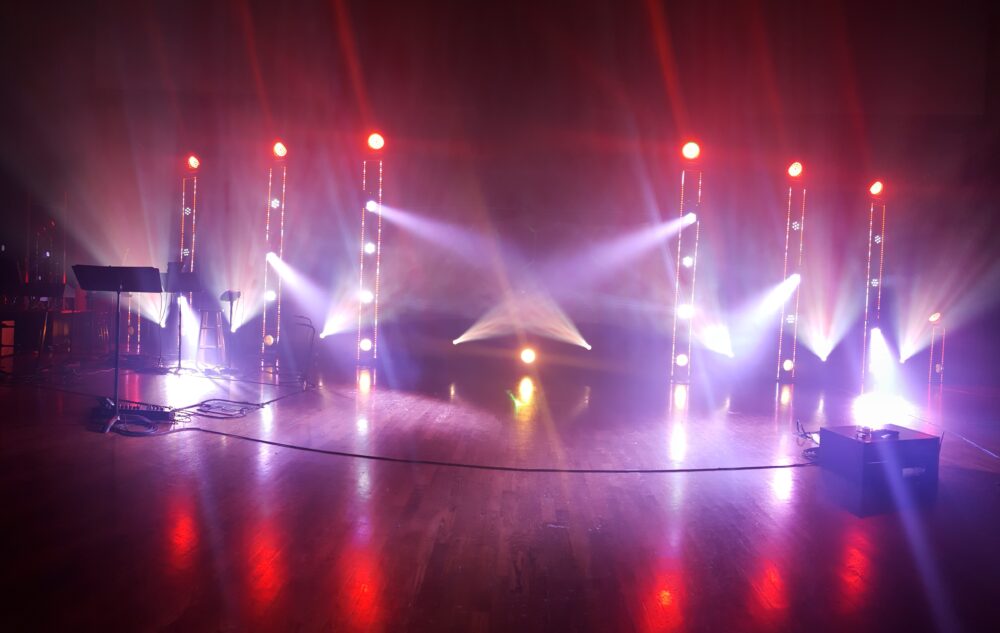
The inverted V pattern created by the ADJ Inno Color Beams serves multiple purposes. Not only does it break up the rectangular grid for visual interest, but it also creates natural focal points that can be used to guide the congregation’s attention during different parts of a service. The beam lights can cut through haze to create dramatic aerial effects, or work as wash lights when full-stage coverage is needed.
One of the most impressive aspects of this setup is how budget-conscious it remains while delivering professional results. By building custom pixel bars instead of purchasing expensive name-brand fixtures, the team at Cypress Bible Church achieved a $10,000+ look for under $1,000. This DIY approach is perfect for churches with technical volunteers who enjoy hands-on projects and want to maximize their production budget.
The integration of the Chamsys console with direct pixel mapping means the lighting designer isn’t limited to pre-programmed chases or effects. Every pixel can be individually controlled, allowing for custom graphics, text, and animations that can reinforce sermon themes, display lyrics, or create immersive environments for special events. The media server integration ensures that screen content and lighting work together seamlessly.
Related Designs
- Seeing Spots – Another innovative LED lighting design using pixel mapping for dynamic stage effects
- 80’s Points – Geometric lighting design featuring bold angles and programmable LED elements
- Honeycomb – A stunning hexagonal structure with integrated lighting for visual depth
- Like a Carousel – Circular stage design with creative lighting arrangements
- Lit Triangles – Geometric truss design with dramatic LED accent lighting
Pro Tips for LED Pixel Stage Designs
Plan Your Power Distribution: When working with 5V LED strips, voltage drop is your biggest enemy. Instead of trying to push power through long cable runs, use multiple power supplies distributed throughout your setup. Calculate your total amperage needs and add a 25% safety margin to ensure your supplies aren’t running at maximum capacity.
Invest in Quality Diffusion: The aluminum channels with diffusion covers used in this build are essential for achieving that professional fixture look. Bare LED strips create harsh point sources that can be distracting to both cameras and live audiences. Quality diffusion spreads the light evenly and makes your DIY bars look like expensive commercial fixtures.
Label Everything During Build: With 1500 pixels and multiple universes of data, troubleshooting can become a nightmare without proper labeling. Mark each bar with its universe number, starting channel, and physical position in your rig. This documentation will save hours of frustration when you’re programming or troubleshooting during setup.
Test Your Console’s Pixel Mapping: Before committing to a specific LED controller or console, verify that it can handle the number of pixels you plan to use and offers the pixel mapping features you need. Some consoles limit the number of pixels per universe or lack advanced mapping capabilities that let you treat your entire stage as a video surface.
Related: Mountains and Starships – See how Victory Church created modular LED mountain designs using PEX tubing diffusion for stunning multi-campus stage backdrops.
Related: Light-Filled Boxes – Grace Capital Church’s stunning $500 stage design featuring custom light boxes with exposed bulbs and versatile Coroplast diffusion options.


The photos of your lit truss are truly impressive and really set the stage. I know a little bit about lighting set up and what not, but I have never attempted anything as big as your trusses. It’s hard to believe that you made a lot of them yourself. Thanks for sharing this inspiring set up.
I had a lot of fun doing it! Plus saving >$10k by building them makes it a lot more fun
What type of LED driver did you use? Did you have to go with an Arduino based driver or something else? Thanks, I love the design!
I’m actually looking for a new one. I cheaped out and got some fromore China, but they don’t work that well
How did you build the trusses?