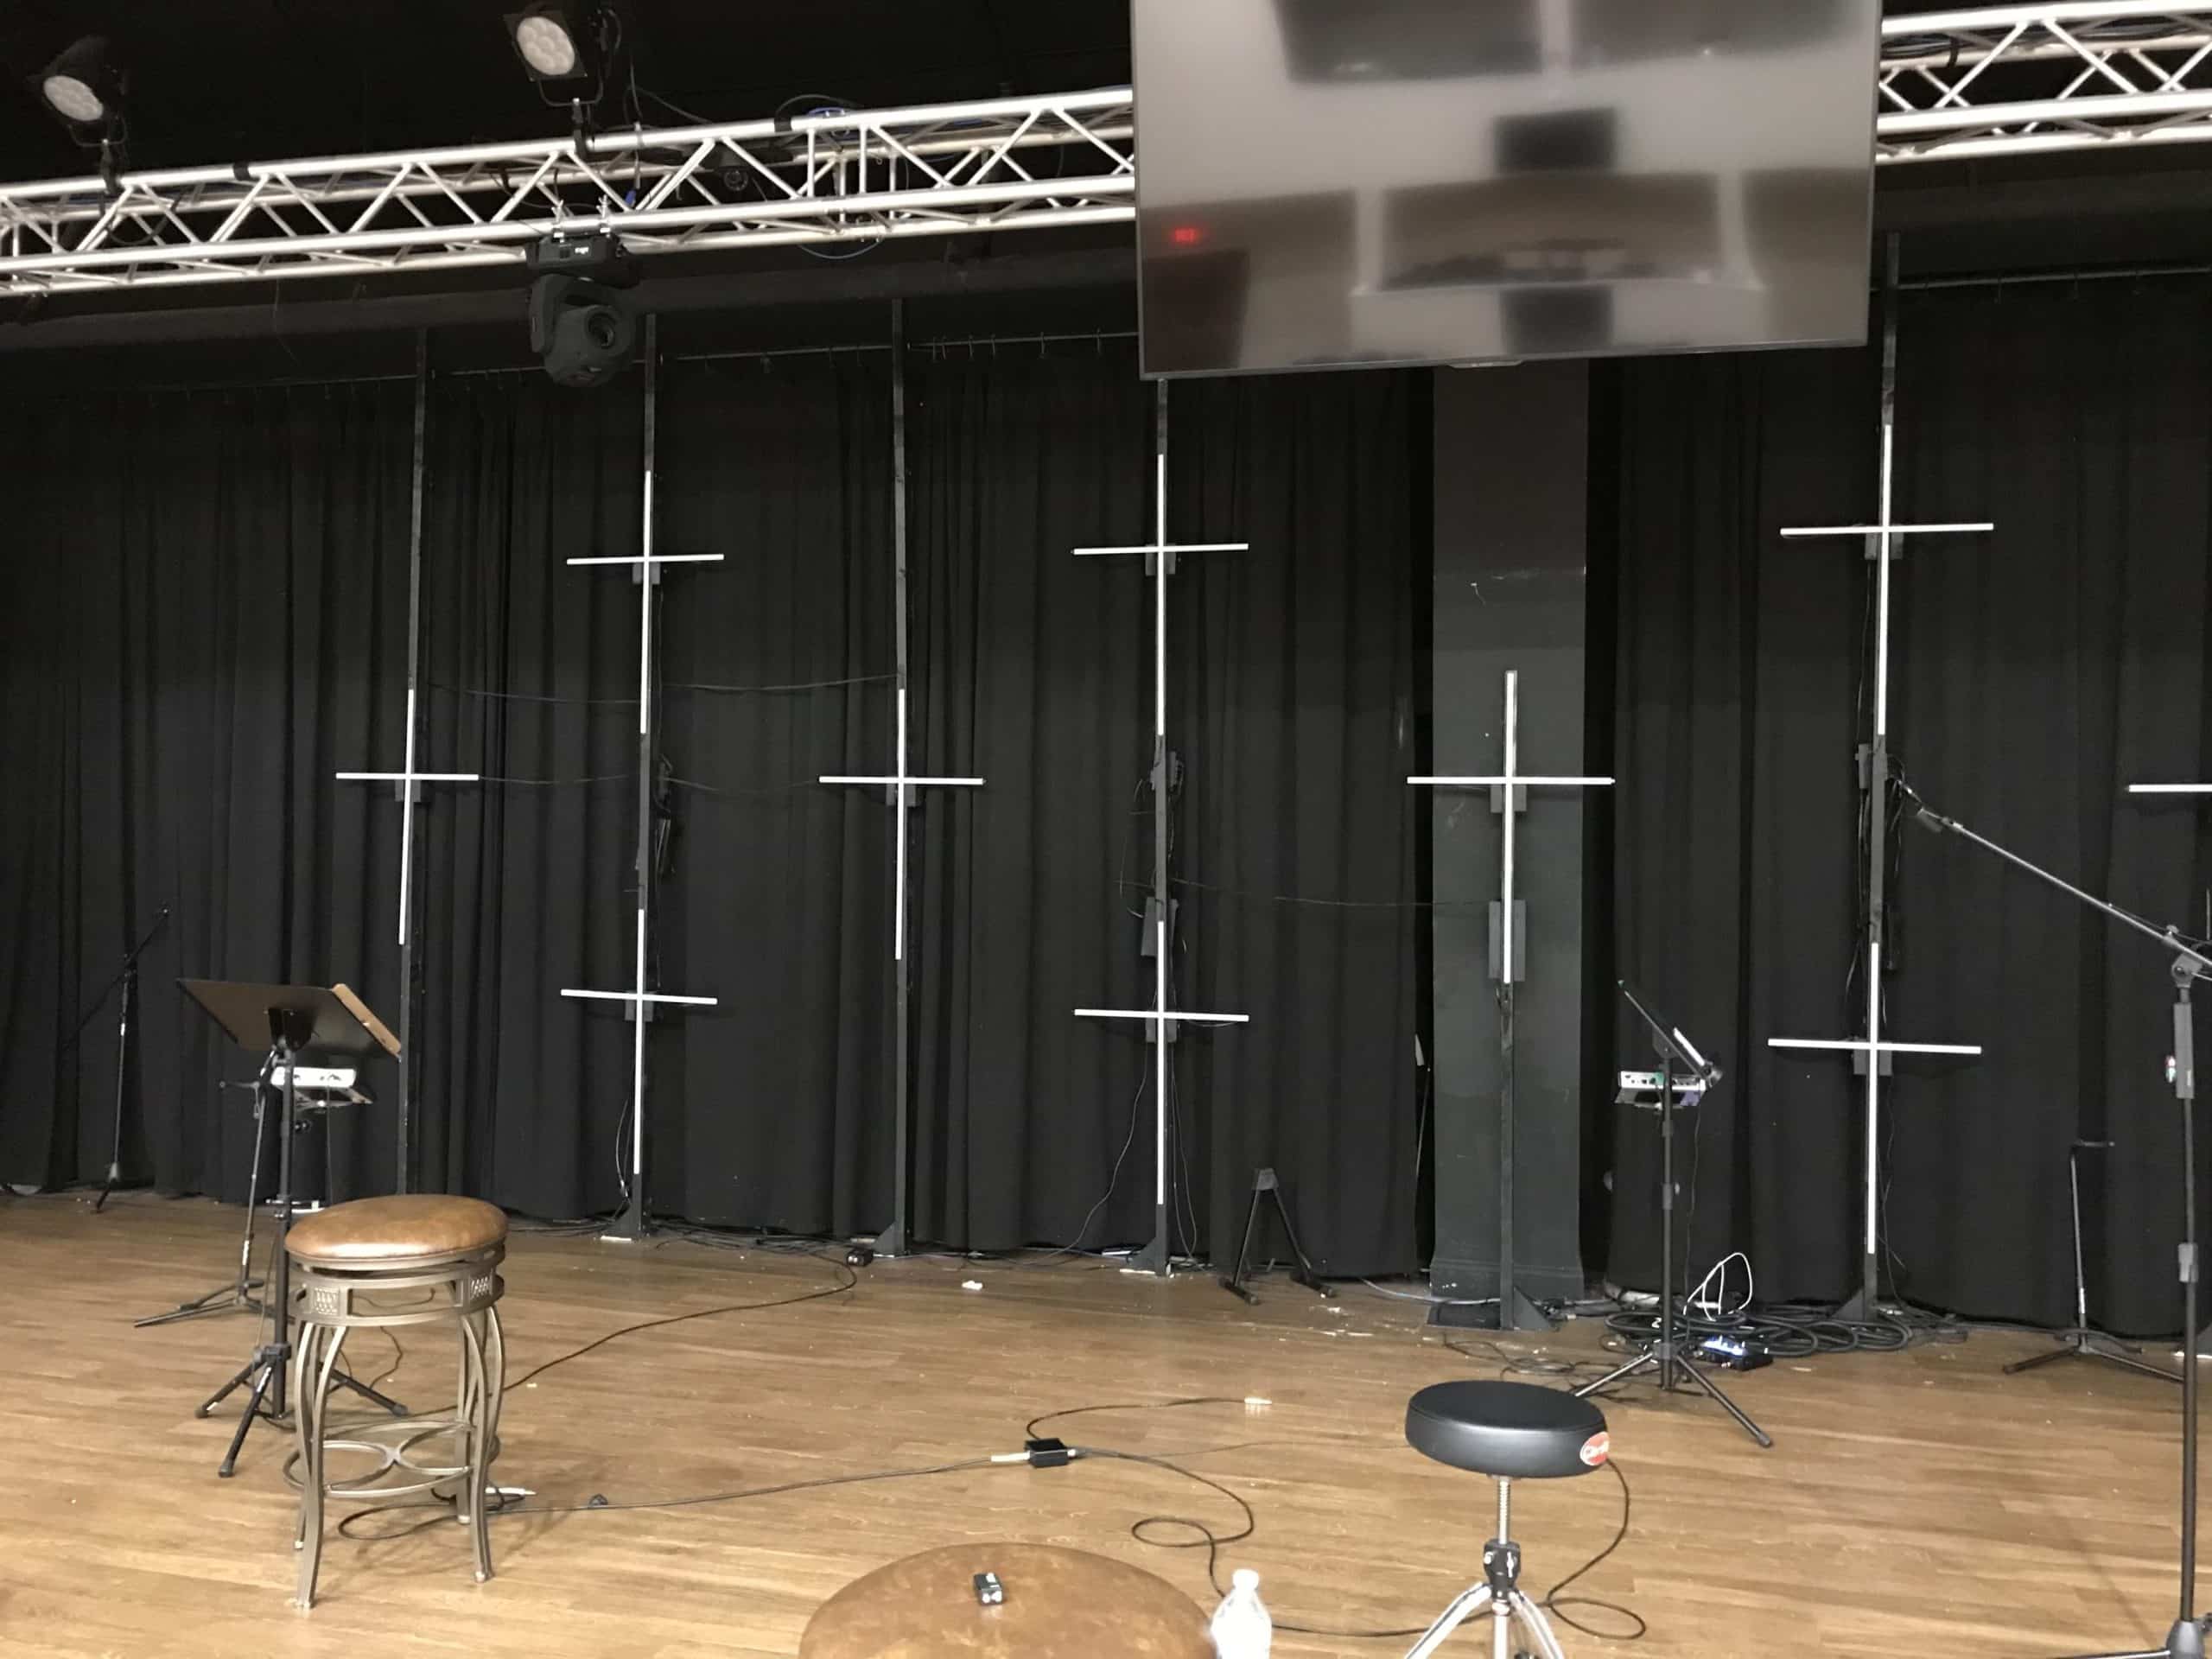
Austin Thomas from Real Life Church in Mechanicsville, Maryland brings us this cool LED cross design.
From Austin: We used LED tape aluminum extrusions to construct the crosses which come with diffusers. LED tape was cut to length and put inside the extrusions. Nine 2x4s were used to build the main structure the crosses are hung by.
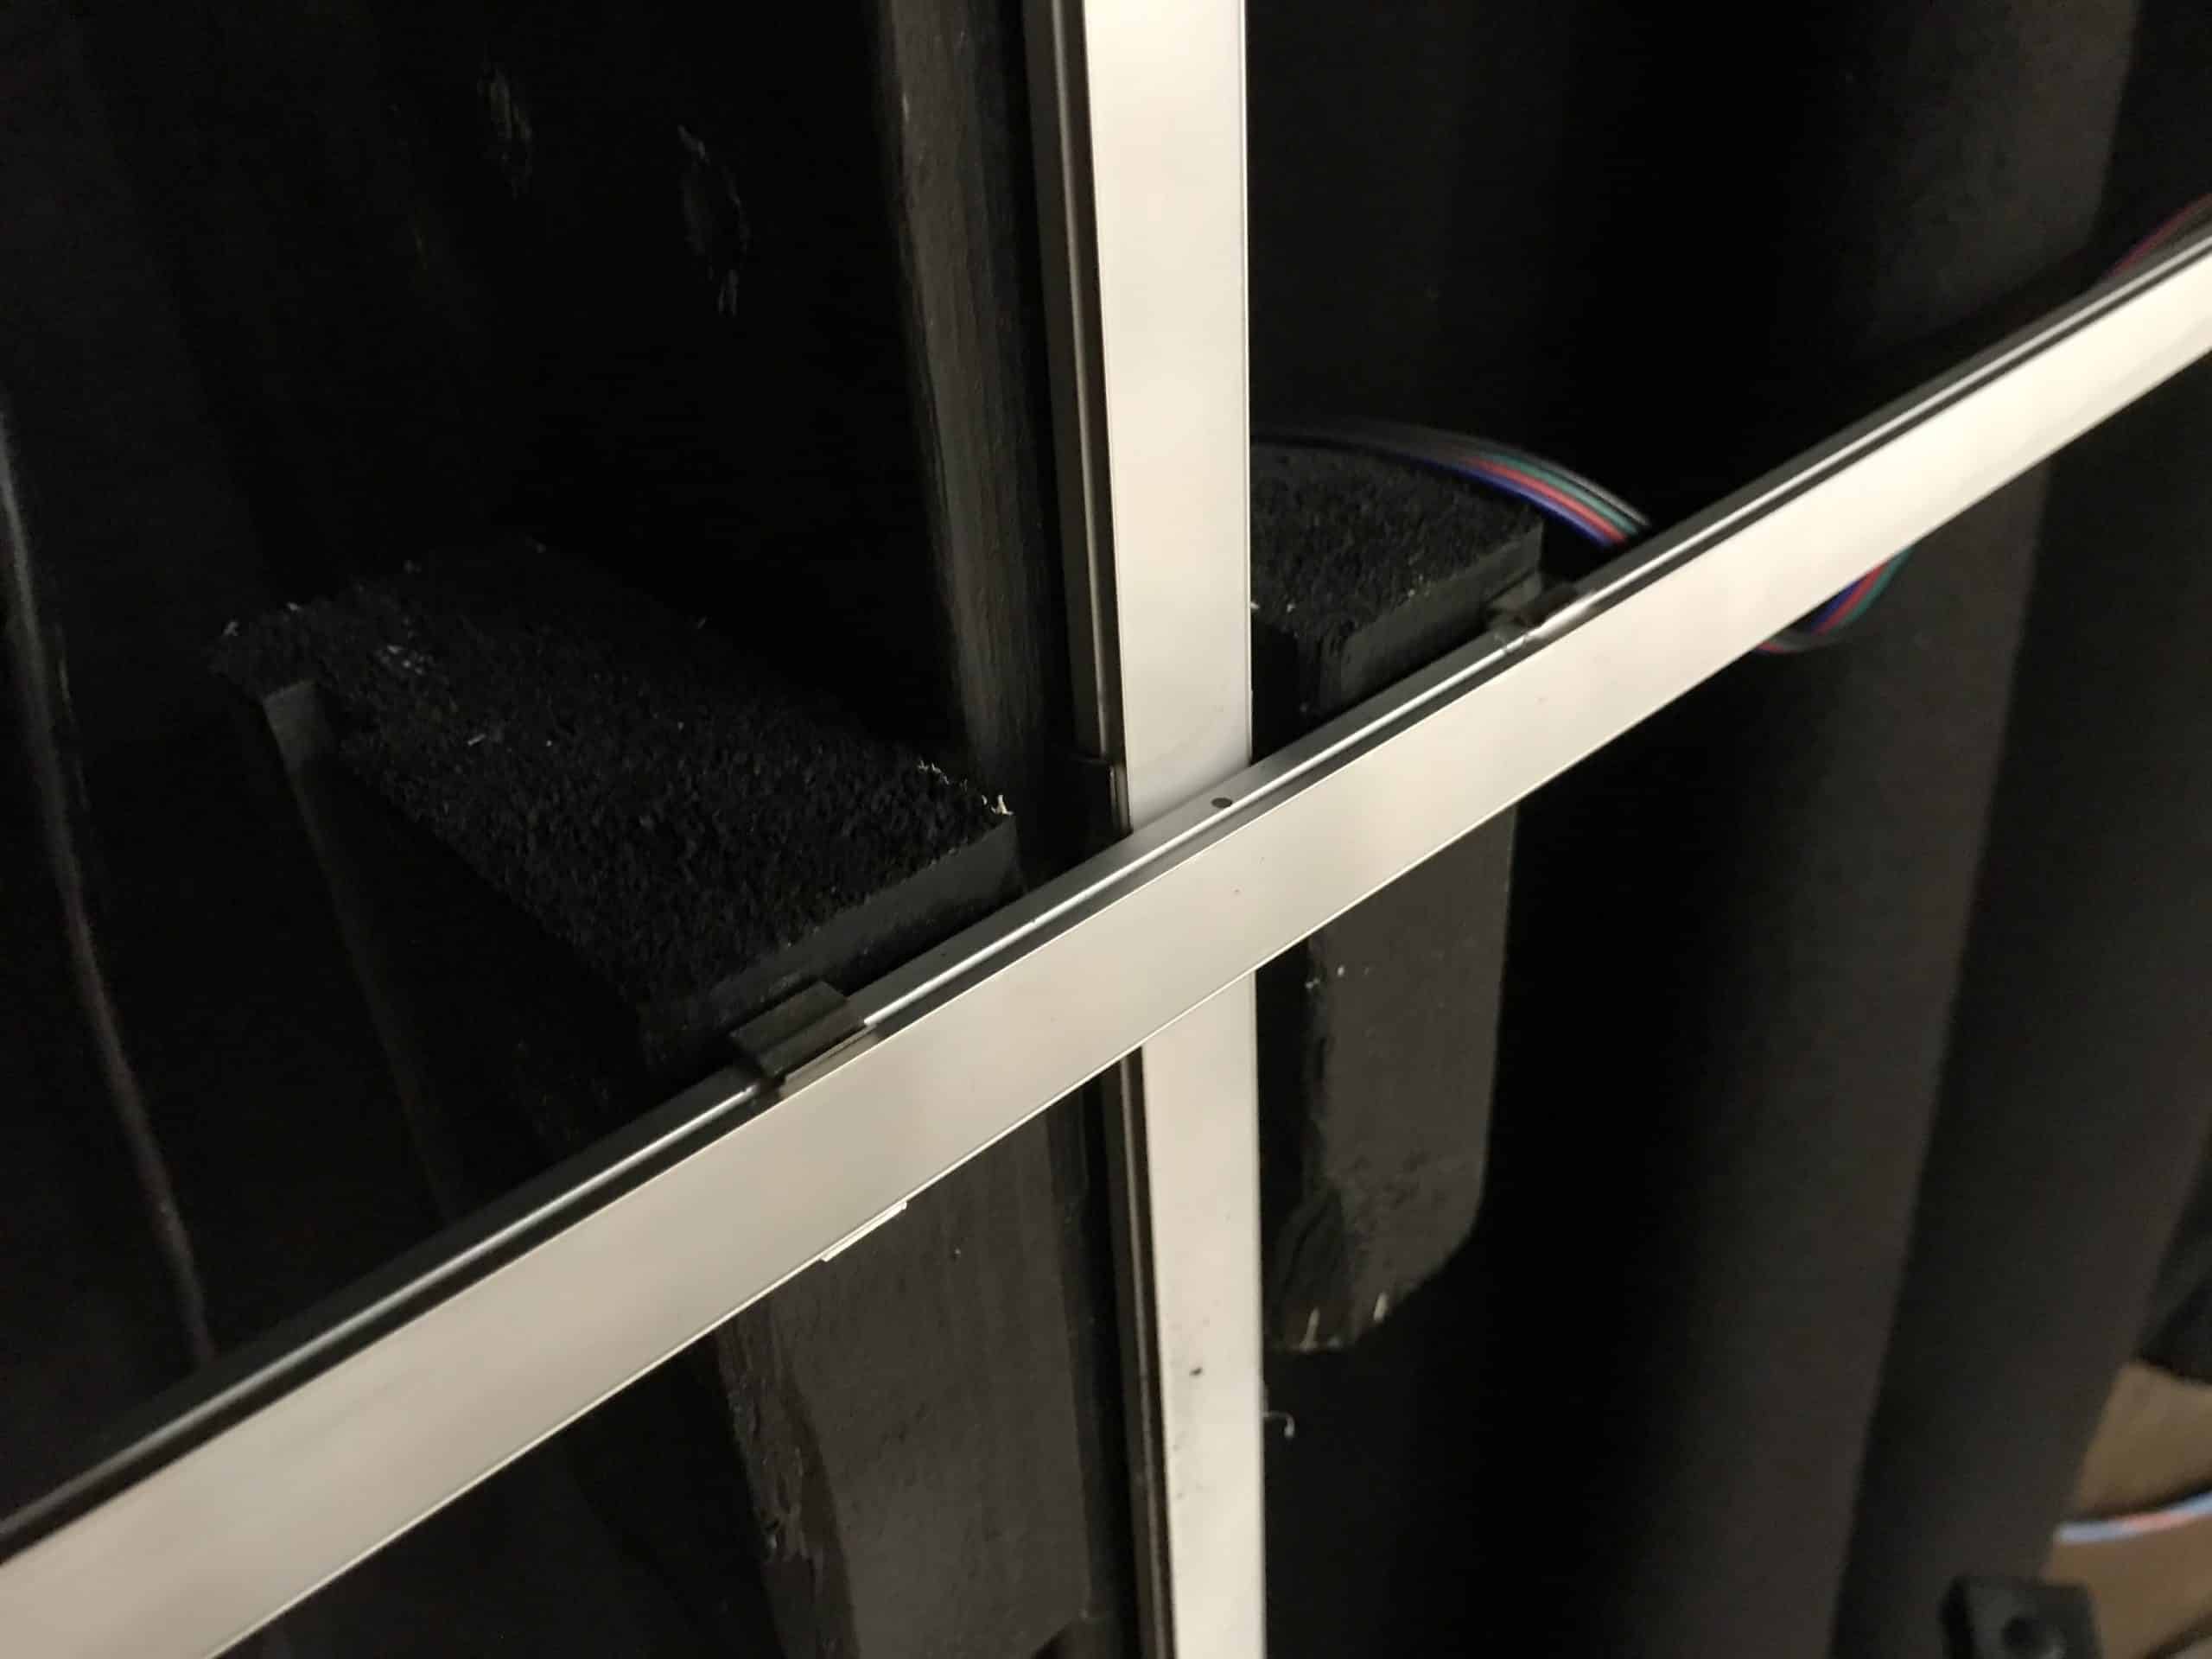
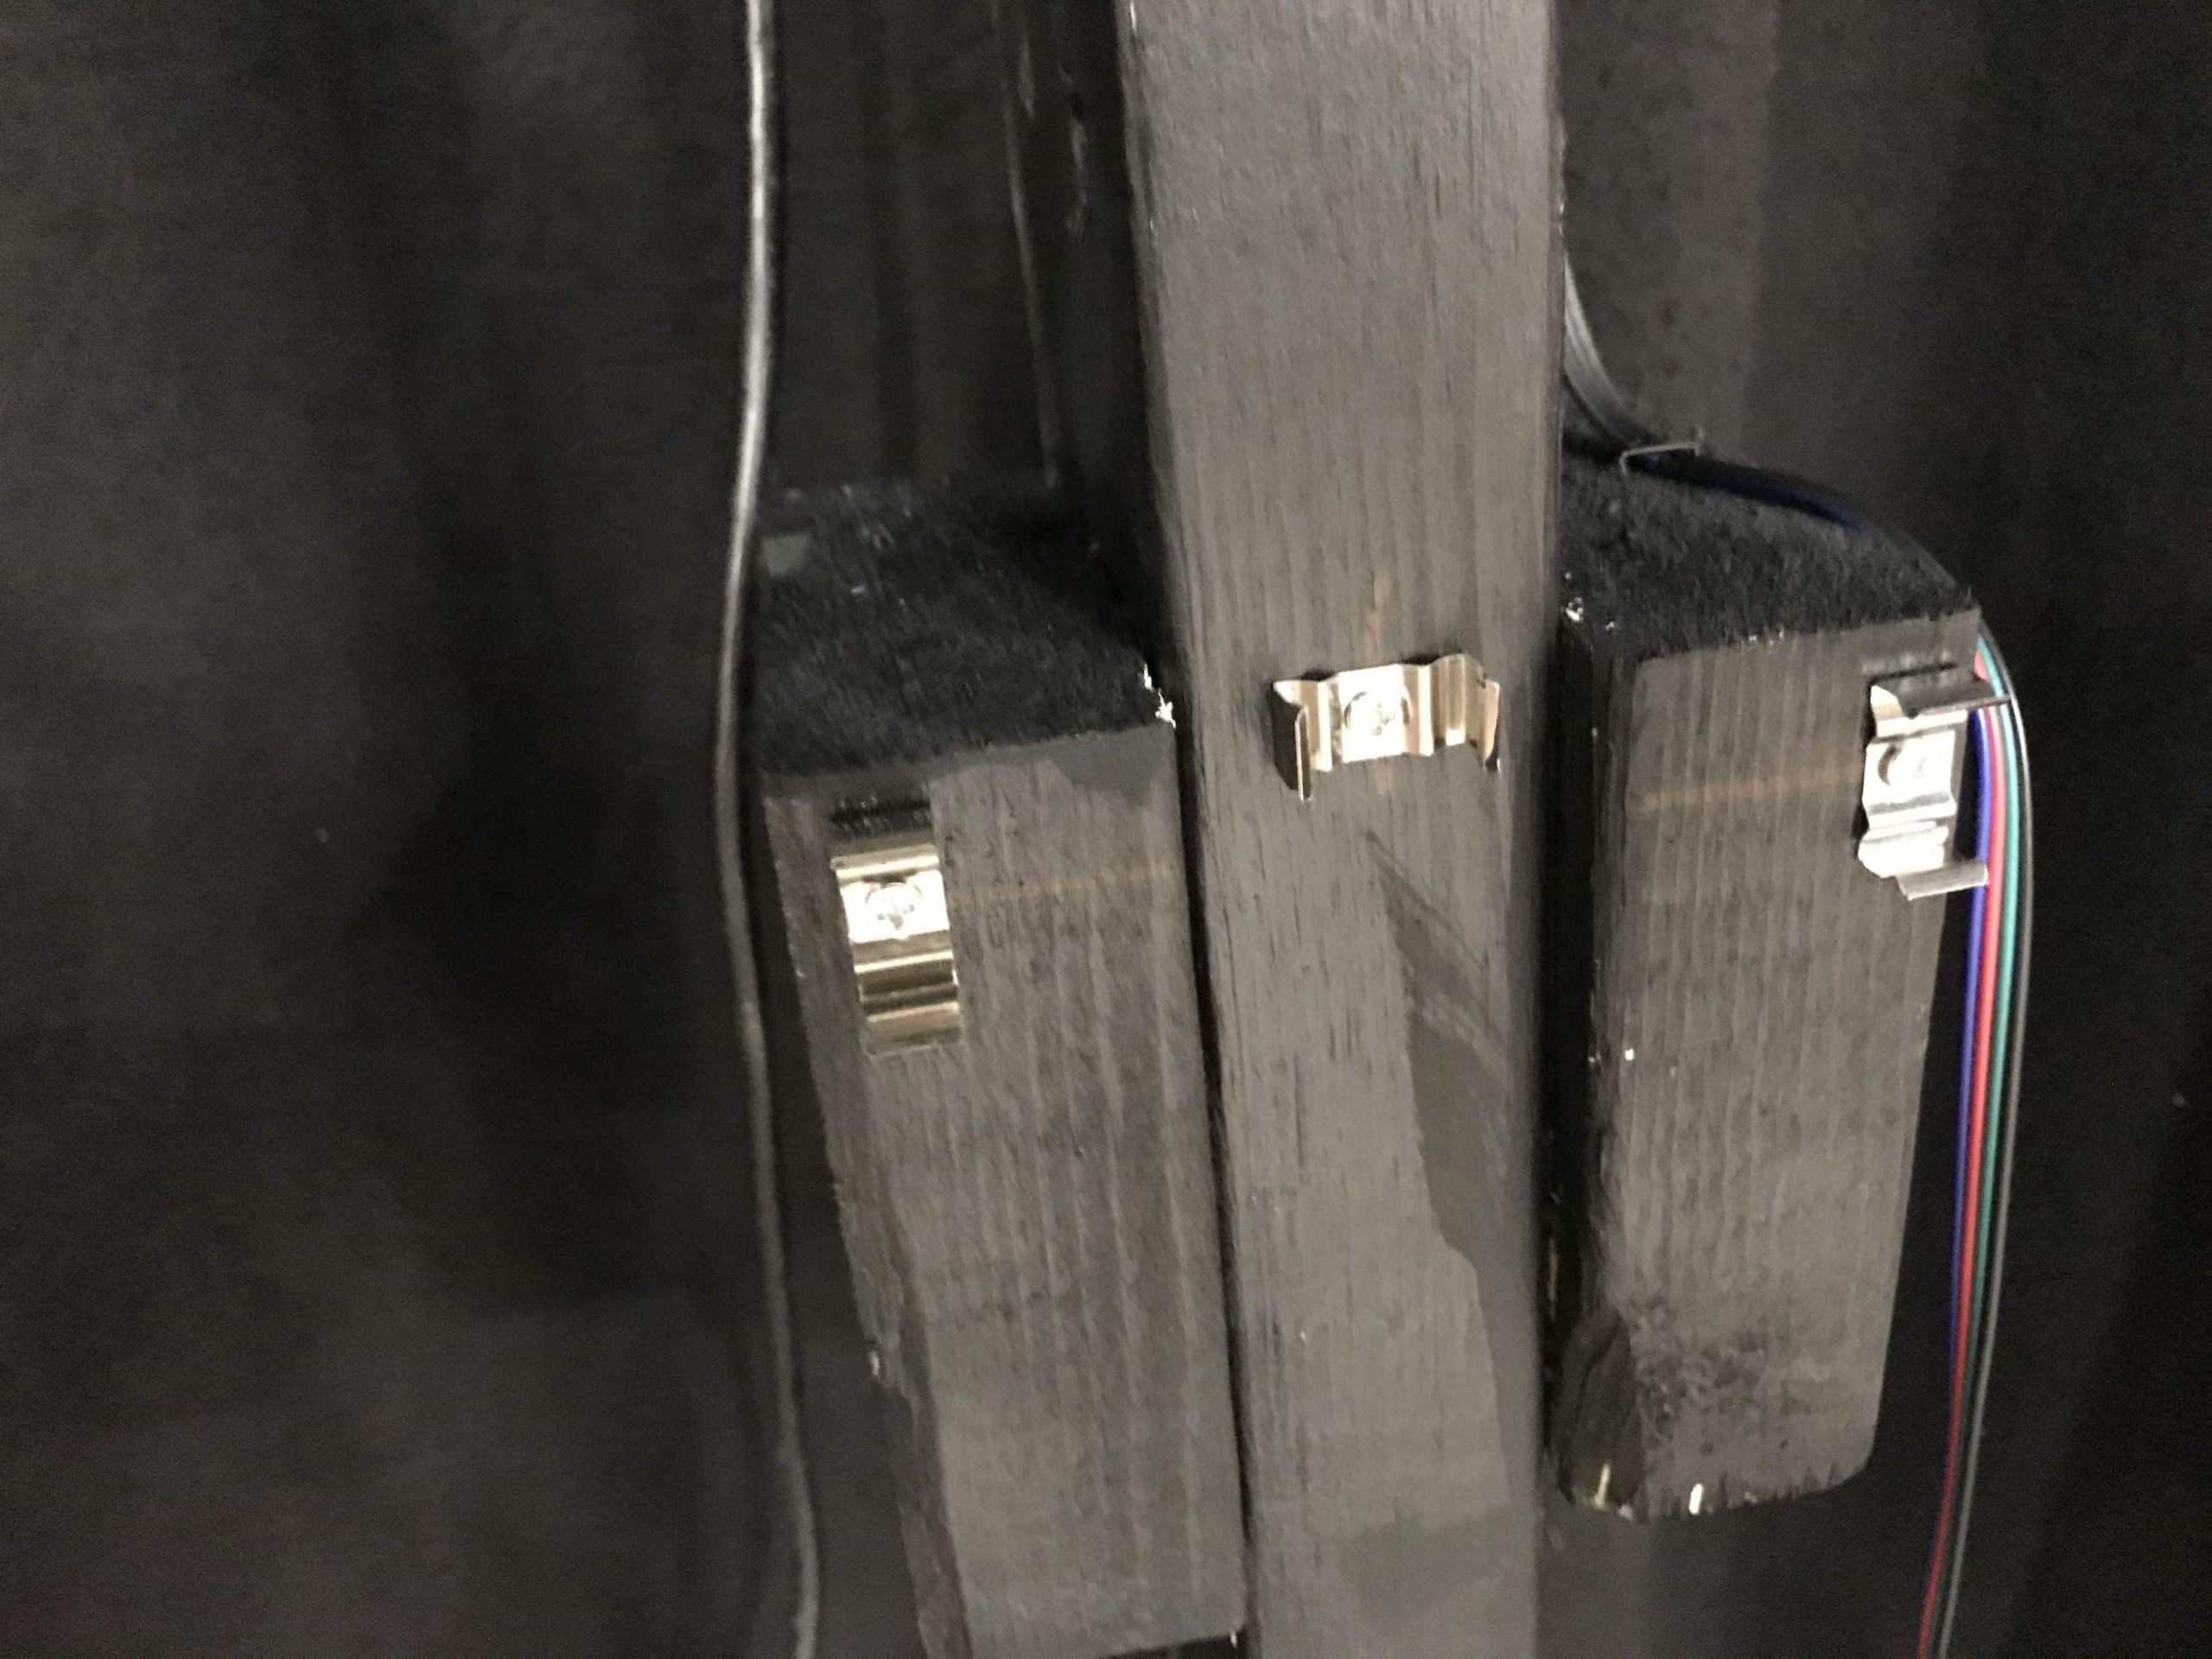
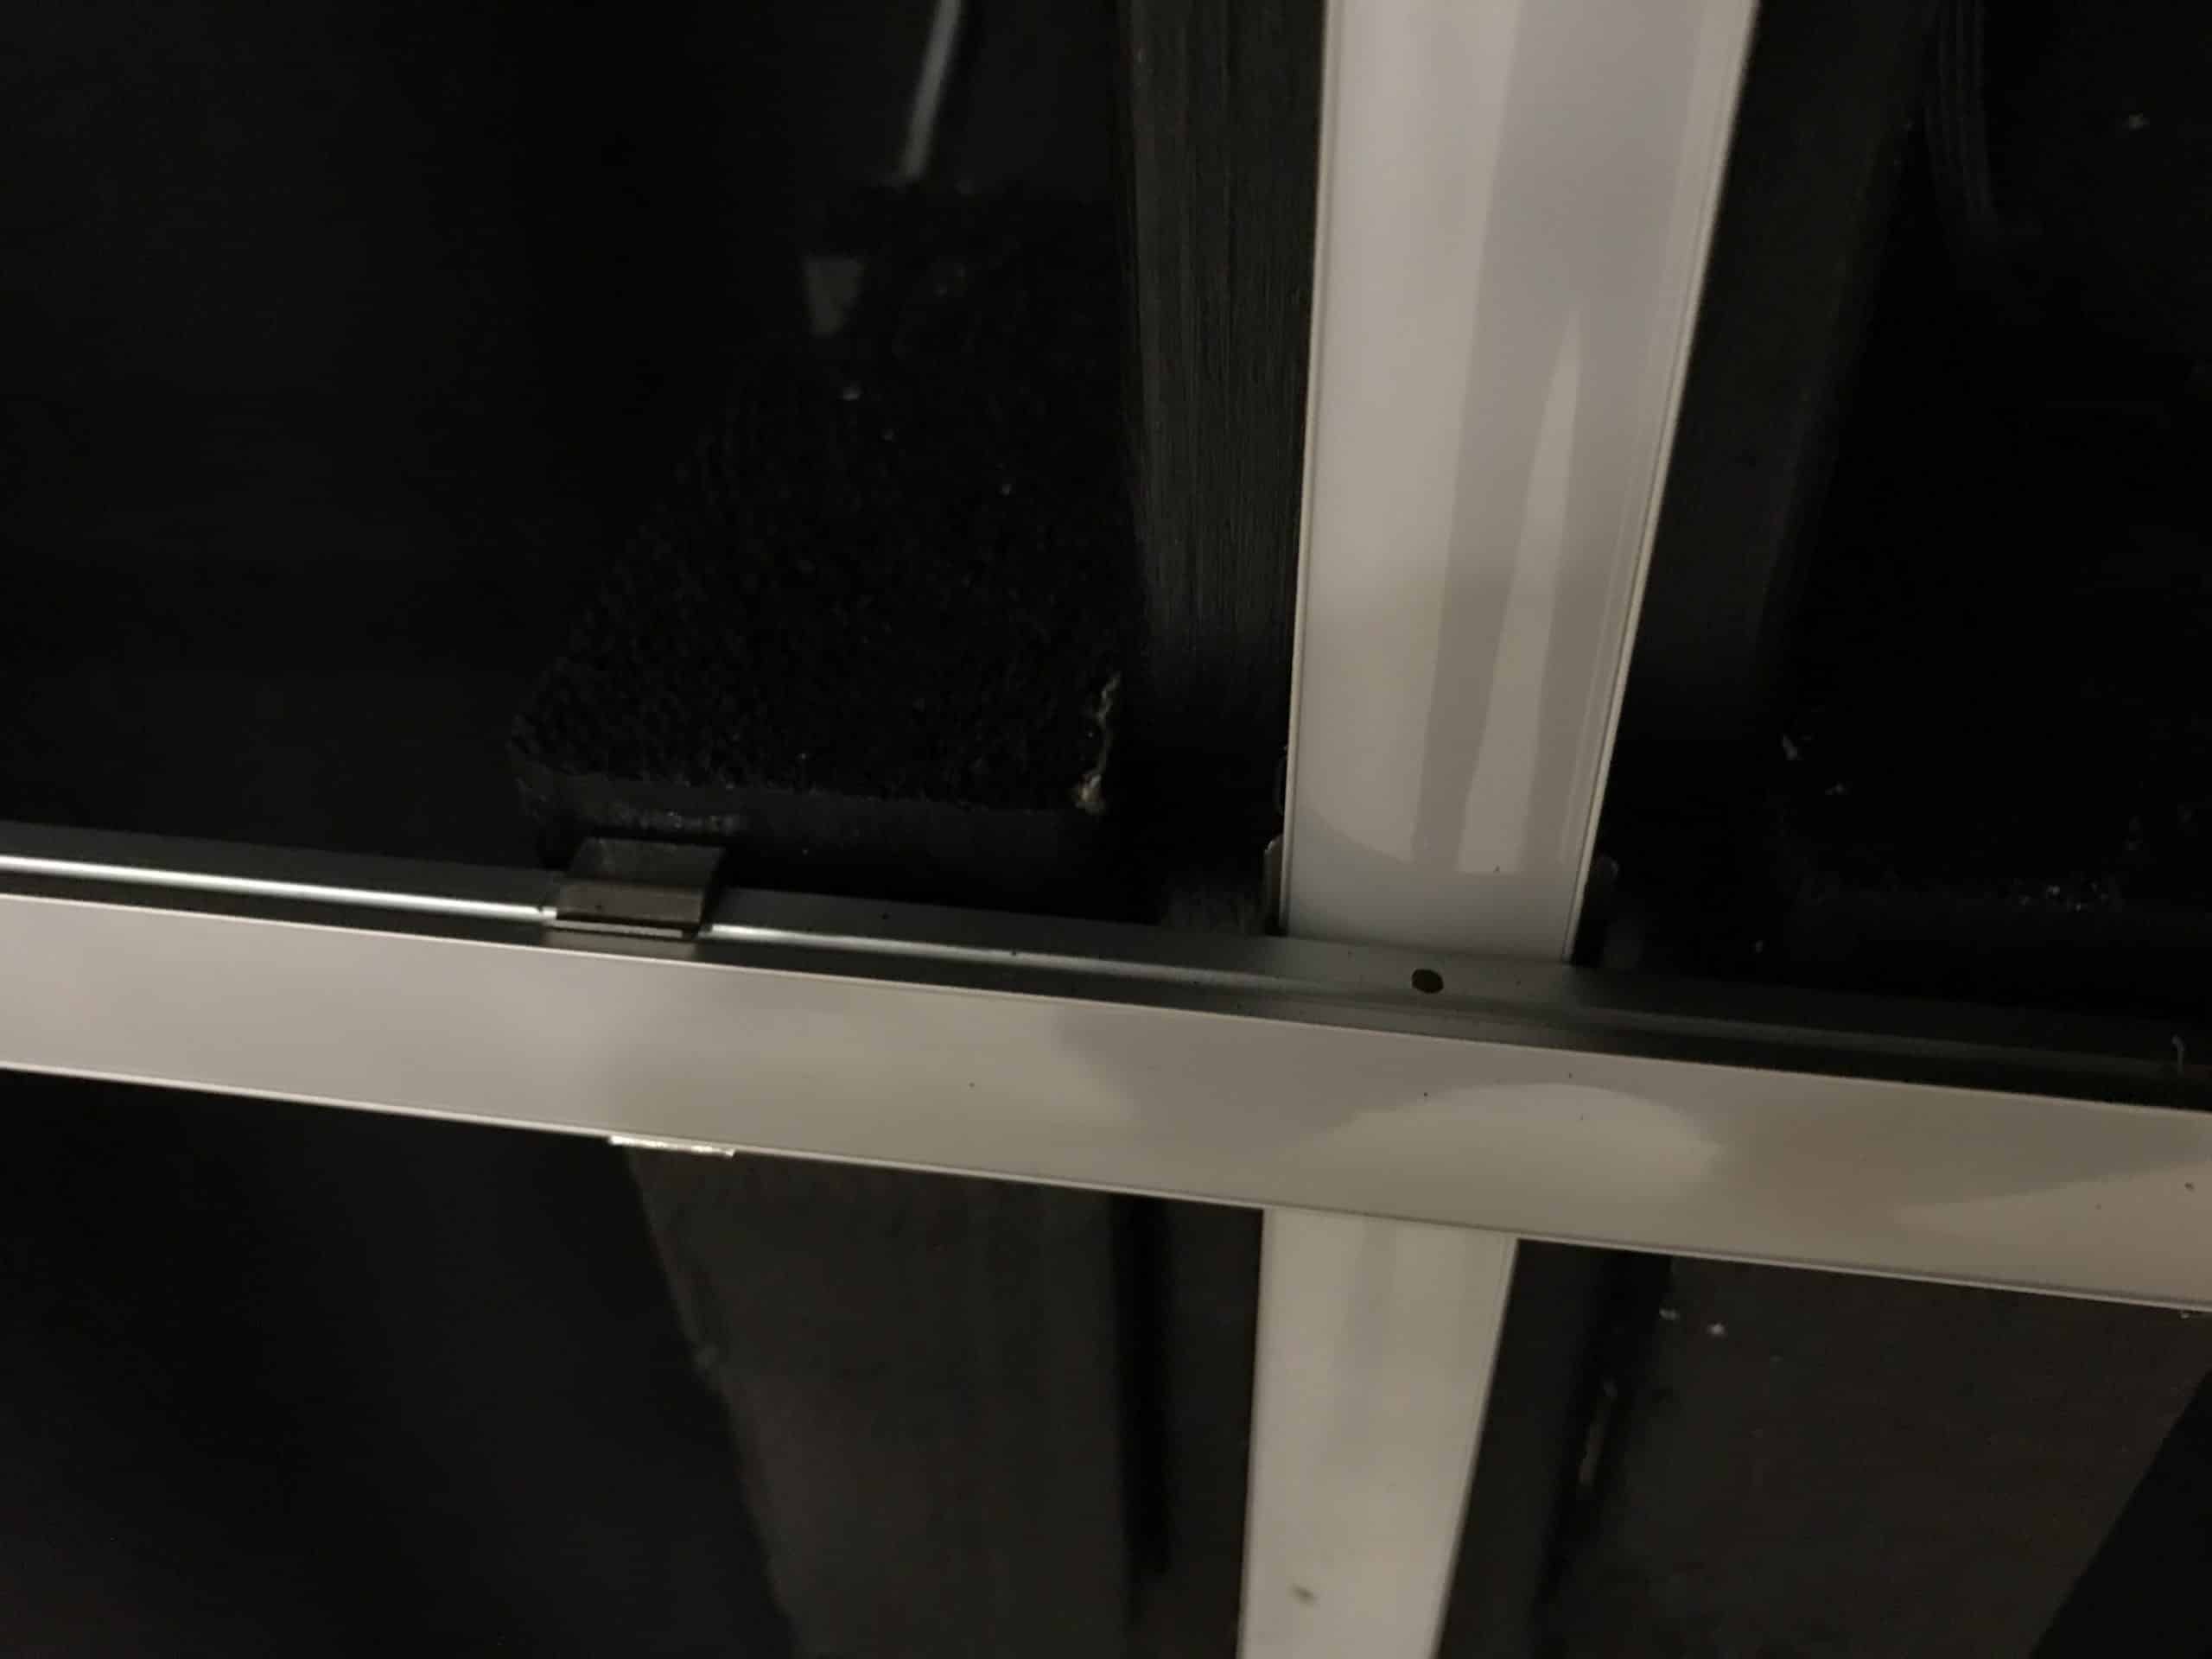
The crosses are actually not assembled together but both pieces are individually mounted in place via the brackets provided with the extrusions. The vertical bar of the cross uses the full length the extrusions come in (~3′ 3″) the horizontal was cut to about 2′ 1″. The vertical bars are mounted on the main 2x4s with a single bracket, while the horizontal bars are mounted on two square cut 2x4s on ether side of the main 2×4 using two brackets.
The square pieces were screwed on with a single screw allowing the horizontal bar’s rotation to be adjusted and made level. The vertical bars can also be adjusted as only one bracket was used. This allows for easy replacement should the LEDs fail on any single bar. They can also be squared up each week to insure the symmetry of the design stays intact throughout it’s run.
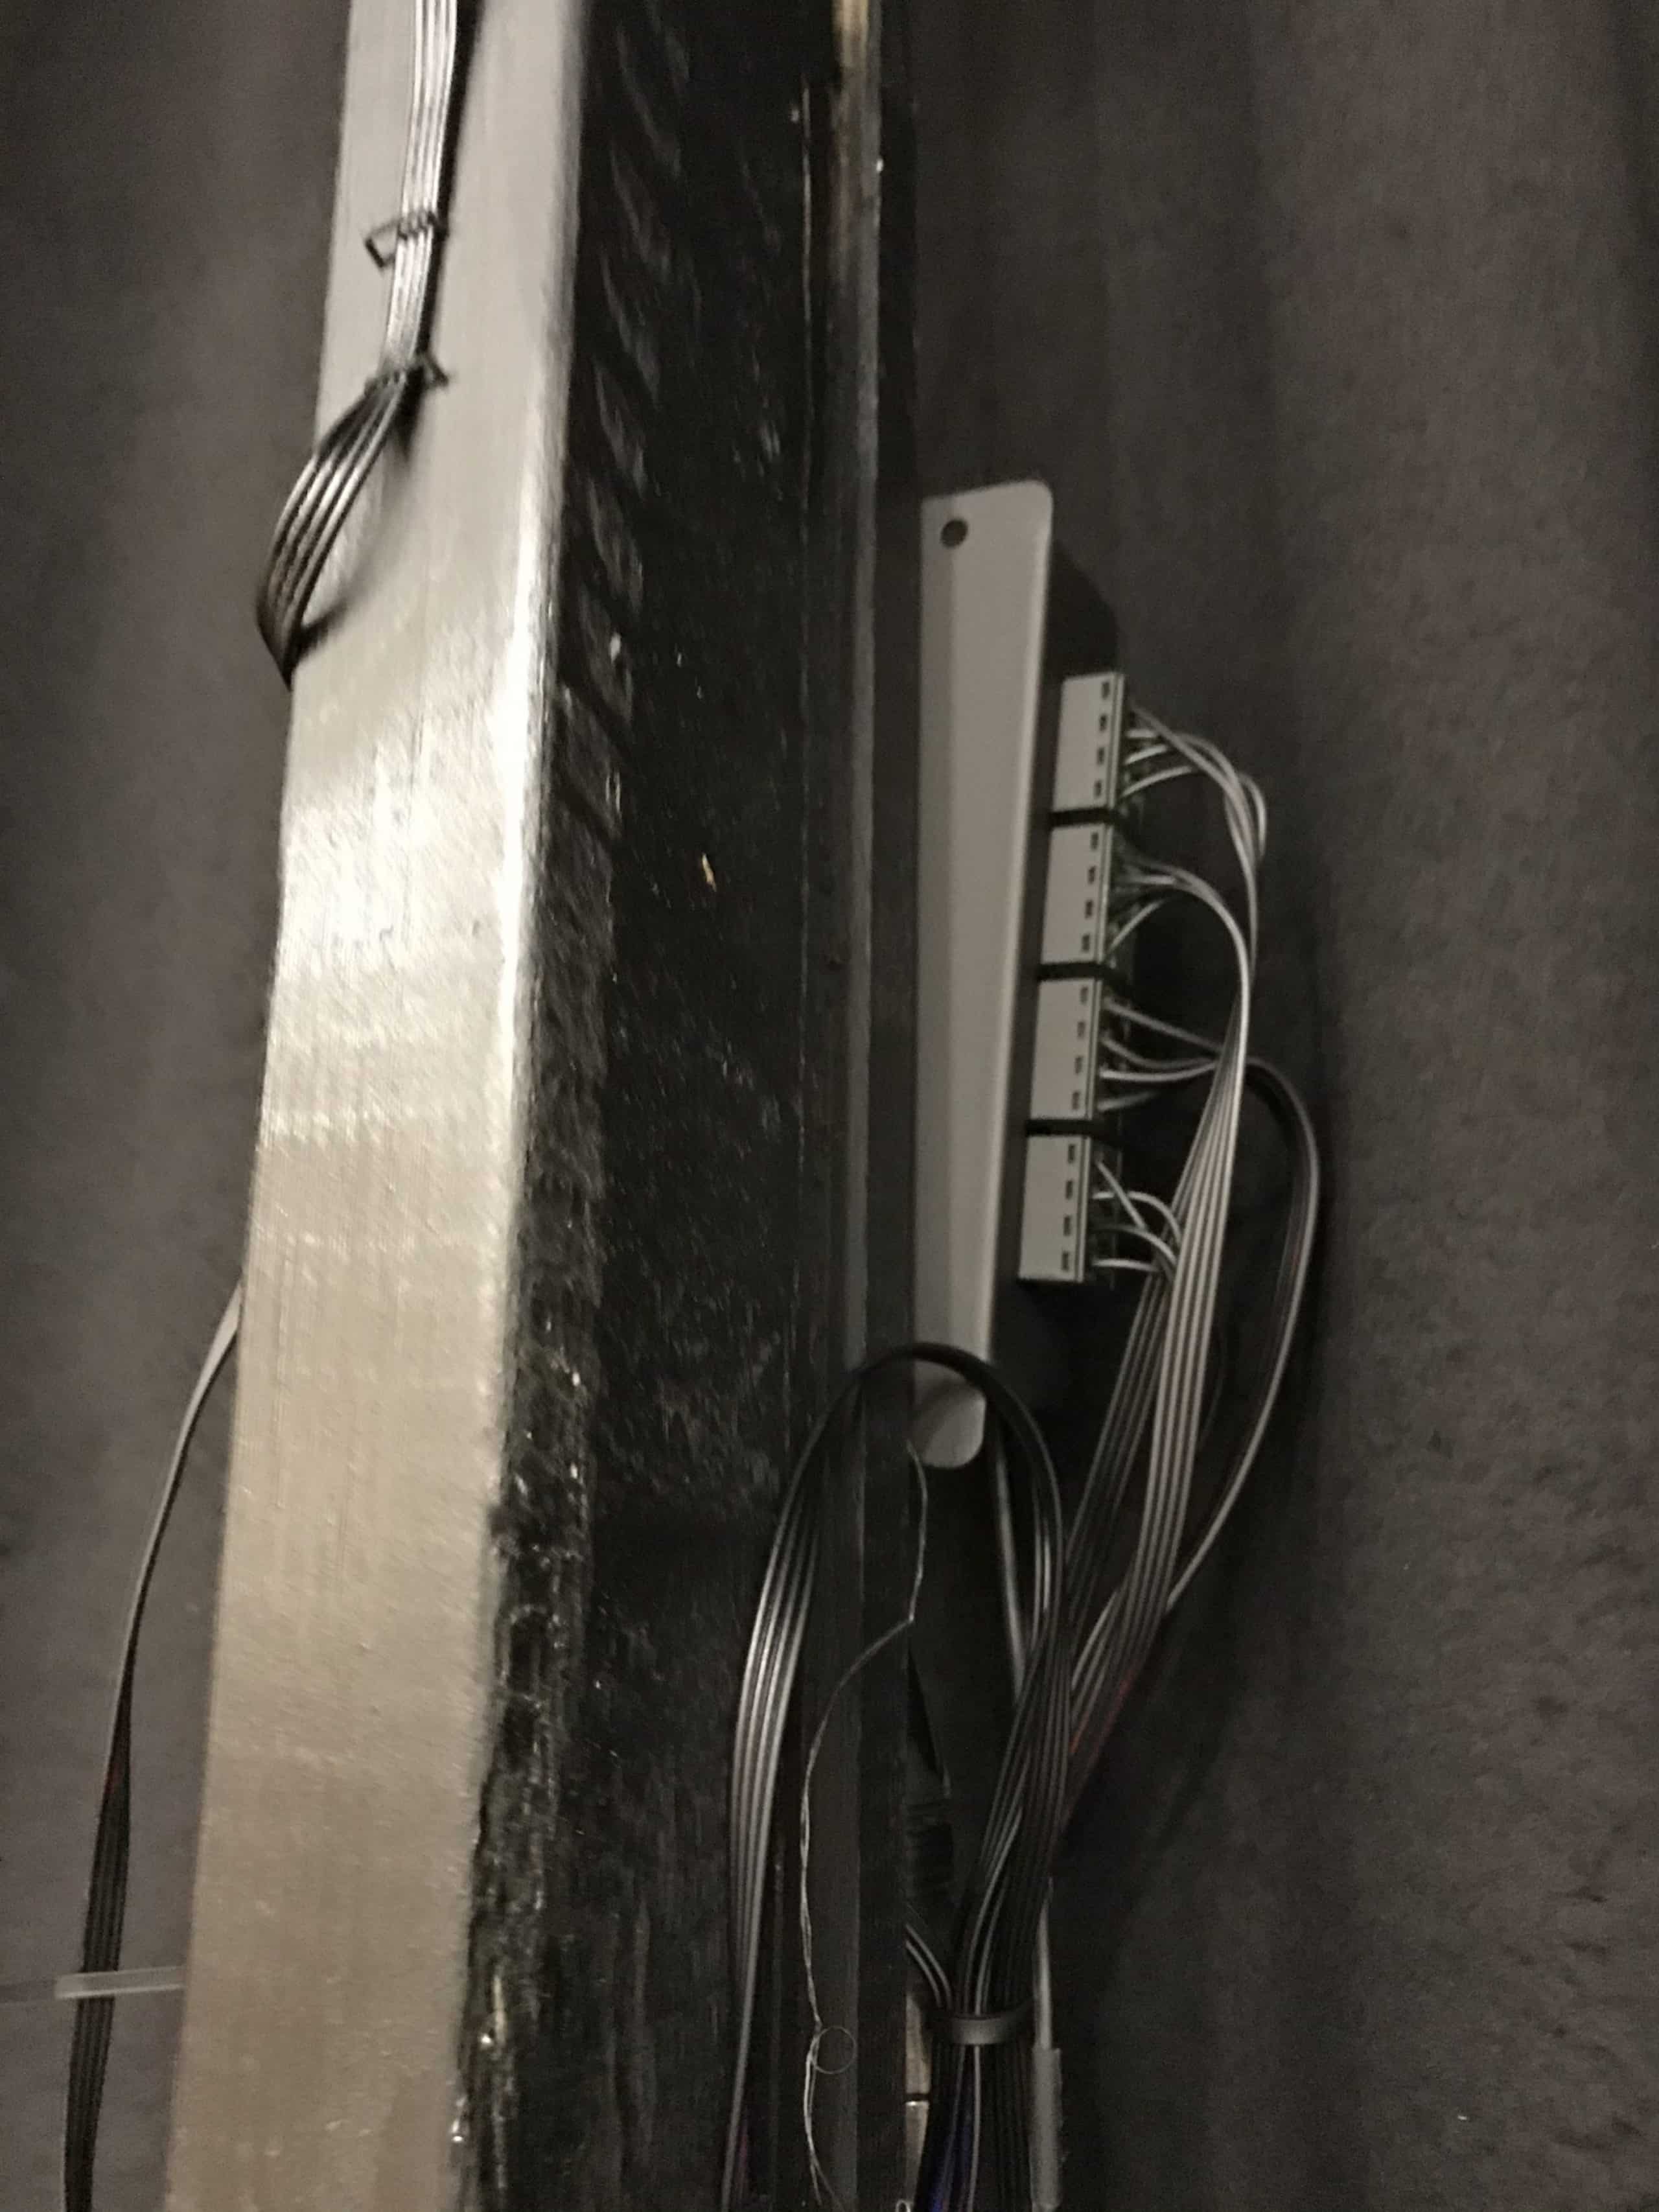
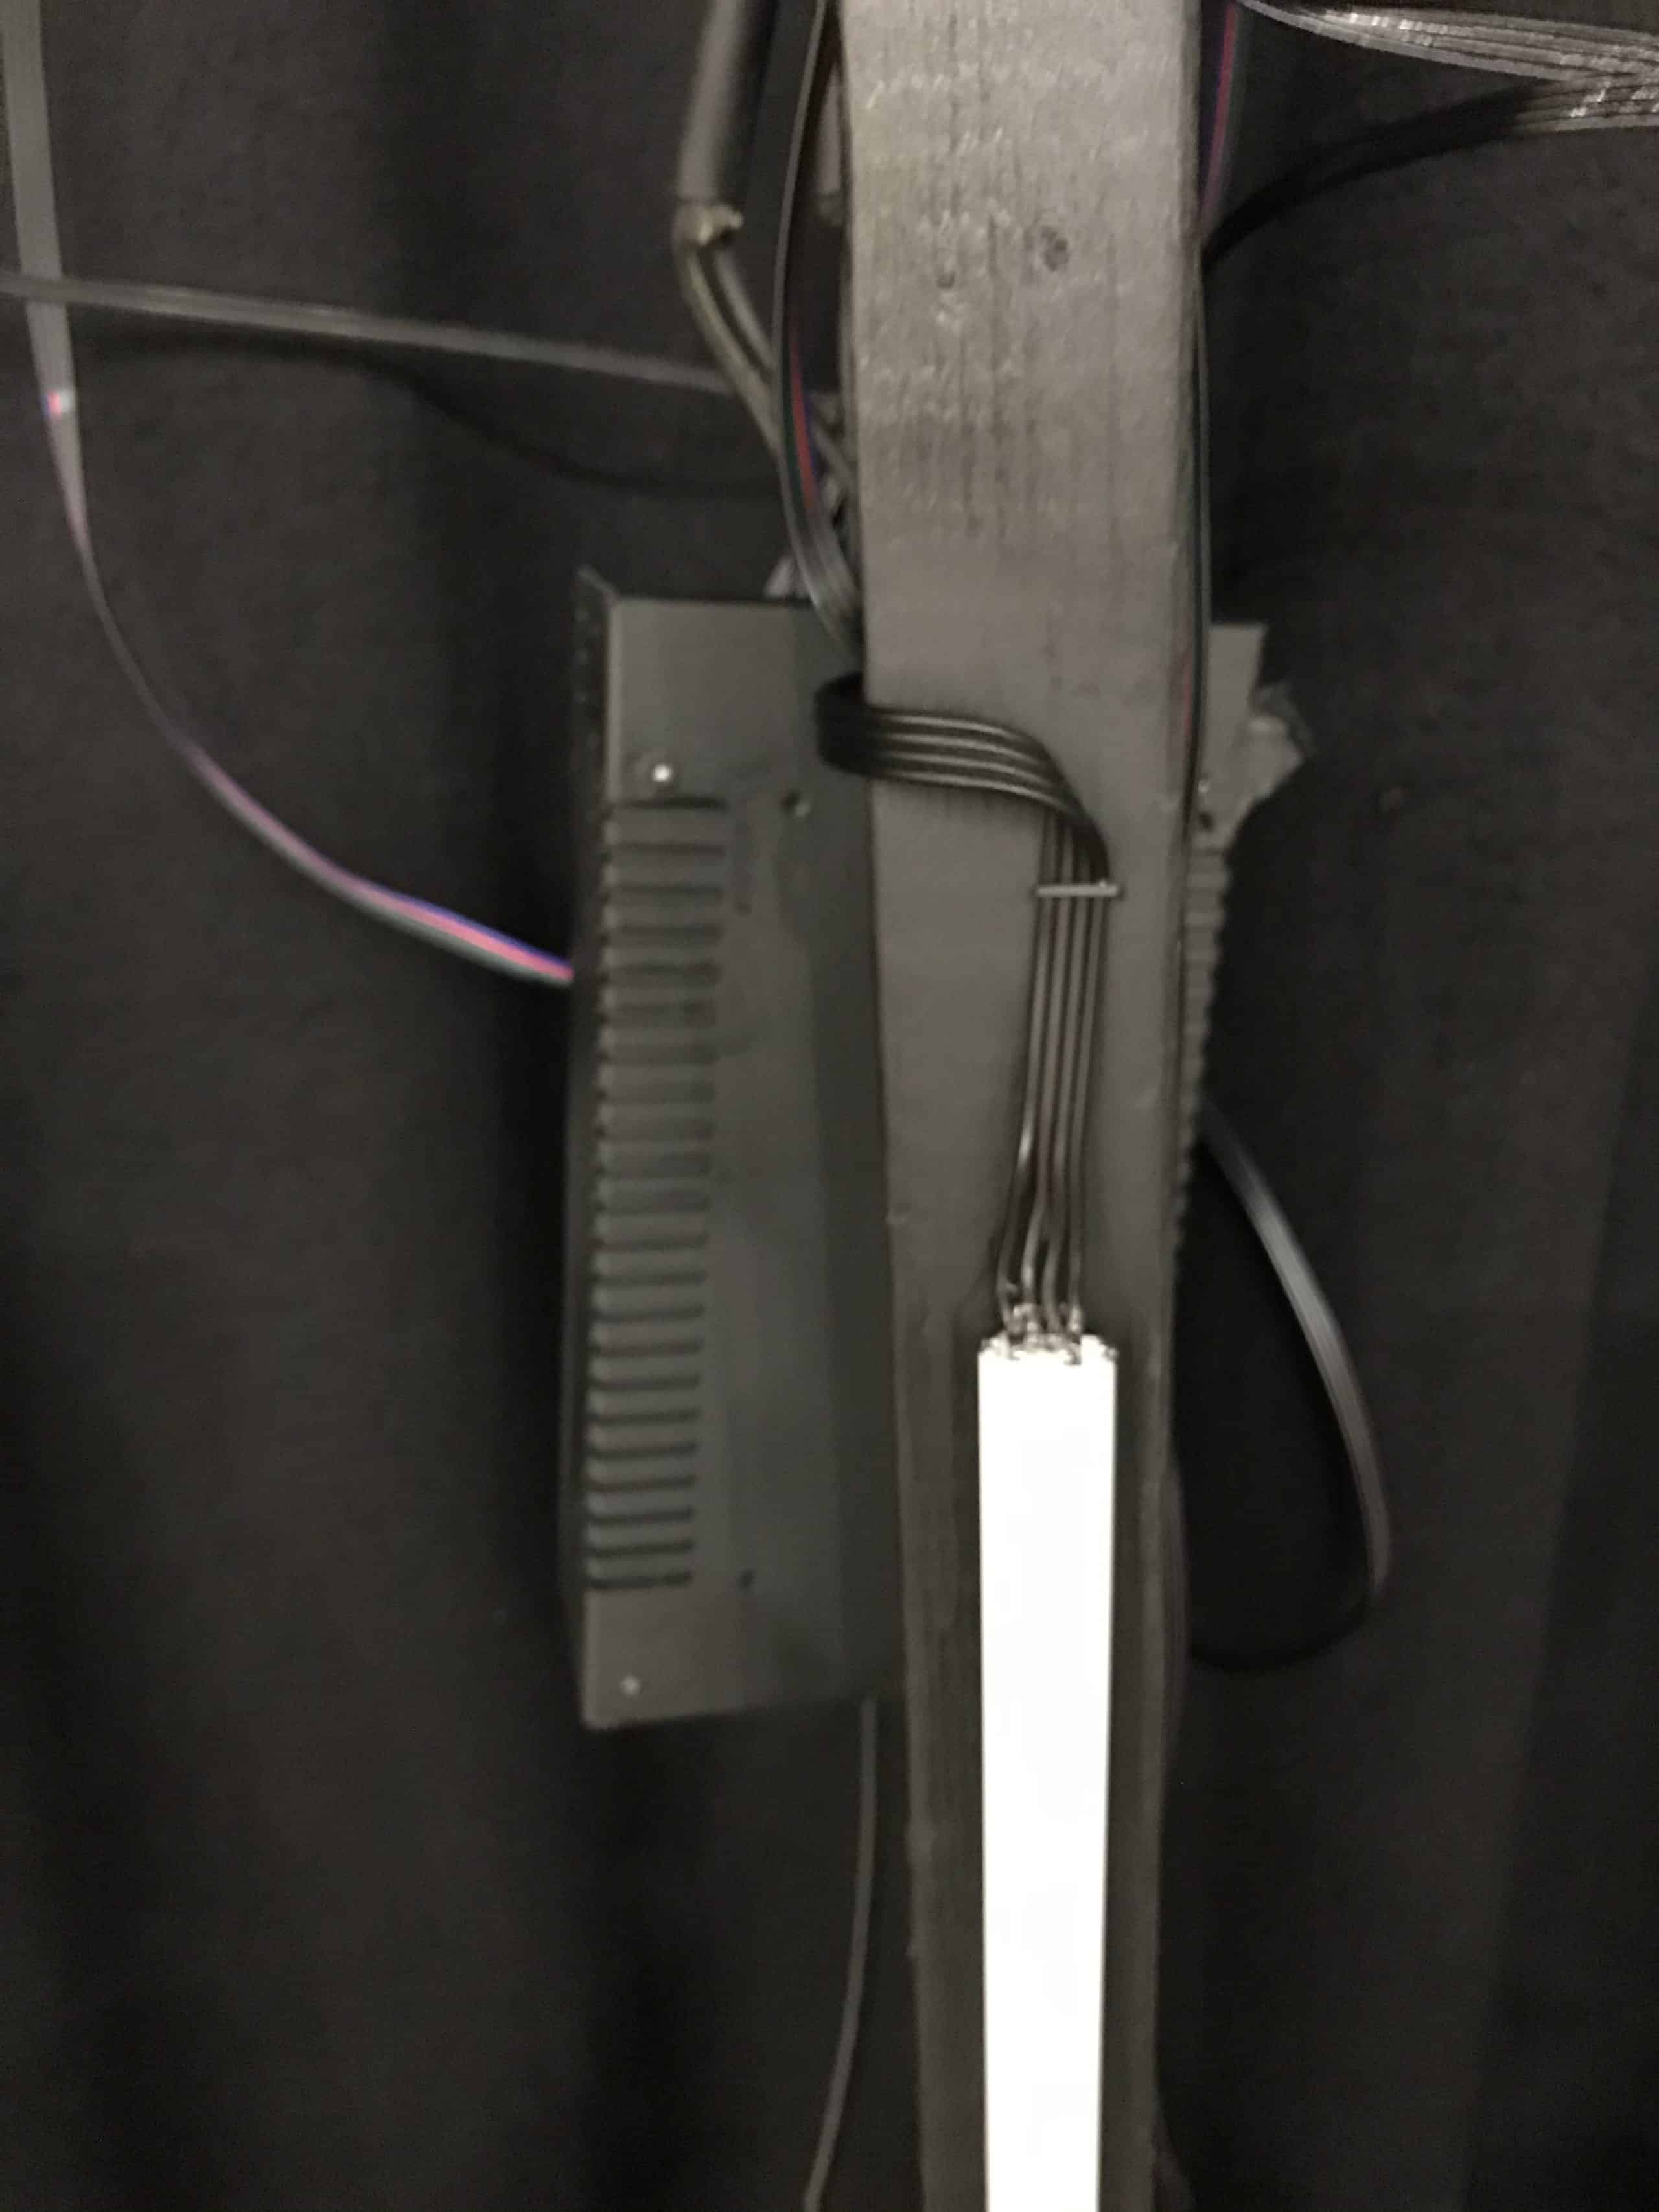
RGB wire was soldered to the led tape on each bar. Then using four 24ch dmx decoders each bar was connected to it’s own control channels allowing greater flexibility in light animations. QLC+ was used to drive the bars.
What I would have done differently:
Since LED tape can only be cut at specific sections I should have cut the LEDs first, and then cut the horizontal bar to that specific length. Because I did not do that, LEDs were hanging over the extrusions and outside of the diffusers. I fixed this by covering them up with heat shrink which worked well.
[tentblogger-youtube tNfGk4_LhtA]

Understanding LED Aluminum Extrusions
LED aluminum extrusions have revolutionized church stage lighting by providing a professional, diffused glow that eliminates the harsh pinpoint brightness of raw LED tape. These extrusions, also known as LED channels or profiles, serve multiple purposes in stage design. The aluminum housing acts as a heat sink, extending the lifespan of your LED tape by dissipating thermal buildup that would otherwise degrade the diodes over time.
The diffusers that come with quality extrusion kits are typically made from polycarbonate or acrylic materials. These diffusers scatter the light output, creating an even glow that appears as a solid bar of light rather than individual LED dots. For church applications, this diffusion is essential—it creates a polished, professional appearance that doesn’t distract from the worship experience. When selecting extrusions for your project, look for models with opaque or frosted diffusers rather than clear ones, as these provide the most even light distribution.
Construction Techniques for LED Cross Structures
The modular approach used in this design offers significant advantages for churches. By mounting the vertical and horizontal bars separately rather than building rigid cross frames, the team created a system that’s both adjustable and replaceable. This is particularly important for LED installations, as individual tape sections can fail over time. With this mounting method, a single bar can be removed and replaced in minutes without disassembling the entire structure.
The use of standard 2×4 lumber for the support structure keeps costs low while providing adequate strength. When building similar structures, consider using kiln-dried lumber to minimize warping over time. The single-screw mounting method for the horizontal adjustment pieces is brilliant in its simplicity—it allows for rotation to achieve perfect leveling while maintaining sufficient stability for regular use.
For the wiring, soldering RGB connections to each bar requires attention to detail but creates reliable, permanent connections. Using four 24-channel DMX decoders provides individual control over each bar, enabling complex chase sequences, color wipes, and synchronized effects that would be impossible with simpler control schemes. The QLC+ software mentioned is a free, open-source lighting control application that runs on standard computers, making professional lighting control accessible to churches with limited budgets.
Budget Considerations and Cost Savings
One of the most appealing aspects of this LED cross design is its cost-effectiveness compared to purchasing commercial LED fixtures. Professional LED cross fixtures can cost $500-1000 per unit or more. Building your own using extrusions and tape typically costs $50-100 per cross, depending on size and component quality. For a stage requiring multiple crosses, these savings add up quickly.
The DMX decoder boxes represent another area where smart shopping pays off. While name-brand DMX decoders can cost $100+ per unit, the Amazon-sourced units mentioned in this project often cost $15-30 each. The trade-off is that these budget decoders may have quirks—like the Cat5 chaining requirement discovered by this team—so testing your specific equipment before final installation is essential.
Related Designs
Explore these other creative LED and lighting stage designs:
- Honeycomb – A stunning geometric printed backdrop using honeycomb patterns and strategic lighting for under $100
- LED Tape – Another innovative LED tape implementation showing different mounting techniques and creative applications
- Against the Ropes – Vertical LED strip design using similar materials for a dramatic cascading light effect
- Light Bars – Horizontal LED bar design that complements vertical cross installations beautifully
- LED Wall – Full wall coverage using LED tape for maximum visual impact and immersive environments
Pro Tips for LED Cross Stage Designs
Measure Twice, Cut Once: As Austin discovered, LED tape can only be cut at specific points—typically every few inches where marked copper pads are located. Always measure your LED tape sections against your extrusion lengths before cutting the extrusions. Cut the LED tape first to its required length, then trim the extrusion to match. This prevents the frustrating situation of having LEDs extending beyond your diffuser.
Plan Your Power and Data Runs: Before mounting anything, map out your power supply locations and DMX cable runs. Each decoder box needs both power and data connections. Grouping decoders near power sources reduces cable clutter and voltage drop issues. Label every cable at both ends—future you will thank present you when troubleshooting or making adjustments.
Test Before You Hang: LED tape and decoder combinations can have compatibility quirks. Test your full lighting chain—including all decoders and tape sections—before mounting anything to the ceiling or stage. It’s much easier to troubleshoot on a workbench than on a ladder. Verify that your DMX addressing works correctly and that you can achieve the colors and effects you want.
Consider Thermal Management: While aluminum extrusions do help dissipate heat, ensure your installation has adequate airflow around the power supplies and decoder boxes. These components generate heat during operation, and enclosing them in tight spaces without ventilation can lead to premature failure. Mount power supplies in accessible locations for easy replacement if needed.
Related: Death to Life – See how another church transformed their stage from Good Friday to Easter using natural wood elements and living trees for a powerful resurrection visual.
Related: 80’s Points – A vibrant youth room remodel featuring colorful detachable wood panels and creative LED lighting on a budget.


Leave a Reply
You must be logged in to post a comment.