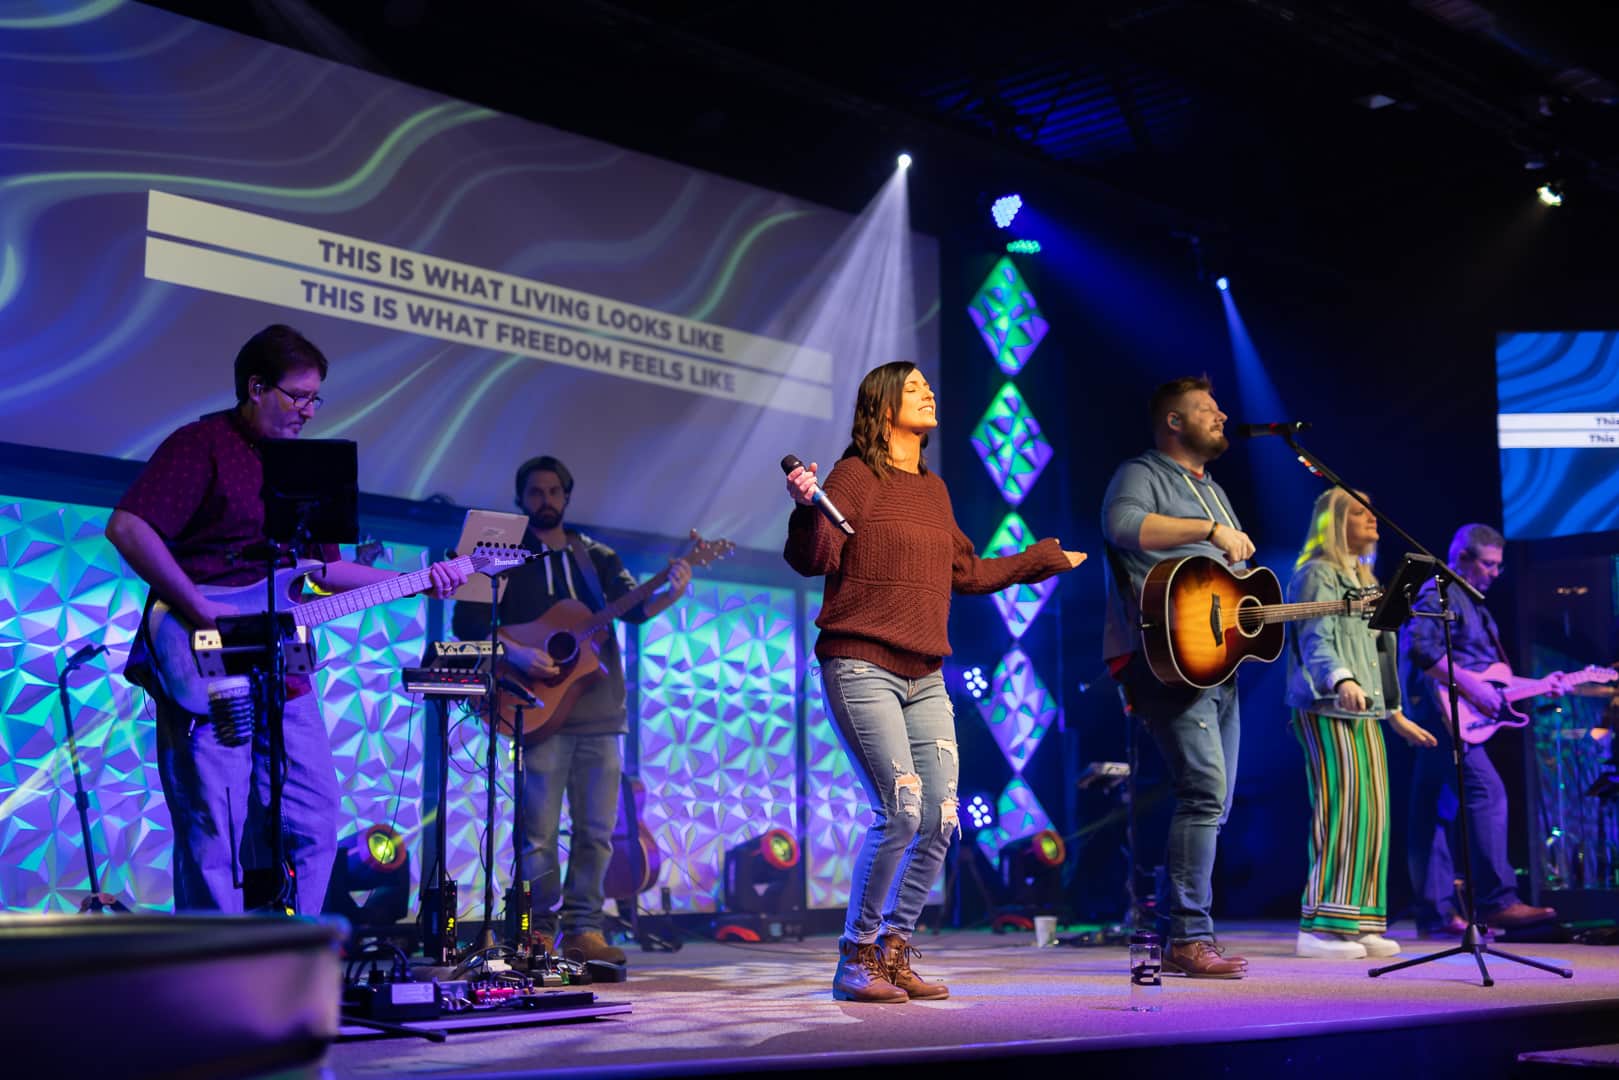
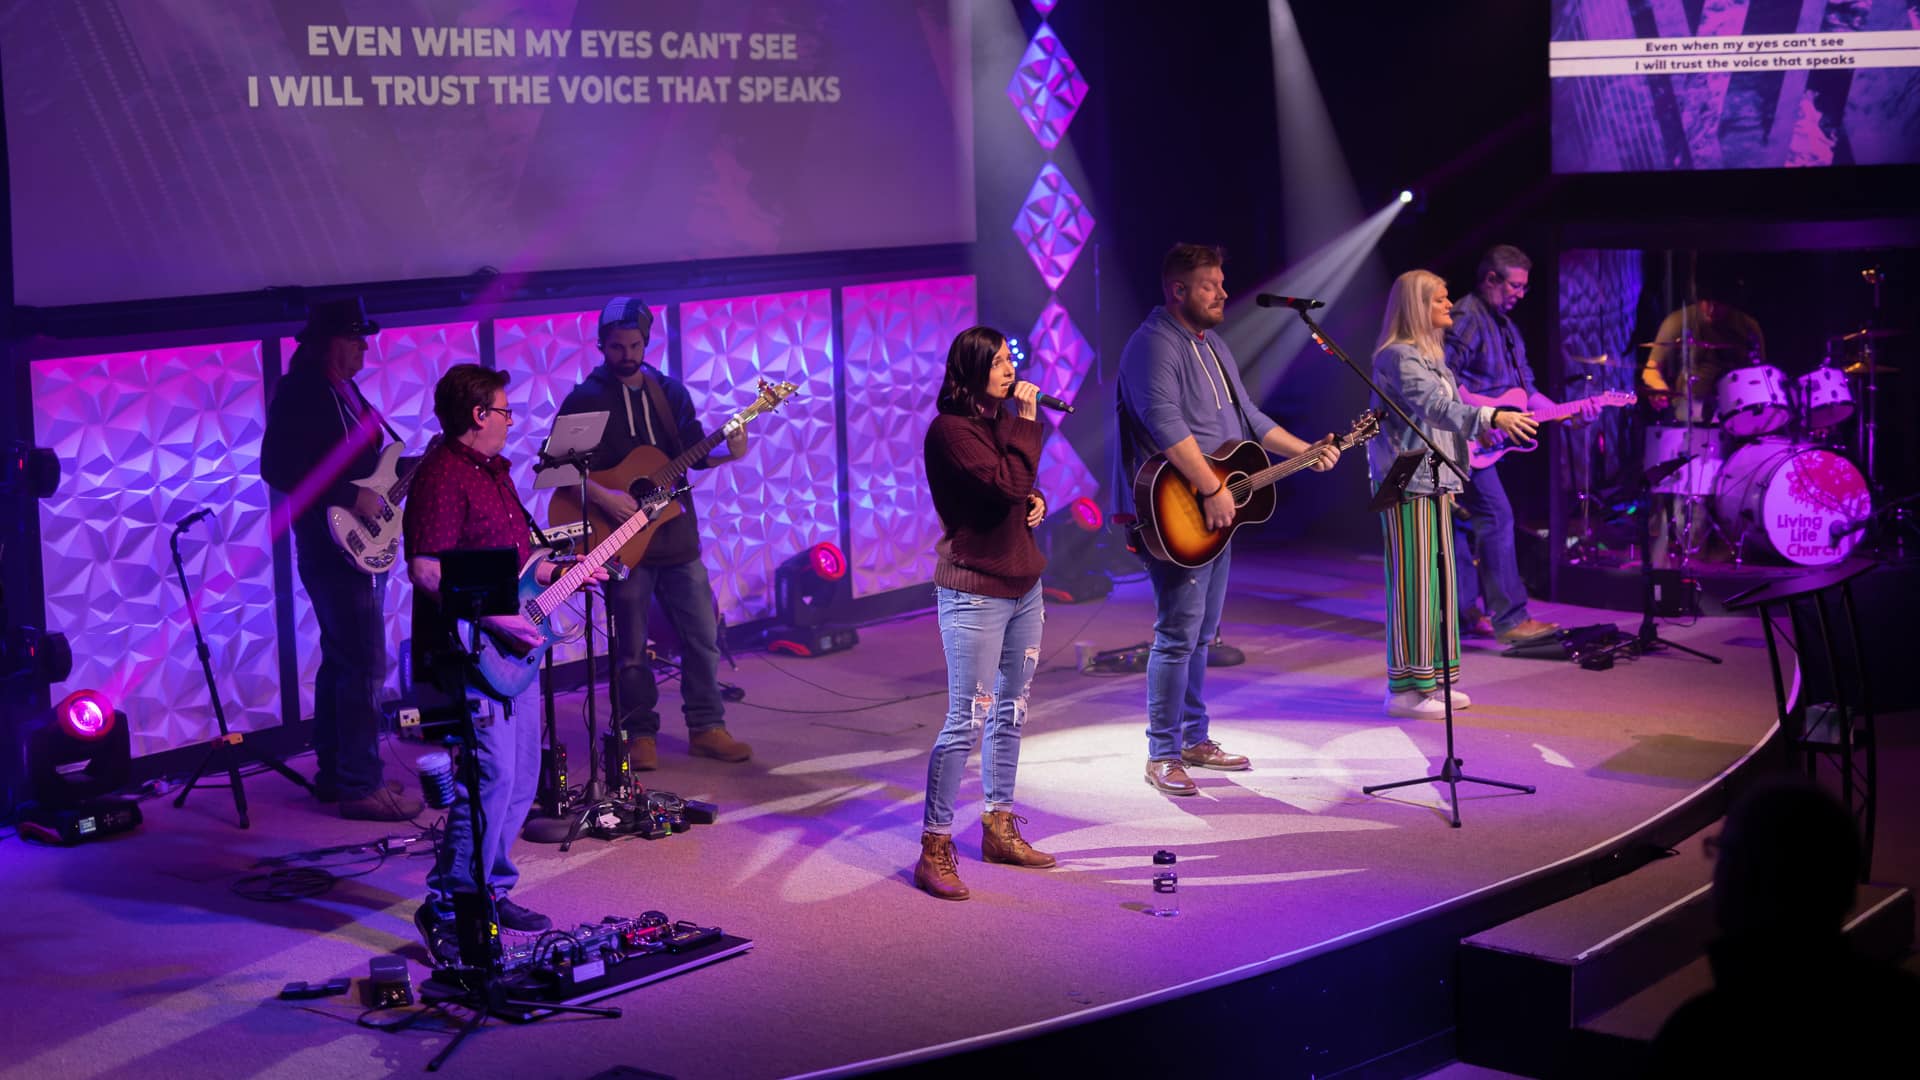
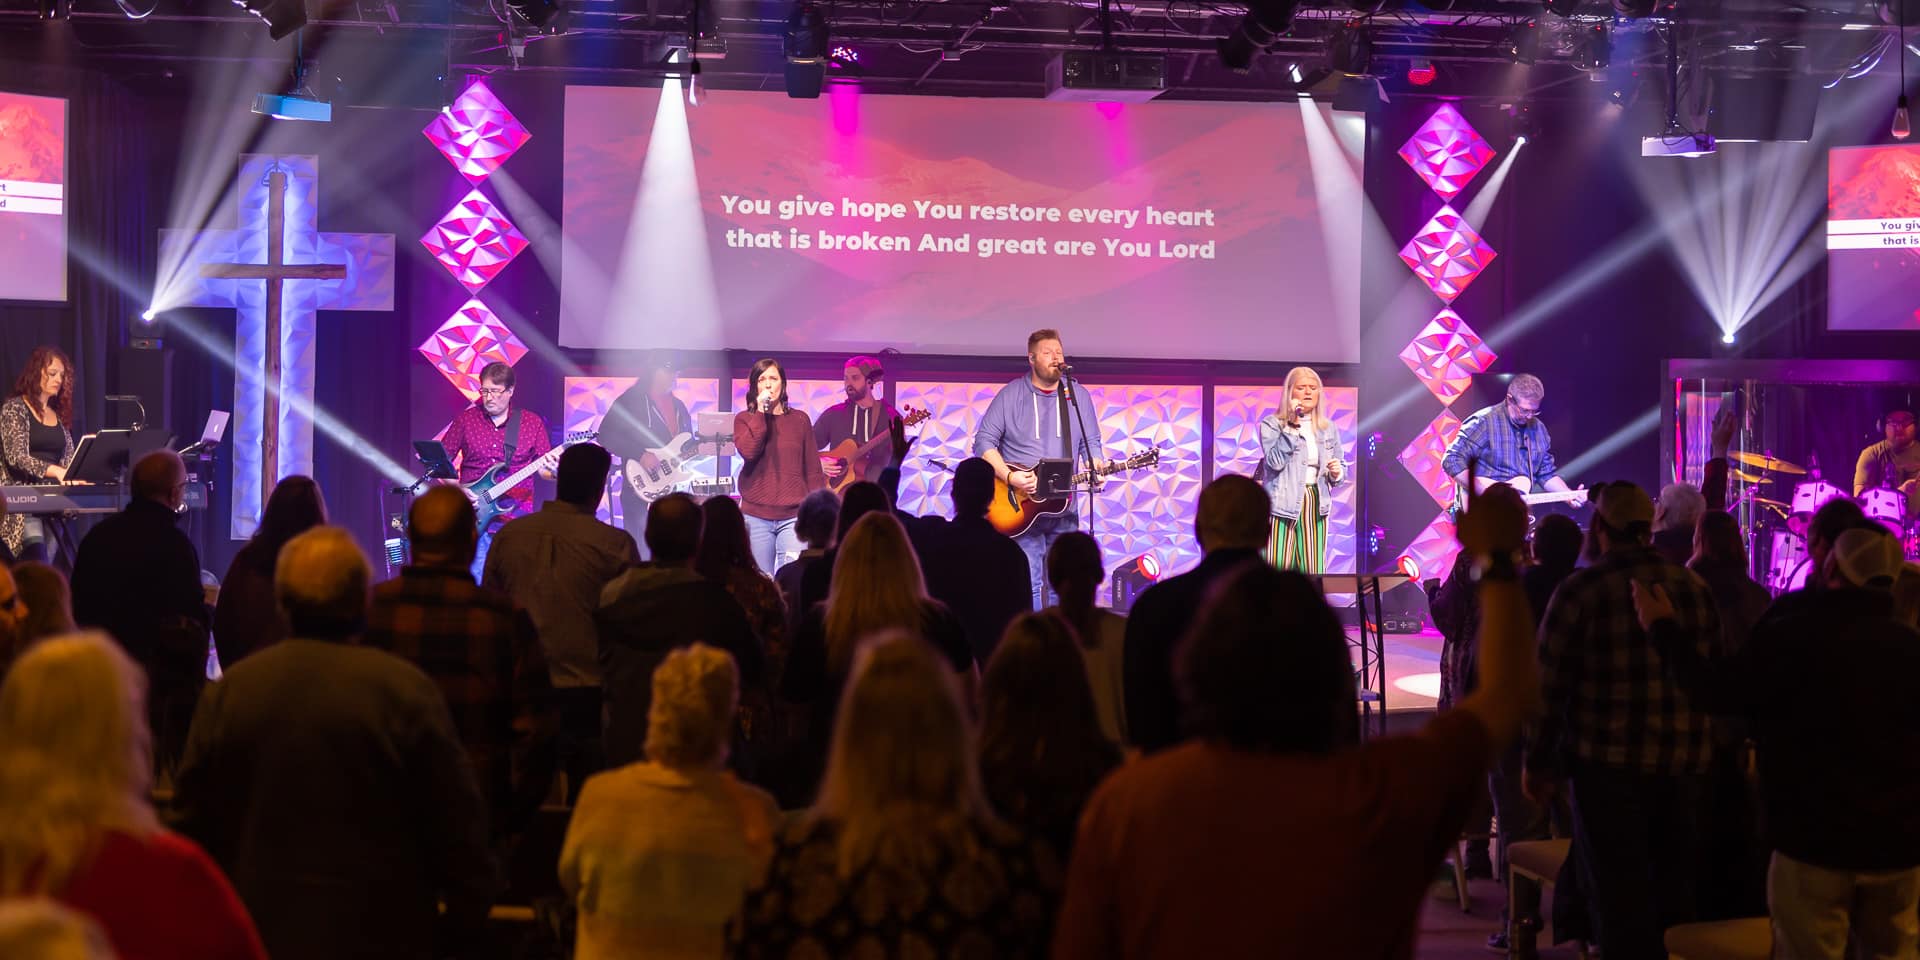
Joey Yandell from Living Life Church in Muskegon, Michigan brings us this great textured stage design.
From Joey: We recently moved into this facility and are slowly transforming it into what we want it to be. We painted the entire back wall a flat black color. We also used some curtain that we had left over from some other projects to soften the black wall look. You can see the curtain behind the side screens. When we moved into this facility that had a large screen in the middle that went floor to ceiling. We are still using the same projector, but now we are cutting the image in half in propresenter.
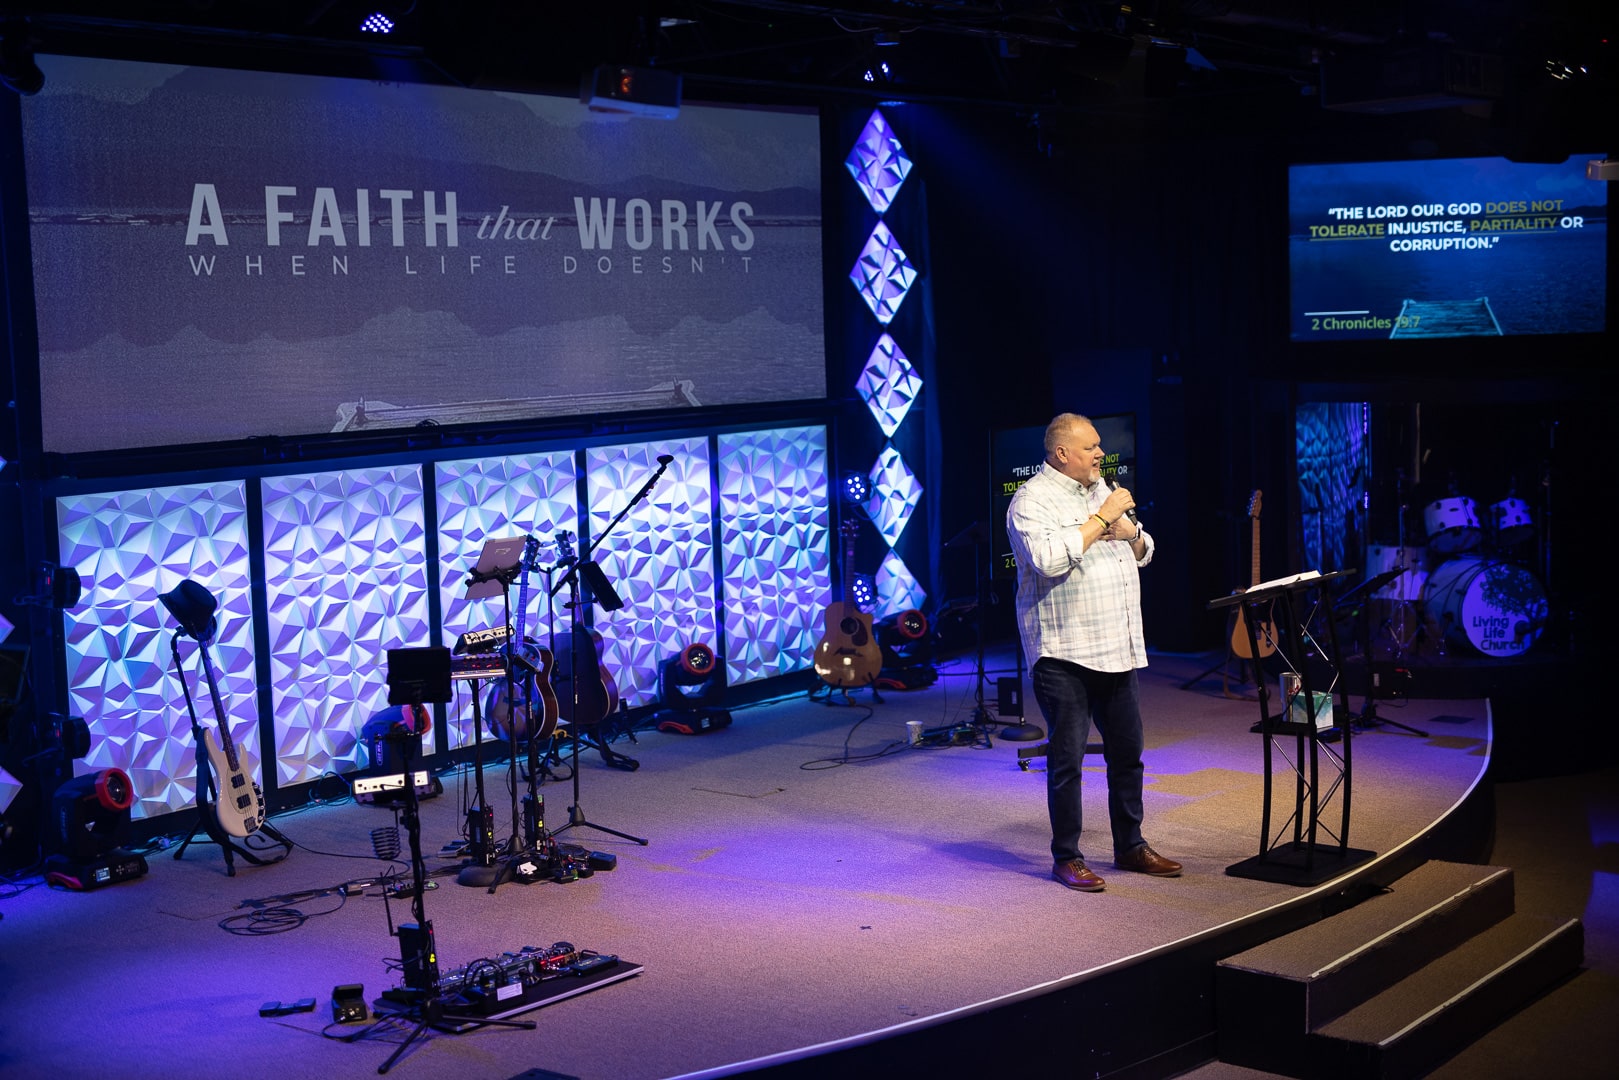
The tile design was incorporated because we wanted to add some texture and something that would reflect light into our newly black stage walls. We had LED tape for our previous stage design and didn’t like how onstage talent looked on camera. They tended to blend in with the LED tape. So we went with the 20×20″ textured tiles found on Amazon: https://www.amazon.com/gp/product/B073NZ67LK?ie=UTF8&psc=1&linkCode=sl1&tag=csdi-20&linkId=a72e37544d35c2cb4ec3e2fb05c19947&language=en_US&ref_=as_li_ss_tl
At the time of purchasing the tiles were $60/Box. We purchased 4 boxes to complete this entire design. For under the screen we just simply did 6 tiles all together and left a small gap to expose the black wall behind the tiles. We did a total of 5 groups under the screen. The tiles were fastened with Cheap white thumb tacks directly into the drywall. They seem to be holding ok, we haven’t had one fall in over 3 months yet.
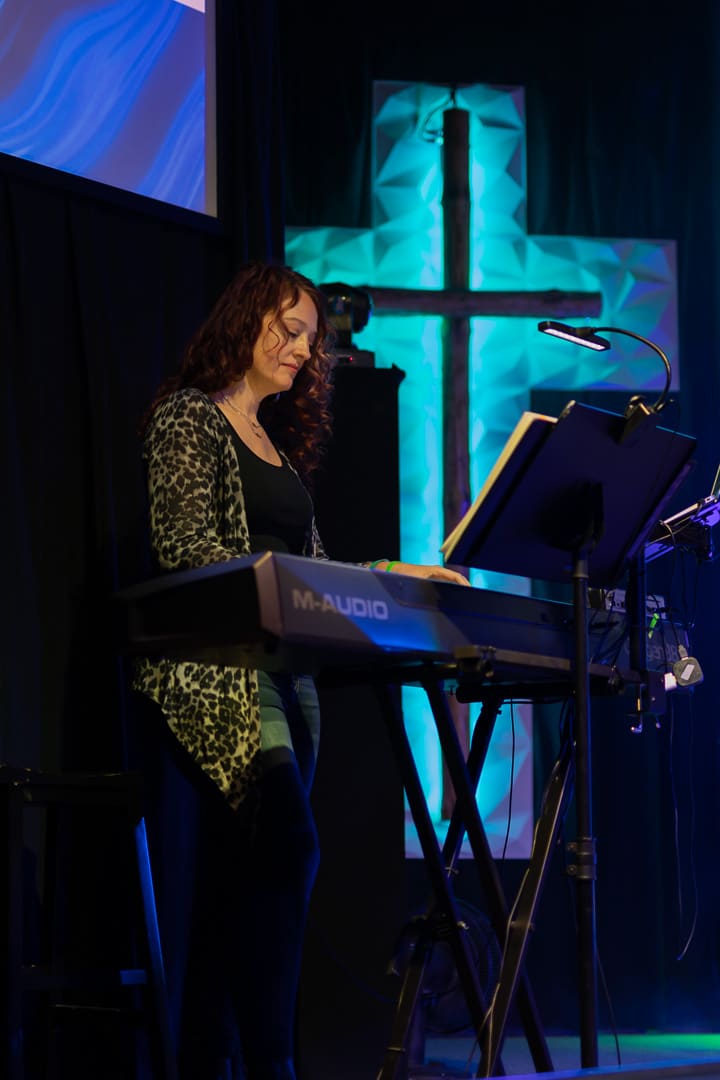
The same tiles were used on the side of the screen we just turned them into a diamond shape and put the tiles end to end. Finally, we made a cross out of the tiles. We already had a cross made of rough cut lumber one of our church members made. We simply attached LED tape to the back of the cross and the tiles reflect that light. We have that LED tape in our dmx lighting system and we can color change the cross.
The type of lighting used is a vast collage of cheap lights purchased on amazon. The row of lights that are below the center screen shining down on the panels are DragonX RGBA bars (5) in total shining down on the panels. We are also side lighting the Panels with (4) 54×3 RGBW lights cross shot across the panels. This allows for great color mixing on the panels. We are also using (4) of the 54×3 RGBW to uplight and downlight the diamonds on the sides as well.
Total cost of this project was very cheap for us. We already owned all of the lights from previous projects. The Lights are inexpensive when purchased brand new. The Tiles cost us about $60 per box and we purchased 4 boxes for a total of $240. The thumbtacks cost us about $1.50 to hang all of the tiles.


Leave a Reply
You must be logged in to post a comment.