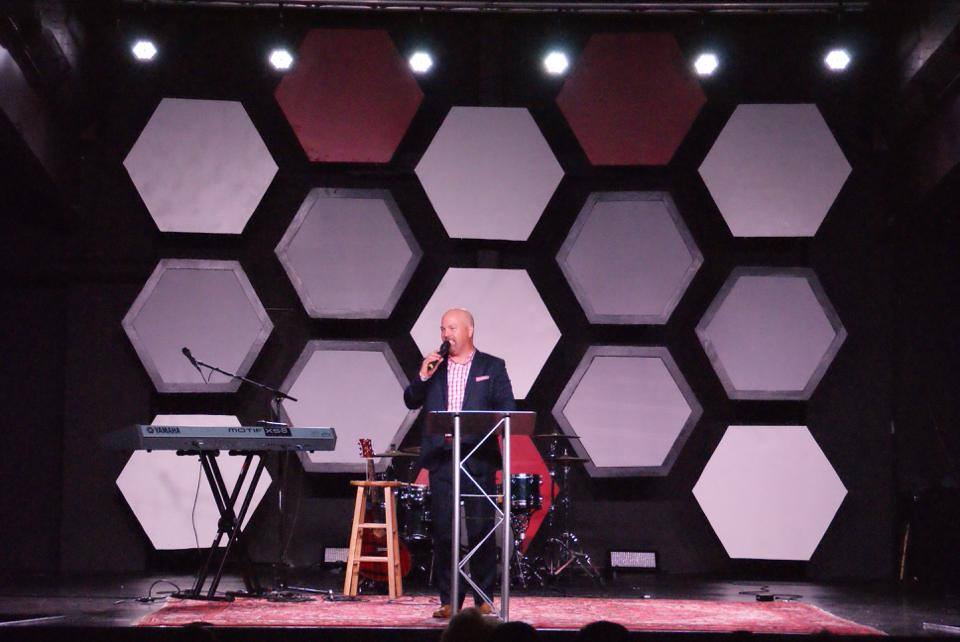
The Way Church Creative Team from The Way Church in The Woodlands, Texas brings us these honeycomb hexagon stage pieces.
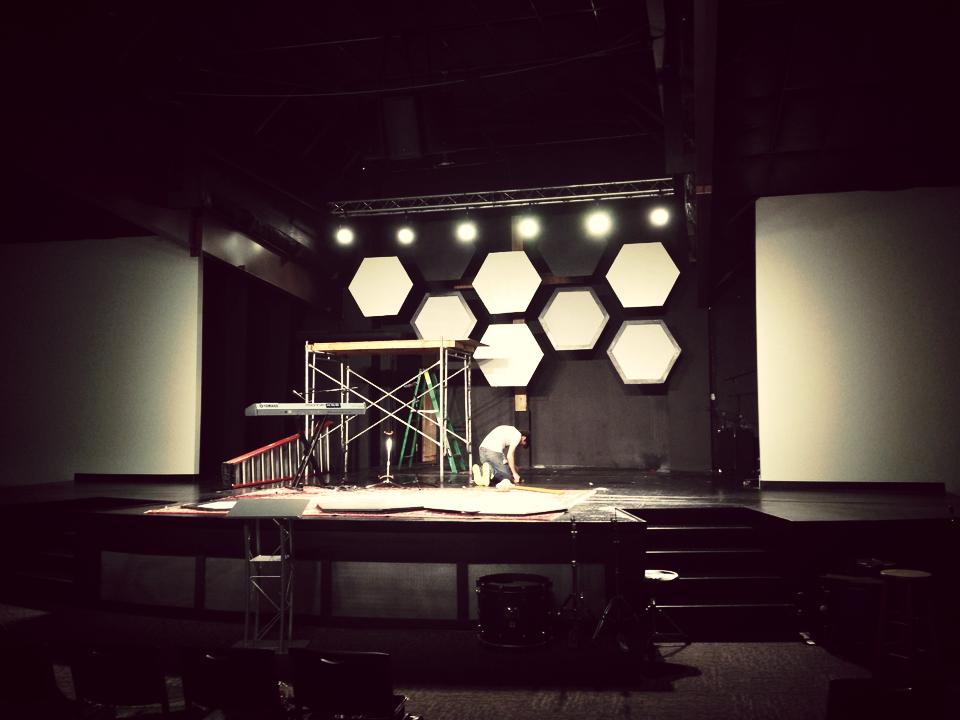
The team started by purchasing eight pieces of foam board that were 4’x8′ from their local home improvement store (Home Depot). They began cutting out hexagons in which each side was 2 feet in length. They ran into a few problems while cutting out the hexagons, because—though they used simple geometry to find the angles—many of their folks had a hard time cutting perfect angles. So they moved to projecting the image of a hexagon they got off Google Images then tracing the image. The hexagons were cut out with a box cutter and painted with the various colors.
They used three different colors of paint for the hexagons. They went with a creamy white, a bright red (not a Christmas red), and an off-black (in order to show more definition in the color). They only used two coats of paint for each hexagon.
Then they bought some translucent stretch fabric from their local fabric store and backed each hexagon with the fabric.
They purchased a lot of chain along with some larger screw in hooks so they could hang the hexagons from their truss. There was 4 inches between each hanging hexagon.
The project took about 5 days work including the time to buy, prepare, and bill the project. The supplies cost about $250 in total and stayed up for about 3 months.


Awesome look!
How big were the shapes?
Measuring angles is not the best way to draw hexagons. I have a hexagonal house, and have cut many floor tiles to fit. Each side of a hexagon is equal to the radius. Start by using a giant protractor (a pencil on a string works fine). Draw a circle using your “protractor”. Then, keeping the radius the same, put one end of the protractor on the edge of the circle, and mark where the other end crosses the edge. Repeat in the opposite direction. Move to those points and do it again, until you reach the original marks. Use a straight edge to draw lines connecting the marks.
http://www.instructables.com/id/Fun-with-ruler-and-compasses-basic-geometric-con/step9/Construction-7-the-regular-hexagon/
I meant “compass” not protractor. The distance between opposite points of the hexagon is equal to the diameter of the circle that connects the points.
What are the 6 fixtures you are using for back lighting? What do you use for your front lights? Thanks.
Thanks for ones marvelous posting! I seriously enjoyed reading it,
you will be a great author.I will remember to bookmark your blog and
will eventually come back someday. I want to encourage that you continue your great work, have a nice weekend!
We used some of our old lighting fixtures which were LED MegaPanels. We are always looking for ways to reuse some of our old systems in new ways. Waste not want not!