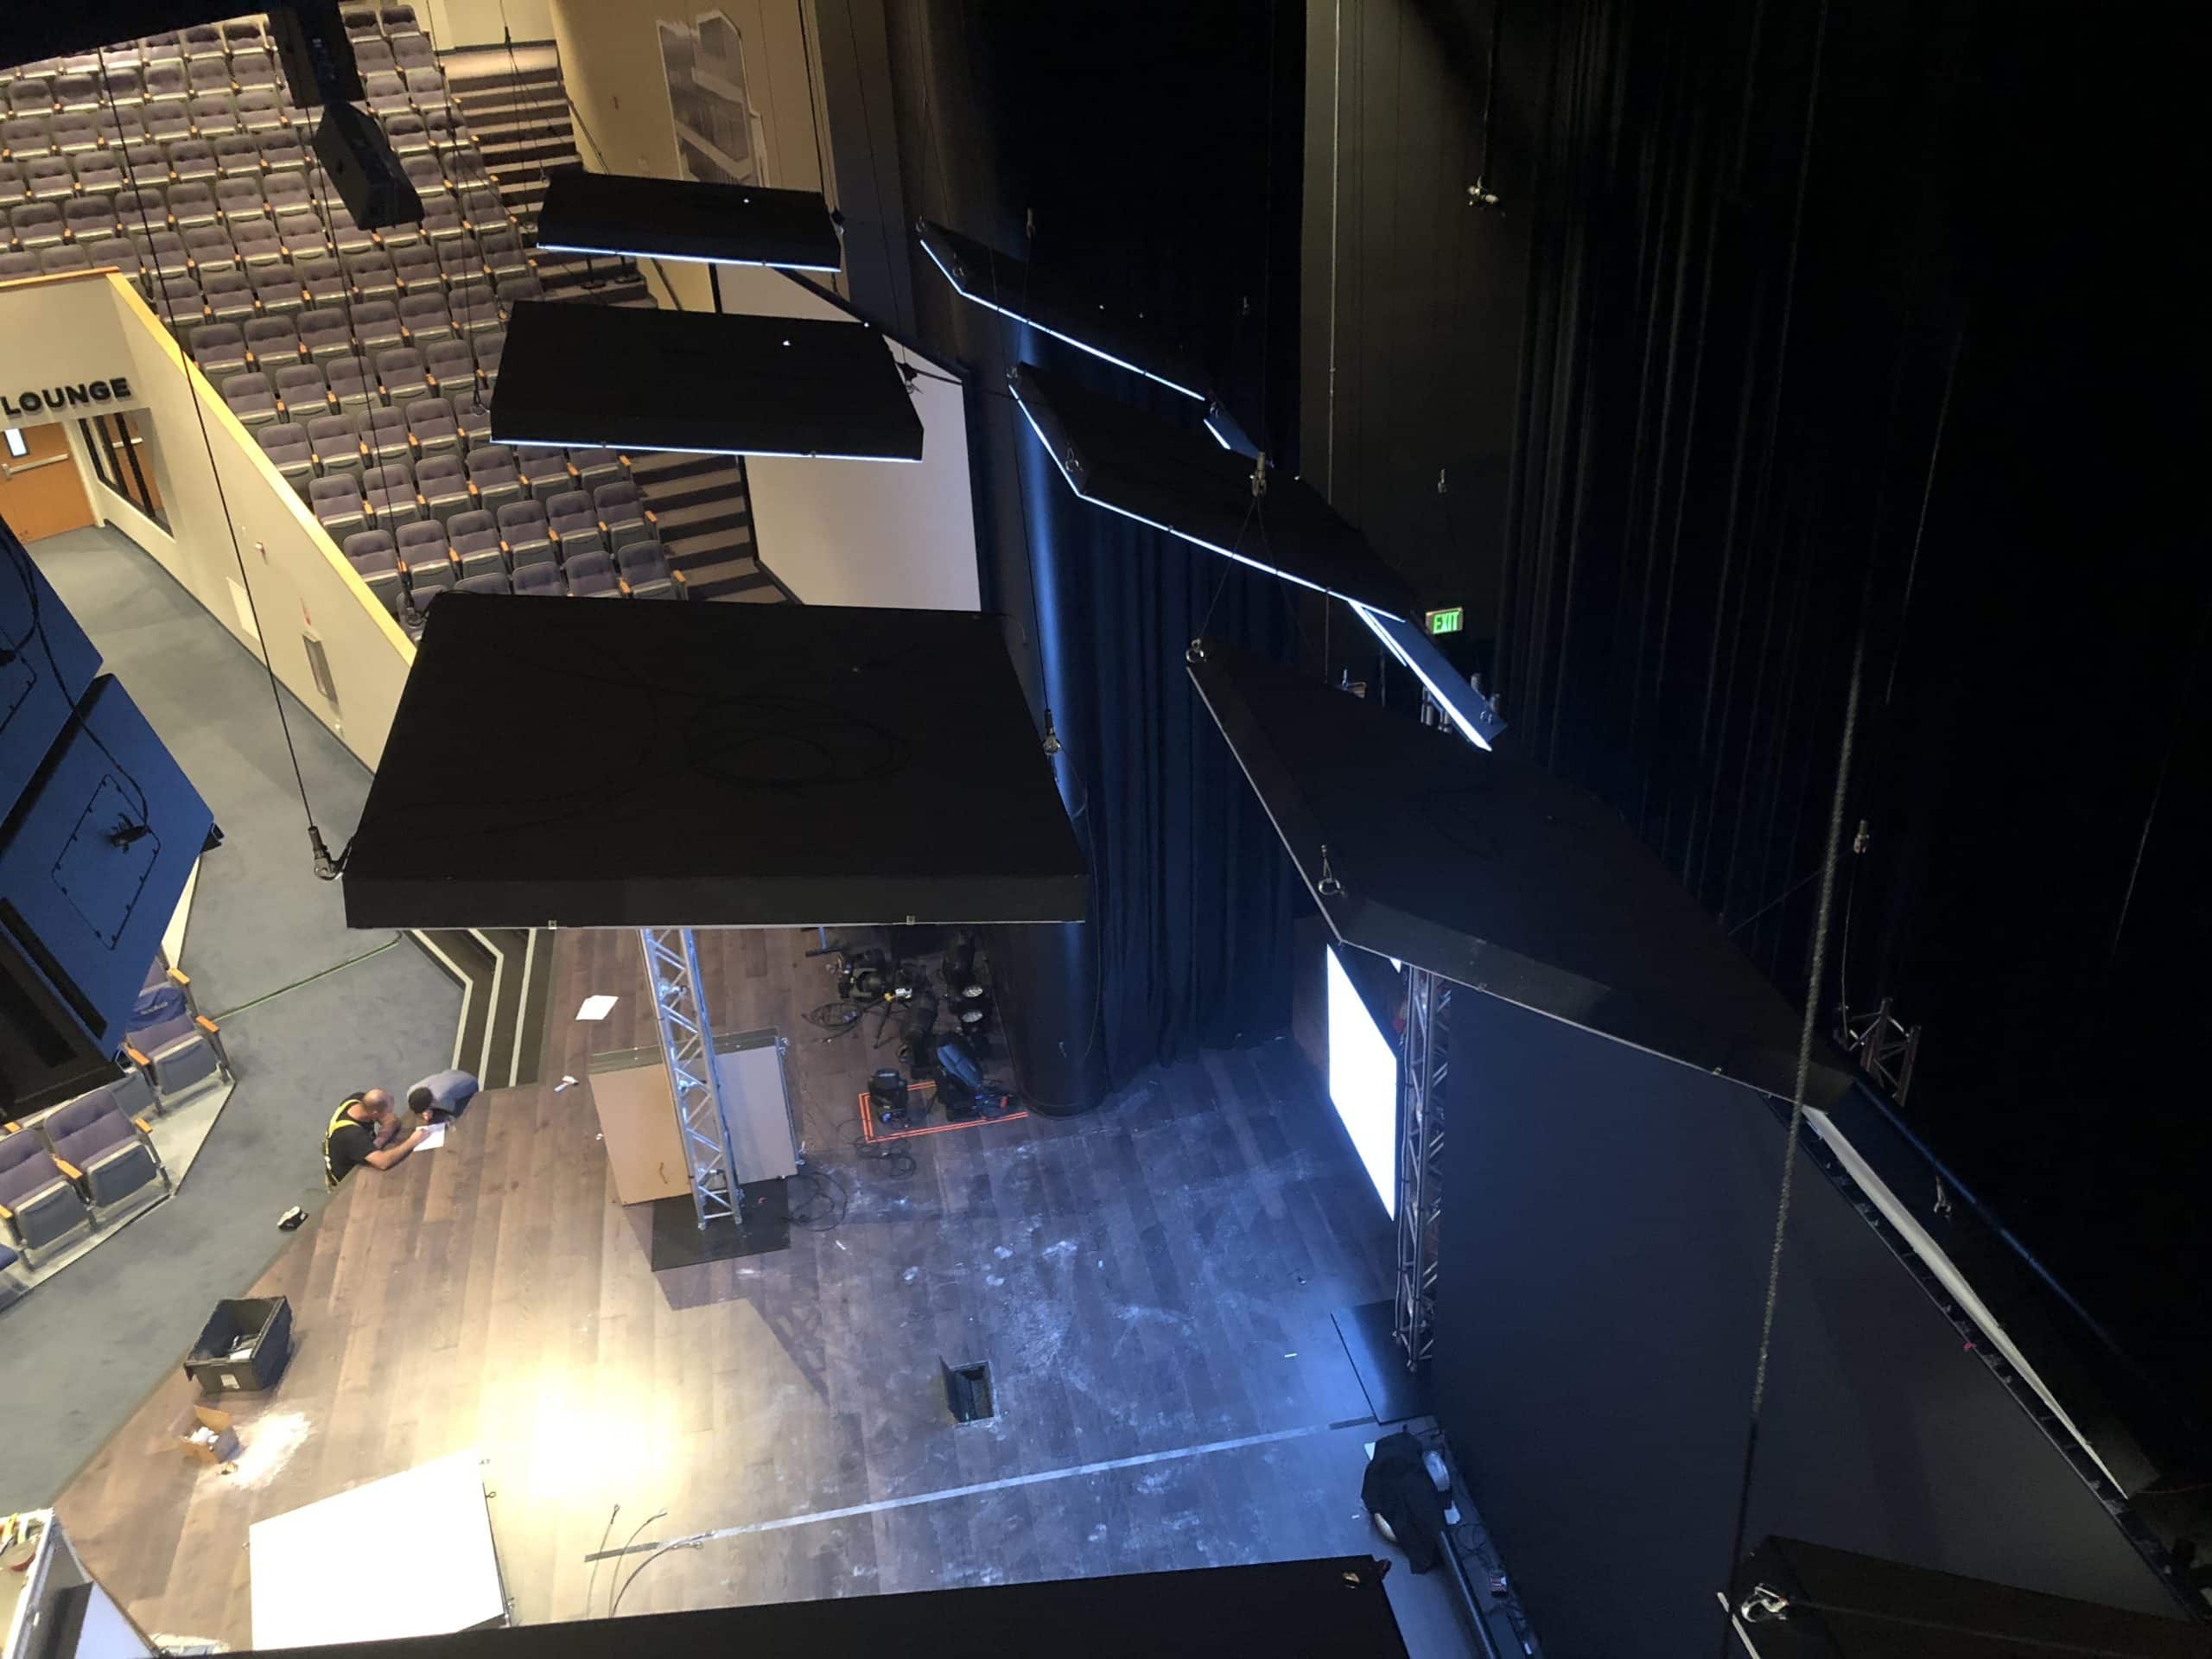
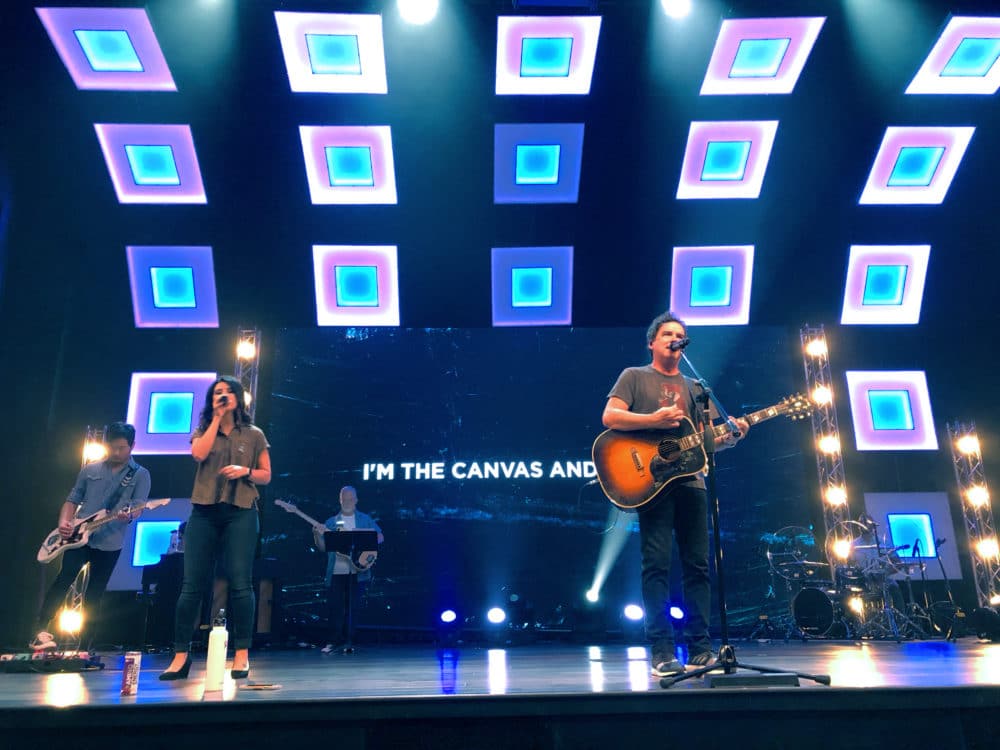
Jimmy Corrao from CrossCity Christian Church in Fresno, CA brings us this awesome design that surrounds the stage.
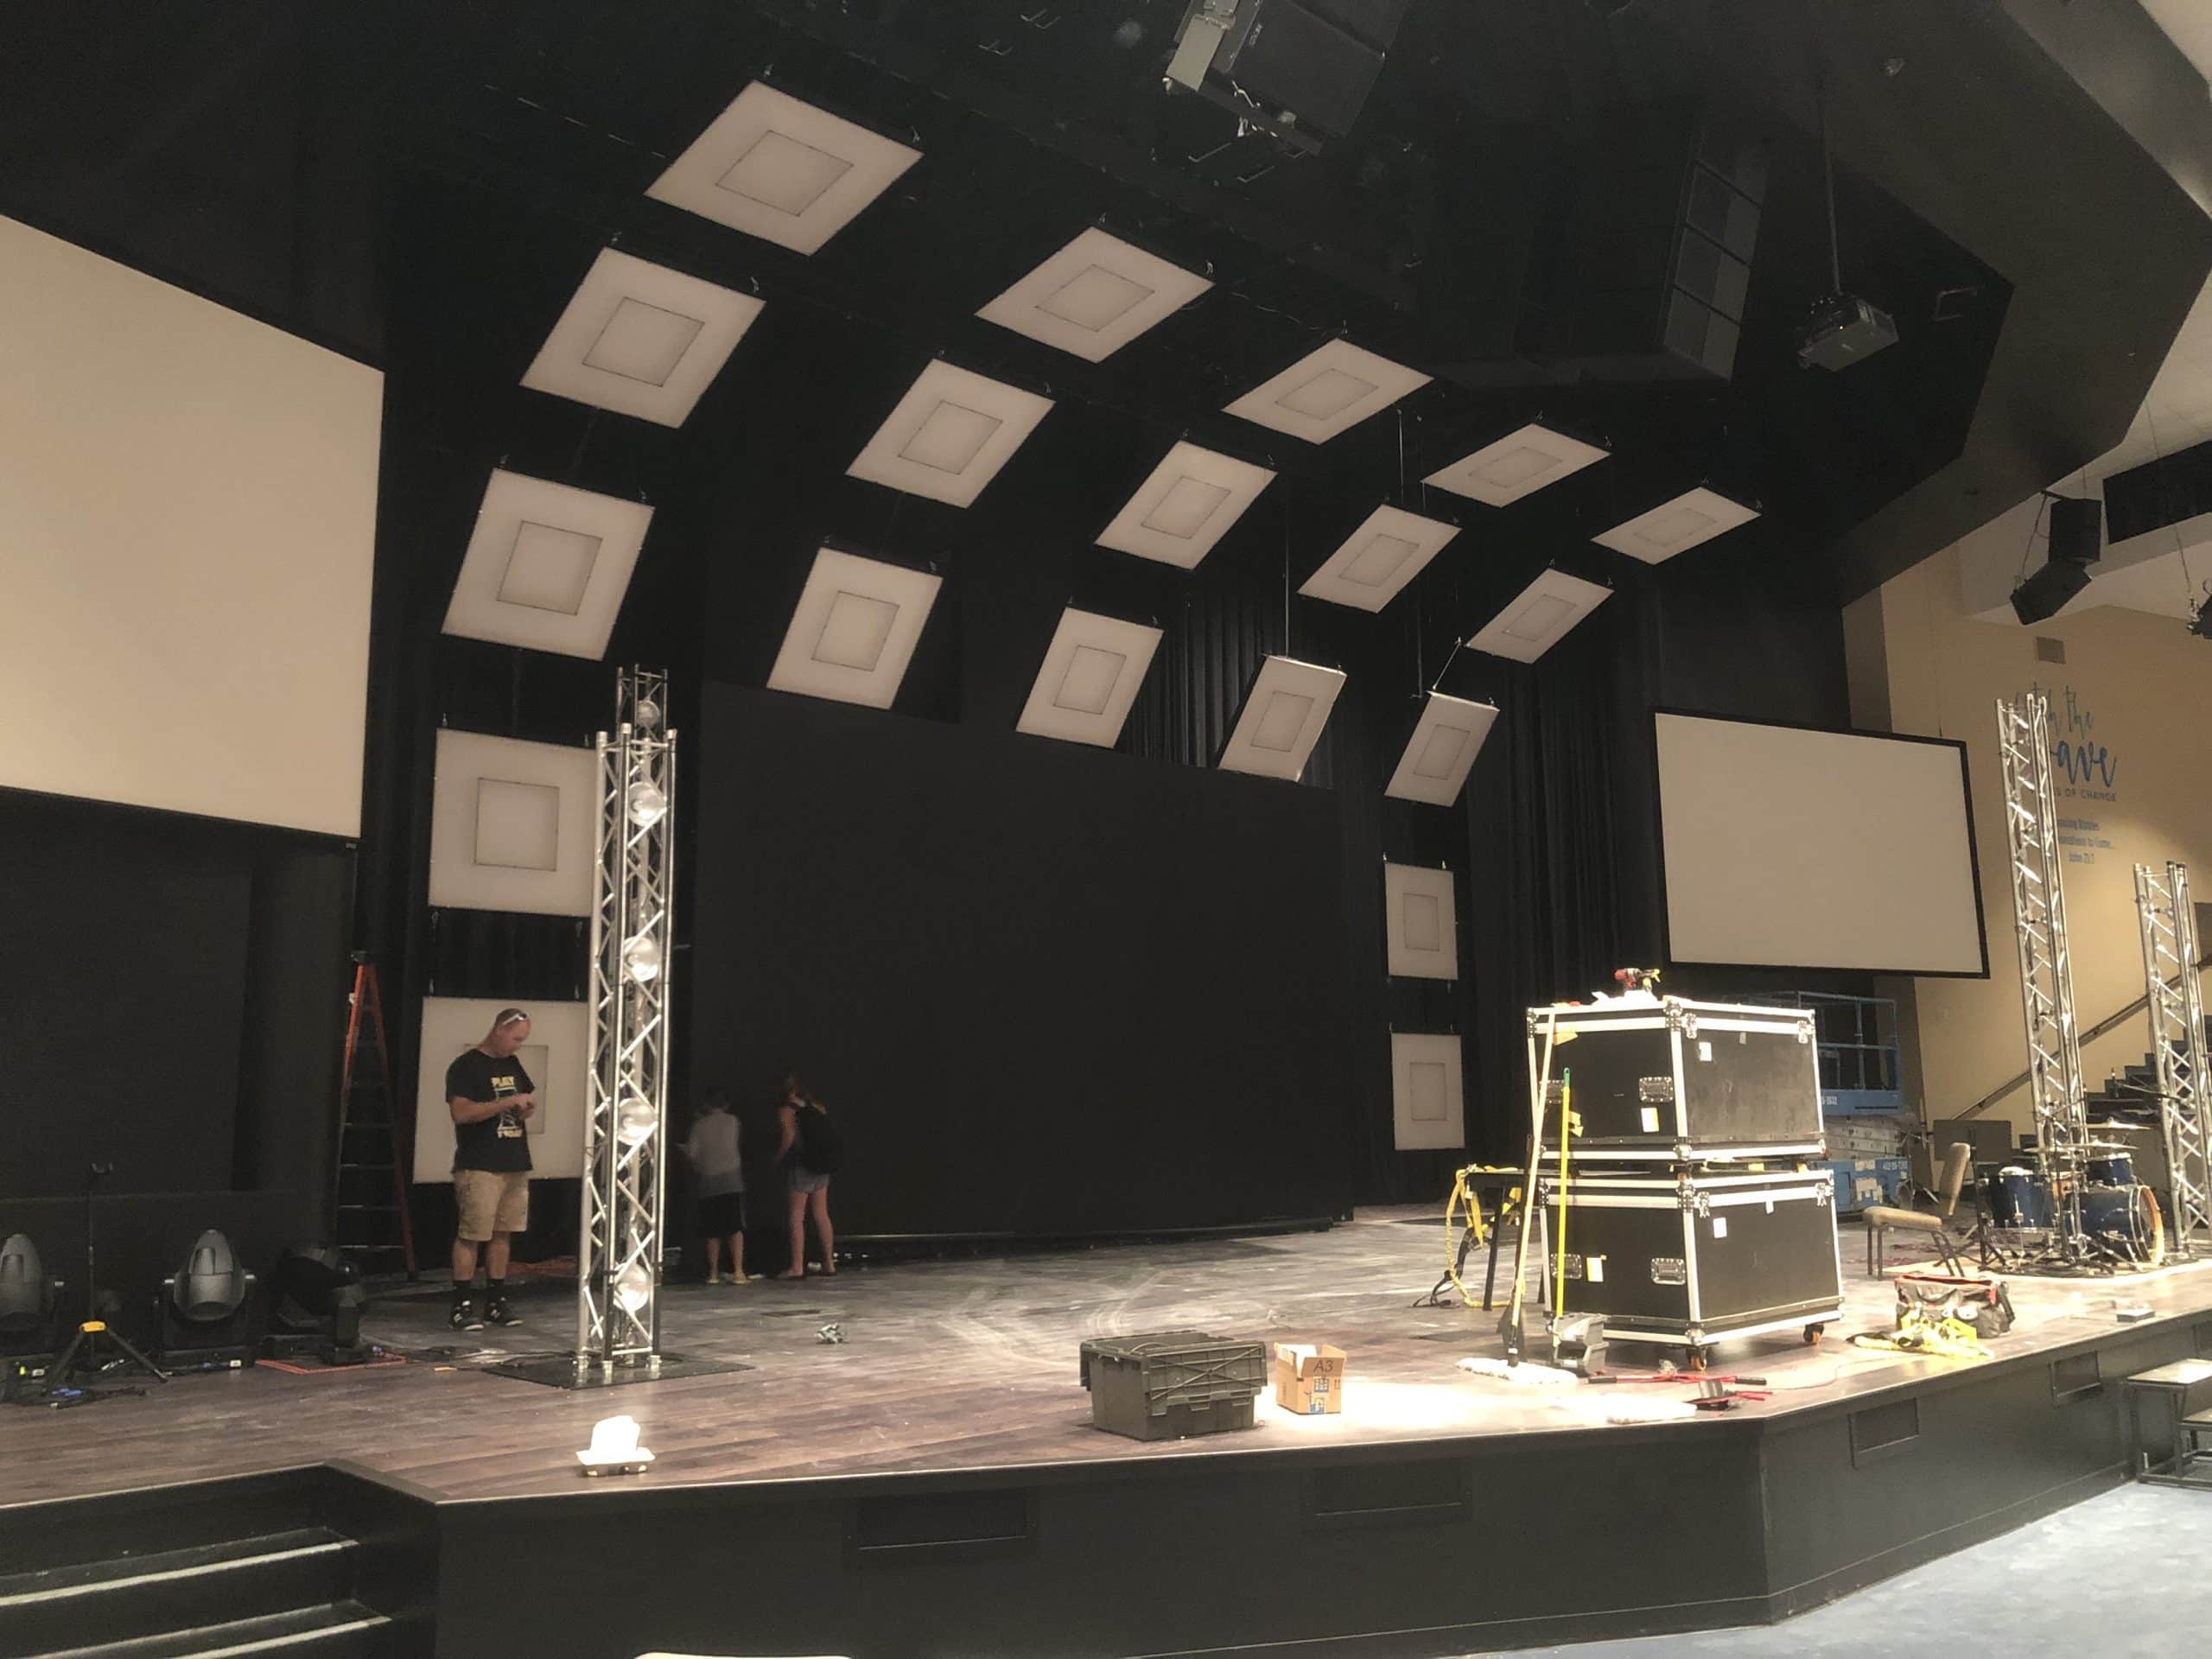
From Jimmy: At the beginning of the new school year, we usually try to implement a new stage design. This year I wanted to feel like the stage had movement; to feel like an immersive experience. So after working through a few interpretations of what I was thinking, we finally settled on this organic wave shape created from rigid/aligned squares. It felt like a nice juxtaposition of organic and structured. I did the final design in Google Sketchup to get all the dimensions because we would be working with an added x axis, instead of just the normal y and z axis.
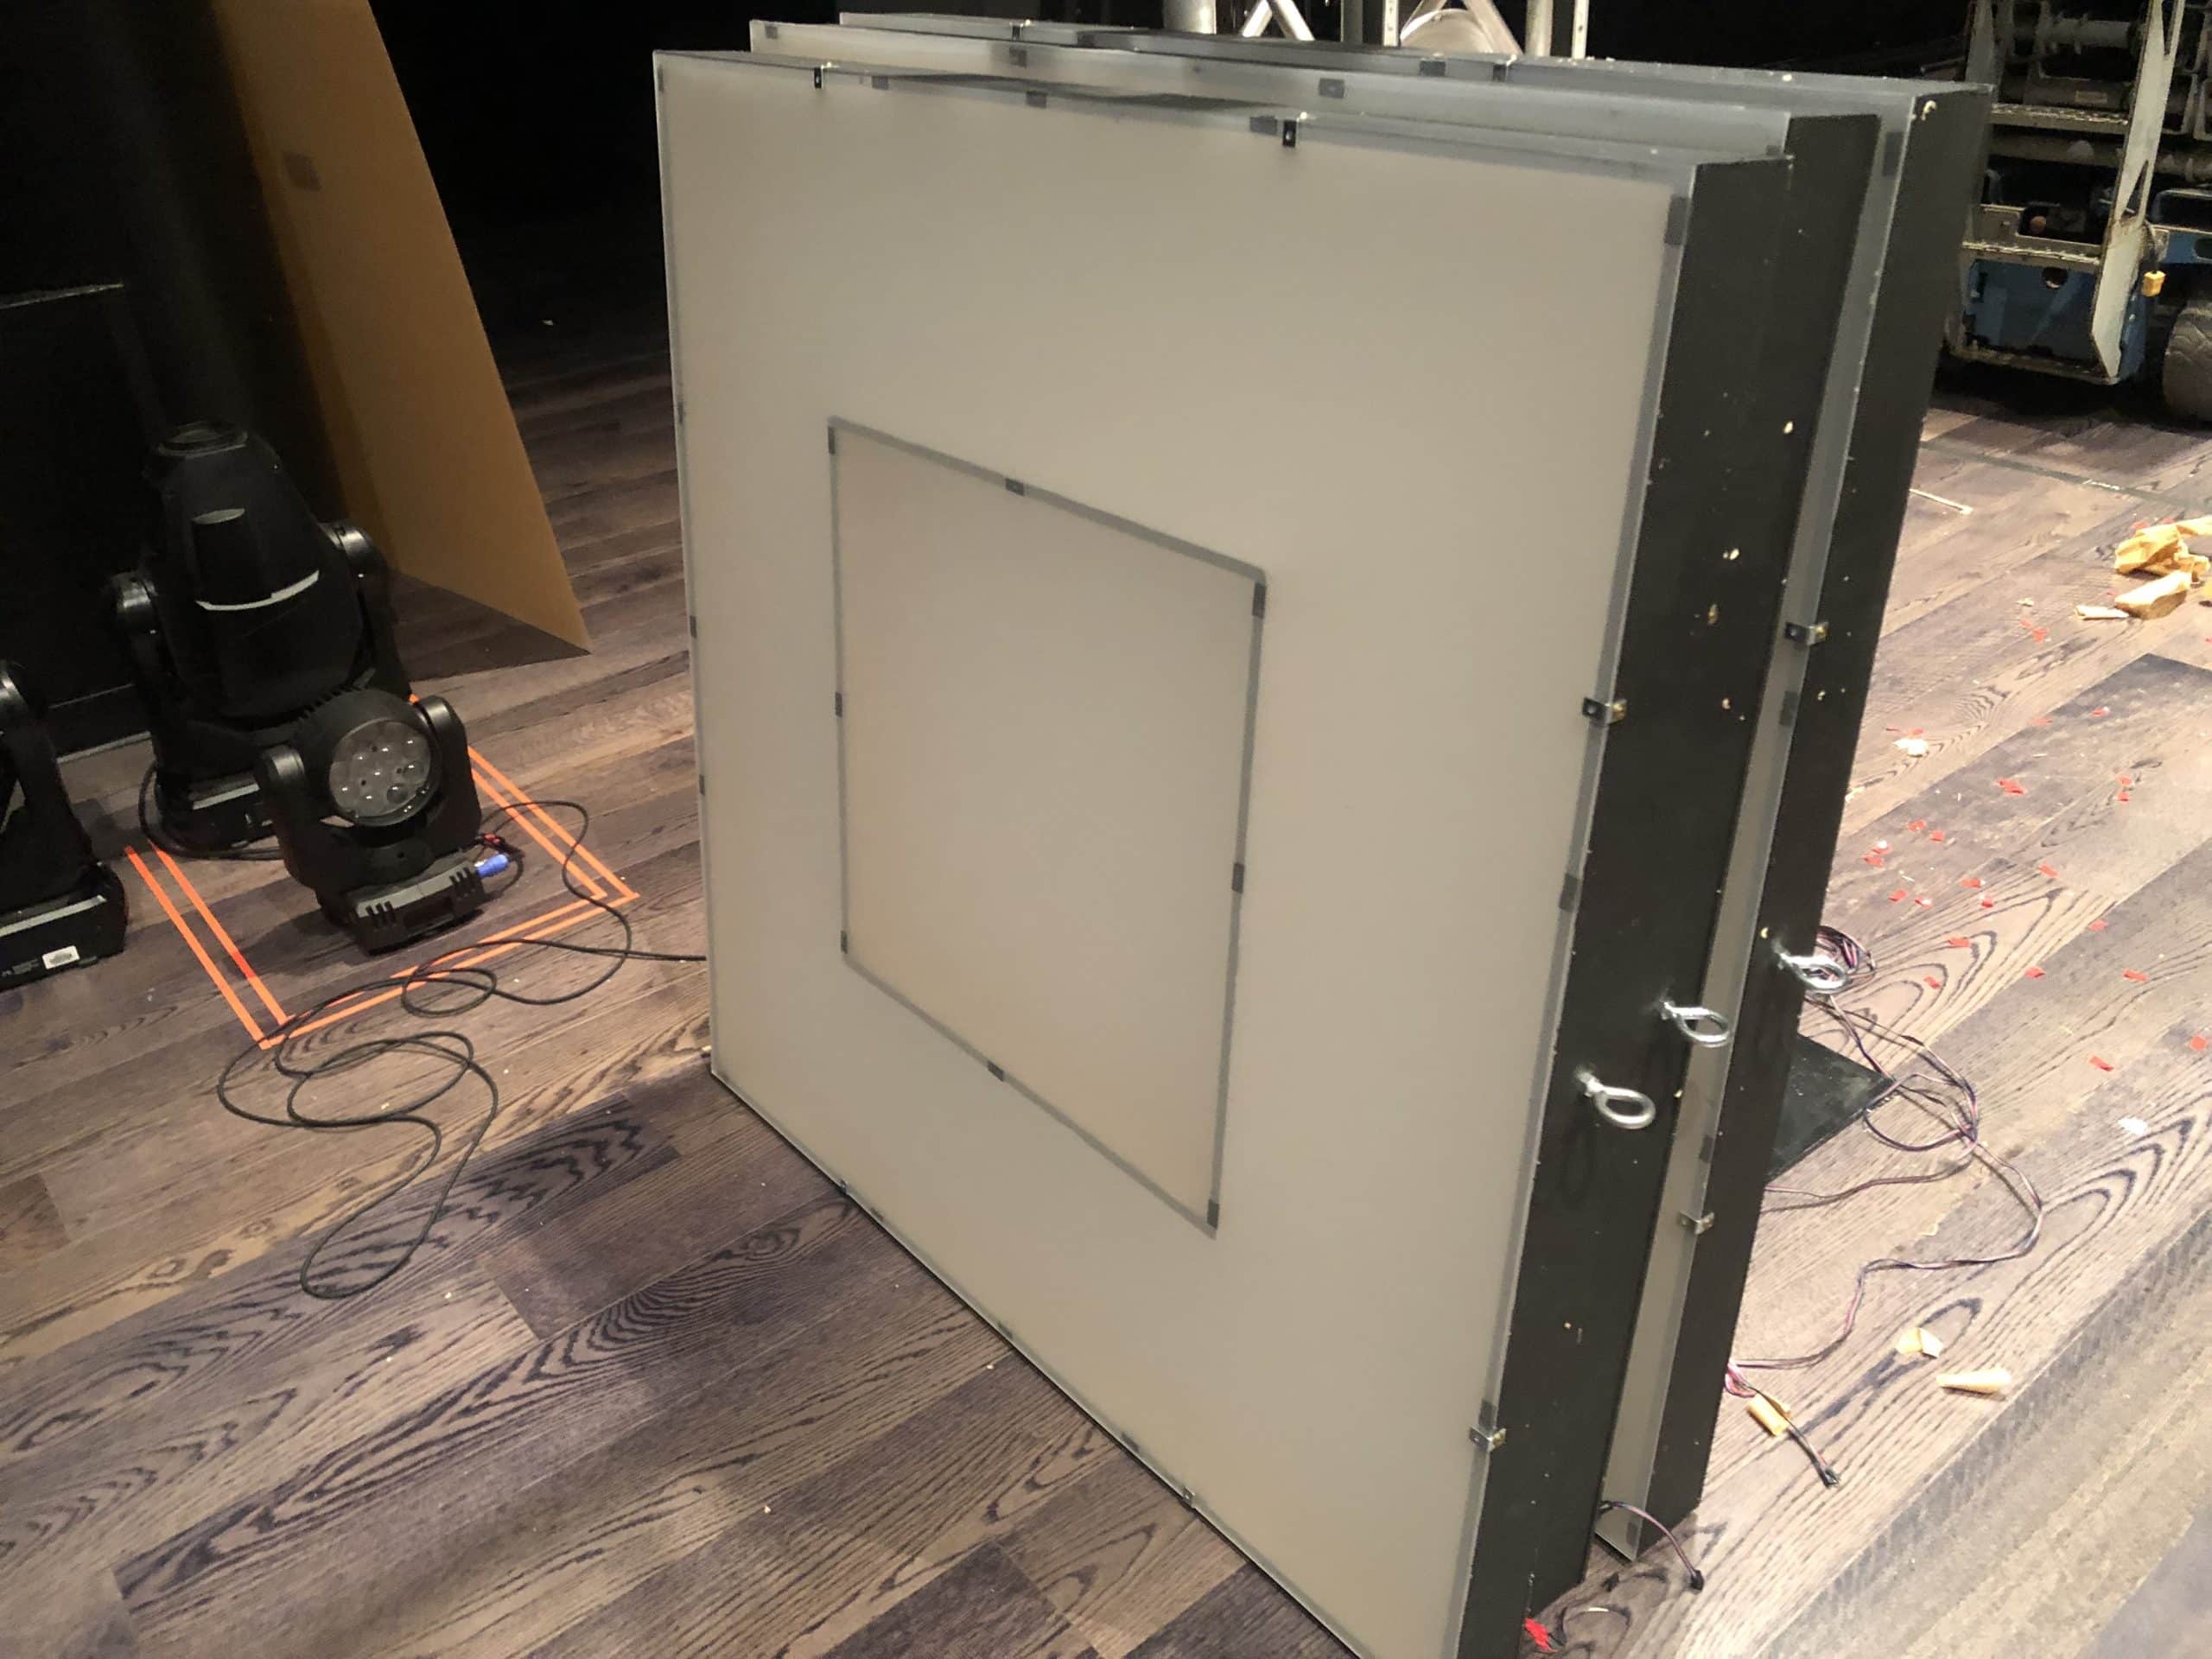
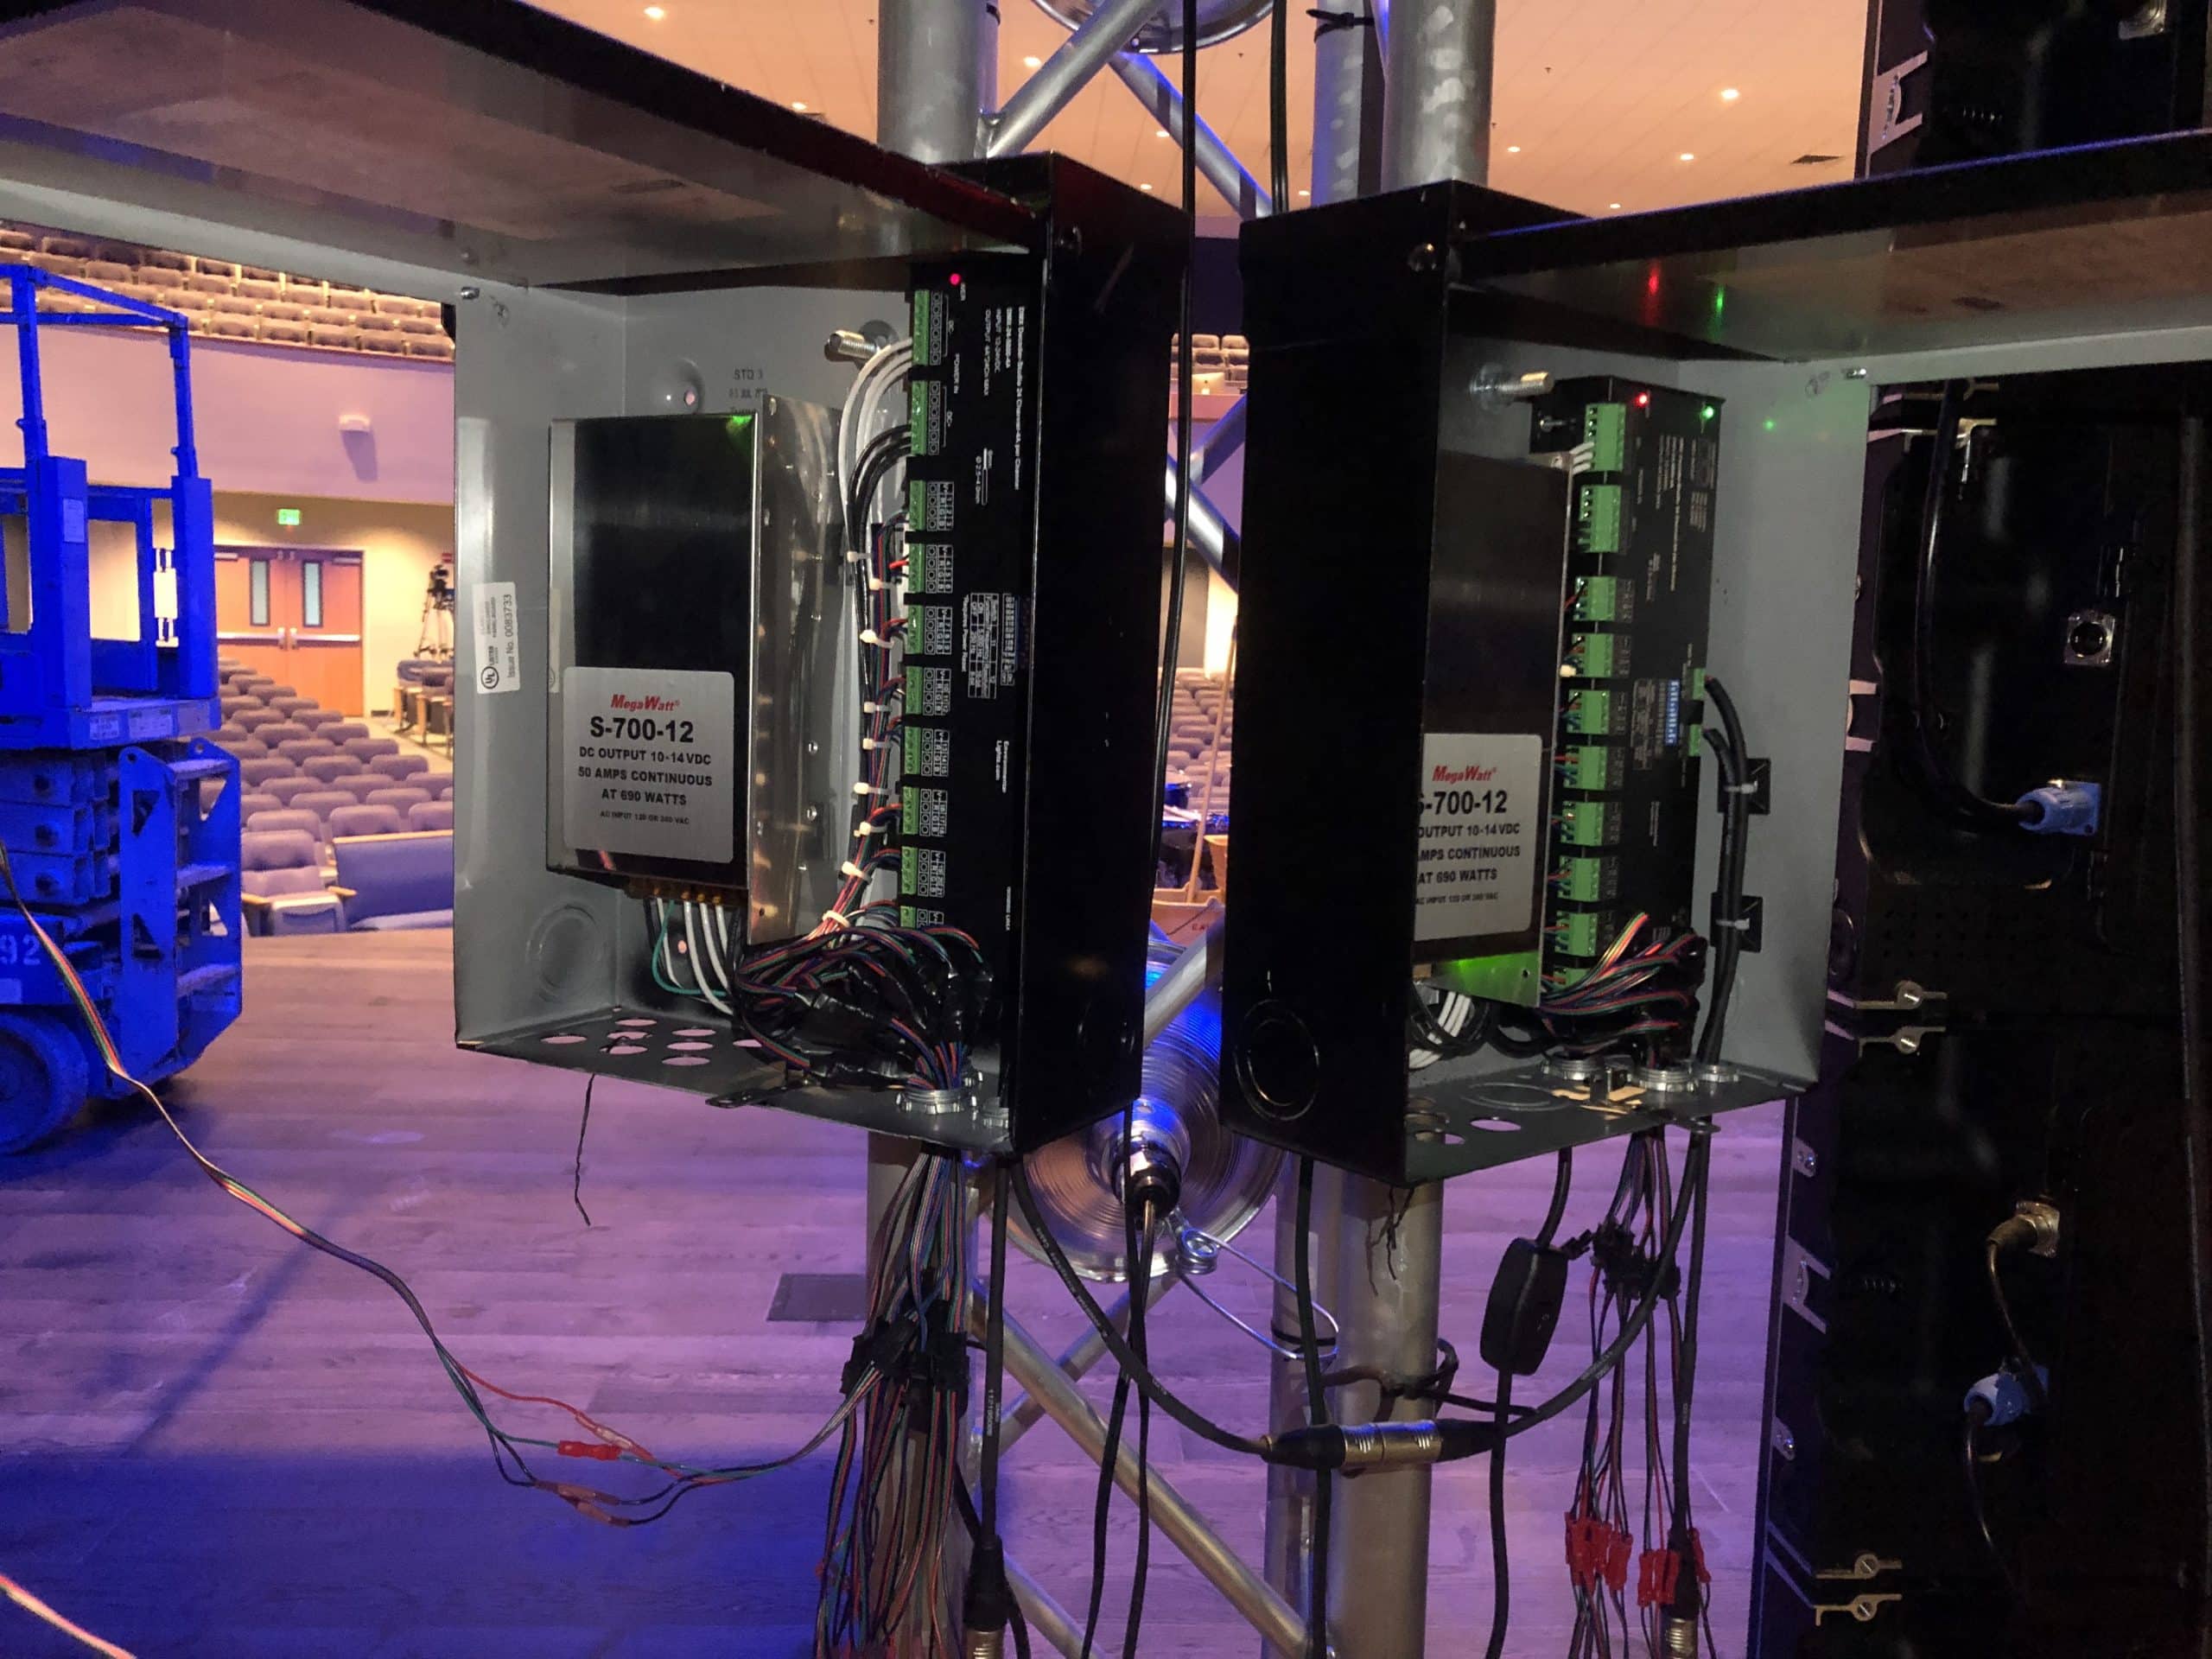
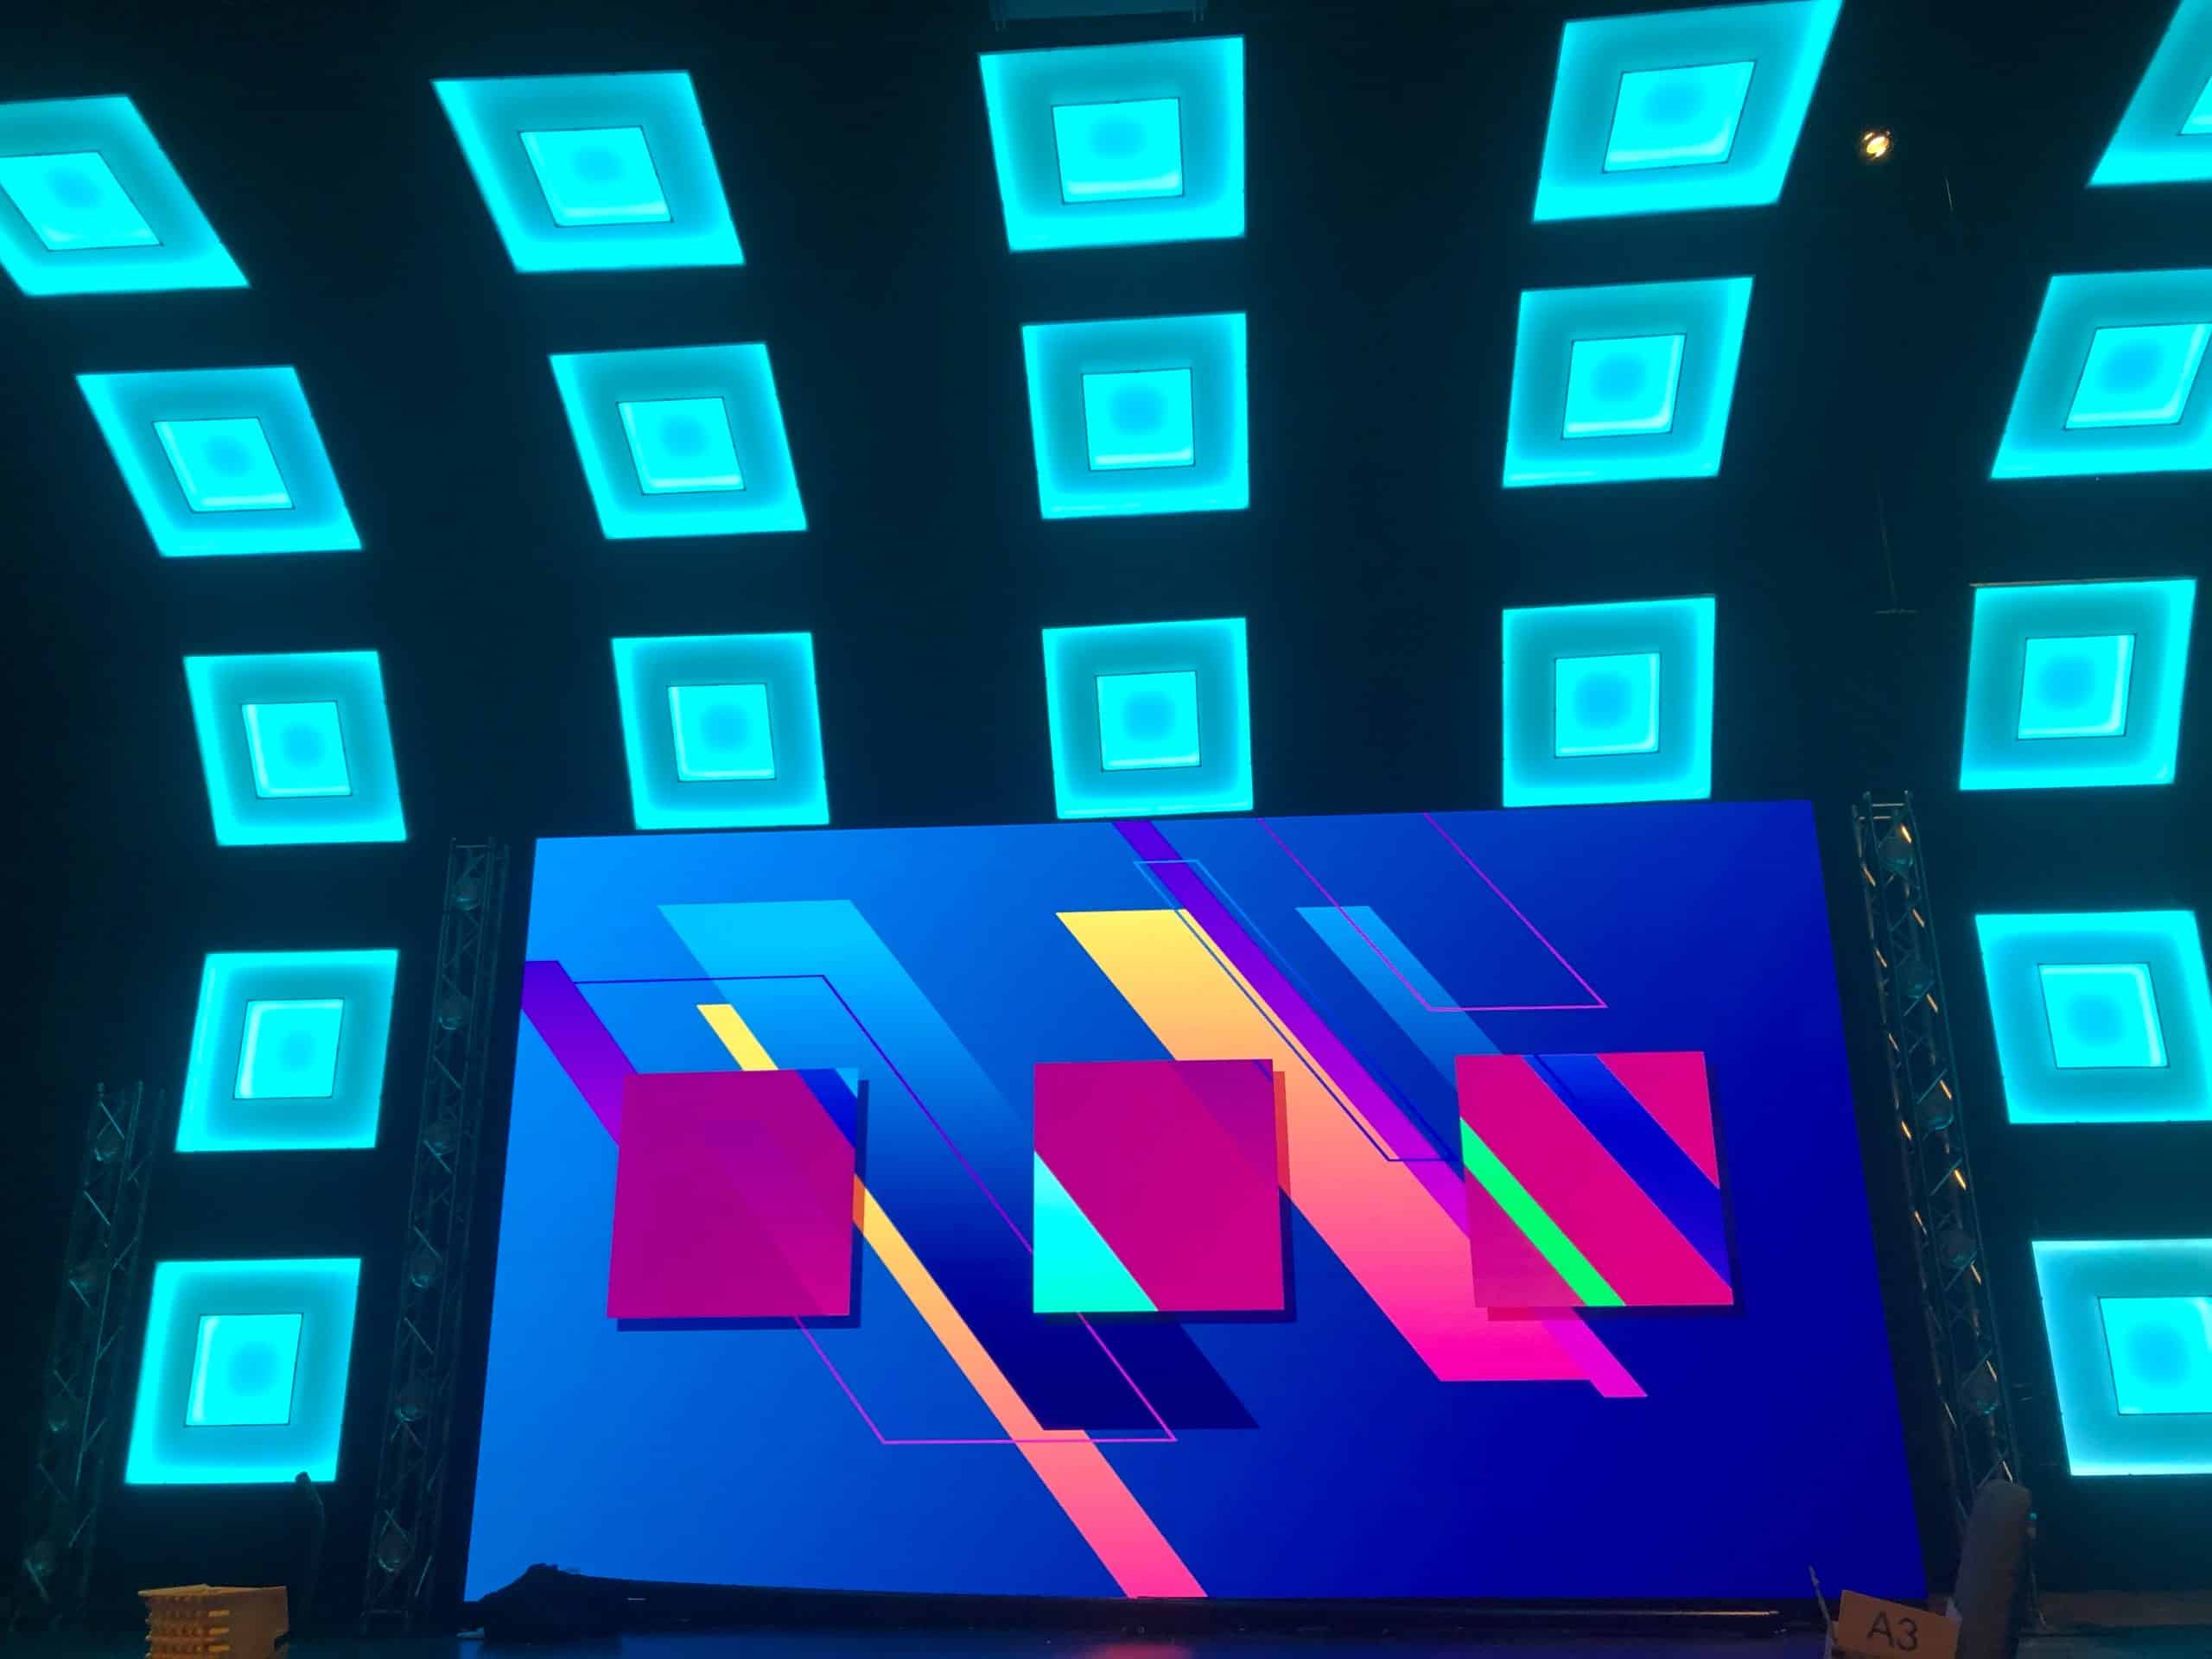
Once we determined the design, and knew we were going to use LED lit squares, our Lead Production Tech, Jake Sharpe, had a great idea to put a square inside of a square. Each square would be individually addressed, so the outer square could be a different color than the inner square. We used DMX decoders (from Environmental Lights) to connect the LED dumb strips to our lighting console. Jake then created some power/control boxes for the decoders and power transformers. They are fitted with pigtails, and look clean and professional. But they’re also very easy to use and easy to install on truss.
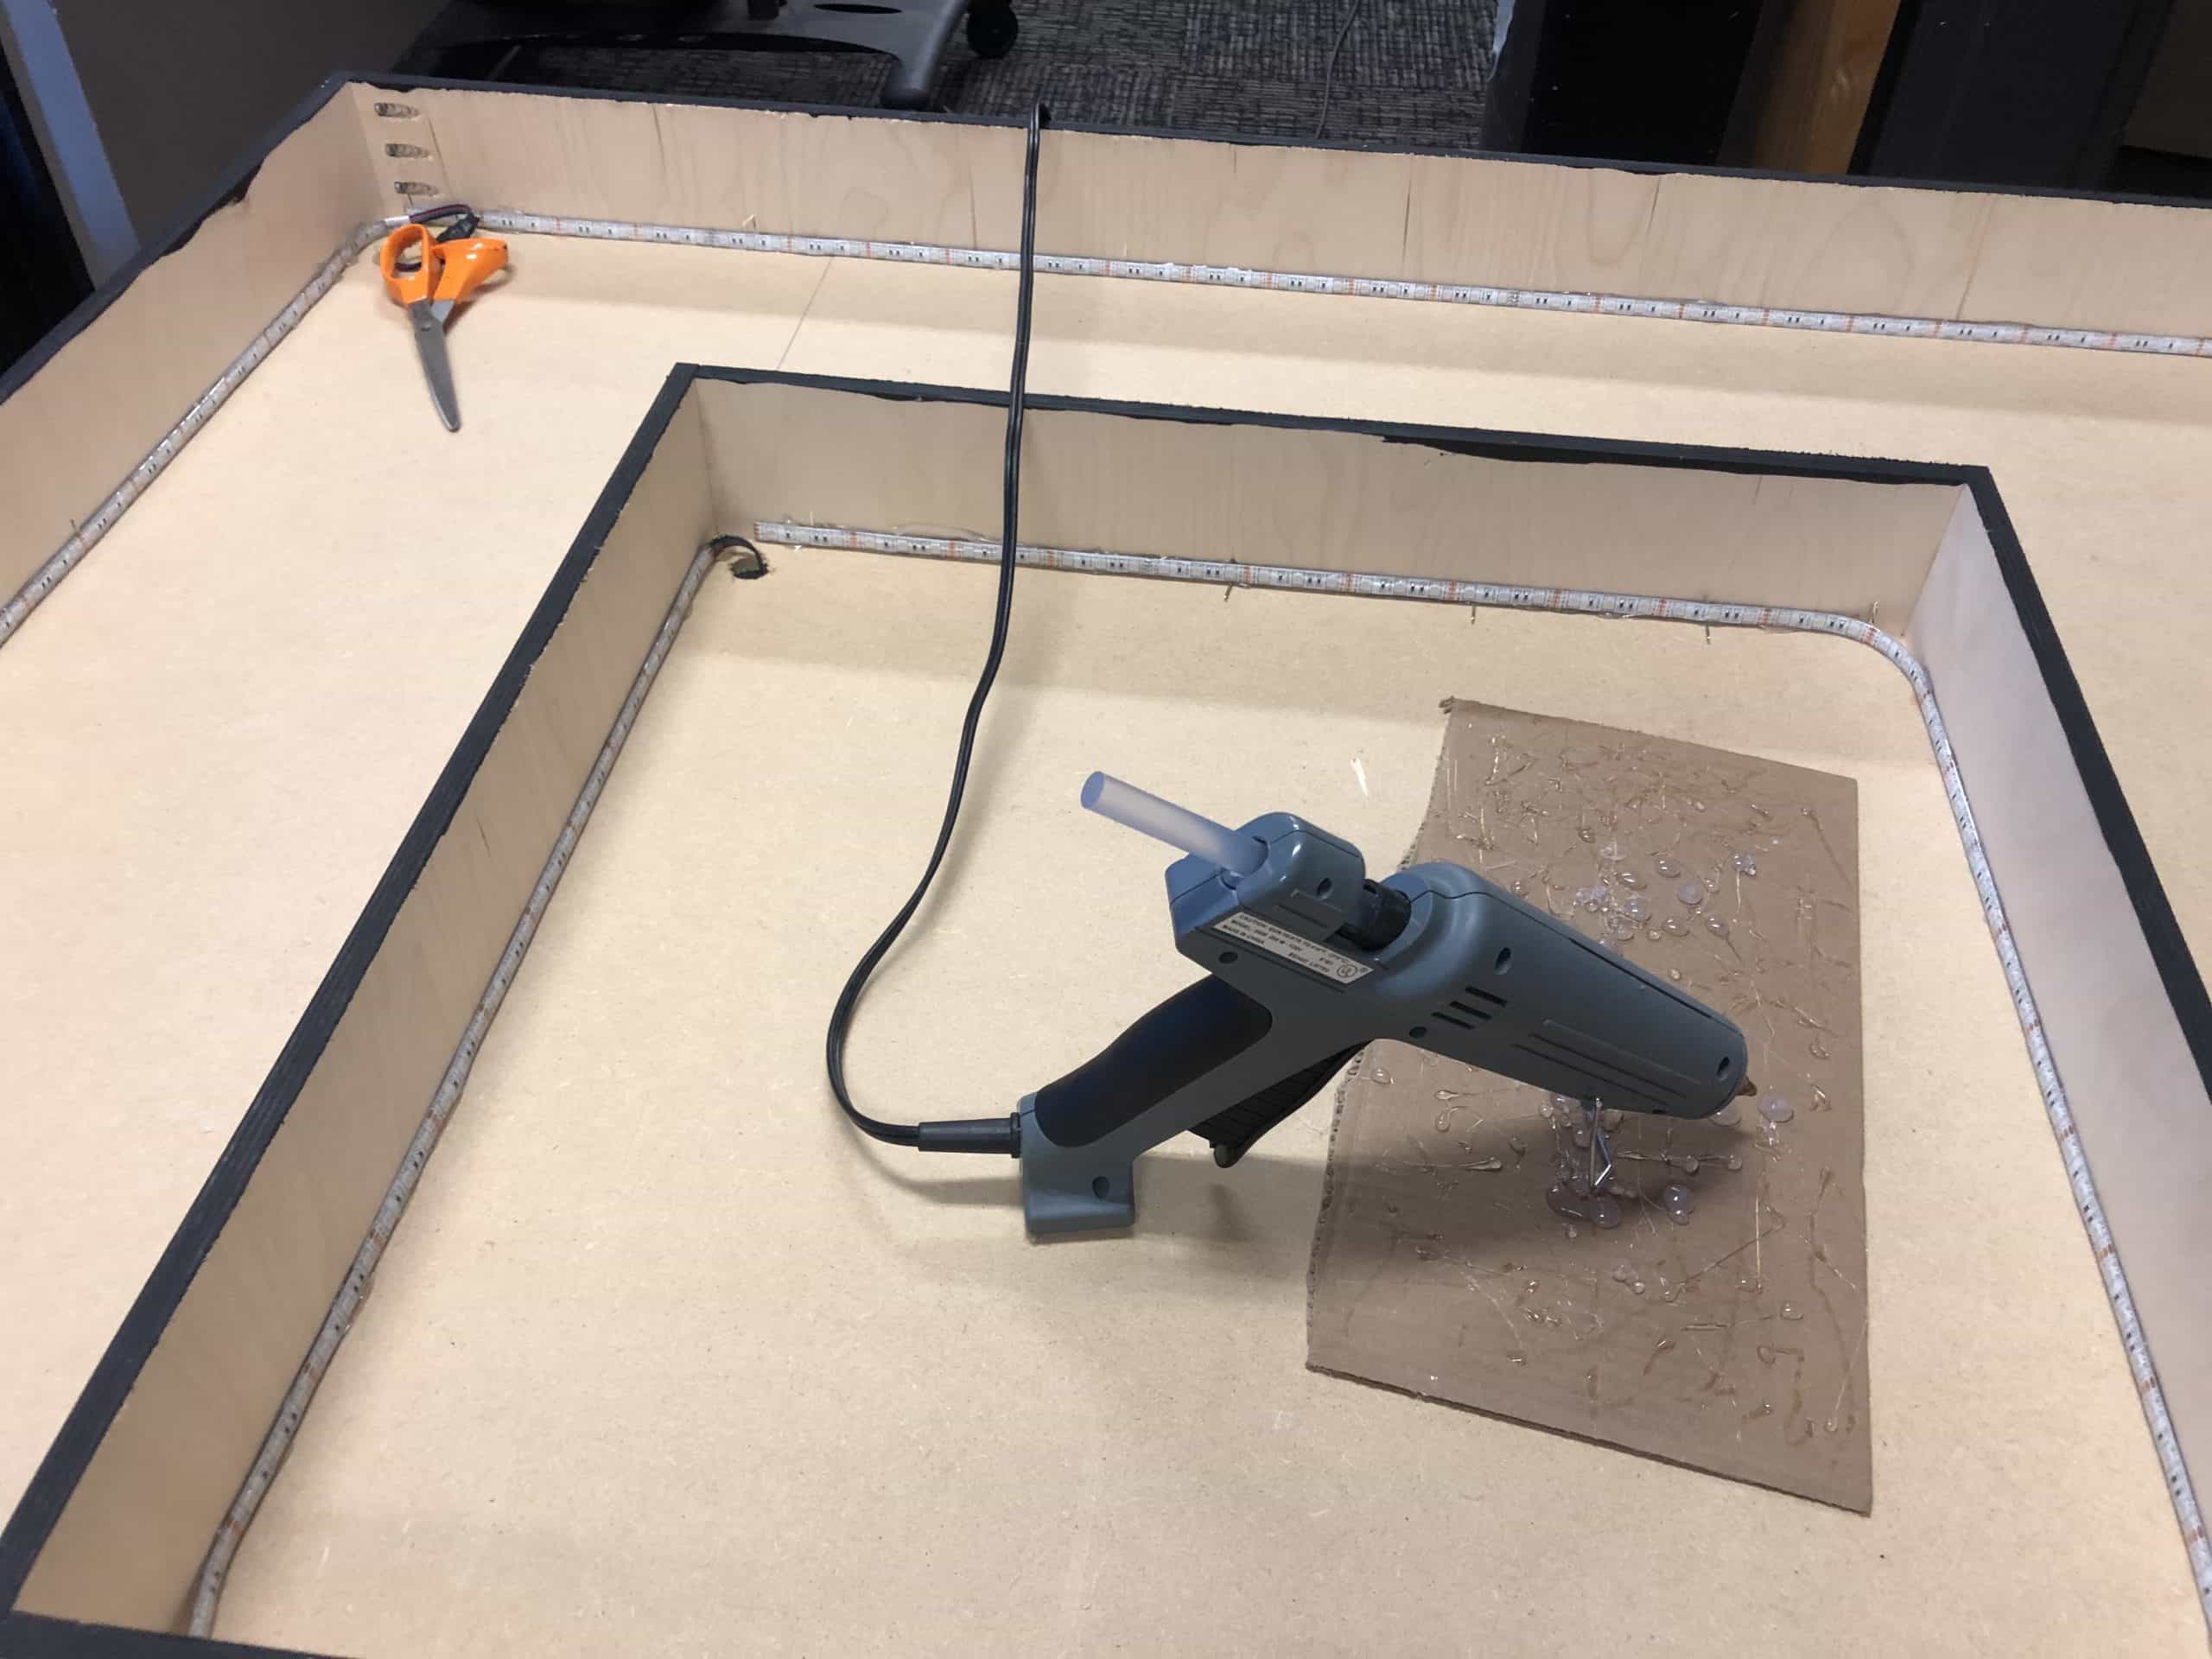
We created all the square frames from 1/2″ baltic birch plywood, and used pocket holes for fastening. The overall dimensions of the squares are 48″x48″ by 3 1/2″ deep. The inner square was 24″ OA by the same depth. We used a 48″x48″ piece of 1/4″ MDF for the back. We glued and stapled the back in place. The inside of the boxes are painted white for reflectivity (pro tip: paint the boxes white before installing the LED strips…we did not…) and the LED strips are hot glued to the inside of each square.
On the front of the squares, we used frosted 1/8″ plexiglass and then a layer of window frosting film from Home Depot. The plexiglass by itself didn’t soften the LED enough, so we needed to use the extra film. We attached the film before installing the plexiglass on the box. Then we used doubled side tape (Scotch VHB double sided mounting tape) and 1″ corner braces from Home Depot to make sure we had something in place in case the tape would fail for some reason. The corner braces we attached to the outside of the plexiglass and box.
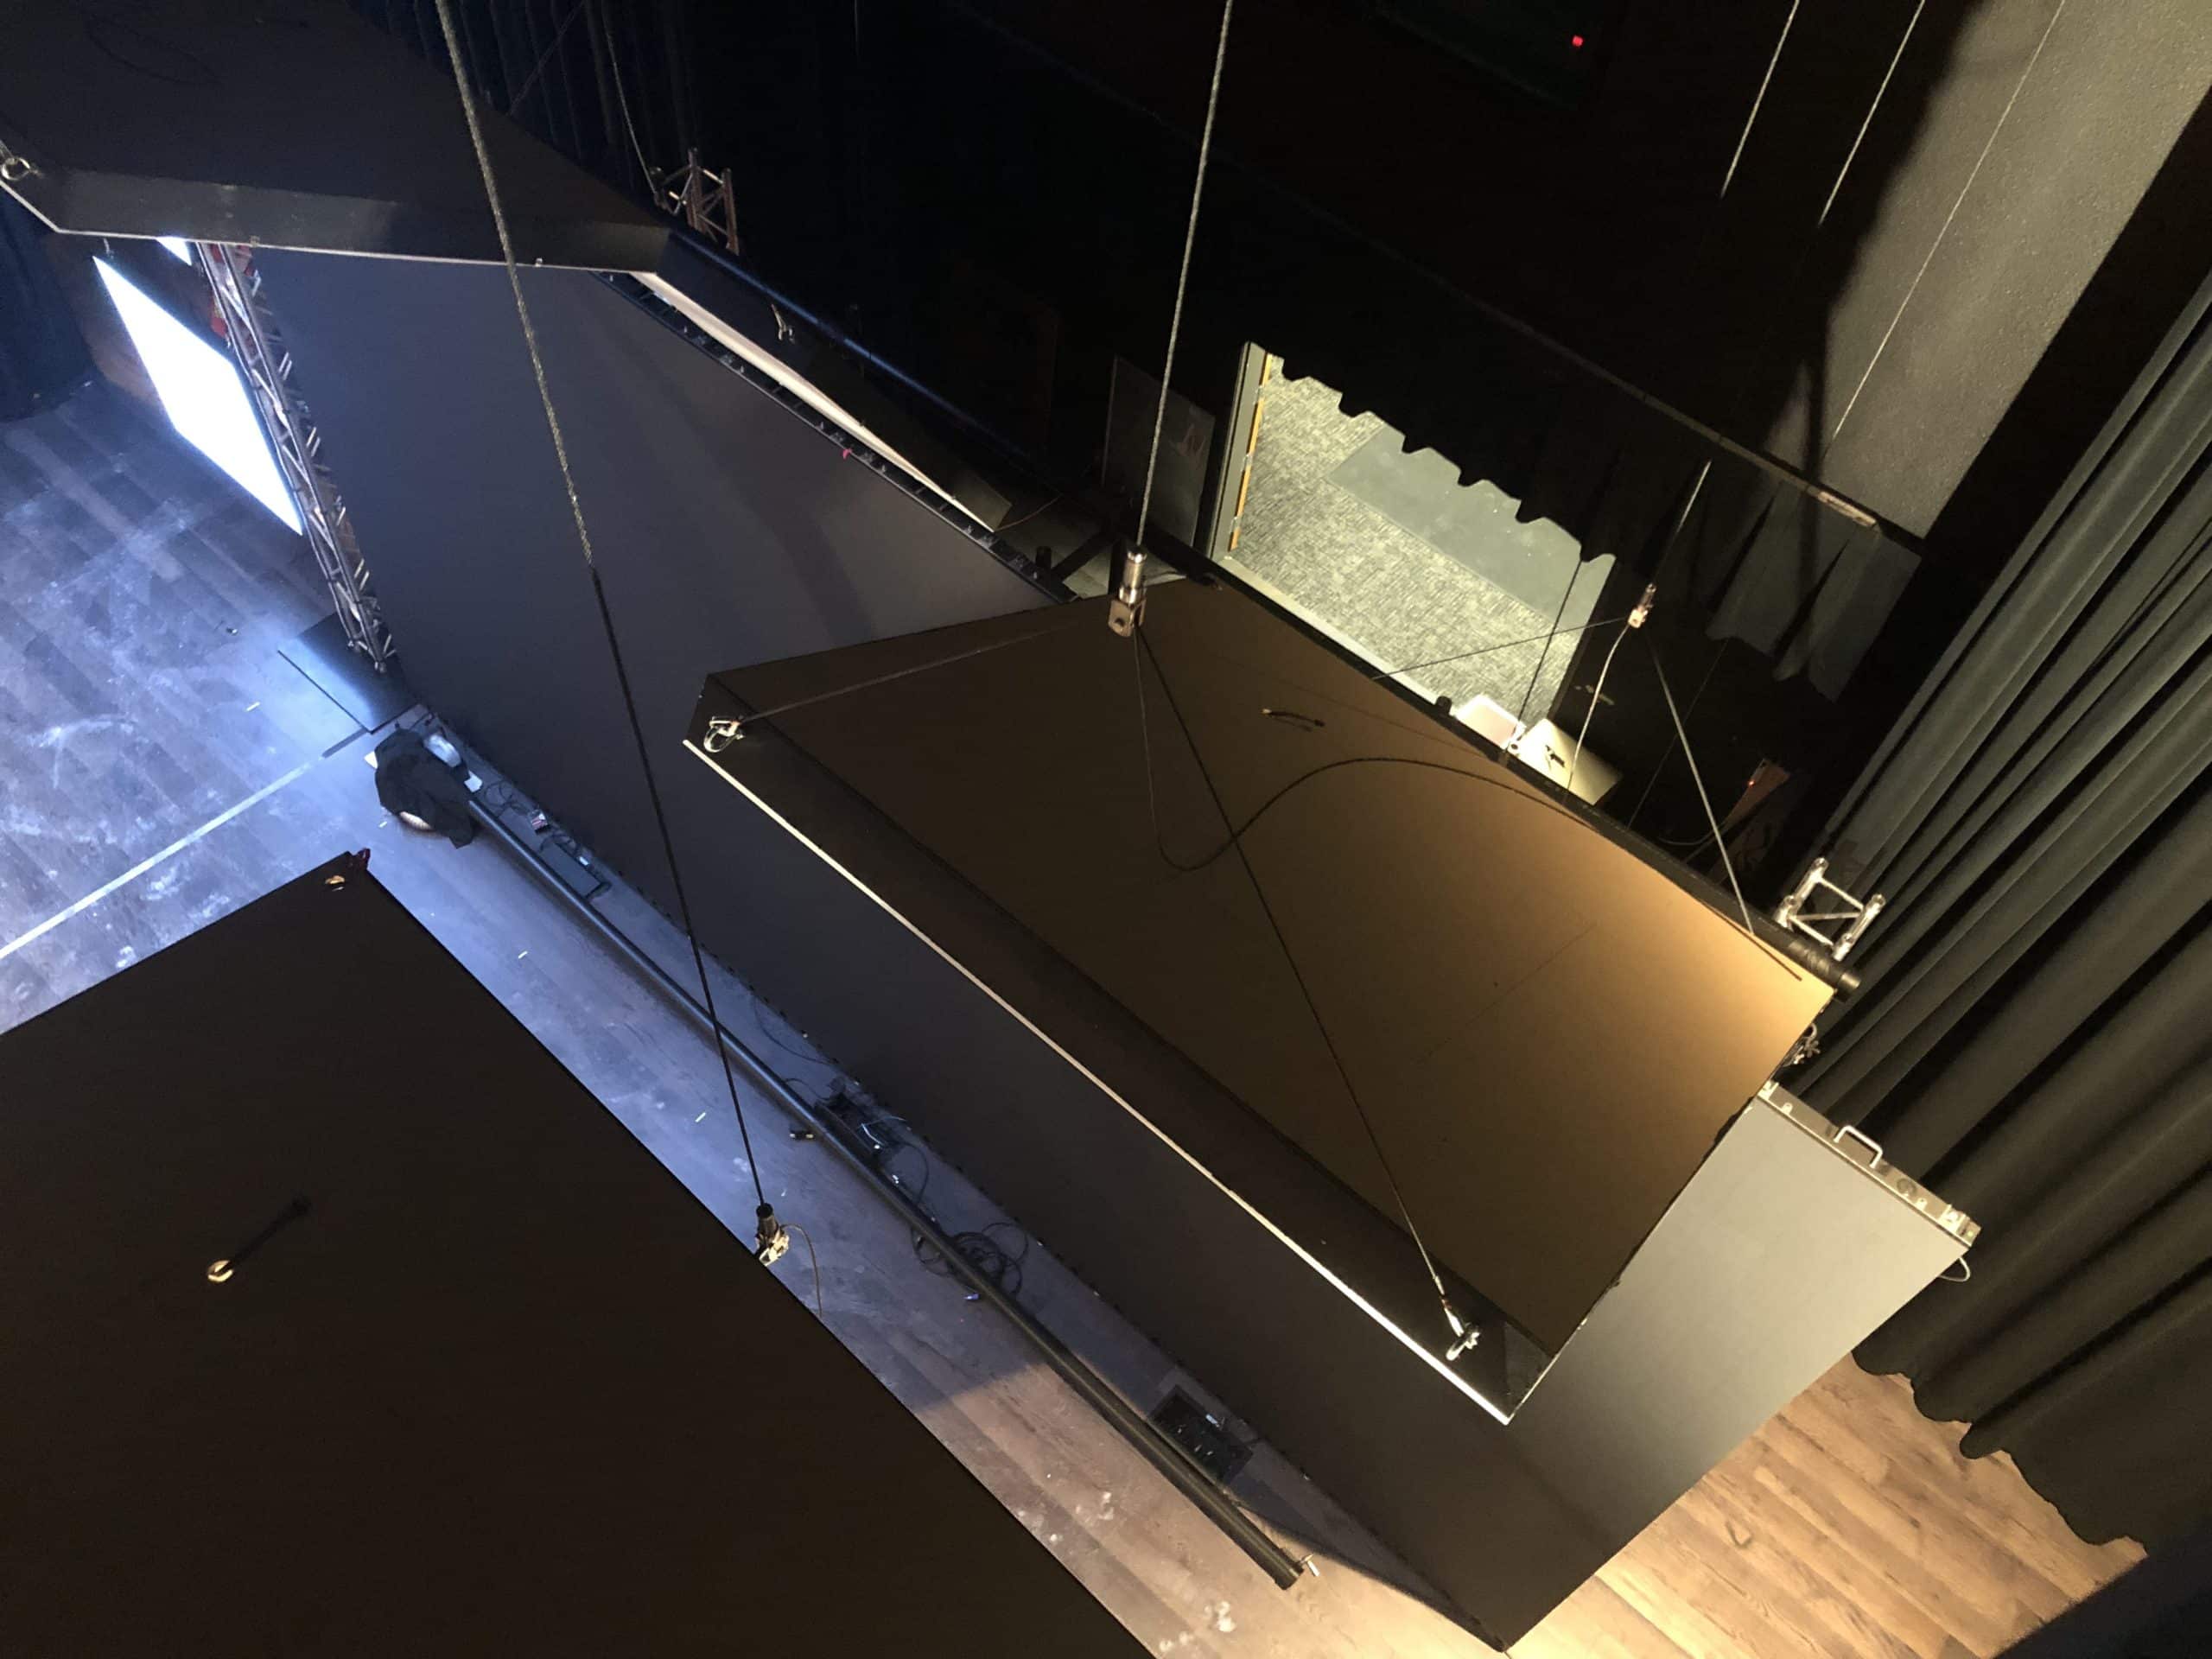
We flew all the boxes according to the design on 1/8″ aircraft cable and leveled everything using Grip Locks (in our case, the 30-FORK-10×20-V6-S). Making sure the squares were level and in plane with one another was the hardest part. But the effect is awesome.
This built cost us a little more than we typically like to spend, but the Grip Locks are cheap and neither is the plexi. We had most of the rigging stuff on hand, so that wasn’t a tremendous cost, but overall, we are very happy with it and it creates a really cool atmosphere and environment during worship and the sermon.


Leave a Reply
You must be logged in to post a comment.