



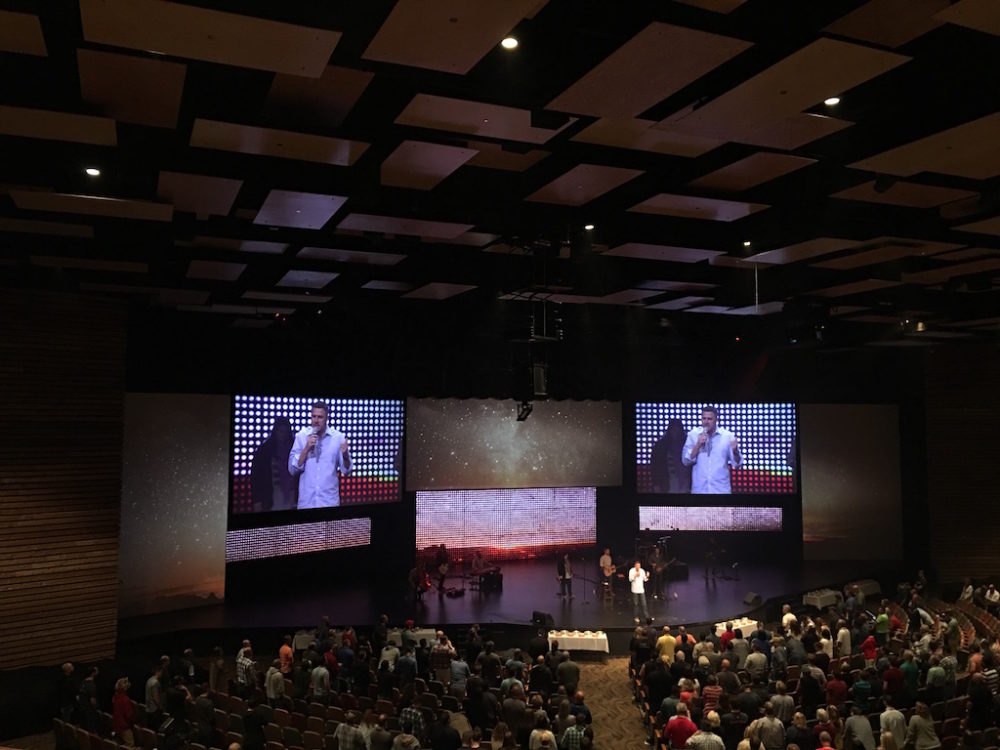
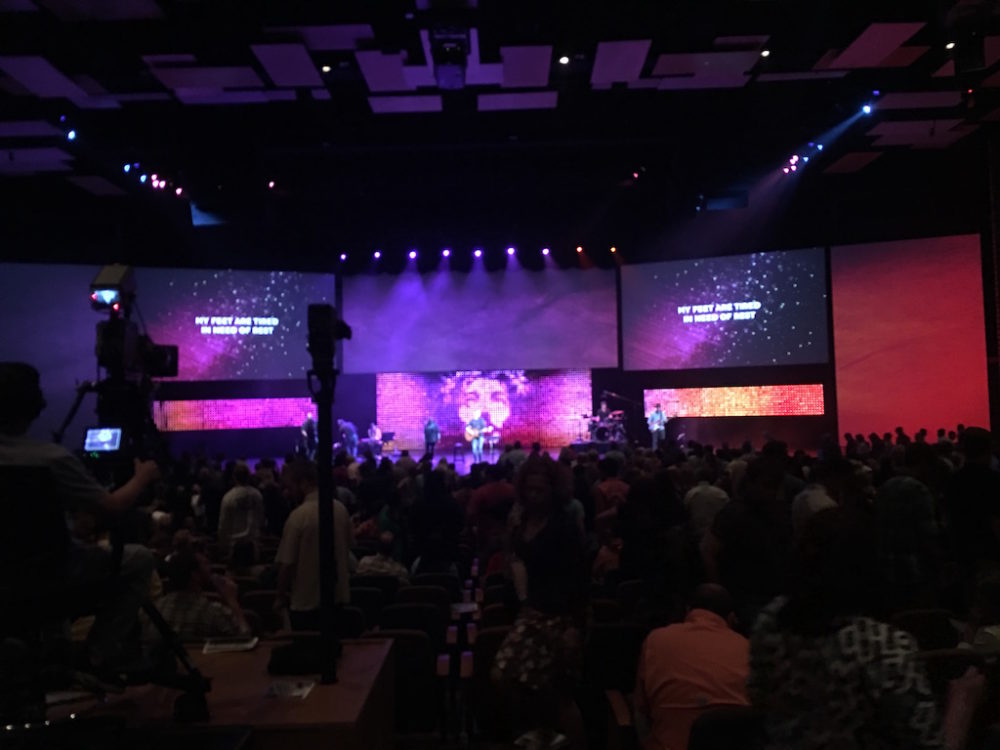
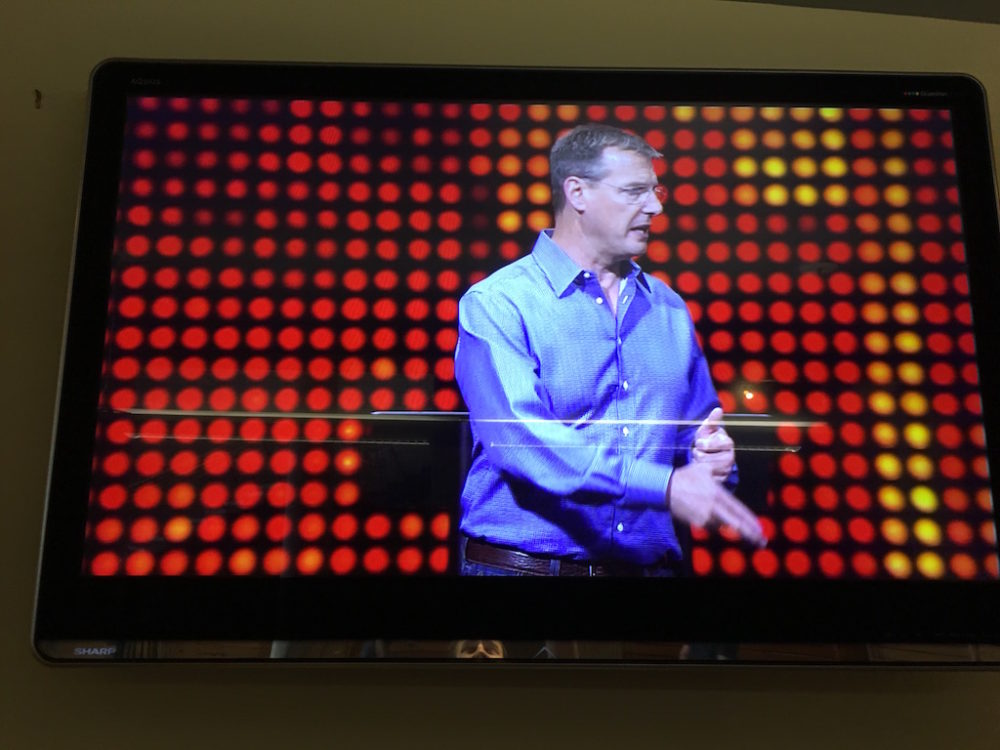
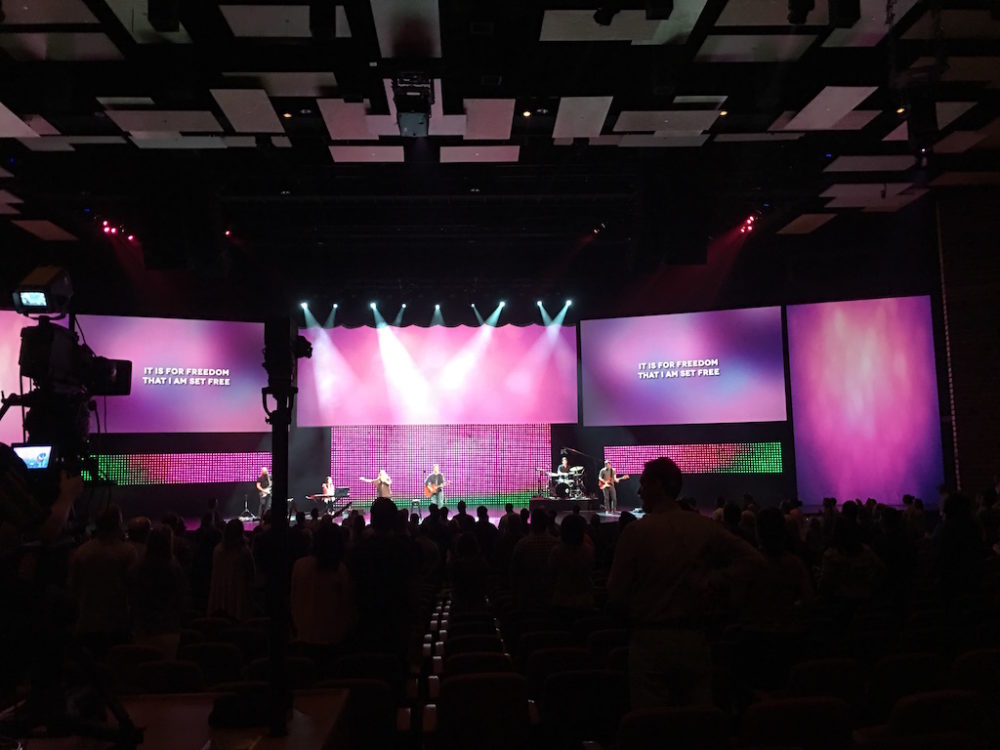
Matt Armstrong from Watermark Church in Dallas, TX brings us this stage “Lite Brite” out of around 7,000 water bottles and LEDs.
They made this fully functioning, low-resolution LED wall from 6,912 water bottles and WS2812 LEDs.
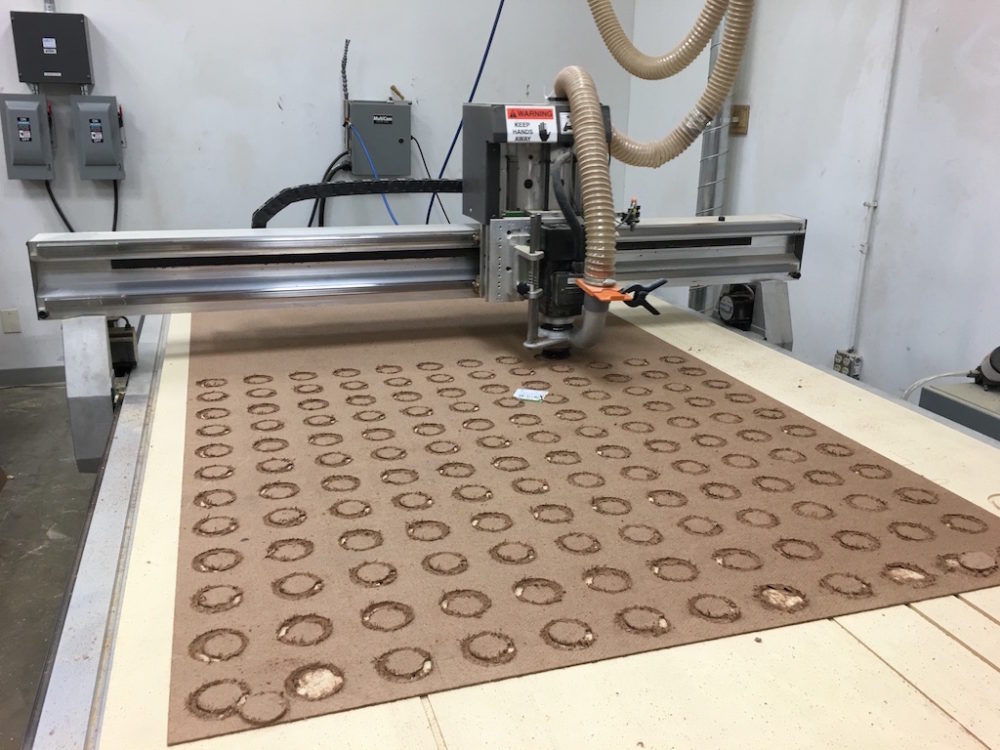
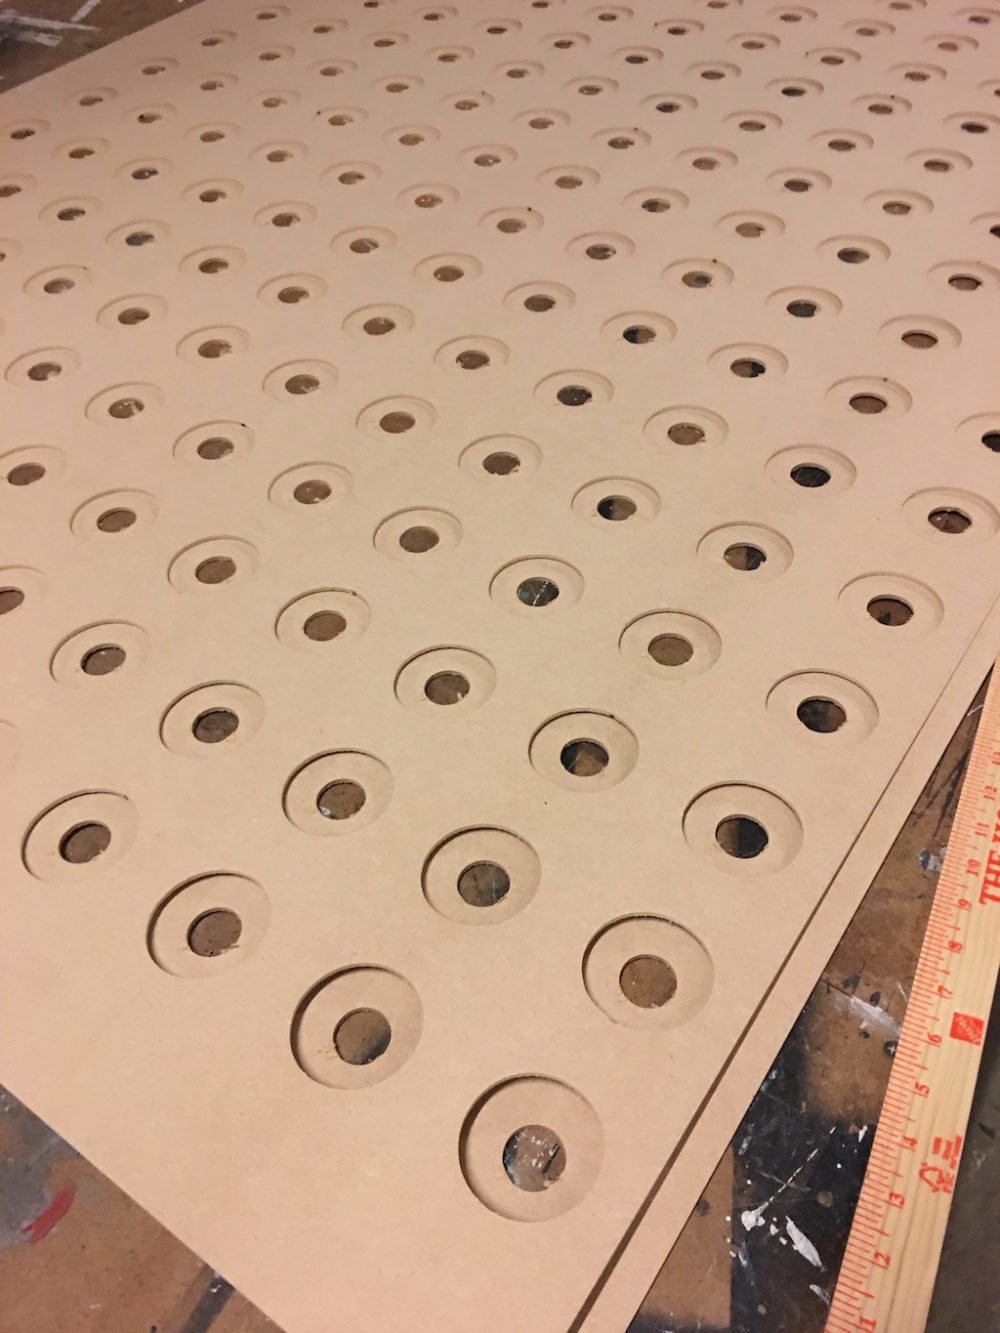
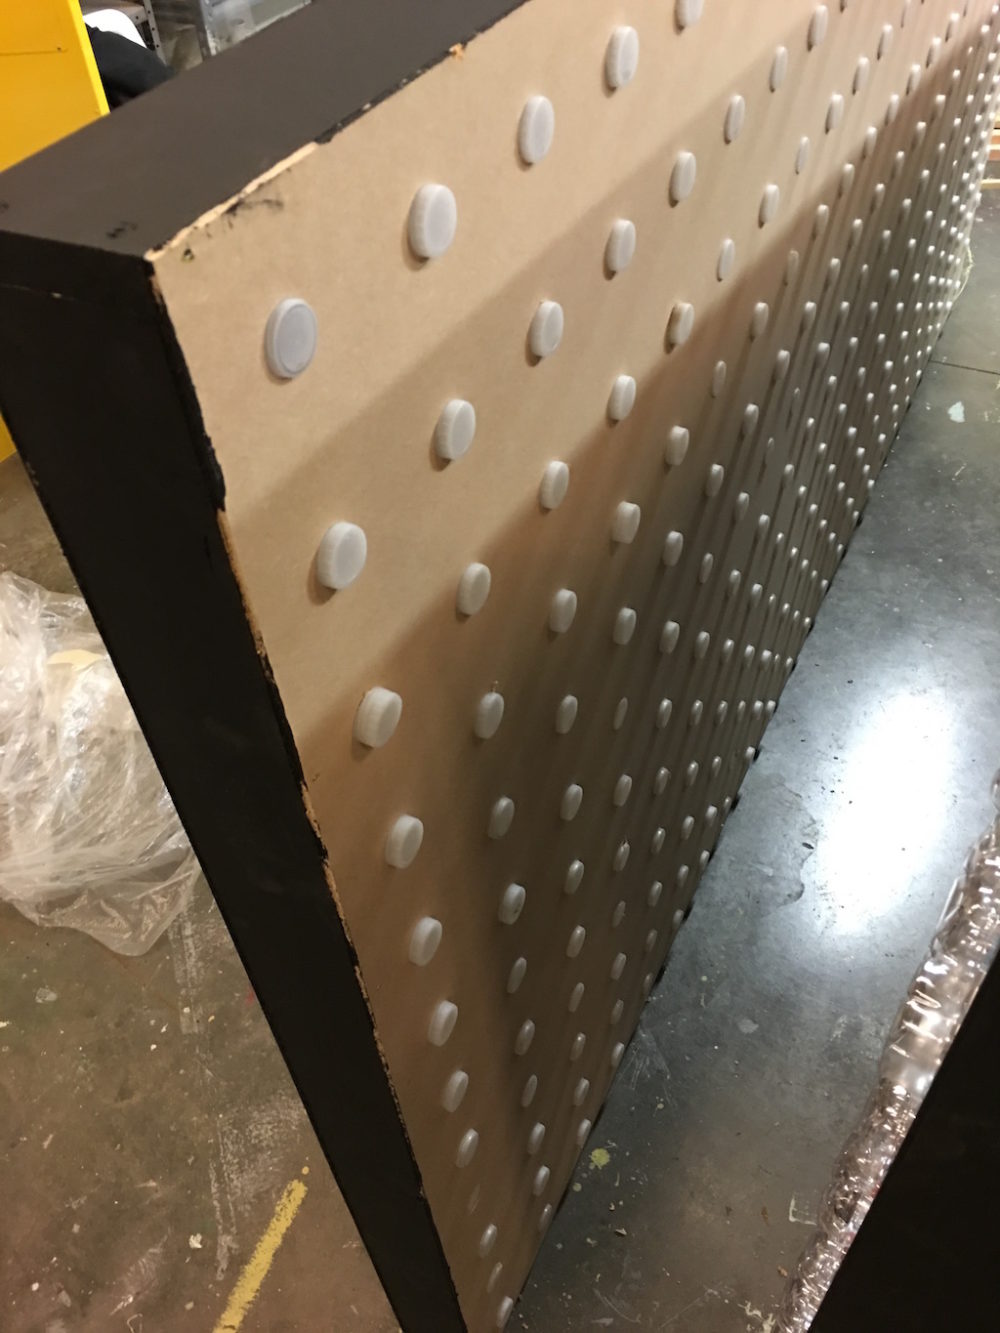
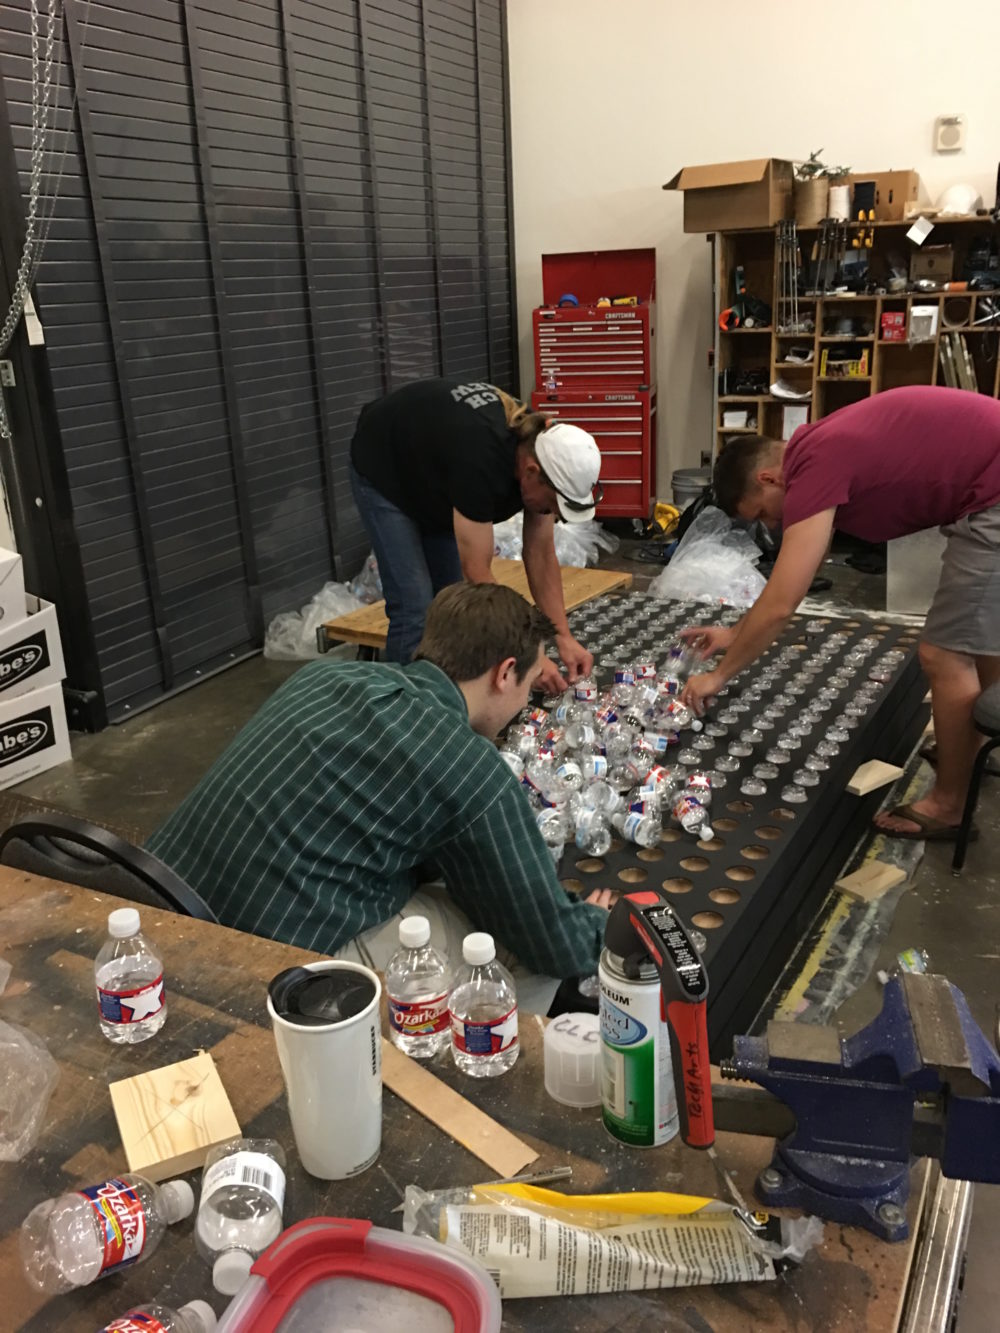
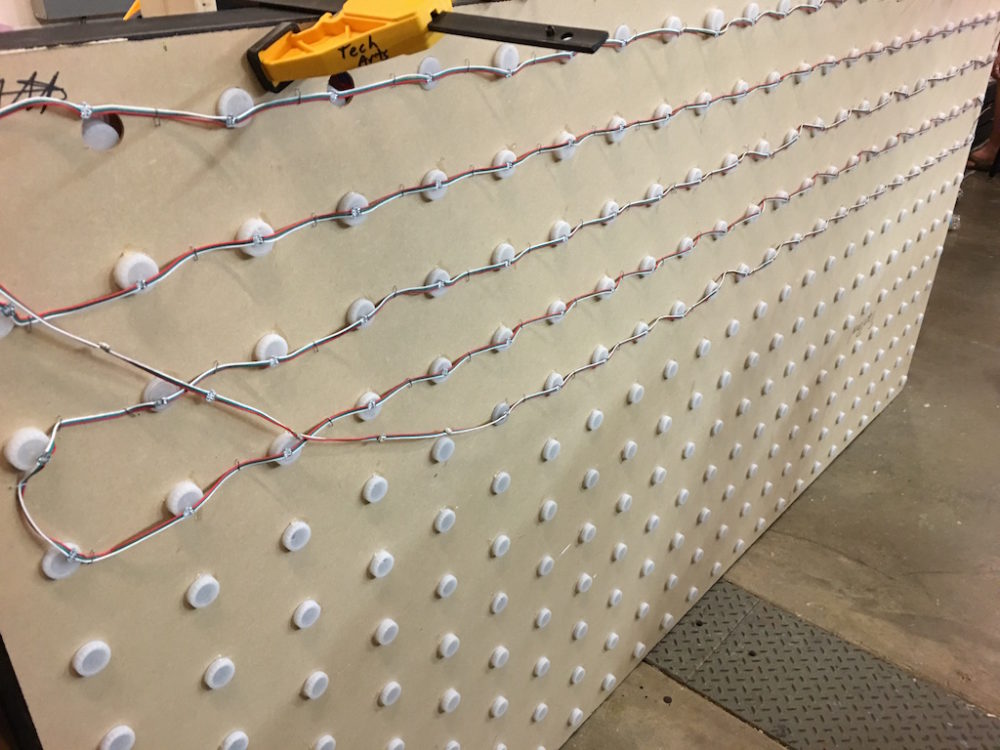
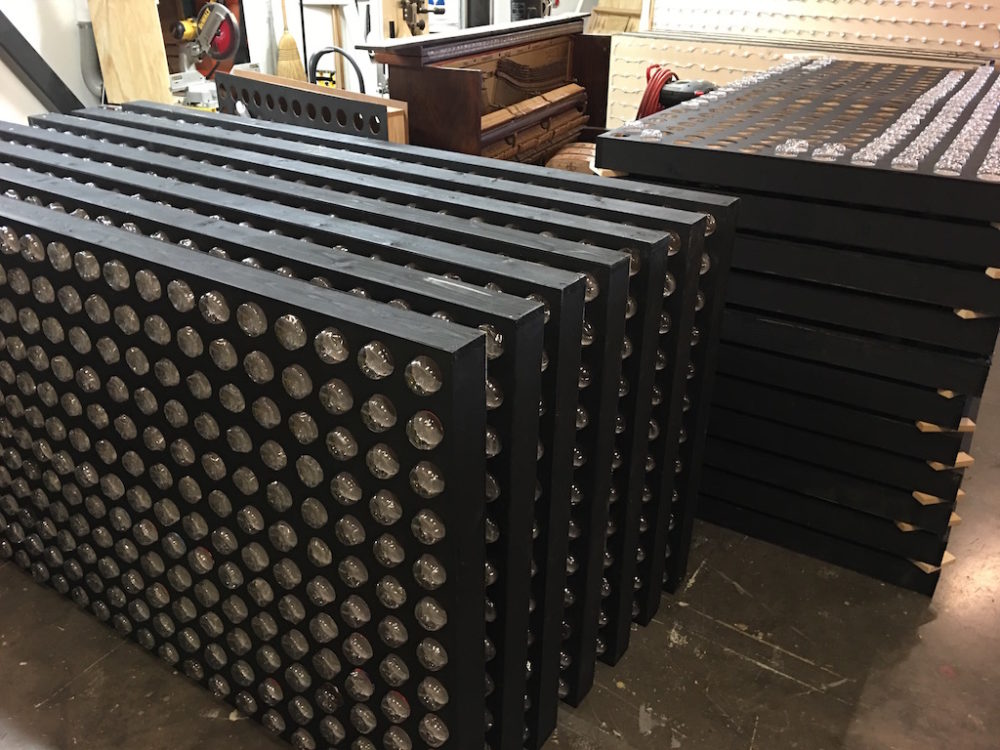
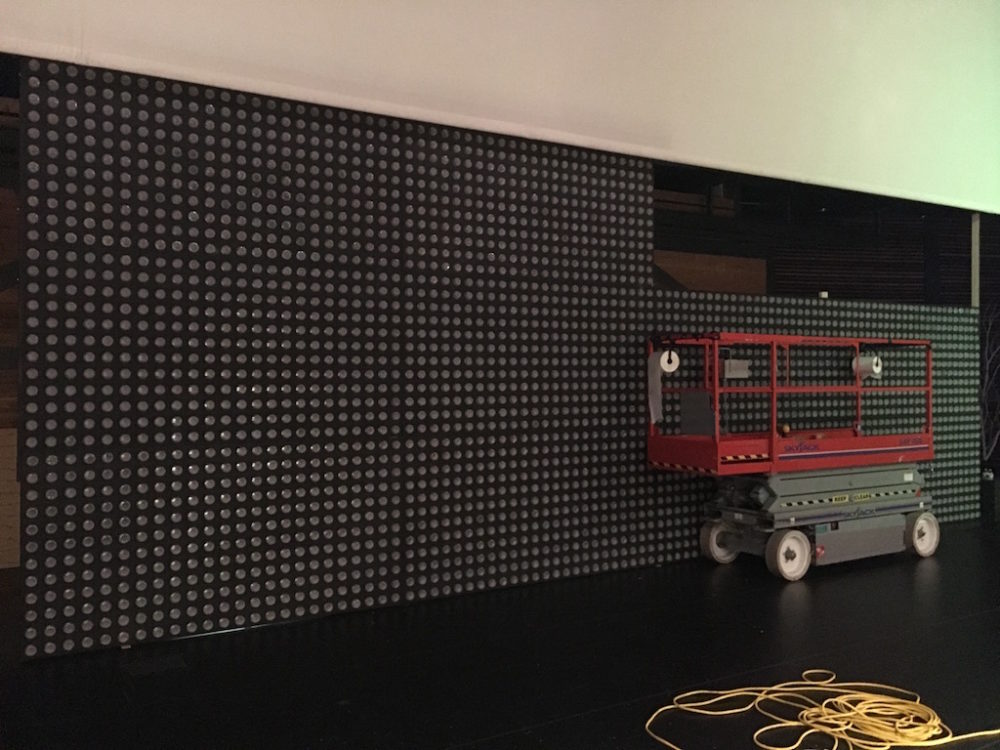
The final product was two side walls 24’w by 8’h and one center wall 32’w by 12’h. The walls consisted of 24 panels measuring roughly 4’x8′ and containing 288 water bottles each; 12 panels for the center and 6 for each side. The panels were made from 1×4’s and 1/8″ MDF with holes for the bottles on one side and the caps on the other. Each water bottle (held in place with hot glue on the cap) had a WS2812 LED fastened at the cap with staples. The cap acted as a diffuser, and they sprayed the bottom of each bottle with Rust-Oleum Frosted Glass to catch the light. Pixlite controllers receive Artnet from an Arkaos media server and send data to each LED. Arkaos has an LED Mapper feature that will take a video and scale it to fit an LED array.
Recommendations from Matt:
- Use a CNC. It took 4 guys 2.5 hours to cut holes by hand for half a panel (front and back) for our test rig. In contrast, the CNC did full panels in less than an hour.
- Make your panels 17wx10h pixels. A universe of DMX accommodates 170 pixels, and a 17×10 grid also makes a 1.7 ratio. I can’t tell you how much time this would have saved me in addressing and configuration vs the 24×12 grids we made.
- Plan for tons of time. CNC cutting the panels took just under one hour to cut a front and back panel. Plan accordingly; this will not come together overnight.
- Don’t do this to save money. While a prebuilt wall this size would be extremely expensive, time is also very expensive. We did this as an illustration and got a low-res LED wall as a side effect.
Creating Large-Scale LED Installations for Church Stages
Building a custom LED wall from water bottles represents one of the most ambitious DIY approaches to stage lighting design. This project from Watermark Church demonstrates how creative material choices can transform everyday objects into stunning visual elements that captivate congregations. The sheer scale of the installation, using nearly 7,000 water bottles, creates an immersive environment that commercial LED panels simply cannot replicate at a comparable cost.
The technical architecture behind this design reveals sophisticated understanding of LED control systems. WS2812 LEDs, also known as NeoPixels, are individually addressable RGB LEDs that can display millions of colors through a single data line. Each bottle acts as a pixel in a massive low-resolution display, with the water and frosted glass creating natural diffusion that softens the light output. The result is a warm, organic glow that differs significantly from the harsh brightness of traditional LED panels.
Construction methodology played a crucial role in the project’s success. The modular panel approach allowed for manageable construction off-site and efficient installation in the sanctuary. Using 1×4 lumber and MDF created lightweight yet rigid frames that could be precisely positioned. The decision to secure bottles by their caps using hot glue provided both mechanical stability and easy replacement if individual units failed. This practical consideration proved essential for long-term maintenance of the installation.
Control system integration demonstrates professional-grade lighting design. Pixlite controllers are industry-standard devices that convert Art-Net or sACN network protocols into the SPI signals required by WS2812 LEDs. By using Arkaos MediaMaster for content playback, the team gained the ability to map video content onto the irregular LED array. The LED Mapper feature automatically scales and positions video content to match the physical layout of the bottles, enabling dynamic visual effects that can change instantly.
Power and data distribution presented significant engineering challenges. Each WS2812 LED draws approximately 60mA at full brightness white, meaning the entire installation could require over 400 amps at 5V if all pixels were illuminated simultaneously. Careful power injection at multiple points along each panel was necessary to prevent voltage drop and color shifting. Data signal integrity also required attention, with proper grounding and signal amplification ensuring reliable communication across the entire array.
Related Designs
- Waiting in Lines – Discover how to create stunning projection effects using wood slats and ultra-short throw projectors for an affordable versa-tube stage design.
- Fractal Wall – See how Next Level Church created a stunning textured stage backdrop using Mio Paperform tiles and pendant lighting for under $6,000.
- True North – Learn how Oak Hills Church built a textured backdrop using Coroplast and styrofoam bowls for their youth ministry.
- It’s Raining. Really! – Explore how Christ’s Church of the Valley created real rain effects for their Good Friday service using ABS pipes and pumps.
- Branched – See how to build stunning LED light box panels for your church stage under $600 using simple materials and DIY techniques.
Pro Tips for DIY LED Stage Designs
Test Your Diffusion Materials: The frosted glass spray paint used on these bottles creates beautiful light diffusion, but results vary by brand and application. Test multiple spray patterns and brands on sample bottles before committing to thousands of units. Consider alternatives like translucent contact paper or fabric inserts if spray paint proves inconsistent.
Plan Your Pixel Mapping: Before cutting a single hole, create a detailed pixel map showing the physical position of each LED and its corresponding address in your control software. Software like Excel or specialized LED mapping tools can help visualize the layout. This planning step prevents addressing errors that are difficult to fix after construction.
Calculate Power Requirements Carefully: LED power consumption adds up quickly in large installations. Always add 20% headroom to your power supply calculations and distribute power injection points evenly across the array. Use appropriate gauge wire for power distribution to prevent voltage drop that causes color inconsistency.
Build for Maintenance: Individual LED failure is inevitable in large arrays. Design your panels so that failed pixels can be replaced without disassembling entire sections. Document your wiring thoroughly and label all connections. Future volunteers will thank you when repairs are needed months or years later.
Related: In the Darkness, Light – Discover how Church at the Cross created stunning hybrid LED and incandescent fixtures using buckets and Edison bulbs for their Christmas stage design.
Related: Reverberation – Discover how Fair Haven Church created a stunning LED cross design using u-channel and tape lights for their stage.



What kind of leds did you use?
They’re pre-wired ws2812 LEDs spaced 10cm apart. Pre-wired is the key :-)
dear God what a nightmare…
It was a lot of work, but as with most of our builds, we had an army of volunteers helping
Where did you get the LEDs?
Hey Dave!
LEDs and power supplies were from AliExpress. I’d suggest buying spares as there will be many that won’t quite work right
This is amazing. Any more video of it in action?
Thanks Steve!
I’m out of town this week, but I can try to track some down when I get back. Anything in particular you’d be interested in?
Strong work, Matt! Loved seeing you pop up on this site :)
Did you count how many time you went to the bathroom… drinking that much bottled water!
Very Nice work. What type of power supply did you use, and how many boards did that handle at a time?
this is great. My Gooooooood
Please can you send me some more pics of the setup. here is my mailbox: lifeconnectlife@gmail.com
What were you using to send the video feed to the LEDs? We have most of this stuff, but are stumped on how to best send a video signal to them. Thanks!