



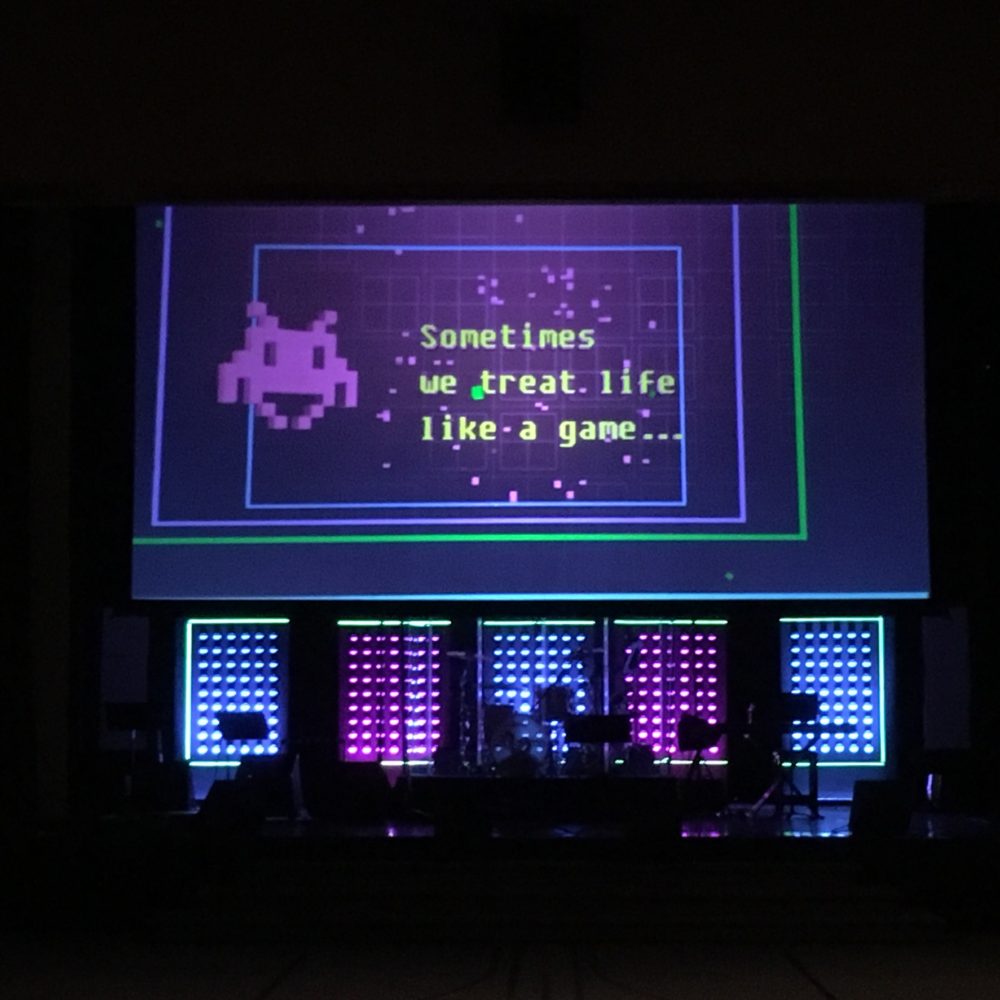
Alex Robinson from Capital Area Christian Church in Mechanicsburg and Etters, PA brings us this digital looking design.
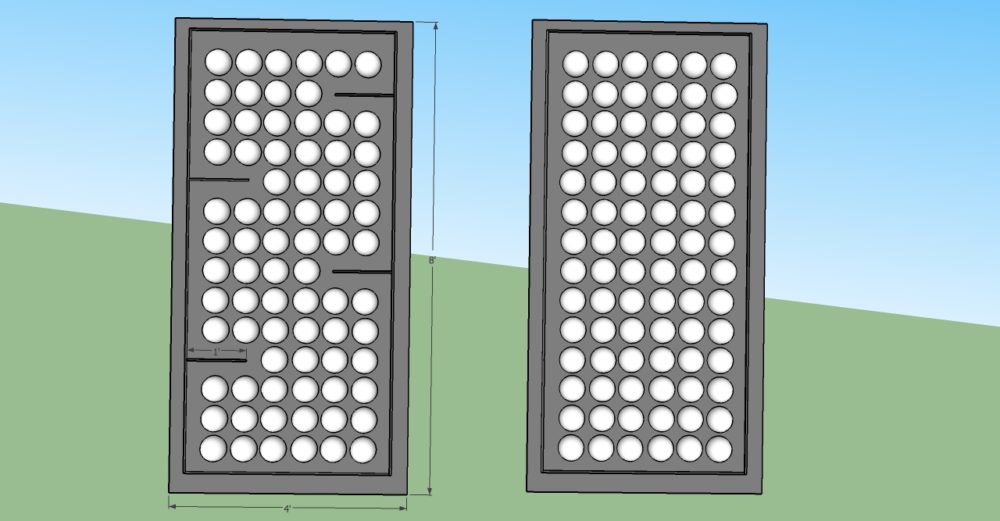
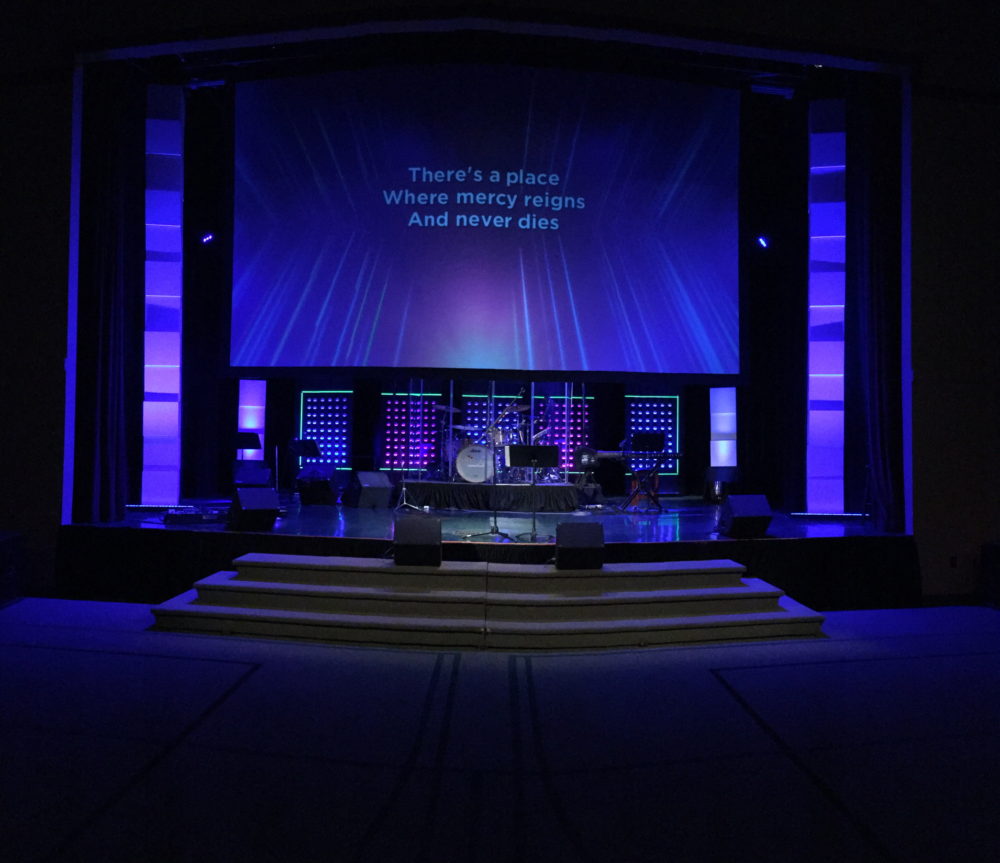
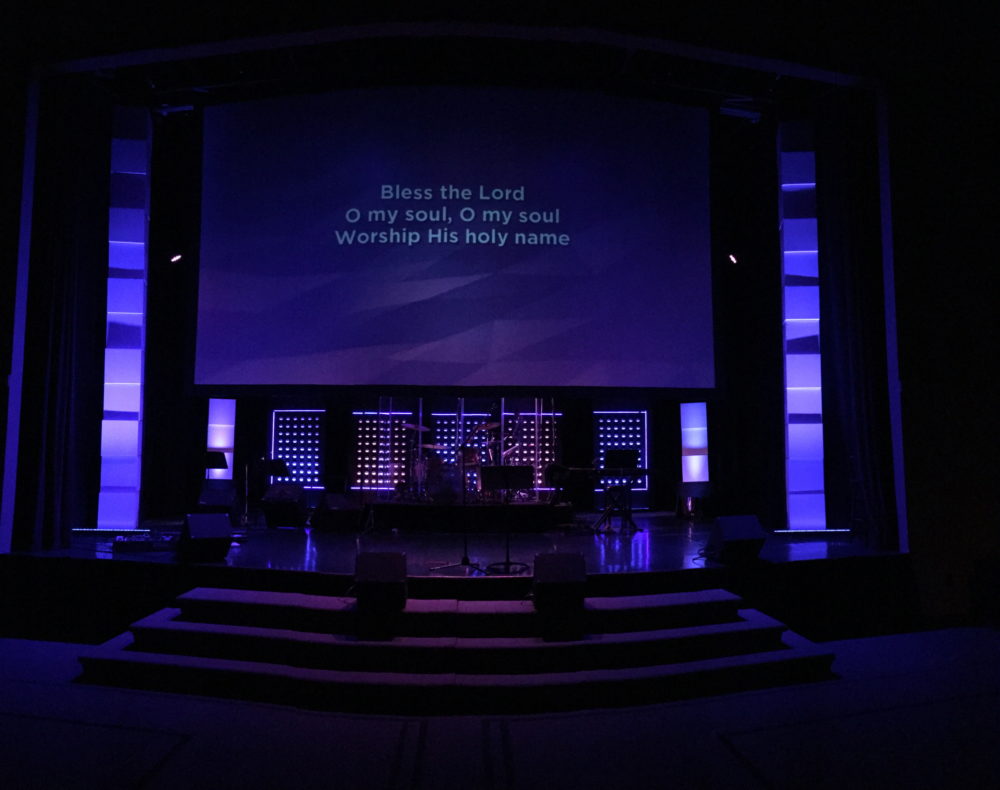
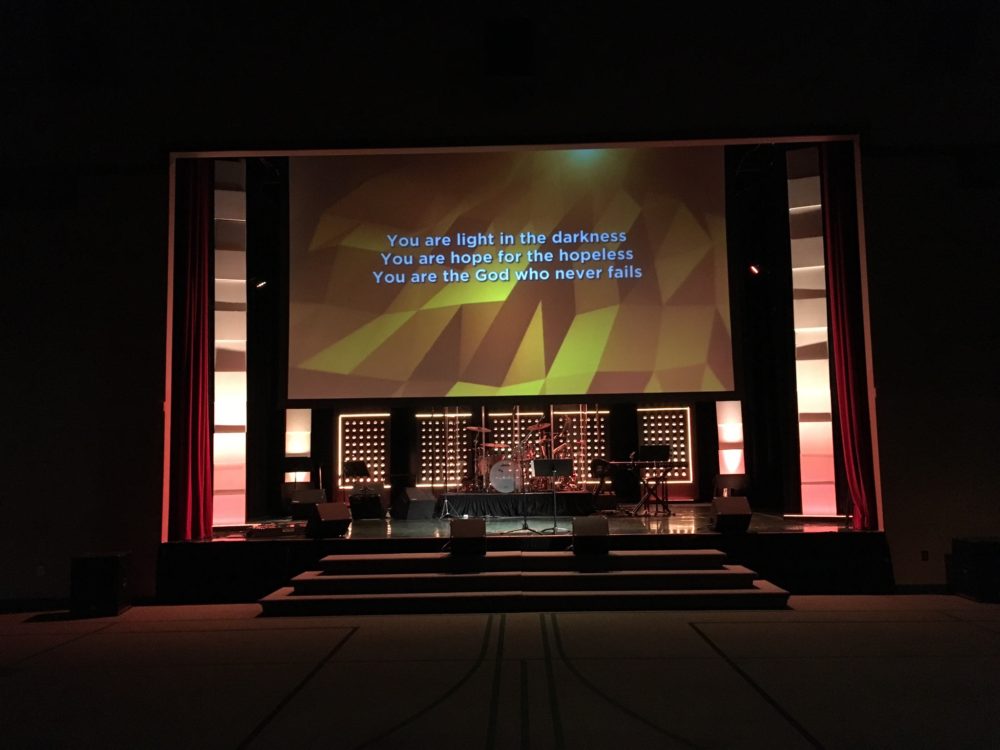
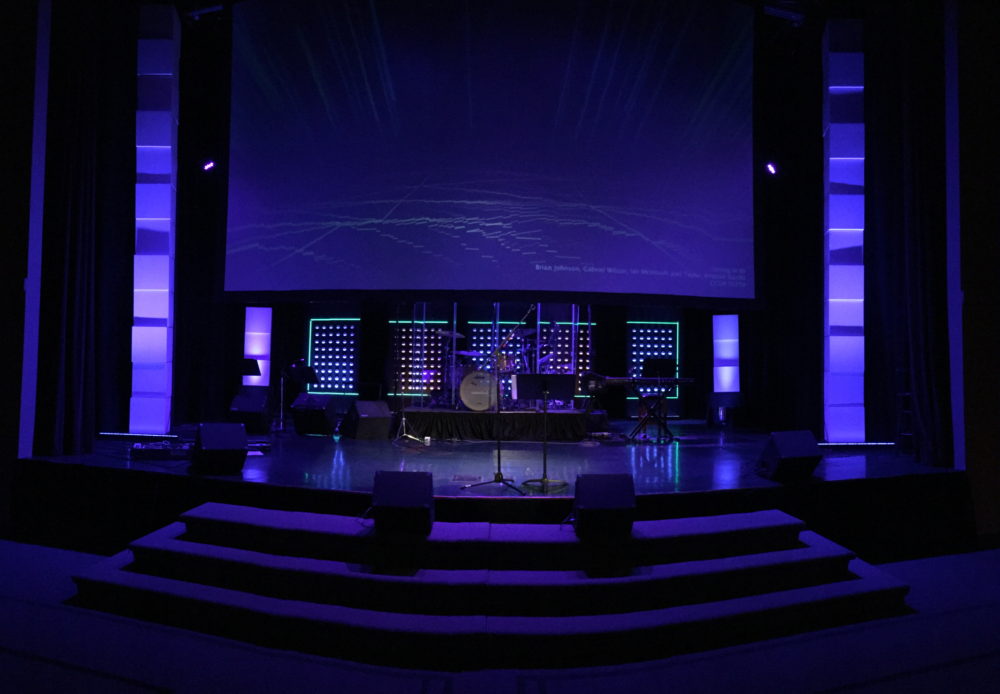
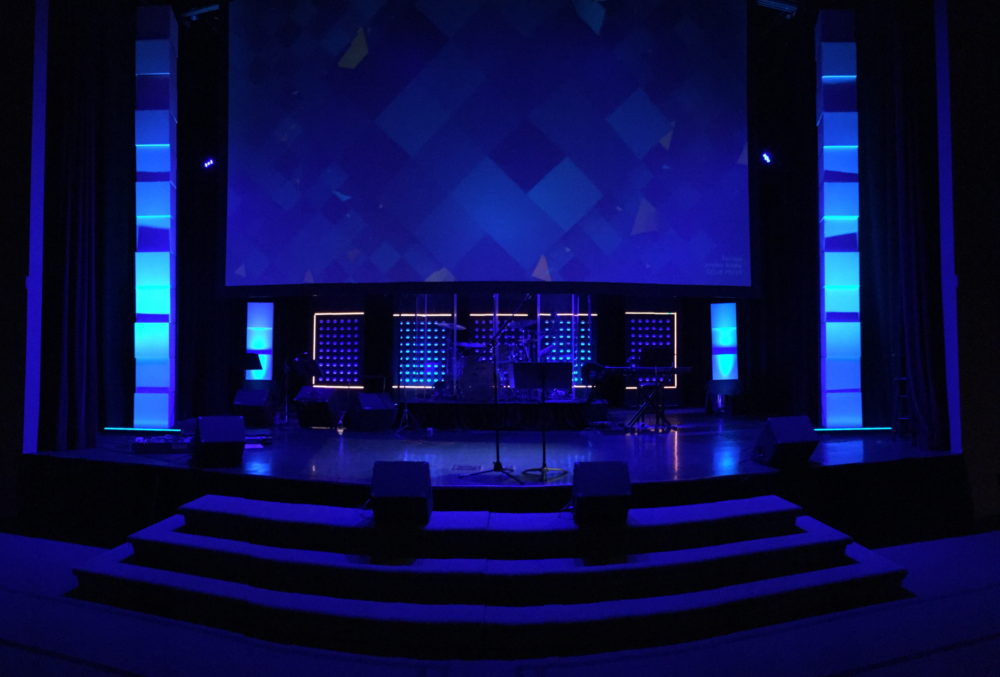
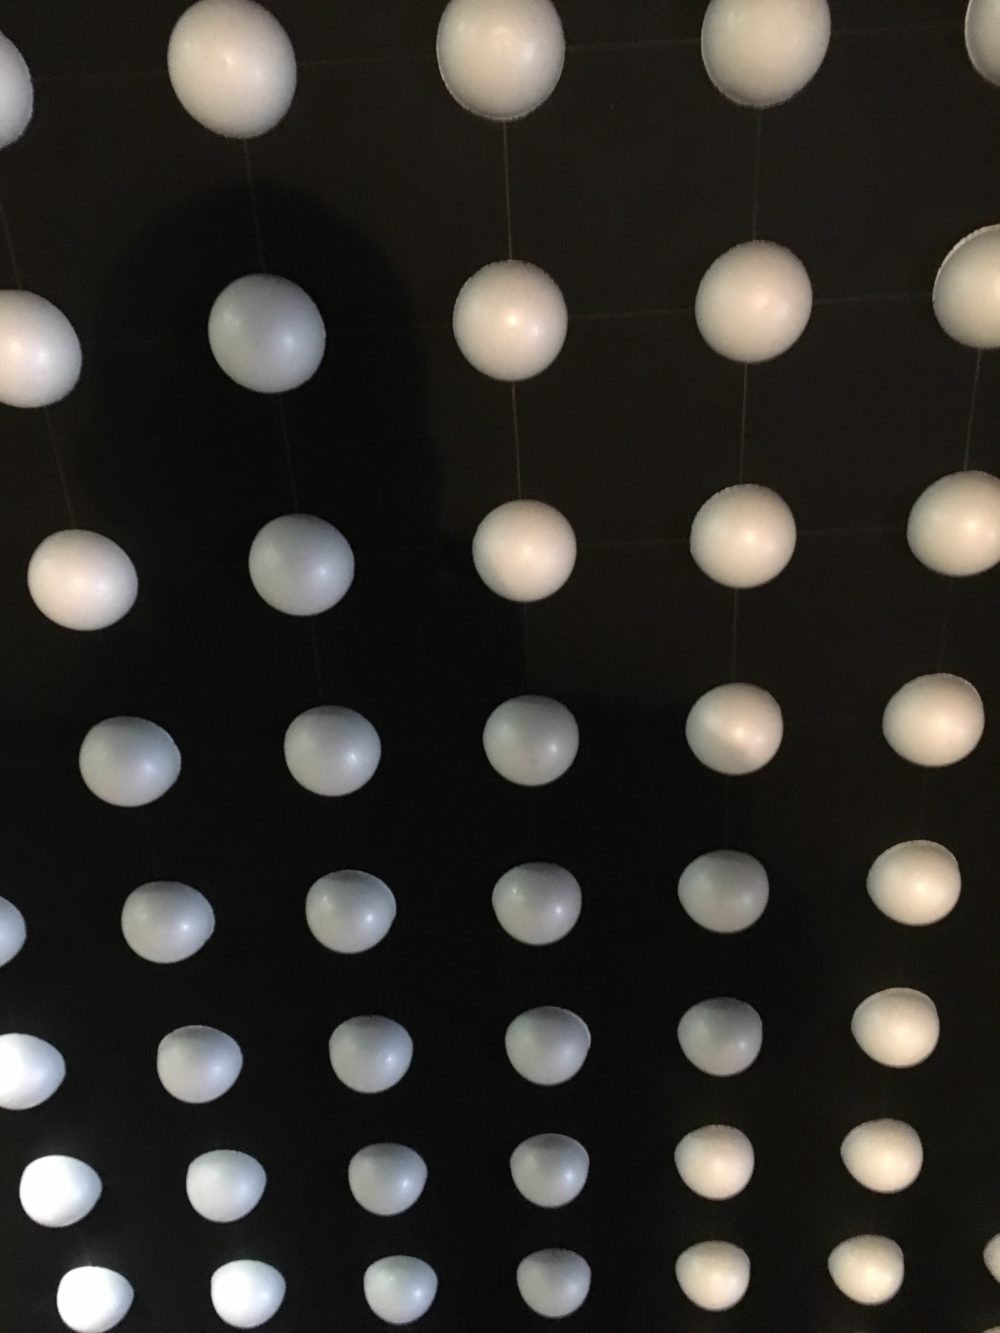
This design was created for a series called “Games People Play.” They wanted it to have an arcade inspired theme. In order to give it a Pacman kind of look, they took a cue from “Big Baller” with half styrofoam balls for the background and used LED tape to create a border around it and give it a Pacman board style look. They separated the panels to provide some drama and stretch the full width of the stage.
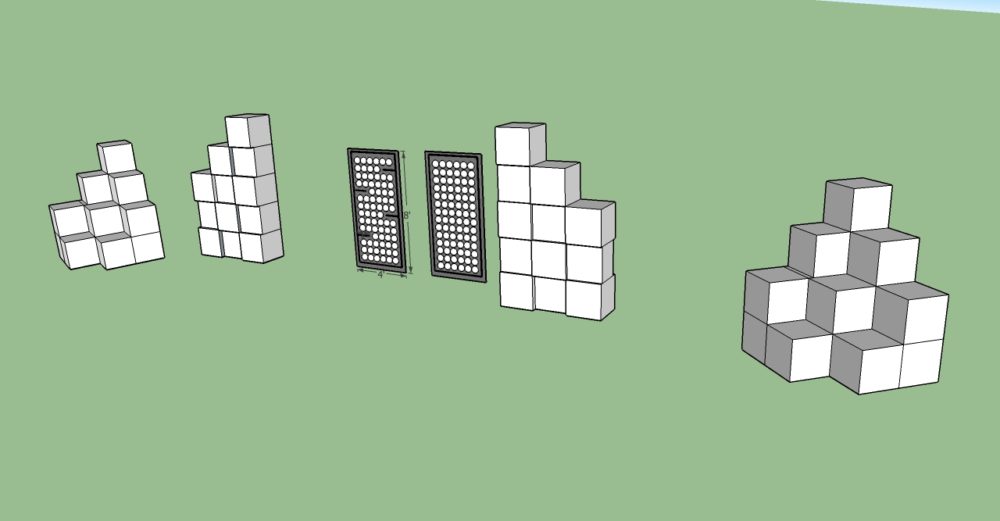
For the outside columns, they used white cardboard boxes from U-Line lit from above and below. This was to emulate 8-bit designs, with the boxes looking more like large “pixels.”
These outside columns were actually freestanding, using a tall thin frame that was built for a previous stage design. (This allowed them to move the column on house right to get to a baptistery built into the stage.)
They were originally going to lay out the back panels to have more LED tape strip lines cutting into styrofoam balls (similar to Pacman maze) but time constraints ruled this out (see original SketchUp ideas).
How to Plan an Arcade-Inspired Church Stage
An arcade theme works best when the audience can recognize its visual language immediately, even before a title appears on the screen. Start with a simple grid, a limited color palette, and a few oversized pixel-like shapes. In this design, the separated back panels create the feeling of a game board while leaving enough negative space for each element to read clearly. Before building, sketch the full stage from the audience viewpoint and mark projection screens, doors, baptistery access, musician positions, and camera sightlines. This prevents a strong graphic concept from blocking something the room still needs to use.
Scale is especially important with an 8-bit look. Small boxes can disappear from the back of the room, while oversized cubes become convincing pixels and add real depth. Mock up one column with inexpensive material, view it from the farthest seat, and photograph it through the main camera. Adjust the box size and spacing before ordering the full quantity. Repeating a few consistent dimensions will make construction faster and the finished arrangement feel intentional.
Building Freestanding Pixel Columns
Lightweight cardboard boxes can create a large scenic footprint without requiring heavy framing, but the decorative boxes should not be expected to support the structure. Build a stable inner frame with a broad base, secure it according to the venue’s safety requirements, and attach each box as a scenic skin. Keep the center of gravity low and test the completed column against bumps, cable pulls, and normal air movement. If a unit must move for baptisms or stage access, add a planned path and a repeatable way to return it to its mark.
Lighting from above and below helps each box read as an individual cube instead of one flat wall. Aim fixtures across the faces at a shallow angle to reveal seams and shadows. For the center panels, LED tape can outline the maze while half foam spheres create the familiar dots. Mount tape to a clean, compatible surface, provide suitable diffusion where individual diodes are distracting, and follow the manufacturer’s limits for power injection, connectors, ventilation, and run length. All mains-voltage work should be handled by a qualified person.
Programming the Look for Worship and Teaching
Build several lighting states instead of leaving the arcade elements at full brightness throughout the service. A saturated, animated look can support music and transitions, while a restrained version keeps faces and teaching content clear. Use the LED border as a framing layer, then add the pixel columns gradually so the scenic design has somewhere to grow. Check every cue on camera, because bright tape and white cardboard can clip before they appear overly bright to the eye.
The modular layout also makes the concept reusable. Columns can move to new positions, individual boxes can be re-skinned, and the center panels can receive a different tape pattern for another series. Photograph the internal frame, label each module, and store the power plan with the design. Good documentation lets volunteers rebuild the scene without relying on memory.
Pro Tips for a Pixel-Style Stage
Prototype at full scale: Test one box, one foam sphere, and one LED-tape corner from the back row before buying materials for the whole stage.
Preserve access: Treat baptisteries, exits, equipment doors, and cable paths as fixed boundaries in the first sketch.
Separate structure from decoration: Use a stable inner frame and attach lightweight boxes as scenic pieces rather than stacking them as load-bearing parts.
Balance for cameras: Reduce scenic brightness until faces and screens retain detail in the widest livestream shot.
Related Designs
- Pixel Perfect – See another large-scale pixel treatment built for strong color and graphic impact.
- LED Pixel Wall – Explore a luminous pixel wall that combines depth, repetition, and programmable light.
- Dot Boxes – Find inspiration for box-based scenic modules with circular visual accents.
- Pixel Break Out – Compare another modular pixel concept for a wide church platform.
- Cool Option for LED Tape – Learn an alternative way to create clean illuminated lines in scenic builds.
Related: Compare this layered foam treatment with a tilted foam rectangle backdrop that uses simple sheets and angled placement.



What kind of backer board did you use to put the balls on, and what size balls did you use?
We used 4×8 hardboard (cheap thin backing board) painted flat black and mounted on 4×8 flats we already had. The balls were setup on a 6″ grid.